Clutch Assembly: Installation
- Clean the A/C compressor, A/C clutch field coil and the A/C clutch pulley mounting surfaces.
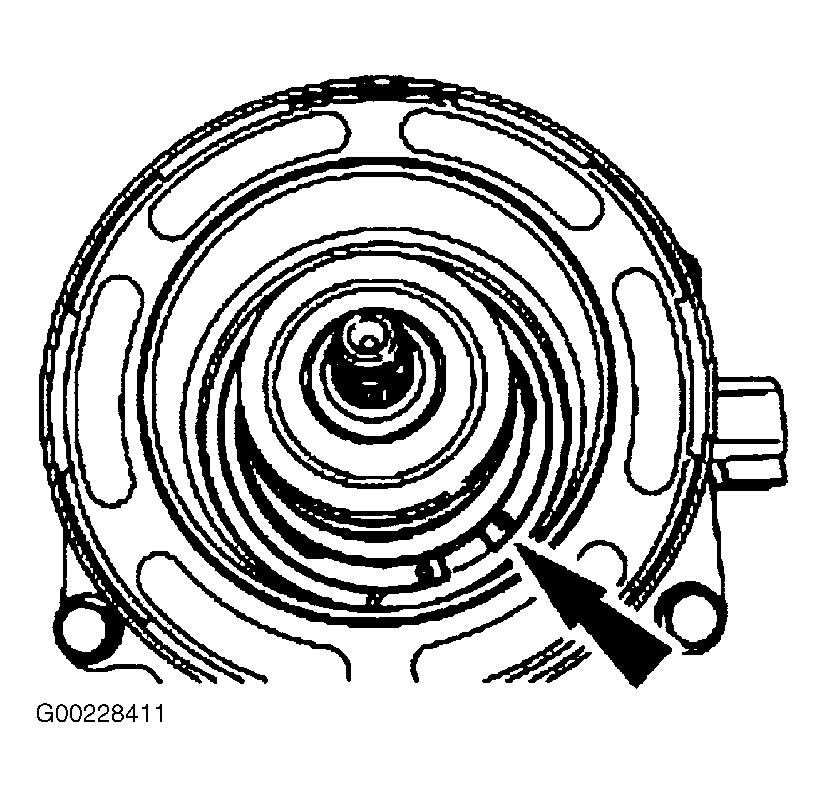
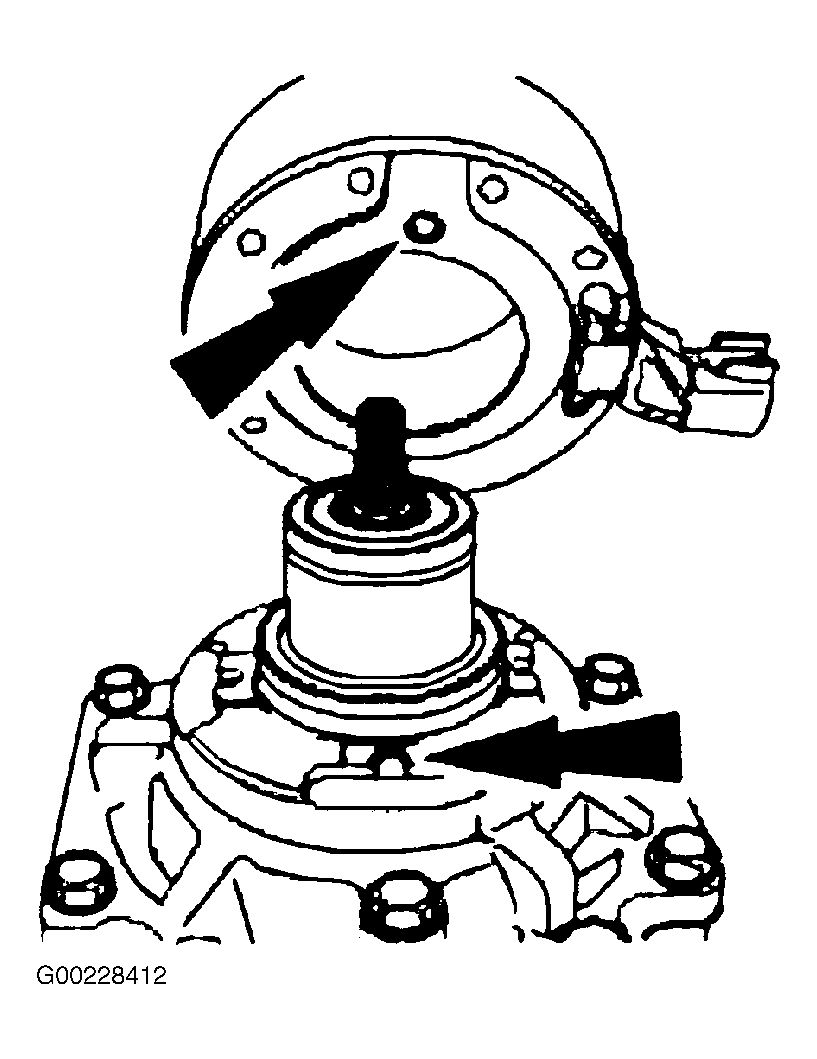
- Align and install the A/C clutch field coil to the A/C compressor. See Fig 5.
- Install the A/C clutch field coil snap-ring. See Fig 4.
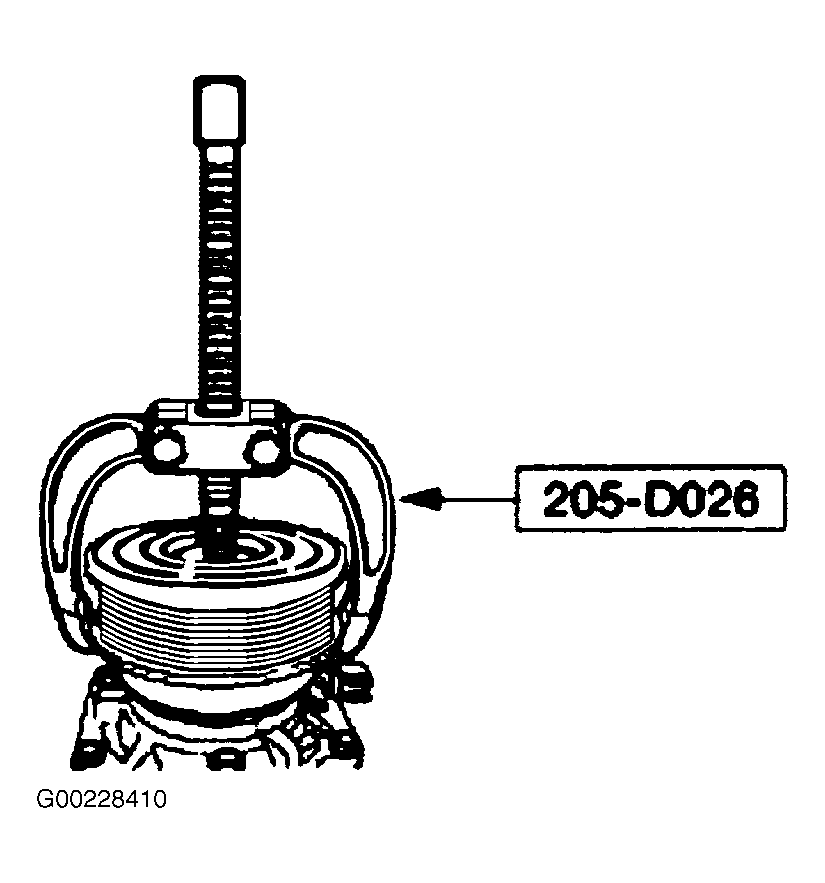
- Install the A/C clutch pulley.
- Install the A/C clutch pulley snap-ring with the bevel side up.
- Install one nominal thickness A/C clutch plate spacer onto the A/C compressor shaft.
- Install the A/C clutch plate.
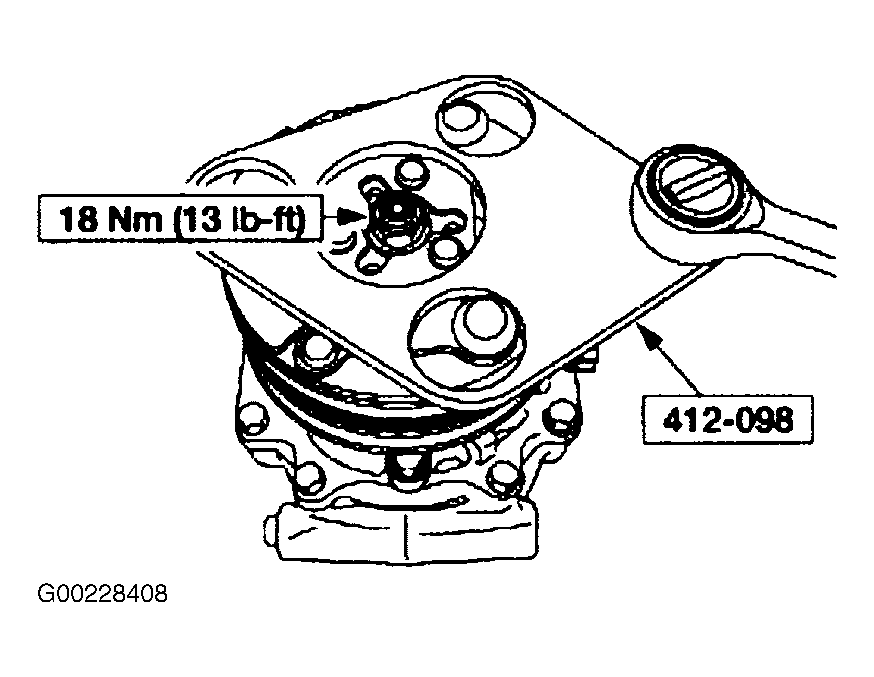
- Install the clutch plate retaining nut. Using the special tool, hold the A/C clutch plate and tighten the nut to 13 Ft. Lbs. (18 N.m).
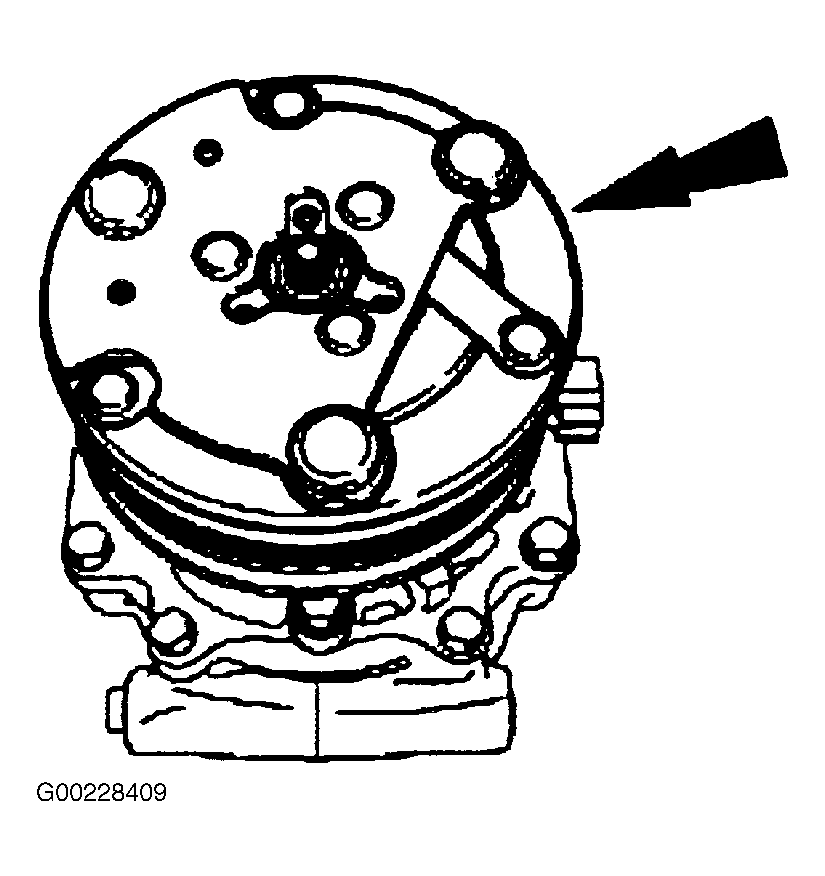
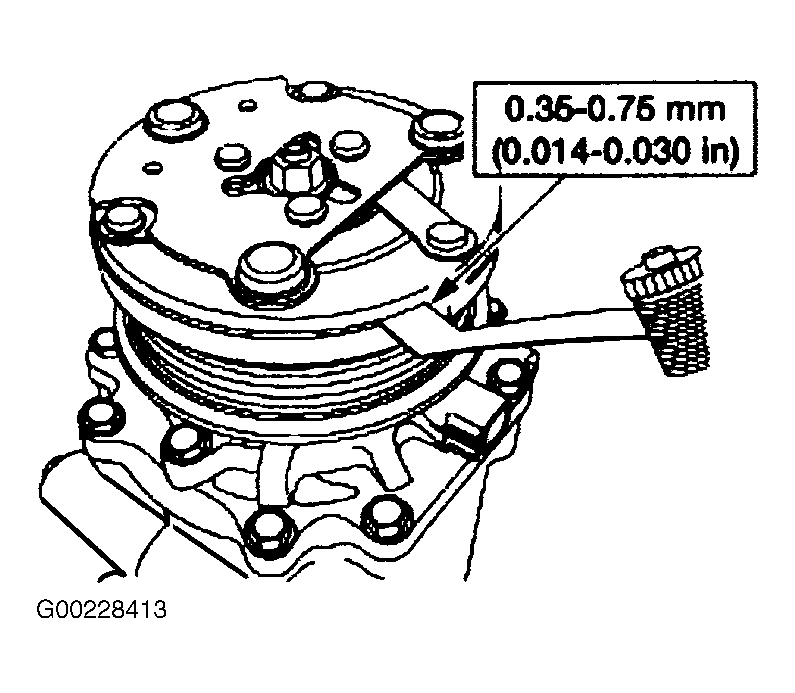
- Measure and adjust (if necessary) the A/C clutch air gap by removing or adding A/C clutch plate spacers. See Fig 6.
- Install the A/C compressor. See REMOVAL AND INSTALLATION .
CAUTION:
There is an indexing locator on the A/C clutch field coil mounting surface. Make sure it is correctly aligned during installation to the A/C compressor.
NOTE:
The A/C clutch pulley fits tightly to the A/C compressor. It must be aligned correctly for installation.
NOTE:
The snap-ring must be installed with the bevel side up.