Clutch Assembly: Installation
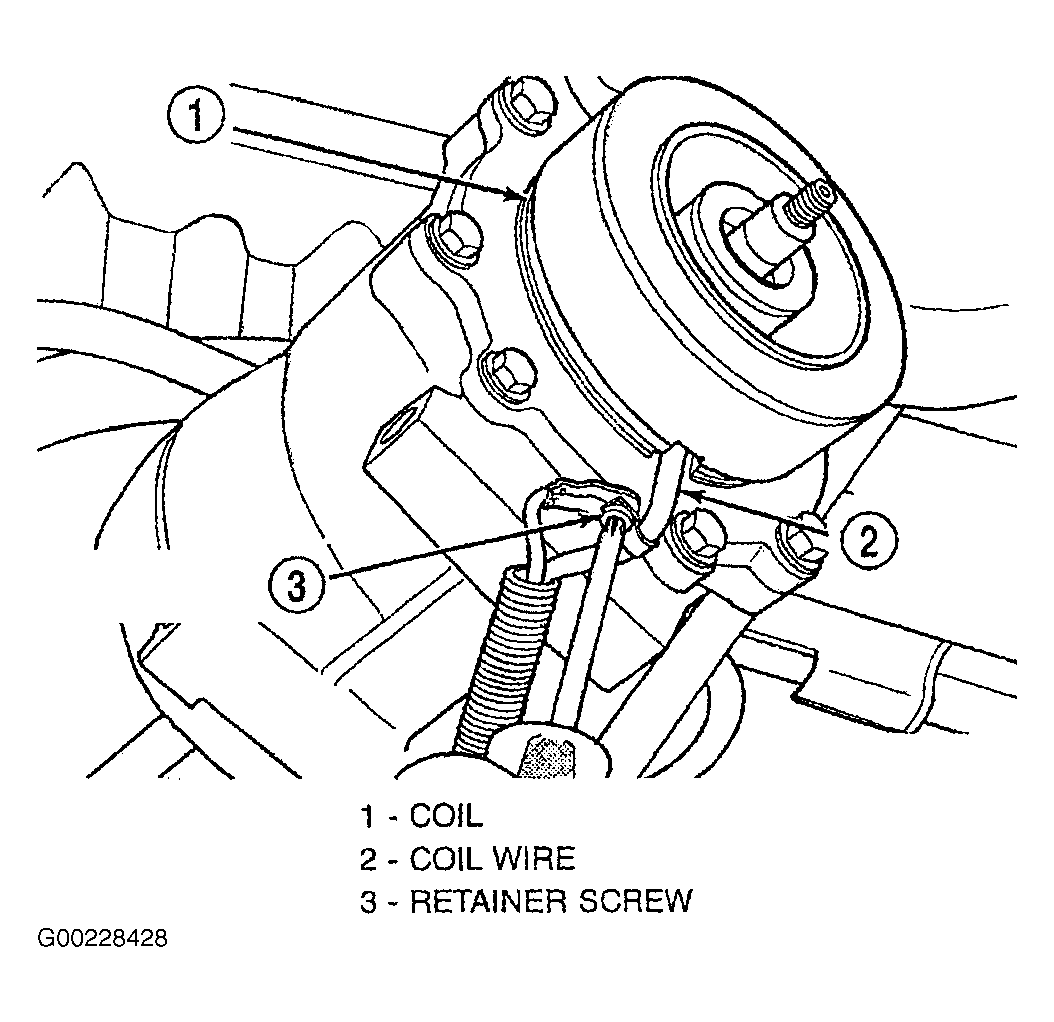
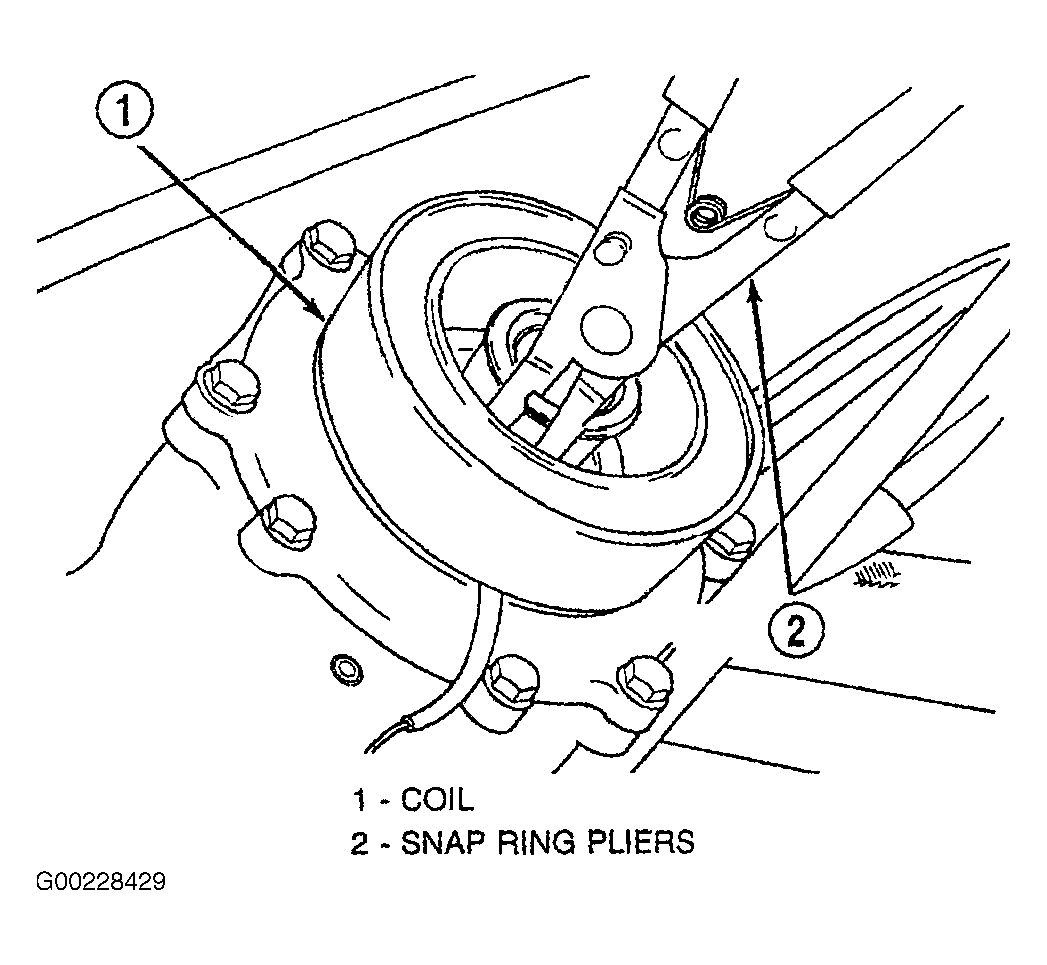
- Install clutch field coil and snap ring.
- Install clutch coil wire harness retaining clip on the front of the compressor and tighten the screw.
- Align rotor assembly squarely on the front compressor housing hub.
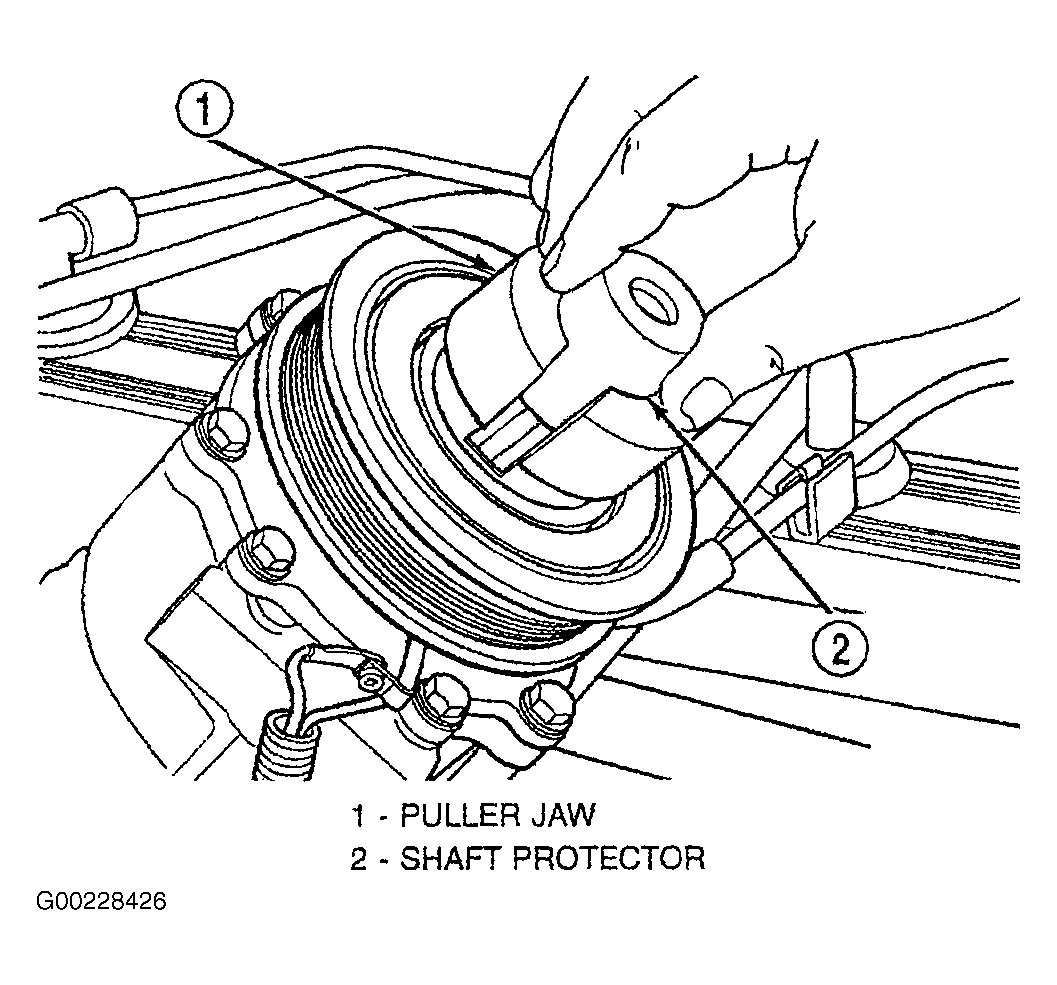
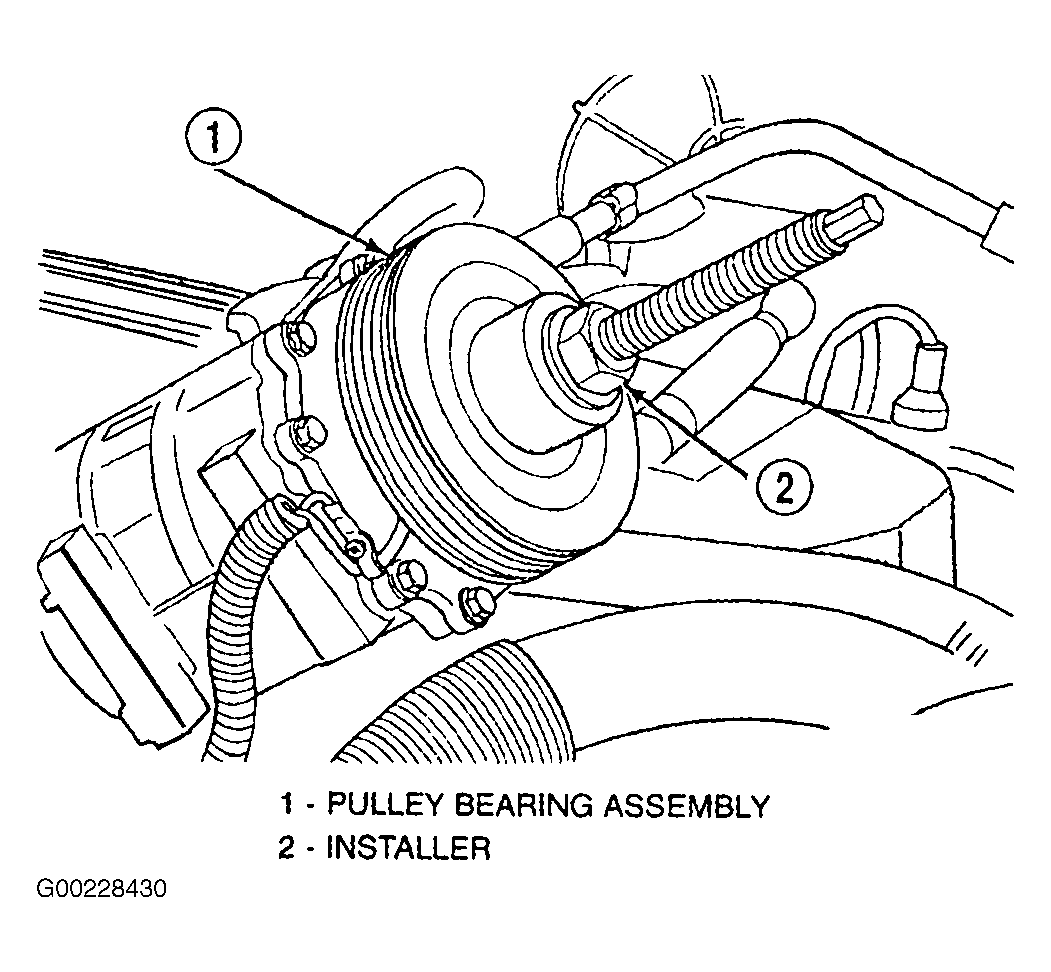
- Install pulley bearing assembly with Installer. See Fig 8. Thread installer on the shaft, then turn the nut until the pulley assembly is seated.
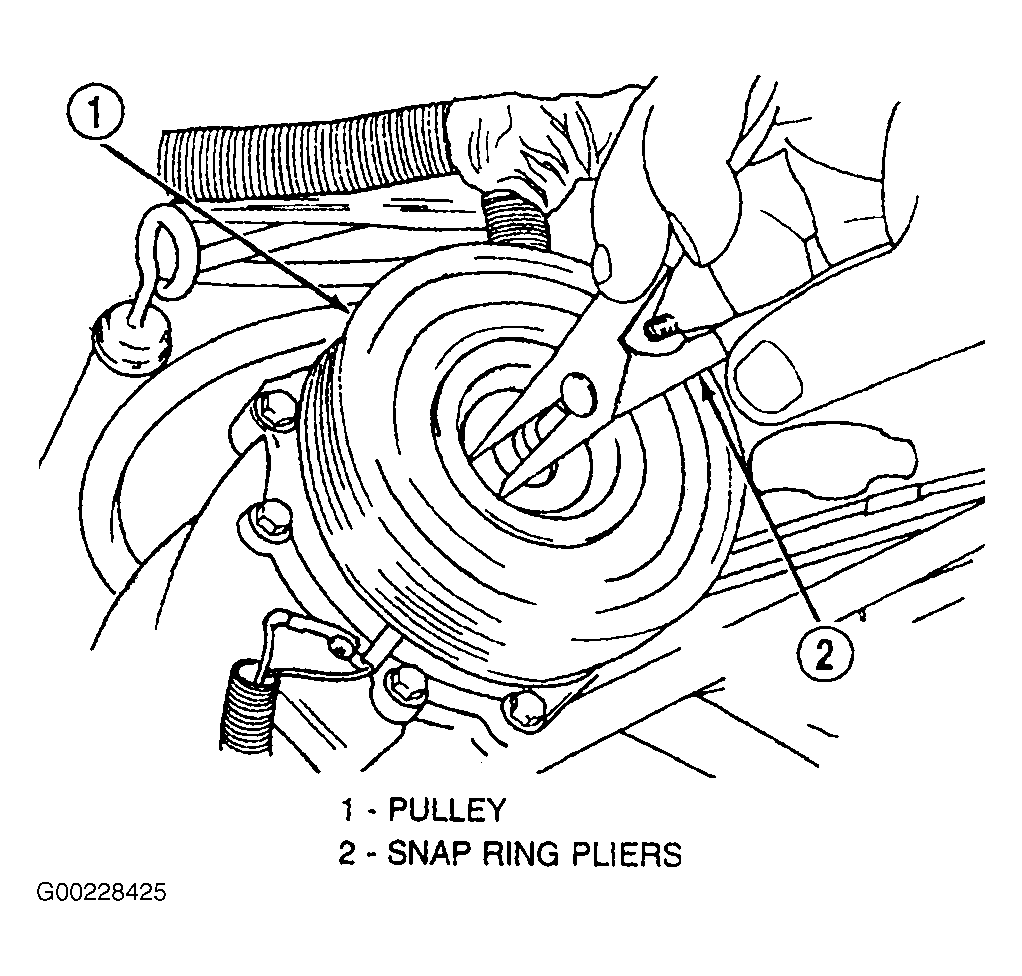
- Install external snap ring with the bevel side of the snap ring facing outward. Verify snap ring is seated.
- Install compressor with the original clutch shims on the compressor shaft.
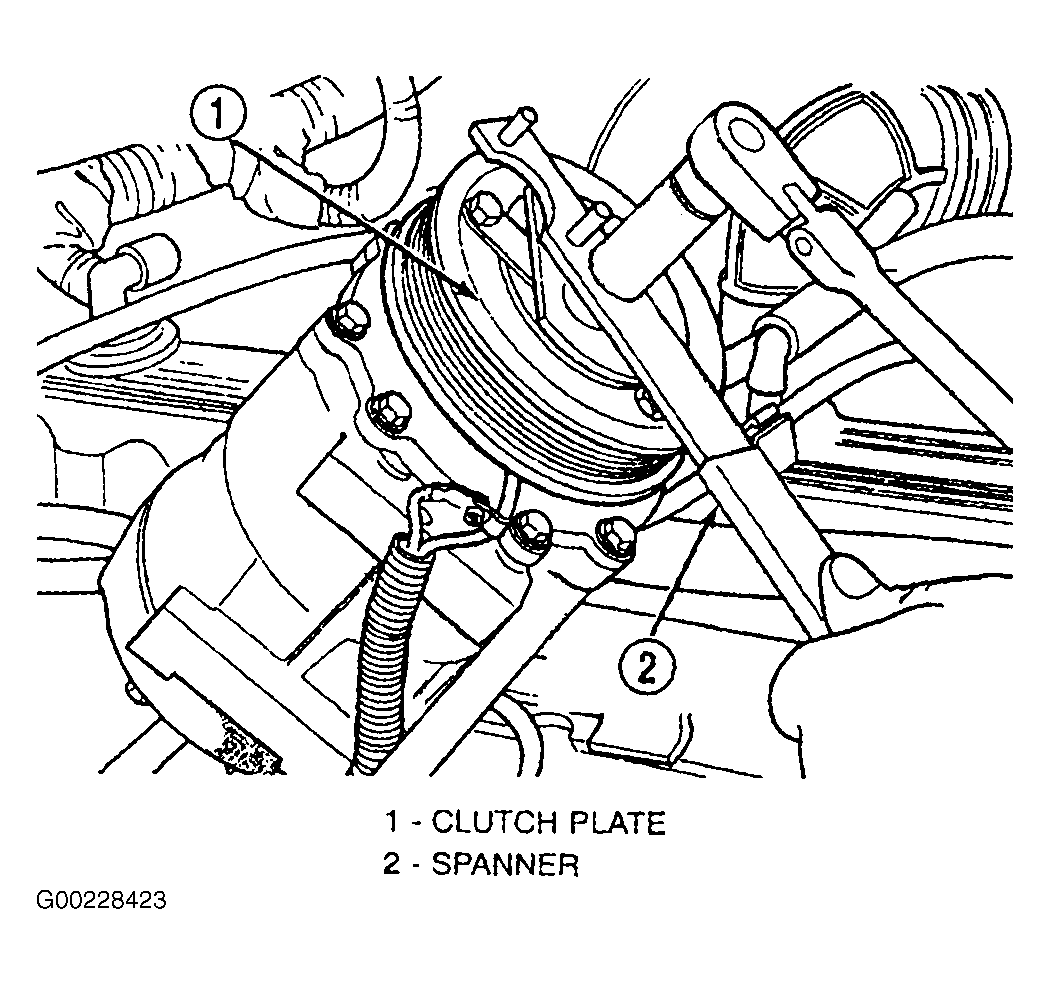
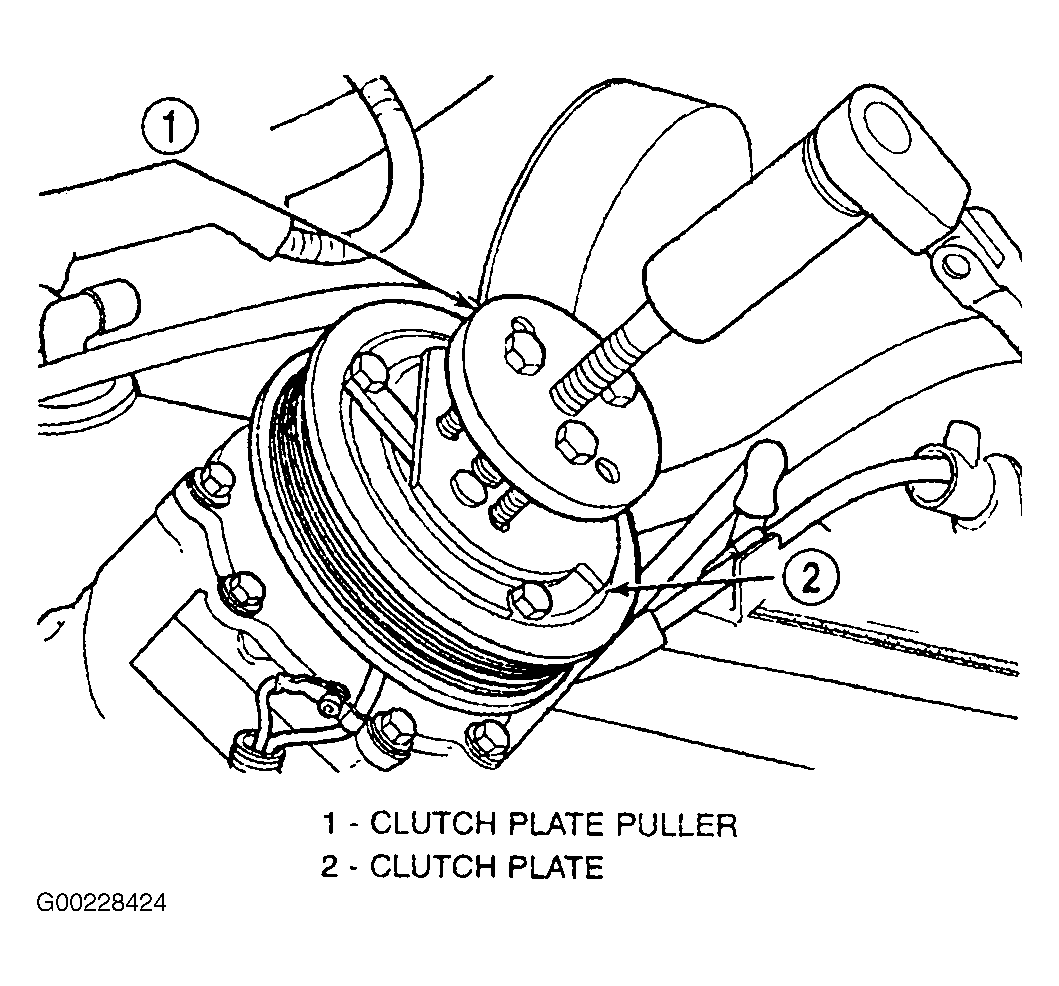
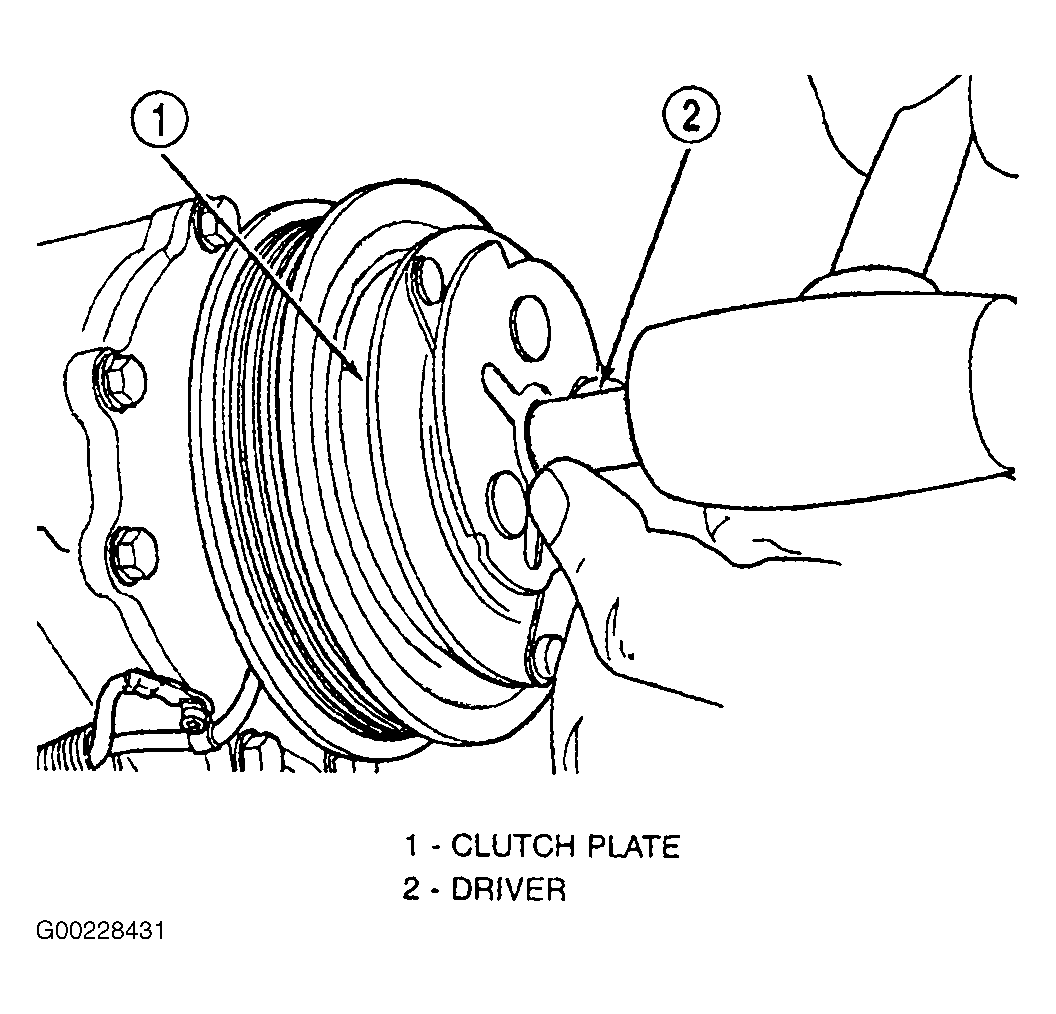
- Install clutch plate with driver. See Fig 9. Install the shaft nut and tighten to 10.5 Ft. Lbs. (14.4 N.m).
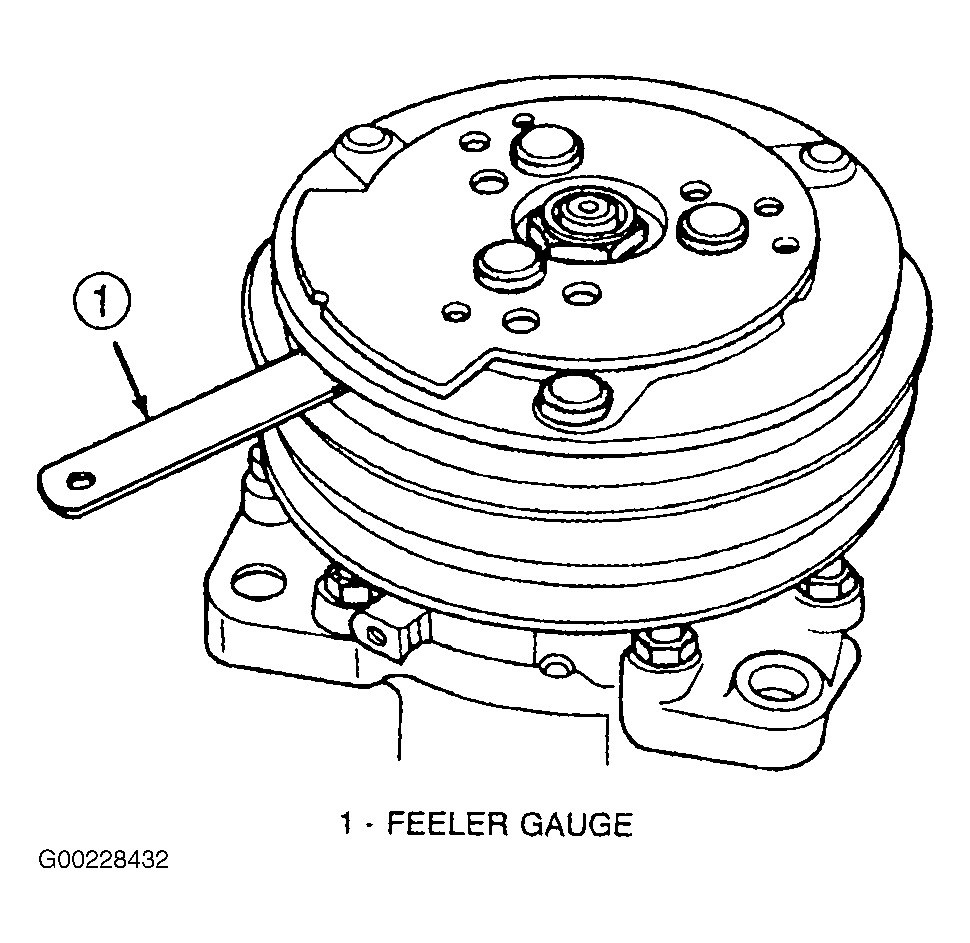
- Check clutch air gap with a feeler gauge. See Fig 10. If air gap does not meet specification 0.016-0.031" (0.41-0.79 mm) add or subtract shims as required.NOTE: If air gap is not consistent around the clutch, lightly pry up at the minimum variations and lightly tap down at the maximum variation point.NOTE: When installing a NEW clutch onto a compressor that previously did not have a clutch, use the shims 0.040, 0.020, and 0.005" (1.0, 0.50, and 0.13 mm) provided with the NEW clutch.
- Position compressor on the mounting bracket and install bolts. Tighten bolts to 30 Ft. Lbs. (41 N.m).
- Plug in compressor clutch harness.
- Install serpentine drive belt.
- Install negative battery cable.
- Start engine, set system to A/C mode, run engine at 1500-2000 RPM, and blower speed on high. Cycle the NEW A/C clutch 20 times (5 seconds ON and 5 seconds OFF).
NOTE:
This procedure will seat (burnishing) friction surfaces and provide a higher clutch torque capability. This is only necessary on a NEW clutch.