Removal ("S" Series)
NOTE:
On Saturn "S" models, discharging A/C system and removing refrigerant lines from compressor is not necessary to service clutch assembly.
NOTE:
Tools Required: Puller Center (SA9149AC-2), Snap-On™ tool S8190A and Drive Plate Installer (SA9149AC-3).
- Remove the accessory drive belt from the compressor clutch pulley by rotating the belt tensioner clockwise using a 9/16" (14 mm) wrench. Snap-On™ tool S8190A or equivalent can be used.
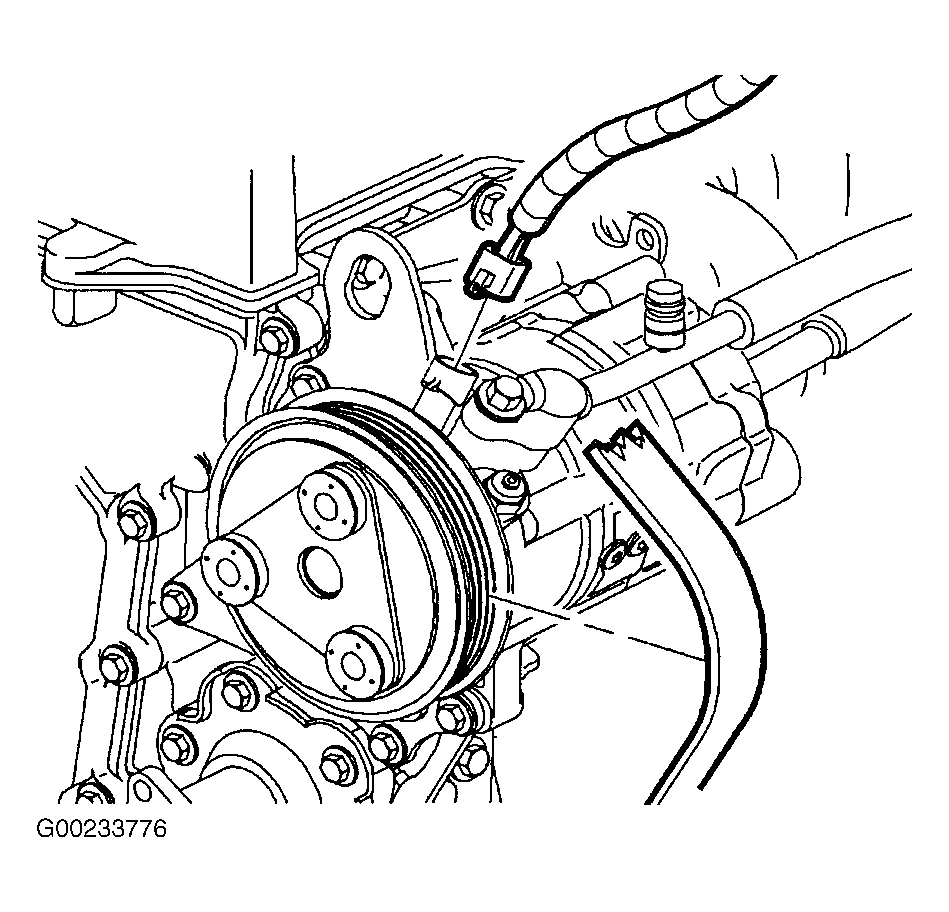
- Disconnect the A/C compressor clutch electrical connector. See Figure.NOTE: The next 7 steps are only necessary if the vehicle is equipped with a secondary air pump reaction system (AIR).
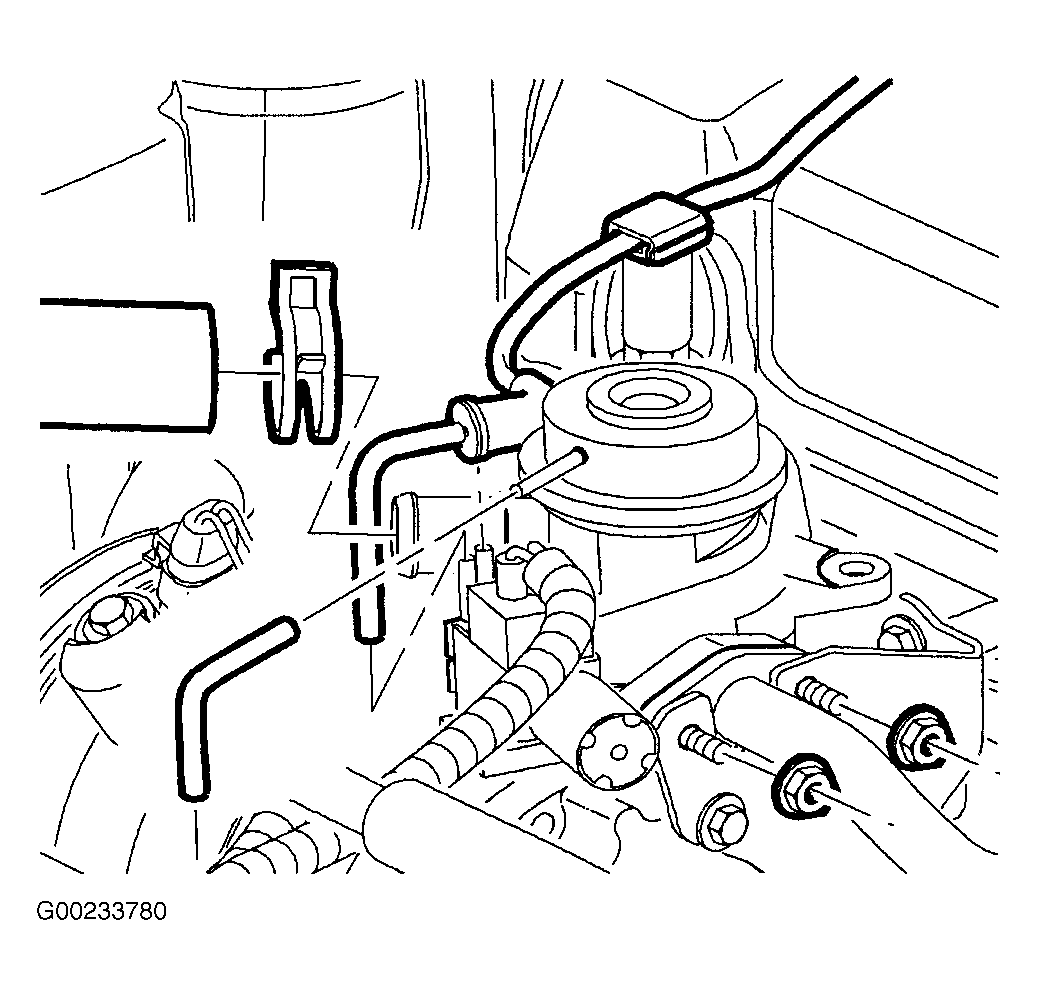
- Remove the nuts from the combination valve studs.
- Remove the air hose.
- Remove the vacuum source hose. See Figure. There is no need to disconnect the internal vacuum hose for this procedure.
- Remove the combination valve and gasket from the rear air compressor bracket.
- Position the combination valve and gasket away from the A/C compressor bracket.
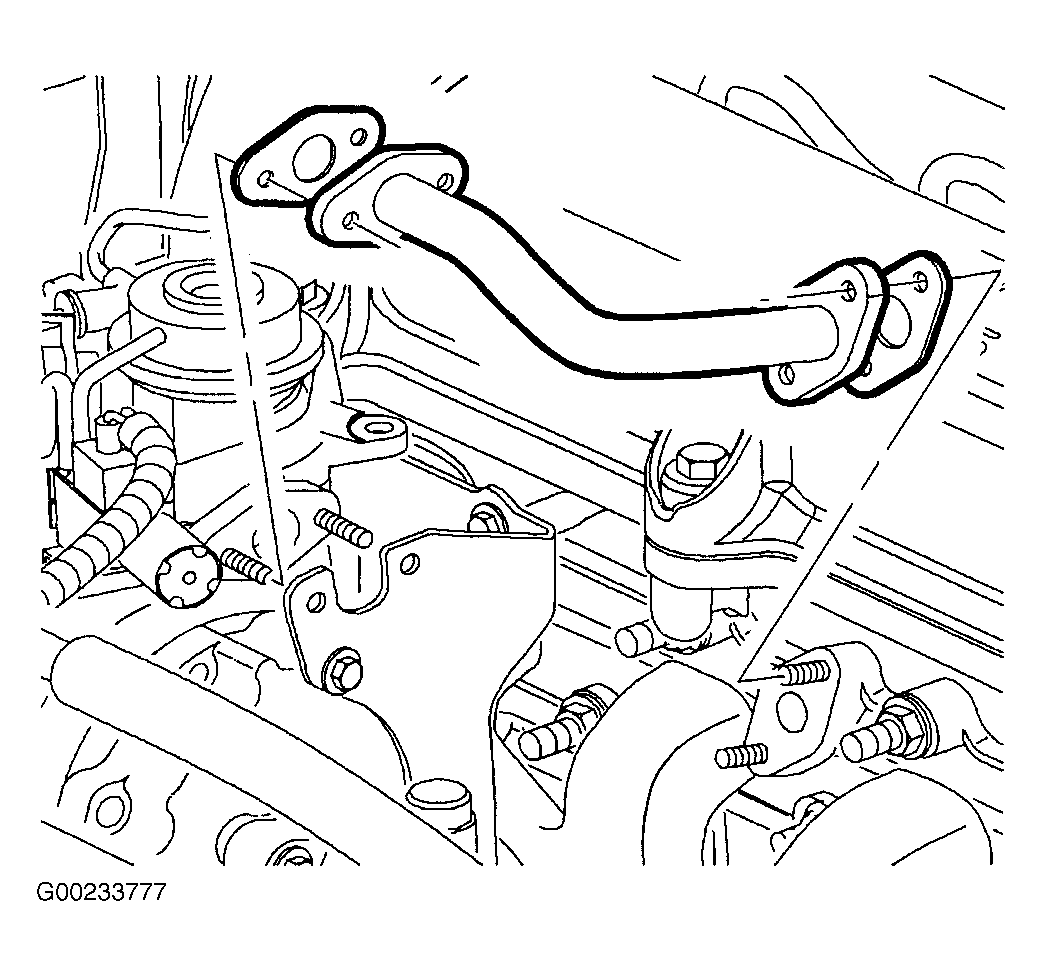
- Remove the air pipe nuts from the exhaust manifold studs.
- Remove the air pipe. See Figure.
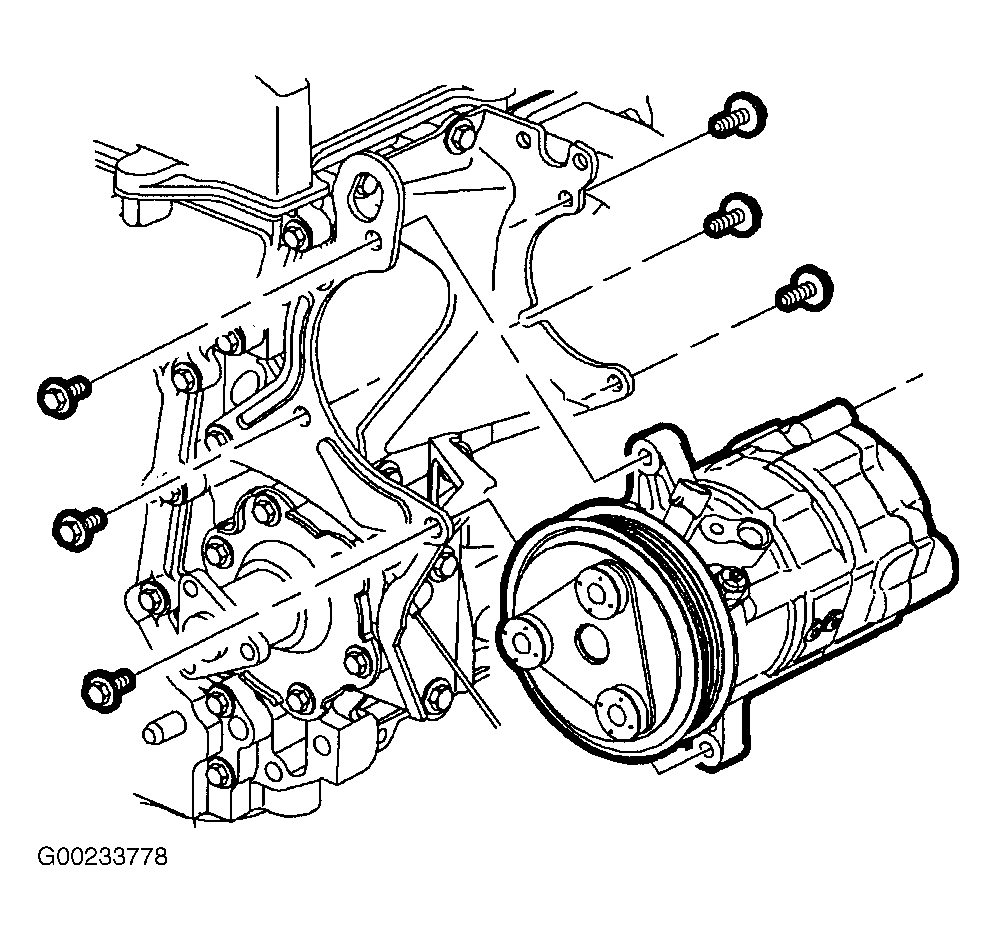
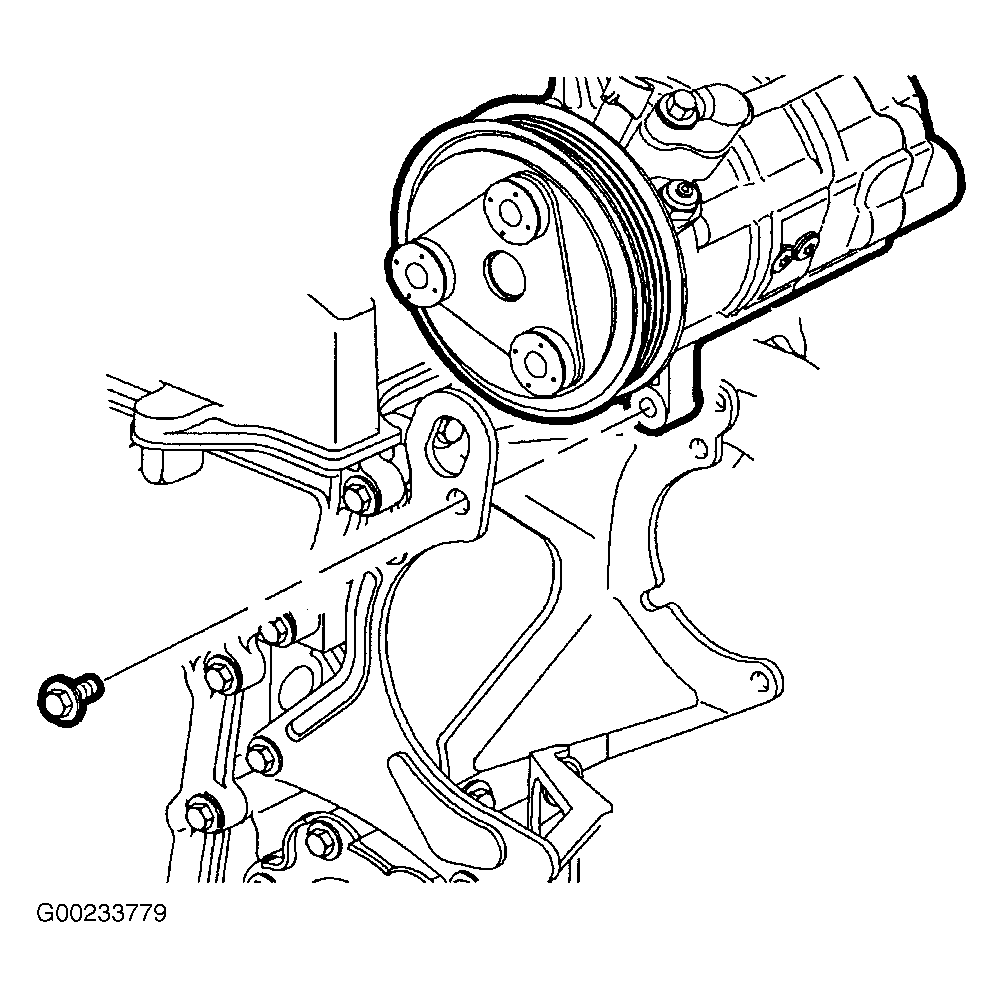
- Remove the rear A/C compressor-to-engine bracket bolts. See Figure.
- Remove the front A/C compressor-to-engine bracket bolts.CAUTION: Ensure that A/C discharge line DOES NOT change position and/or loosen at the condenser connection due to moving discharge line. Failure to ensure a tight connection will result in a system refrigerant leak.
- With the A/C lines still attached, lift the A/C compressor upward and install one front bolt through the front engine bracket top hole and bottom rear mounting ear of the A/C compressor. See Figure. Tighten the bolt so that the A/C compressor is supported by the bracket.
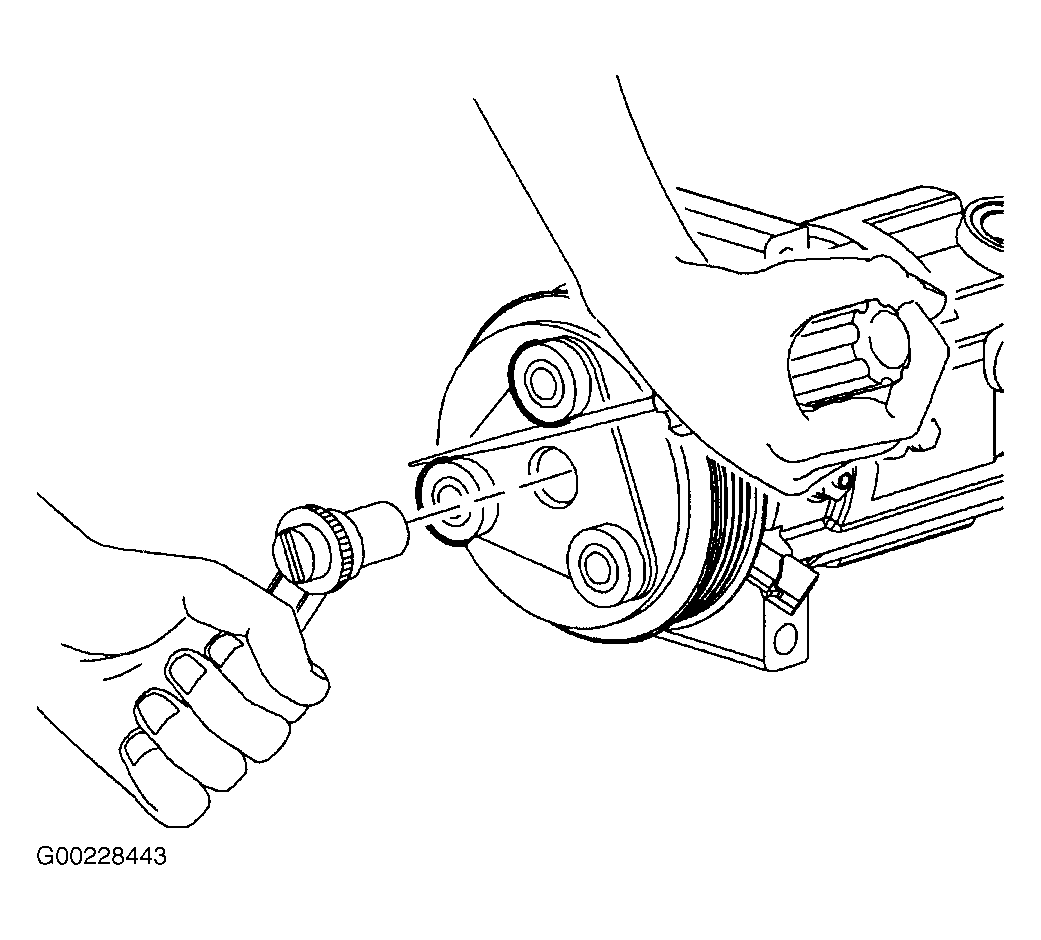
- Position a screwdriver between 2 vibration dampeners on the front of the clutch face and remove the clutch bolt. See Figure.NOTE: Be careful not to lose shims inside of the clutch drive plate opening when removing the drive plate from the compressor shaft.
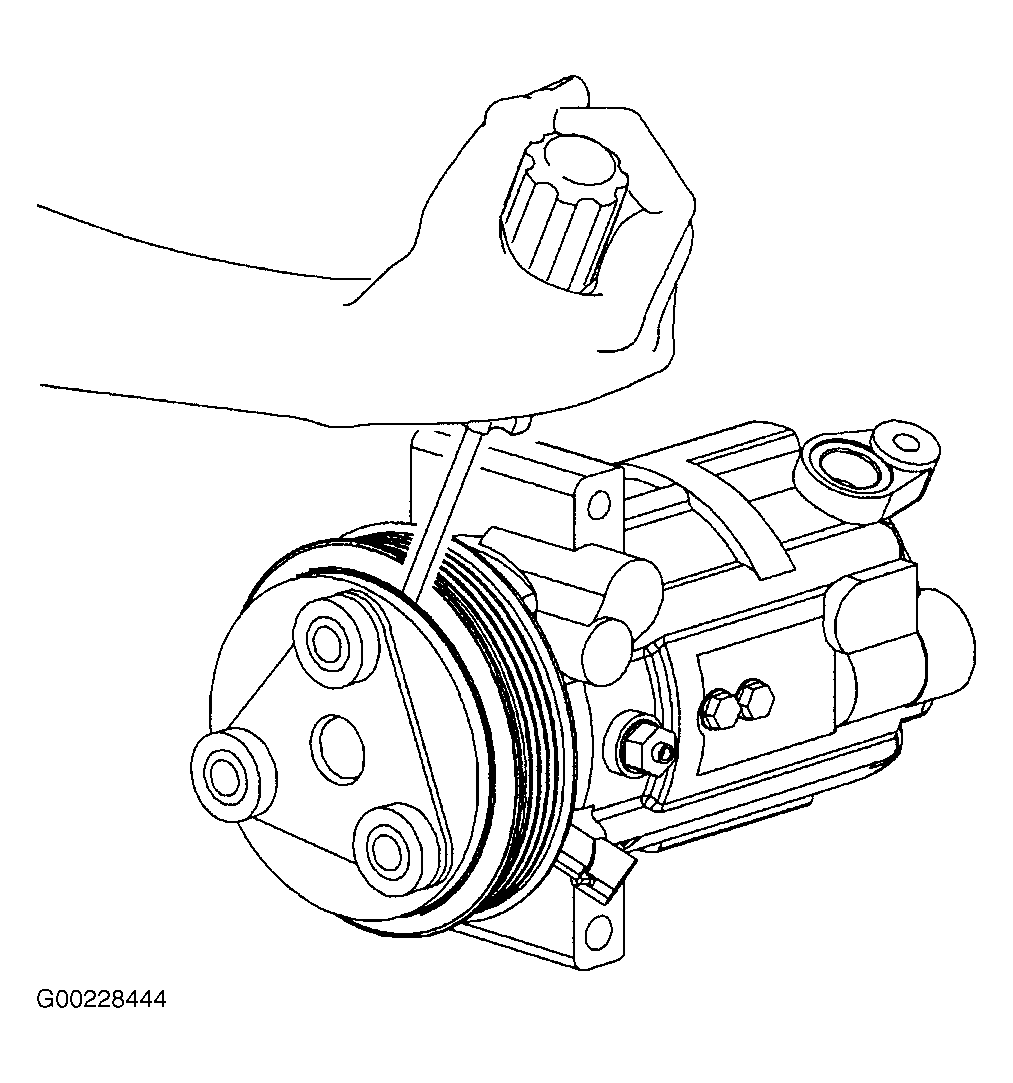
- Position the flat blade screwdriver under the clutch drive plate and pry out evenly to remove. See Figure.
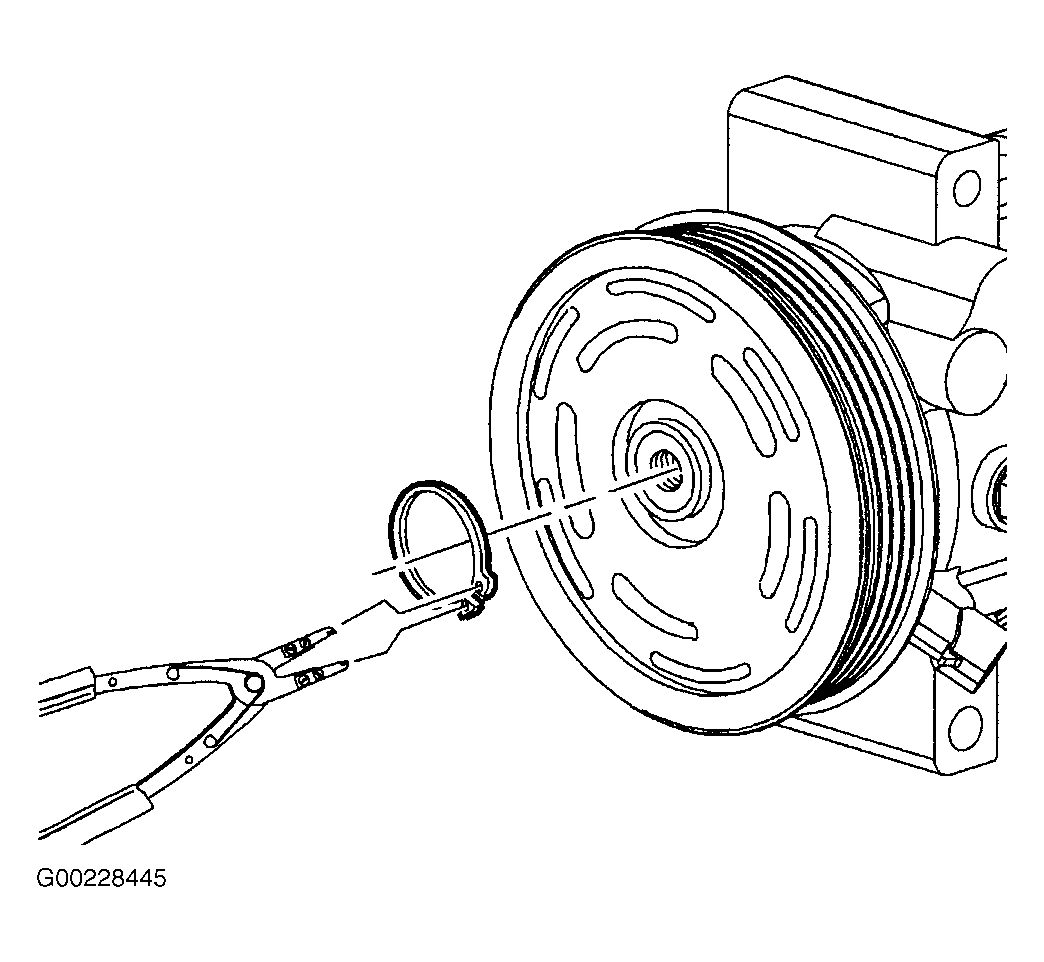
- Using external snap ring pliers, remove the snap ring. See Figure.CAUTION: DO NOT remove pulley without puller adapter. If A/C compressor shaft is pressed on, A/C compressor will be damaged.
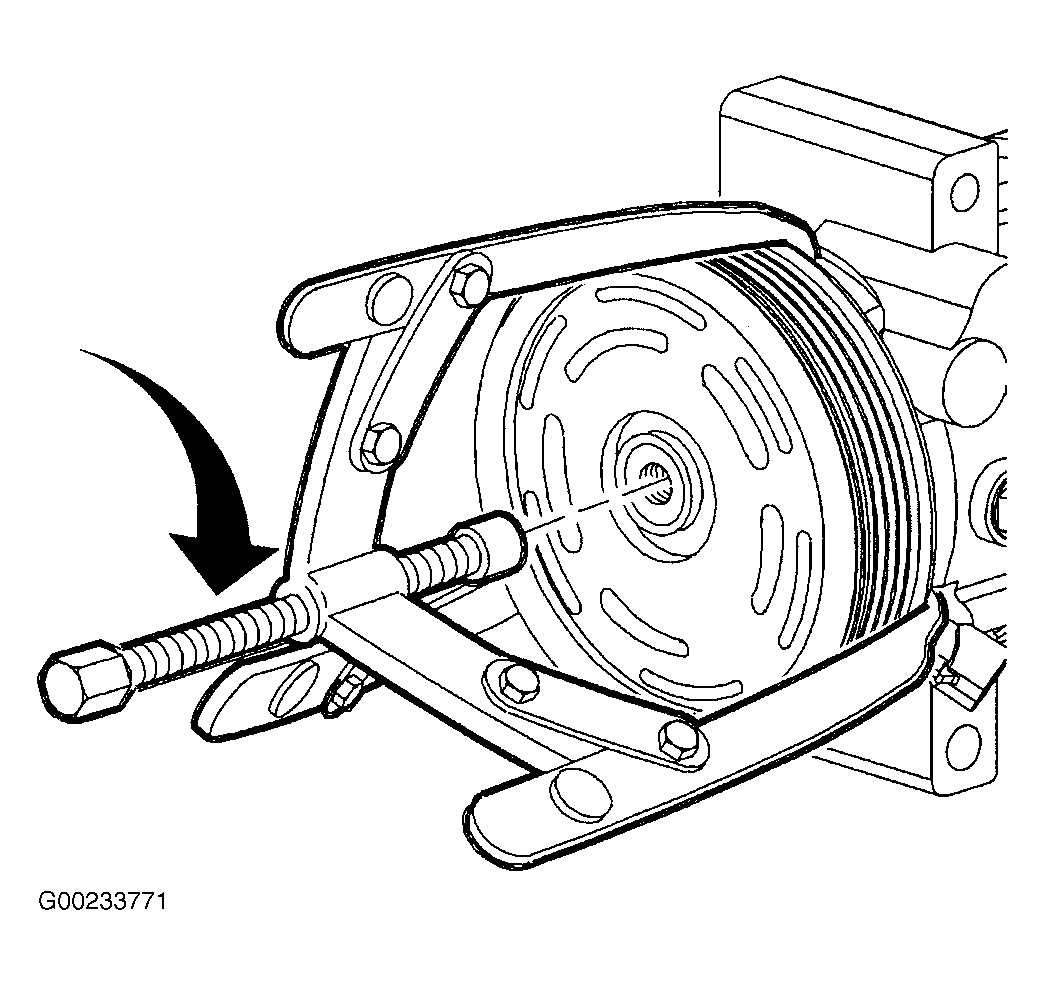
- Position the tool puller center on the end of the A/C compressor shaft.NOTE: Make sure to hook the puller jaw behind the pulley.
- Install the 3-jaw puller on the A/C compressor pulley. See Figure. Tighten the center bolt to remove the pulley assembly.NOTE: To enable easier removal of the screws, lightly tap on the end of the screwdriver with a plastic hammer.
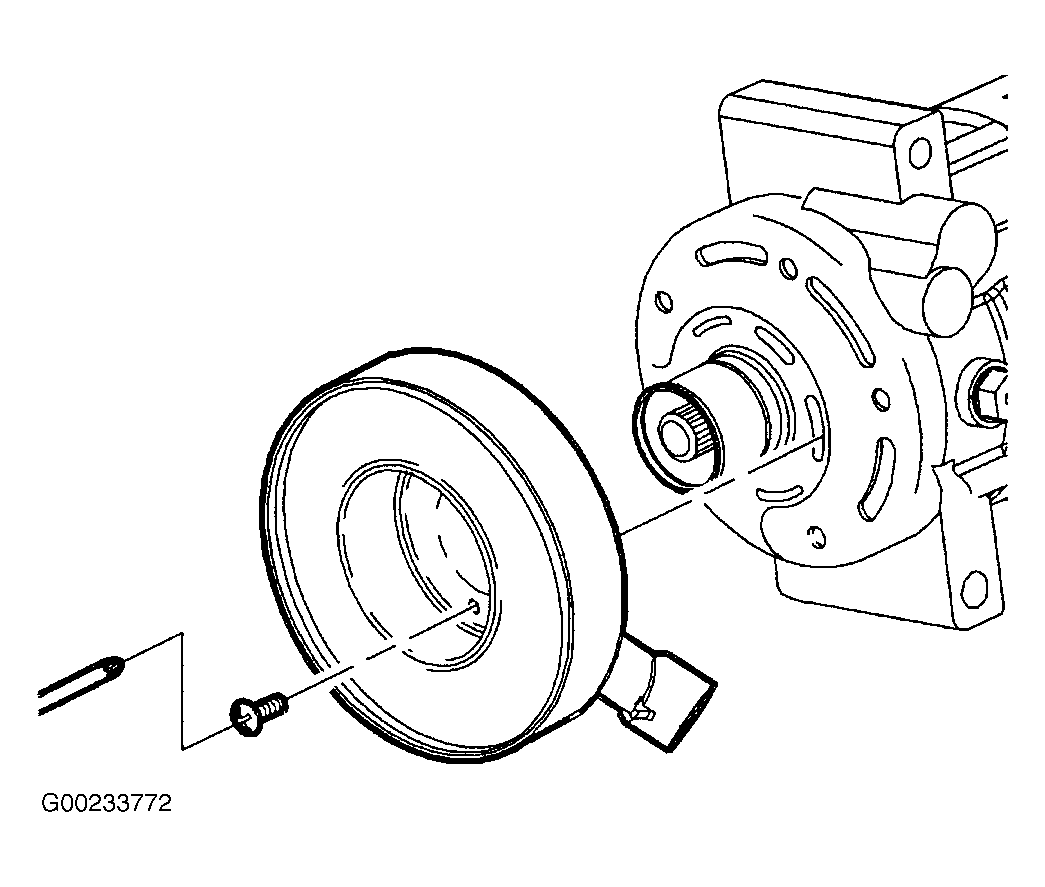
- Remove the 3 A/C compressor clutch coil screws and remove the A/C compressor clutch coil. See Figure.