Installation ("L" Series)
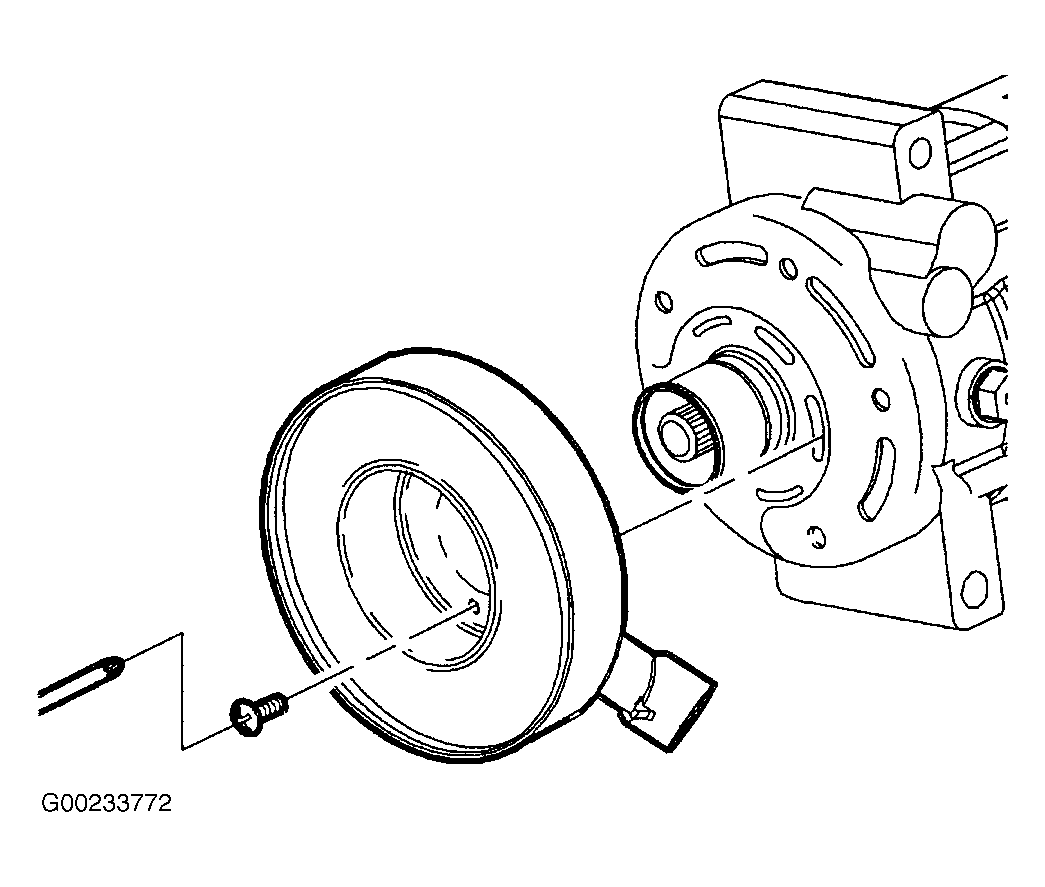
- Position the A/C compressor clutch coil so that the electrical connector is aligned with the indent in compressor front head. See Fig 5.
- Install the A/C compressor clutch coil screws. Tighten the A/C compressor clutch coil fasteners to 44 INCH Lbs. (5 N.m).
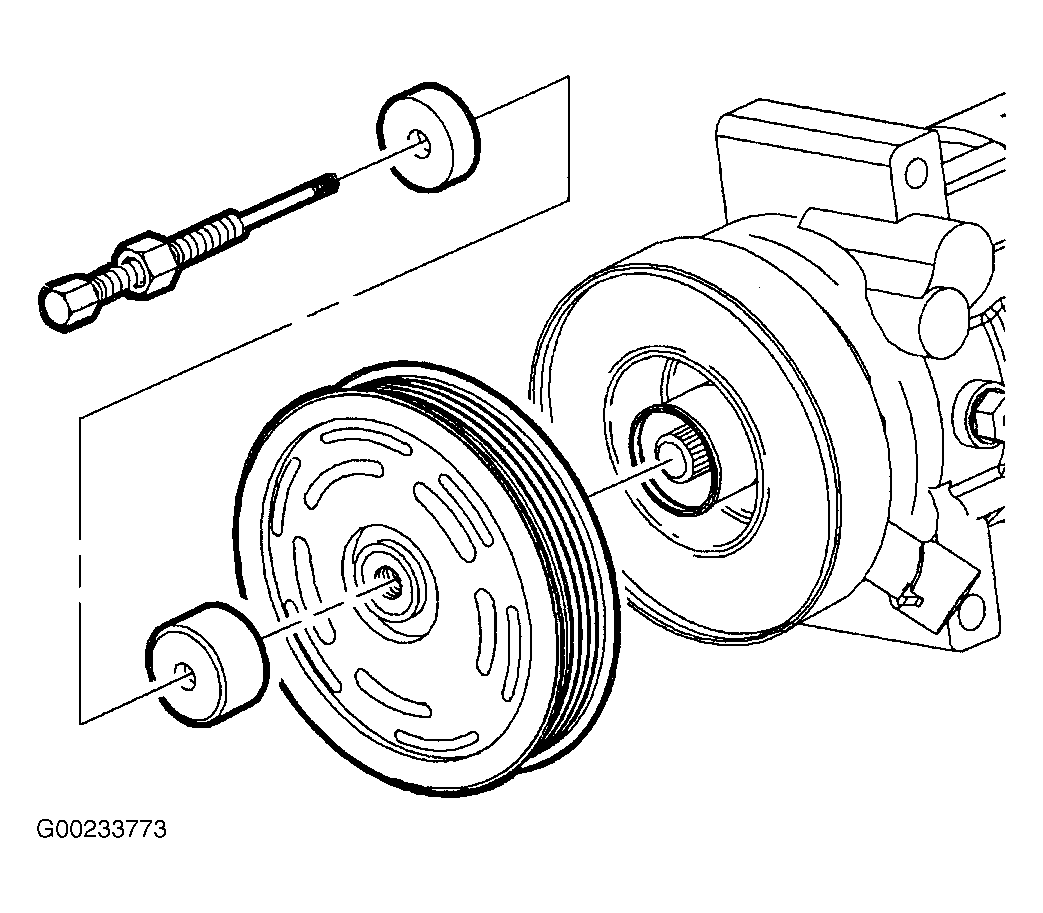
- Place the thrust bearing and the Drive Plate Installer on the installation bolt and insert through the center of the pulley. Thread the installation bolt into the end of A/C compressor shaft and hand tighten. See Fig 6.
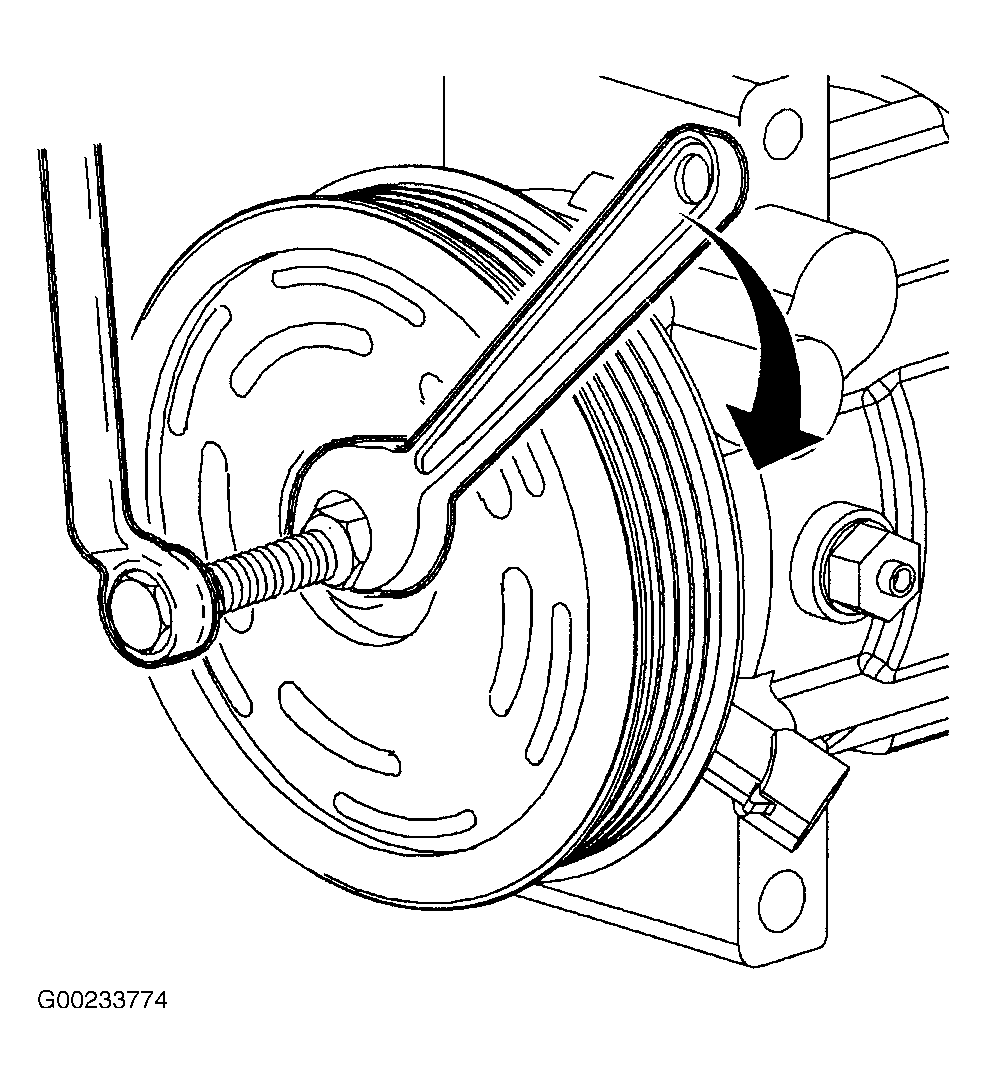
- Hand tighten nut on the installation bolt to align the pulley to the A/C compressor. While holding the end of bolt, tighten the nut until the pulley bottoms out on the A/C compressor. See Fig 7.
- Loosen the nut and remove the pulley installation bolt.
- Install the snap ring with the tapered side out using the snap ring pliers.
- Install the shims removed from the old drive plate into the clutch drive plate and install it onto the compressor shaft.
- Install the drive plate bolt.
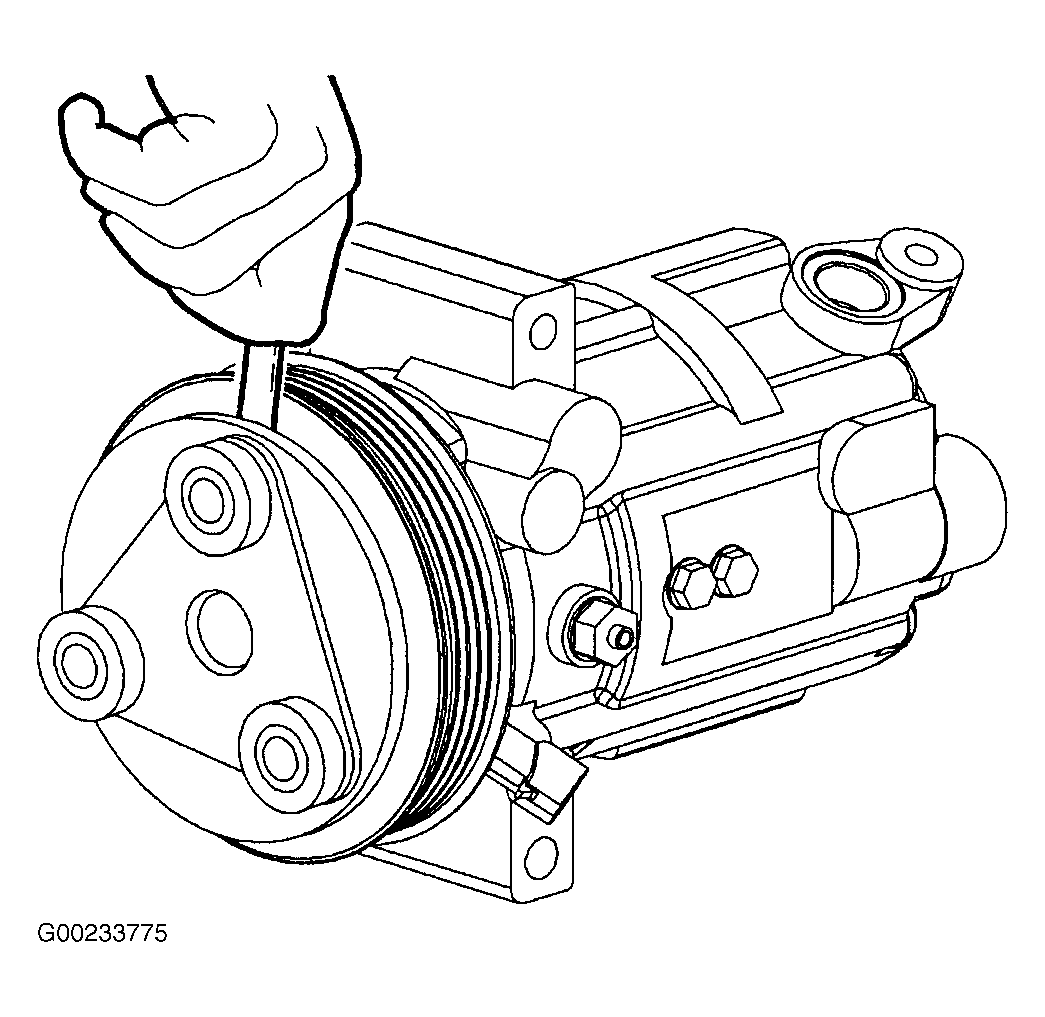
- Using a screwdriver to hold drive plate, tighten the drive plate bolt. Tighten the A/C compressor clutch plate bolt to 106 INCH Lbs. (12 N.m).
- Using a feeler gage, inspect to ensure the clearance is 0.012-0.024" (0.3-0.6 mm). See Fig 8.
- If necessary, adjust the clearance by adding shims provided with the clutch. After installing the shims, re-install the drive plate and verify the proper clearance.
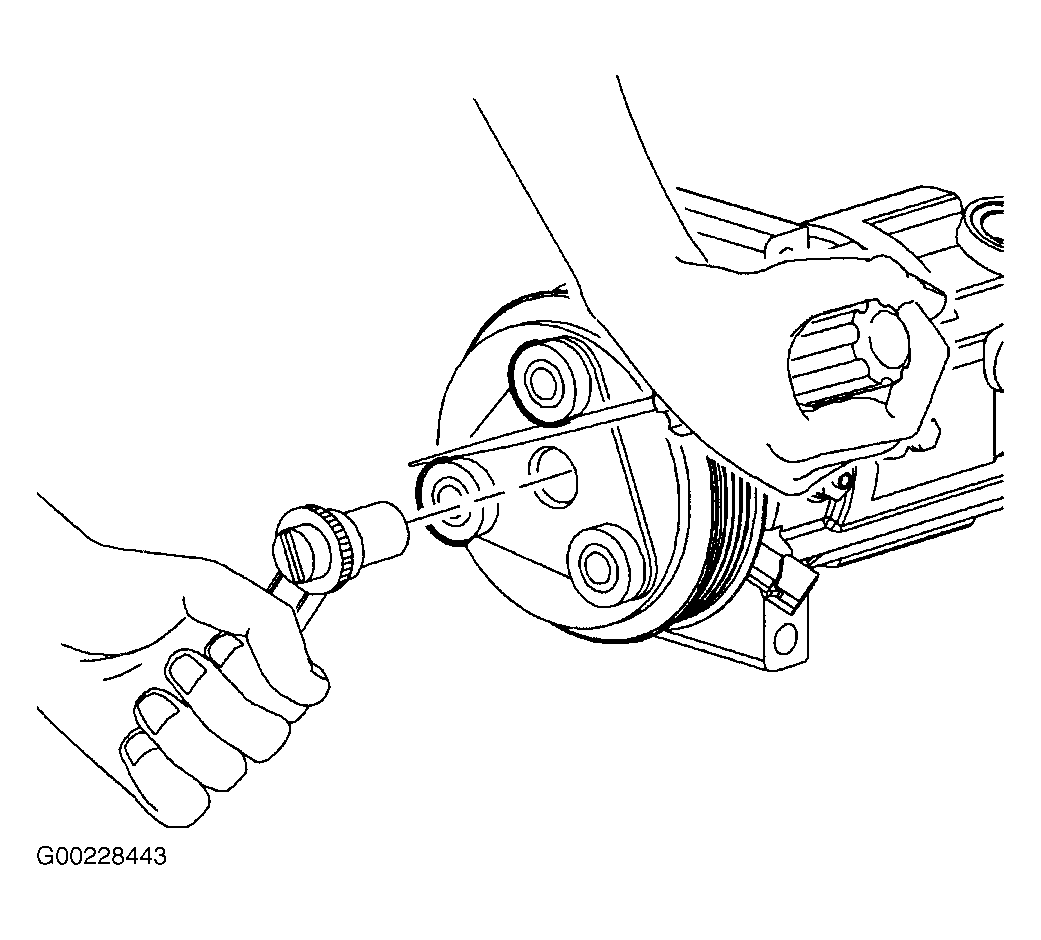 Courtesy of GENERAL MOTORS CORP.
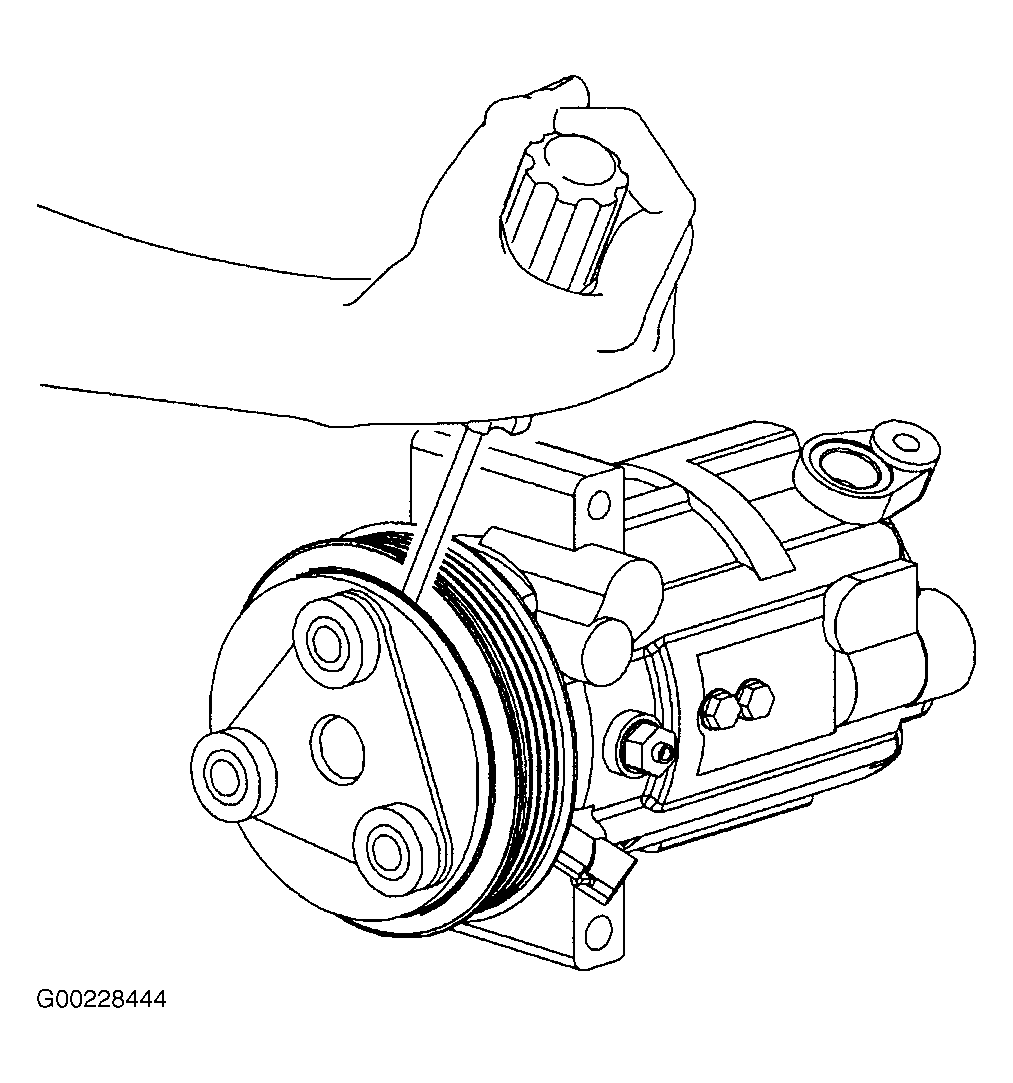 Courtesy of GENERAL MOTORS CORP.
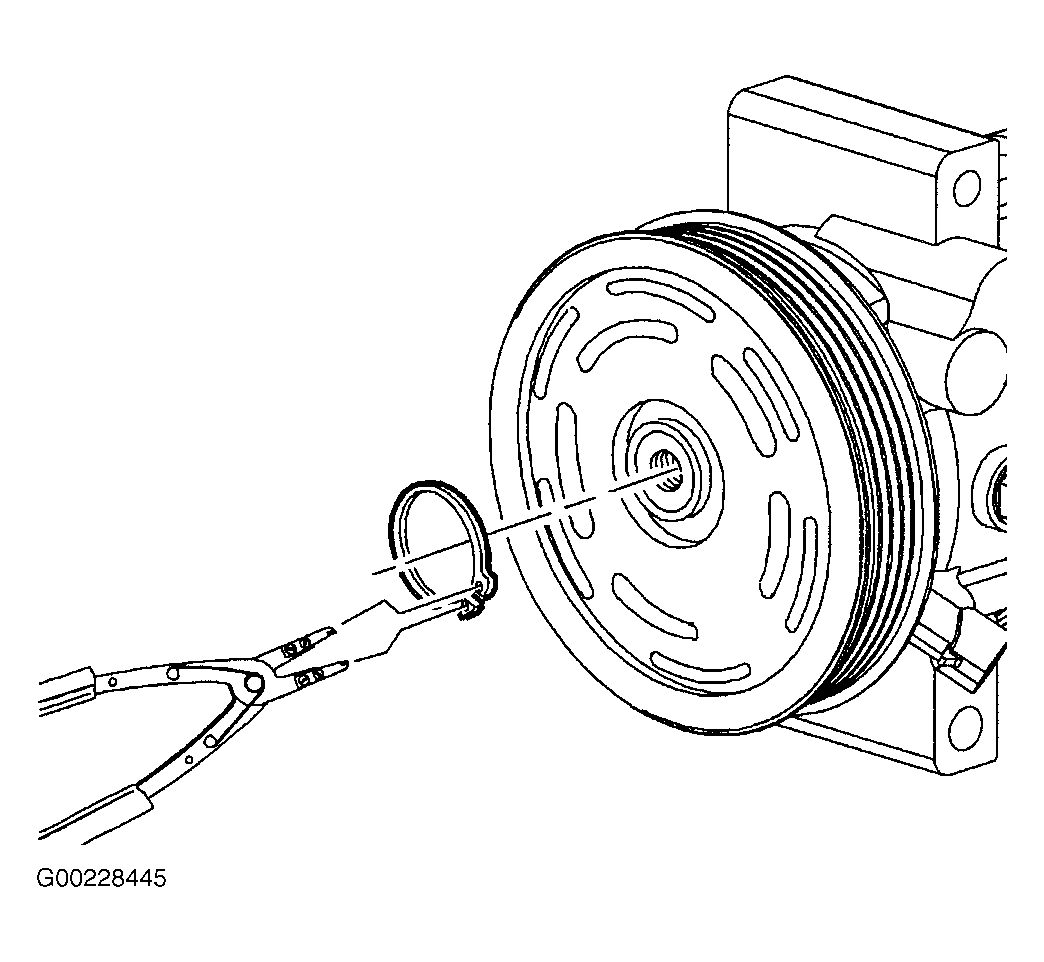 Courtesy of GENERAL MOTORS CORP.
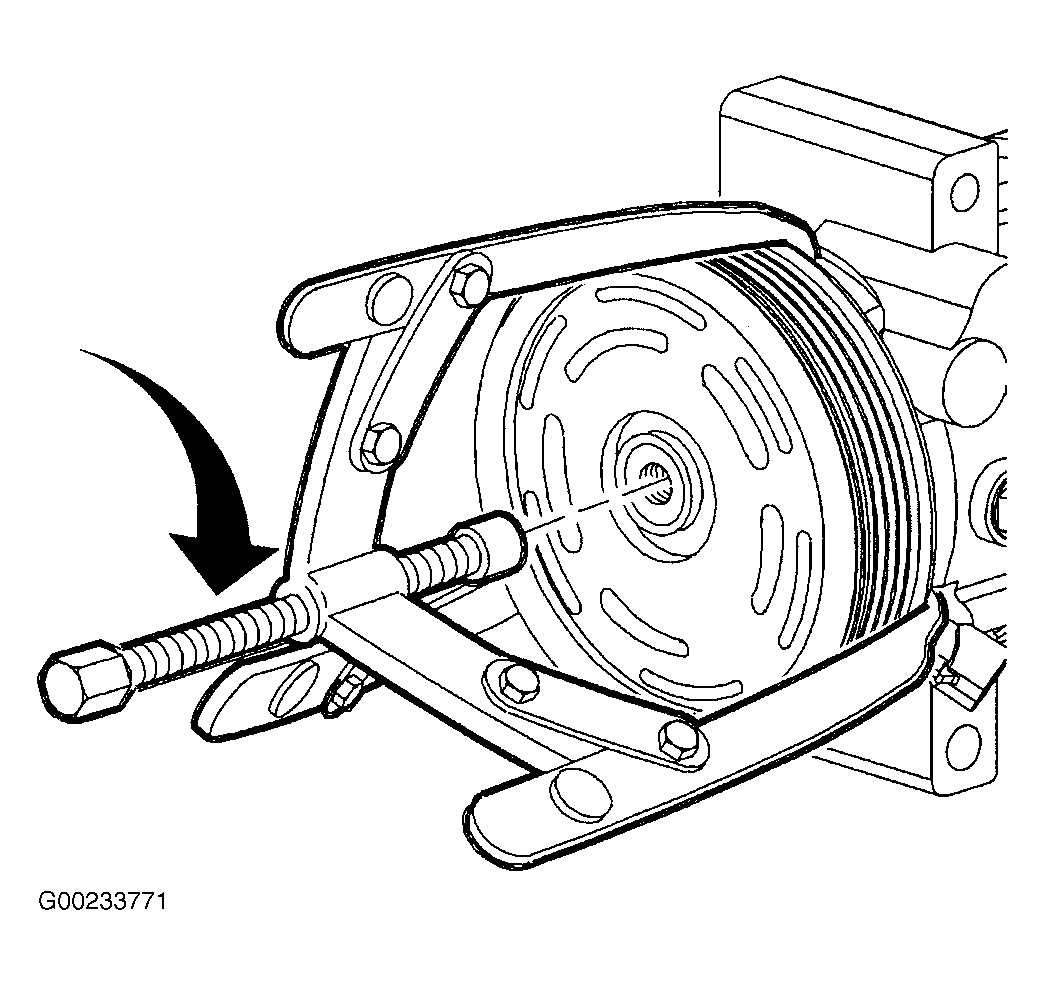 Courtesy of GENERAL MOTORS CORP.
 Courtesy of GENERAL MOTORS CORP.
 Courtesy of GENERAL MOTORS CORP.
 Courtesy of GENERAL MOTORS CORP.
 Courtesy of GENERAL MOTORS CORP.