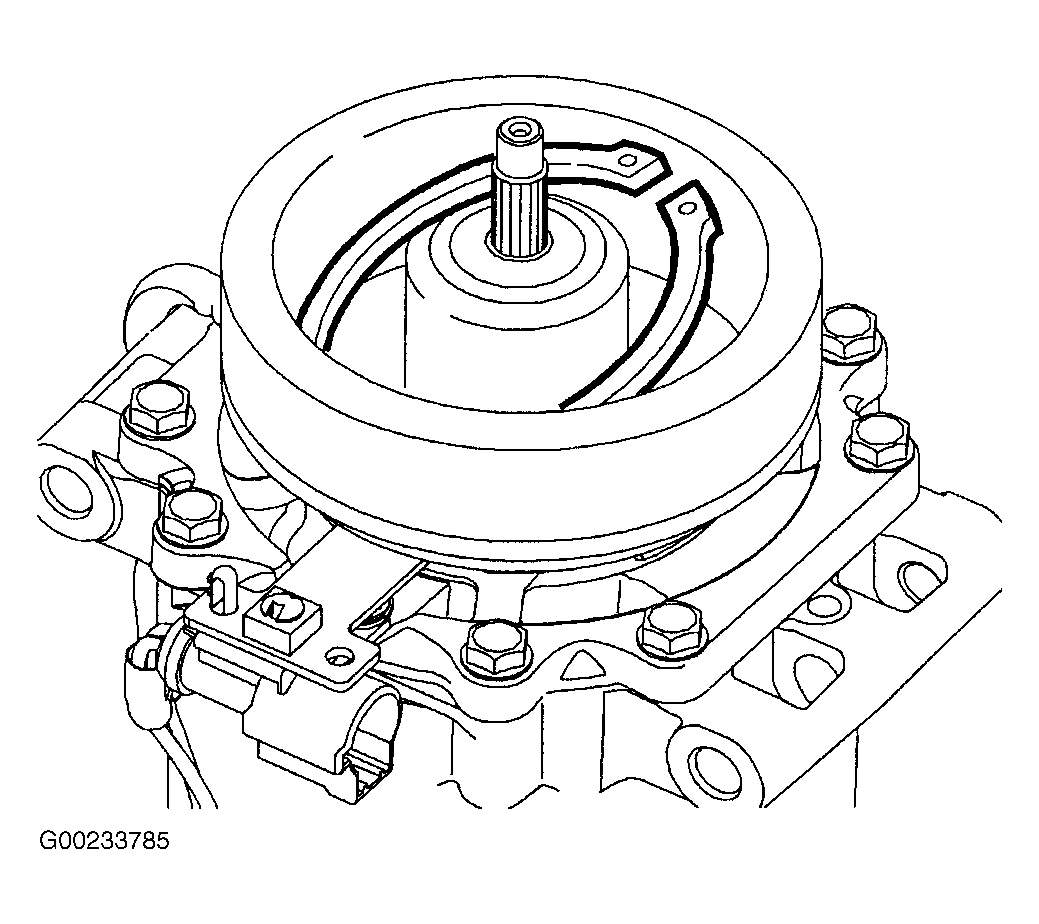
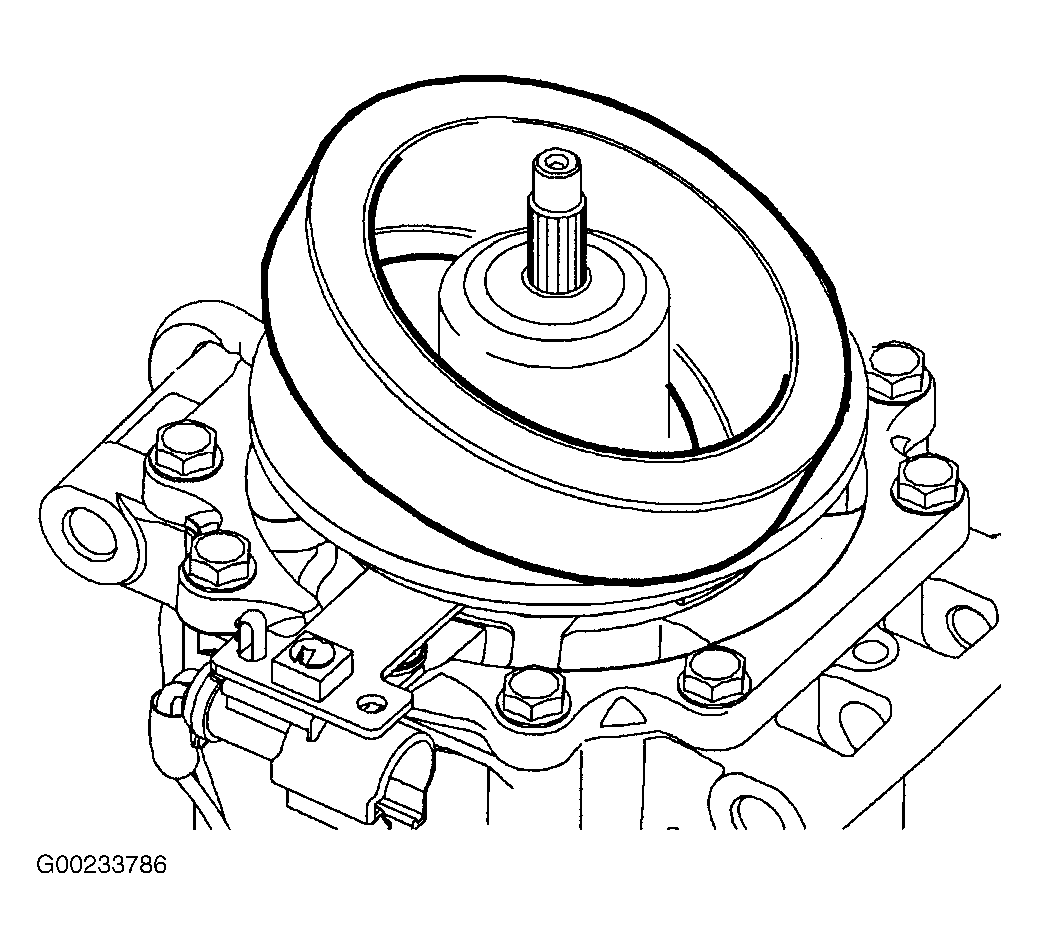
- Clean the mounting surfaces on the A/C clutch field coil and pulley.
- Install the A/C clutch field coil.
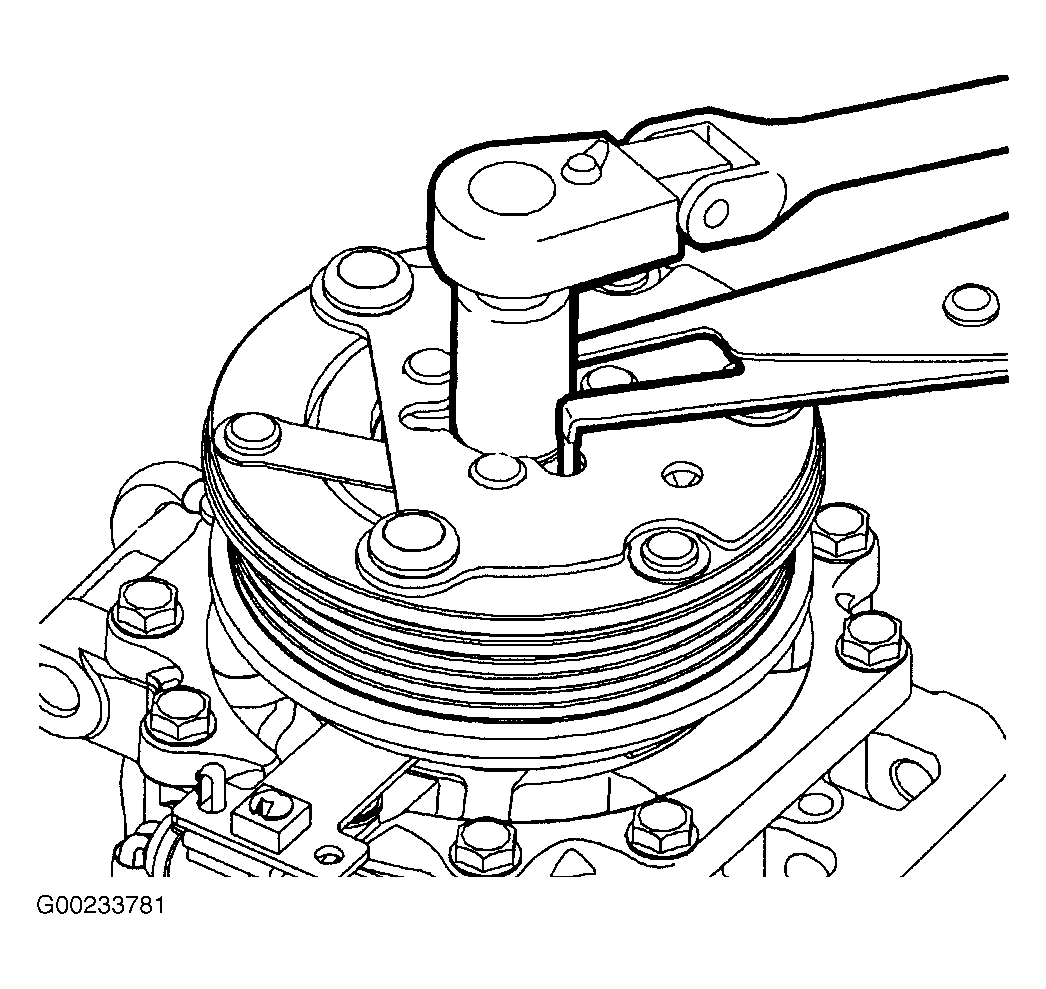
- Use the snap ring pliers to install the field coil snap ring with the bevel side out.
NOTE:
It is important to use Saturn Sealant P/N 22681632 as a thermal conductive material. Failure to use this sealant may affect the function of the switch.
- Clean the thermal switch pocket if necessary.
- Apply thermal switch sealant approximately the size of a pea into the switch pocket.
- Install the thermal switch by pushing the switch into place and wetting out the sealant, while holding the switch in place. Wipe away any excess sealant.
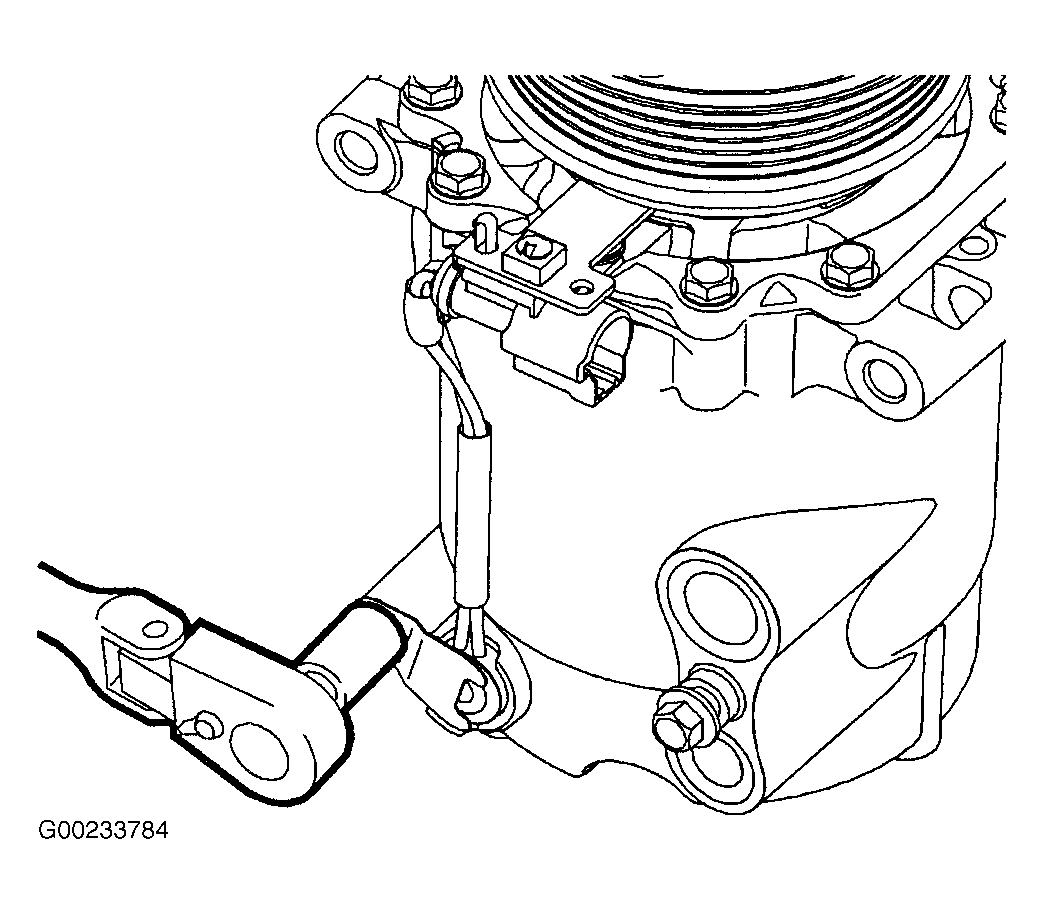
- Install the thermal switch hold-down bracket and bolt. Tighten the bolt to 53 INCH Lbs. (6 N.m).
NOTE:
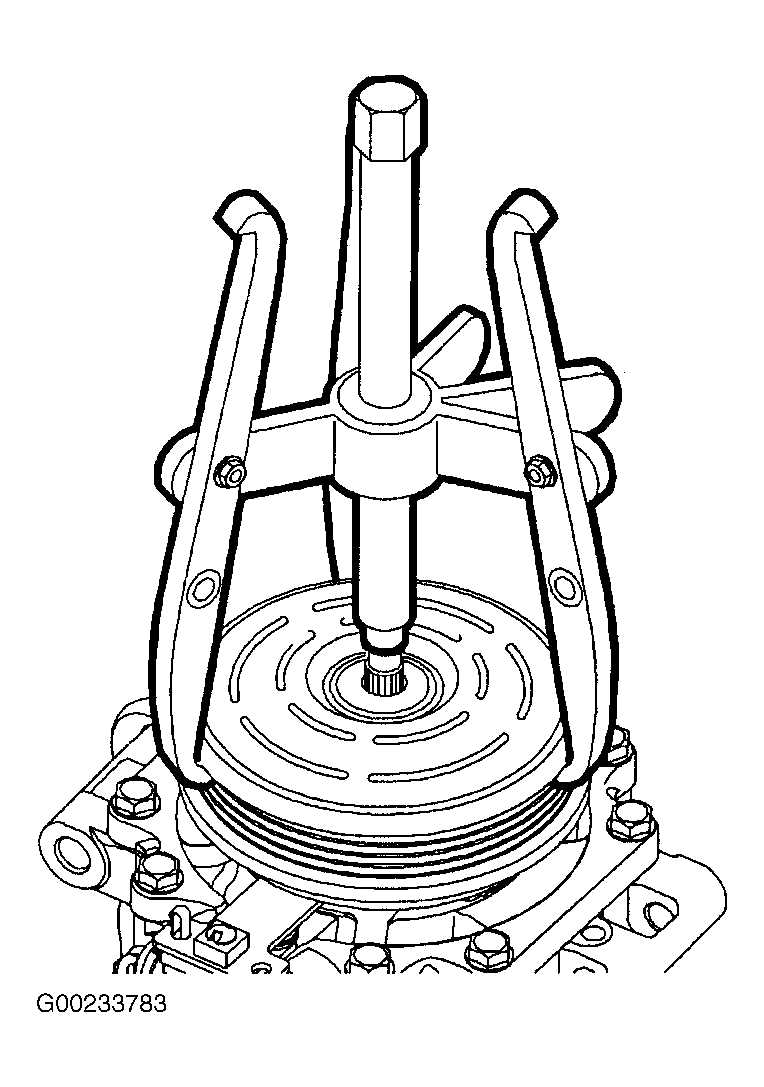
The A/C clutch bearing and pulley is a slip fit on the compressor. If correctly aligned the pulley should slip on easily. If difficulty is encountered, install using the pulley installer tool.
- Use clutch pulley installer to align the clutch bearing/pulley assembly over the hub. Gently tap on the assembly to install.
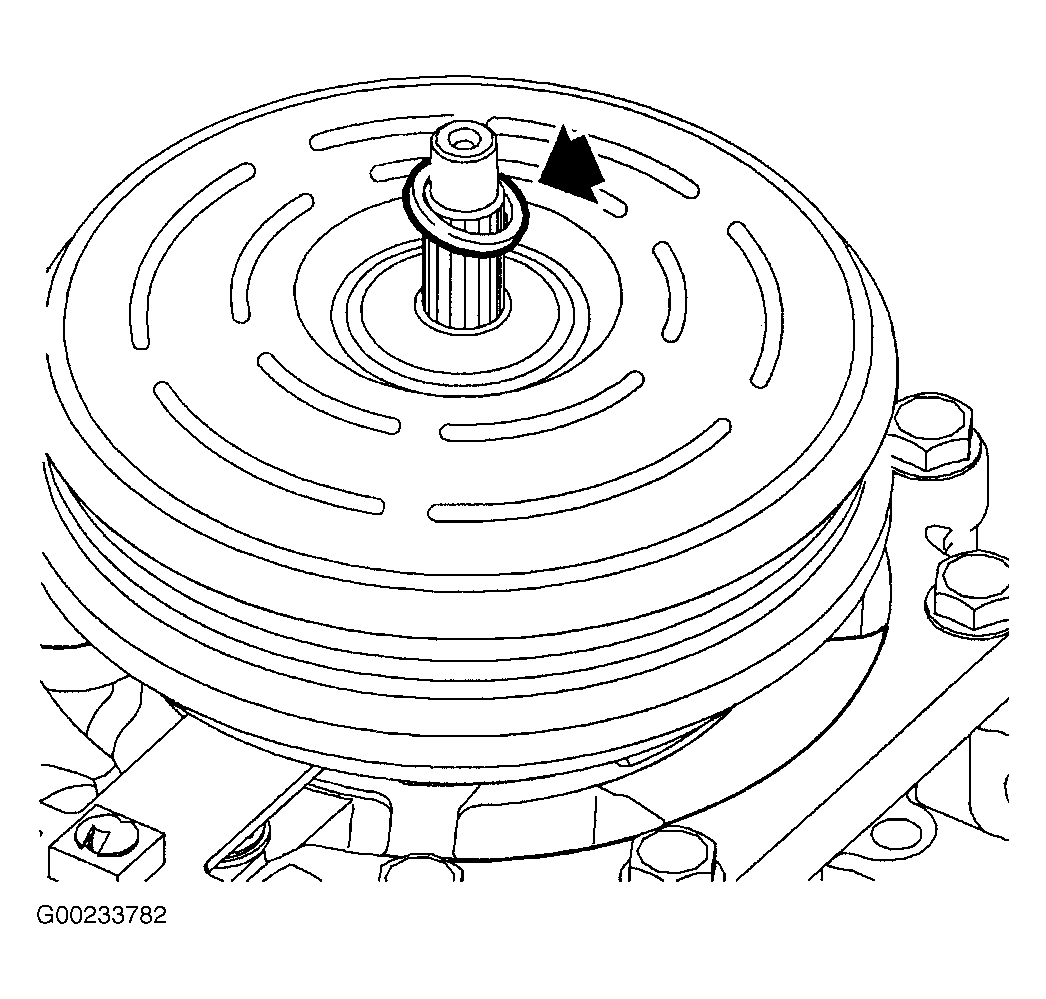
- Use snap ring pliers to install the pulley snap ring with the bevel side out.
- Install the spacer.
NOTE:
Align the block tooth on the disk and hub assembly with the groove in the shaft.
- Install the drive plate and nut. Use the old nut to evaluate the clearances.
- Using a feeler gauge, verify that the clearance is 0.014-0.030" (0.35-0.75 mm).
- If necessary, adjust the clearance by adding or removing clutch hub spacers.
- Once the correct air gap is obtained, install a NEW clutch nut. Use clutch holding tool to hold the disk and hub assembly while tightening the nut to 14 Ft. Lbs. (19 N.m).
- Install the compressor. See COMPRESSOR
under REMOVAL & INSTALLATION in VUE article in MANUAL A/C-HEATER SYSTEMS.
- Evacuate and charge the refrigerant system. See RECOVERY/EVACUATION & RECHARGING
in GENERAL SERVICING PROCEDURES article in GENERAL SERVICING.
- Leak test the fittings. See LEAK TESTING
in GENERAL SERVICING PROCEDURES article in GENERAL SERVICING.