Differential Case: Installation
All Vehicles
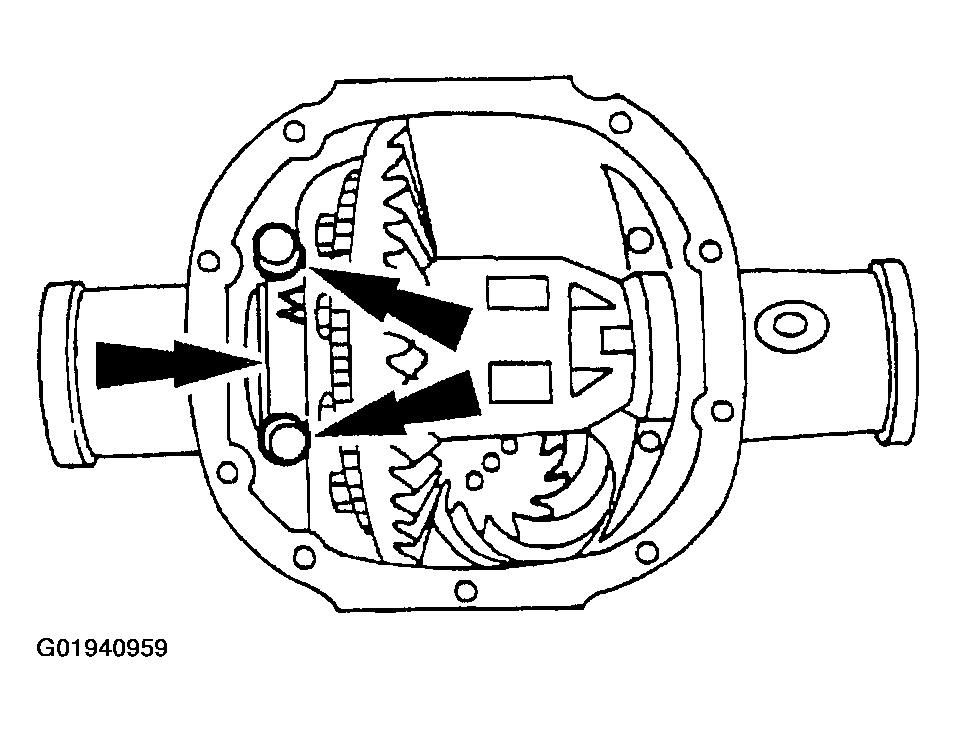
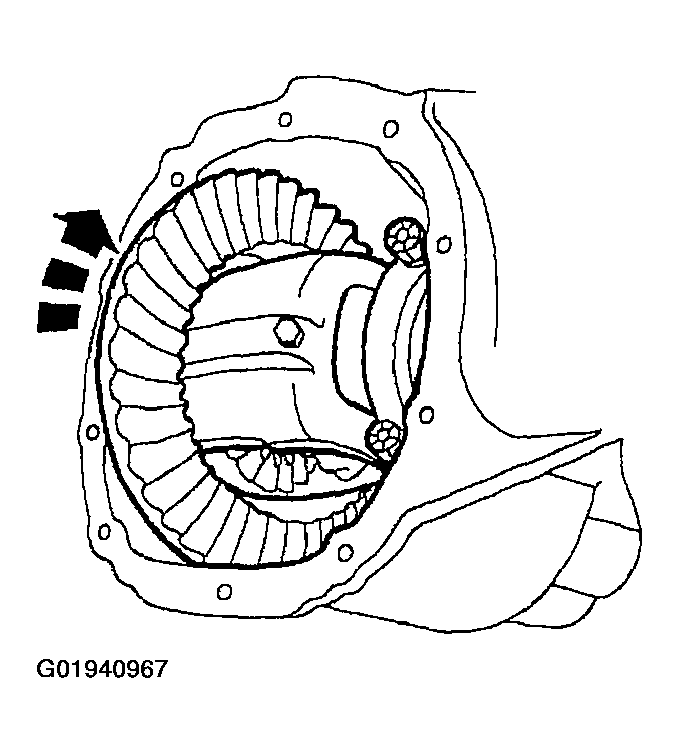
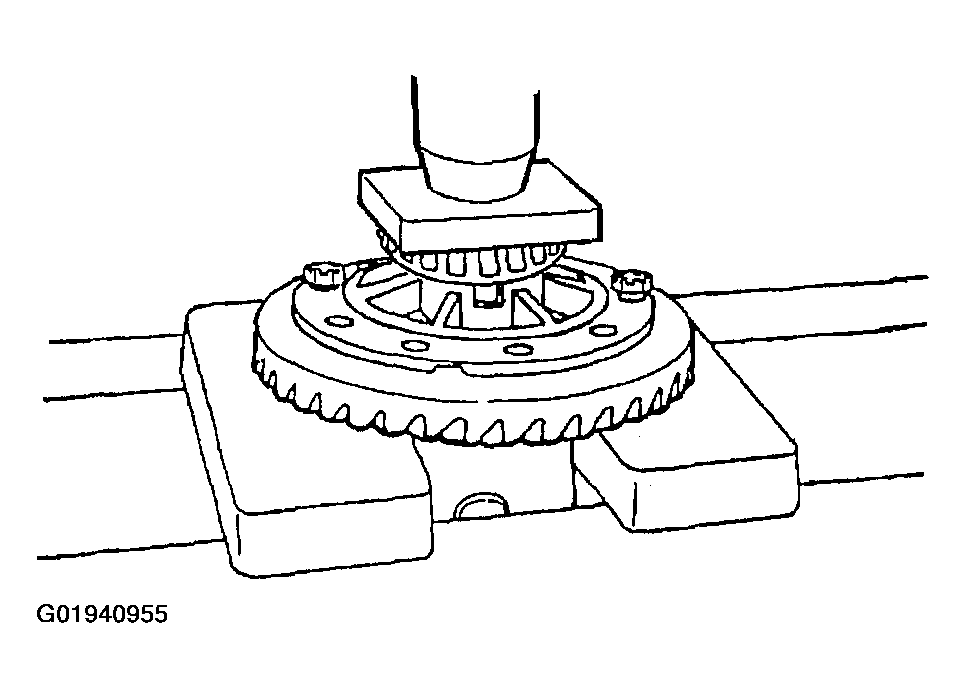
- Position the differential ring gear and the differential case. Align the bolt holes by starting two bolts through the holes in the differential case and the differential ring gear. Press the differential ring gear on the differential case.
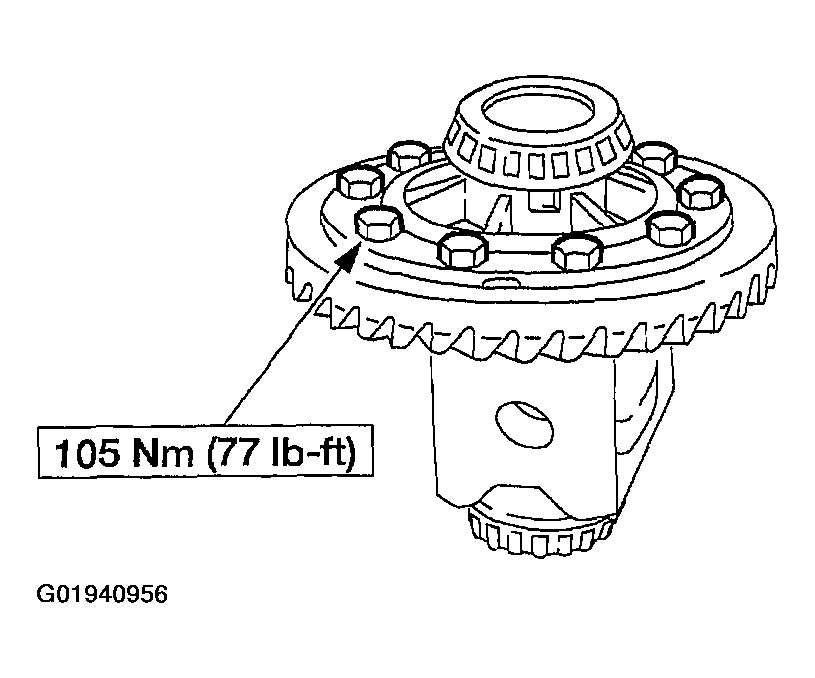
- Install the bolts.
- Apply Stud and Bearing Mount E0AZ-19554-BA or equivalent meeting Ford specification WSK-M2G349-A1 to the bolt threads.
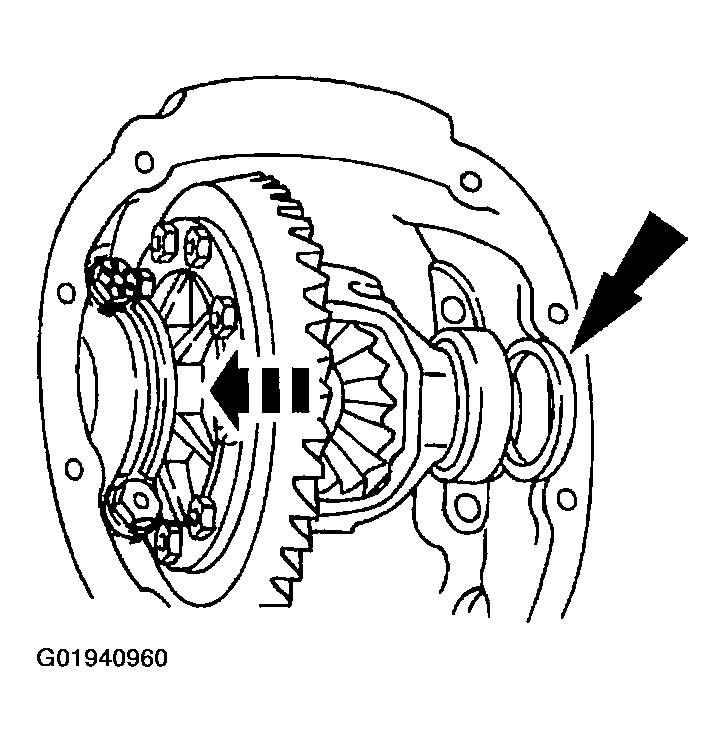
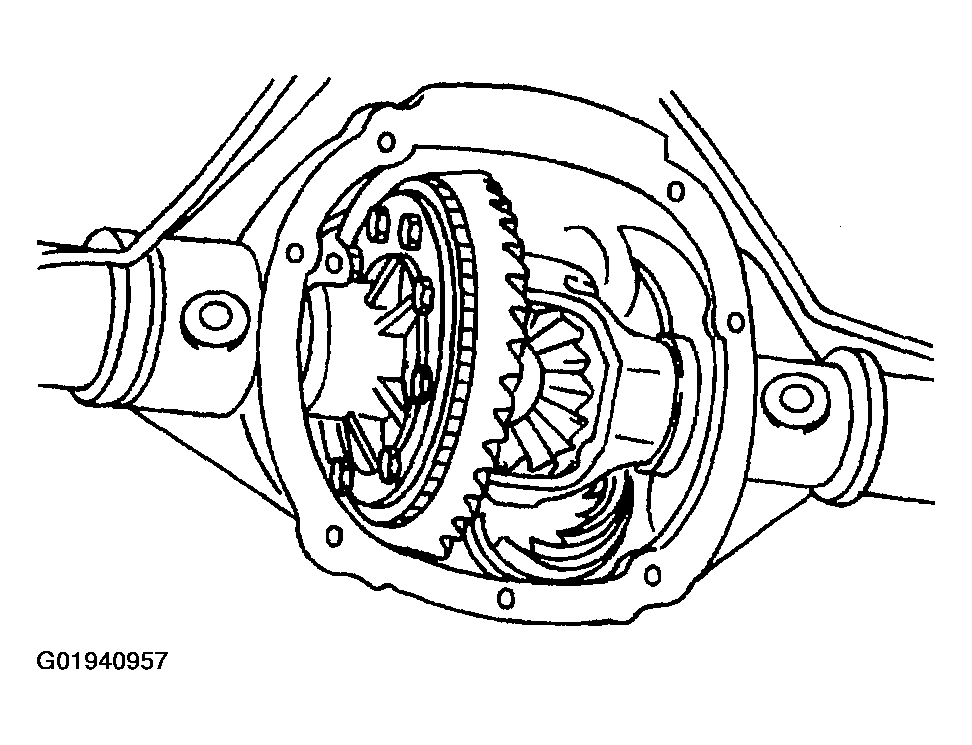
- With the pinion depth set and pinion installed, place the differential assembly in the differential housing.
- Install a differential bearing shim on the left side.
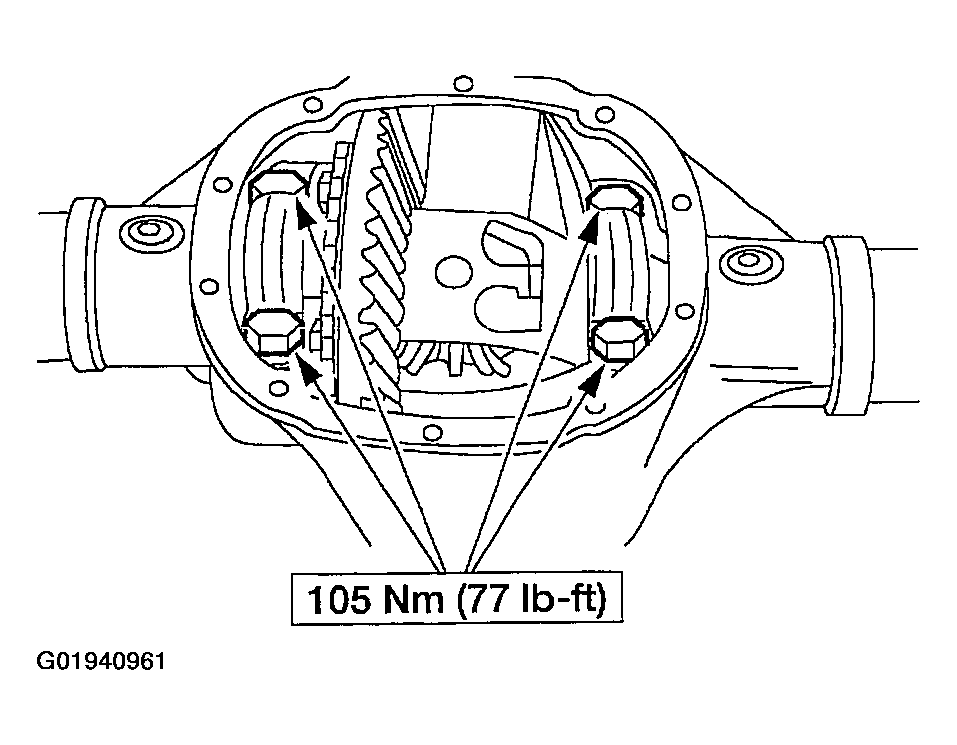
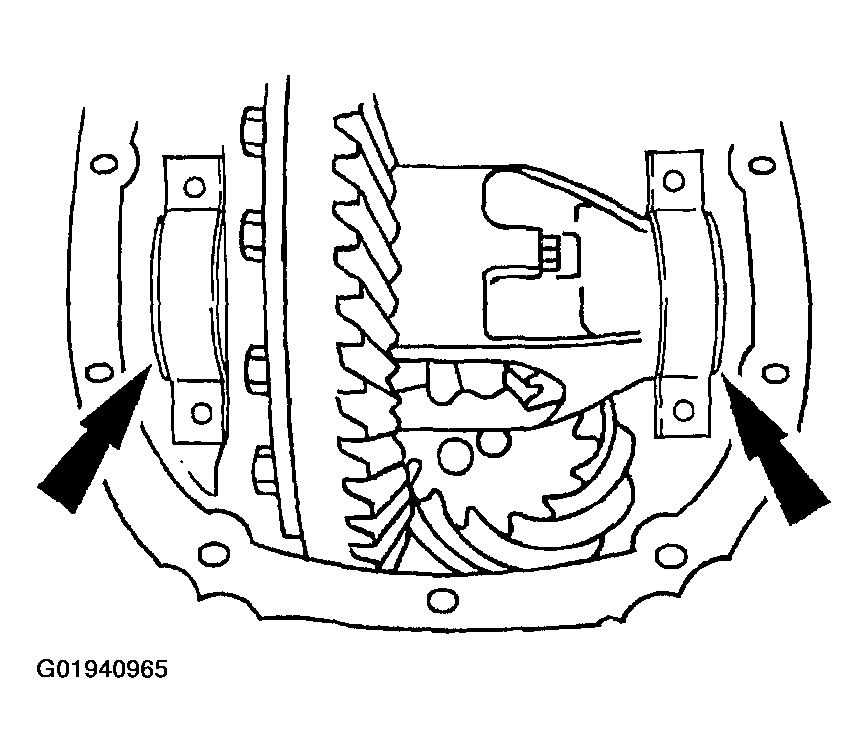
- Install the left differential bearing cap and loosely install the bolts.
- Install progressively larger differential bearing shims on the right side until the largest shim selected is installed by hand.
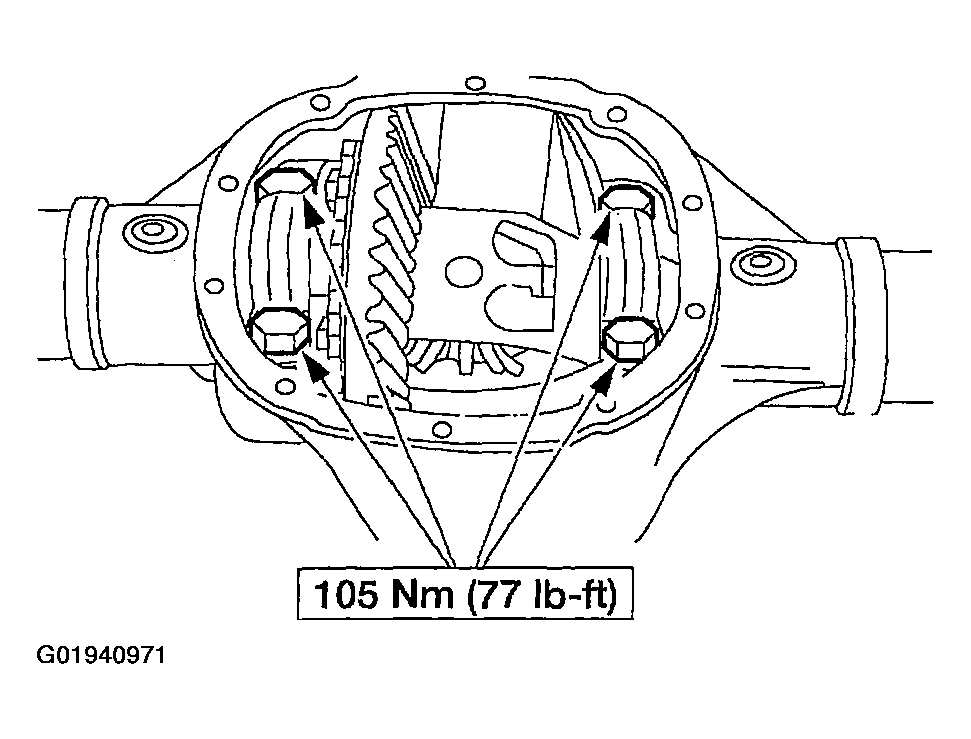
- Install the right side differential bearing cap and tighten the left side and right side bolts to specification.
- Rotate the differential case to make sure it turns freely.
Measuring Backlash
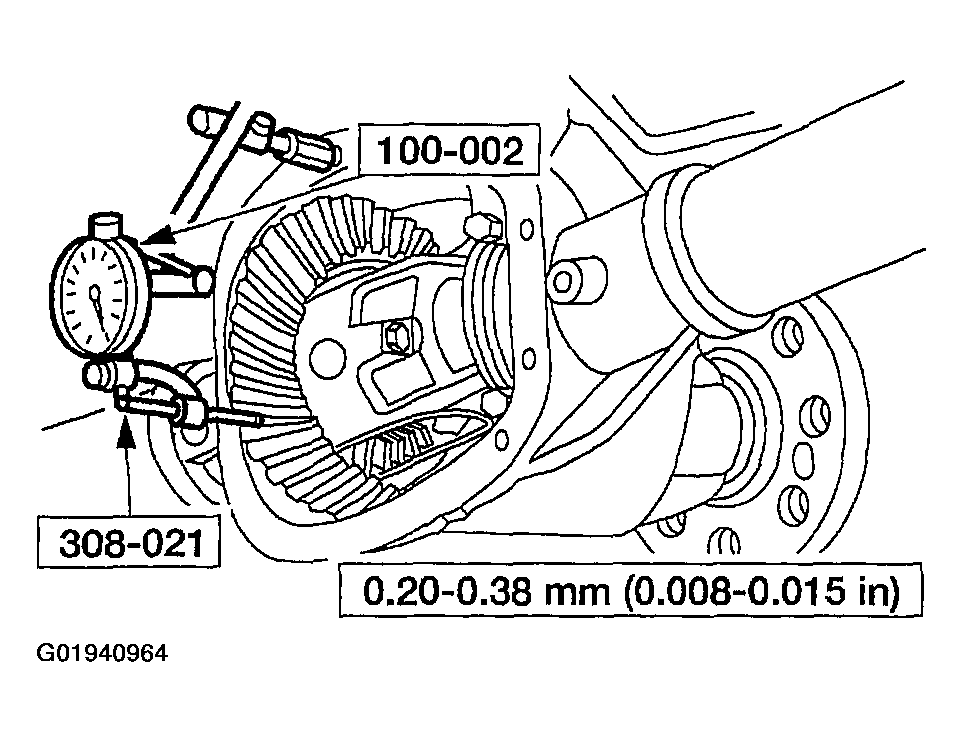
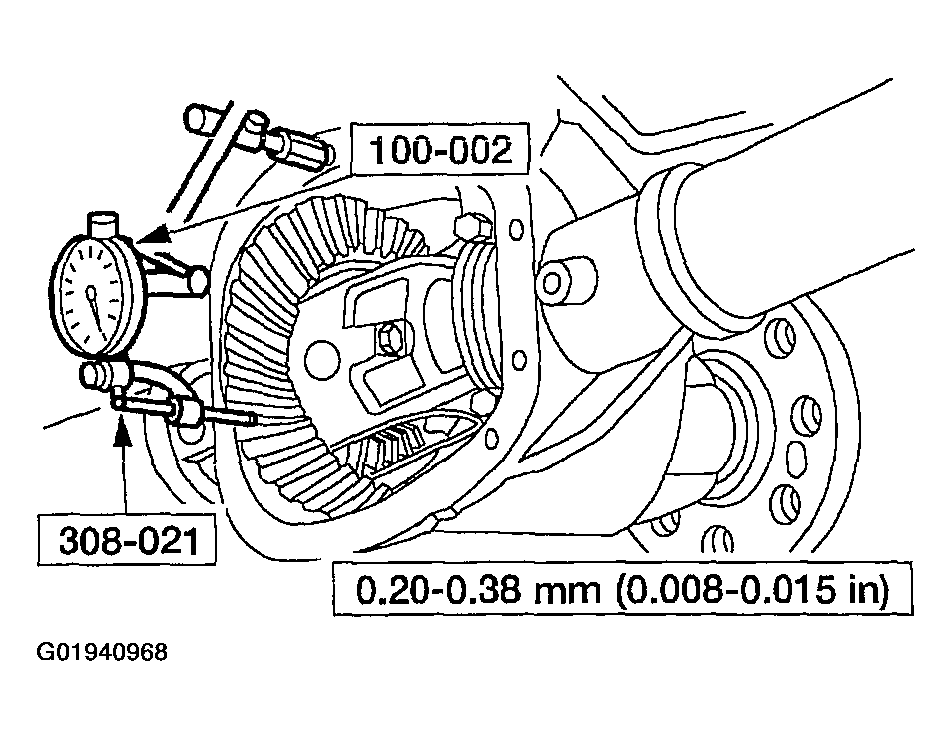
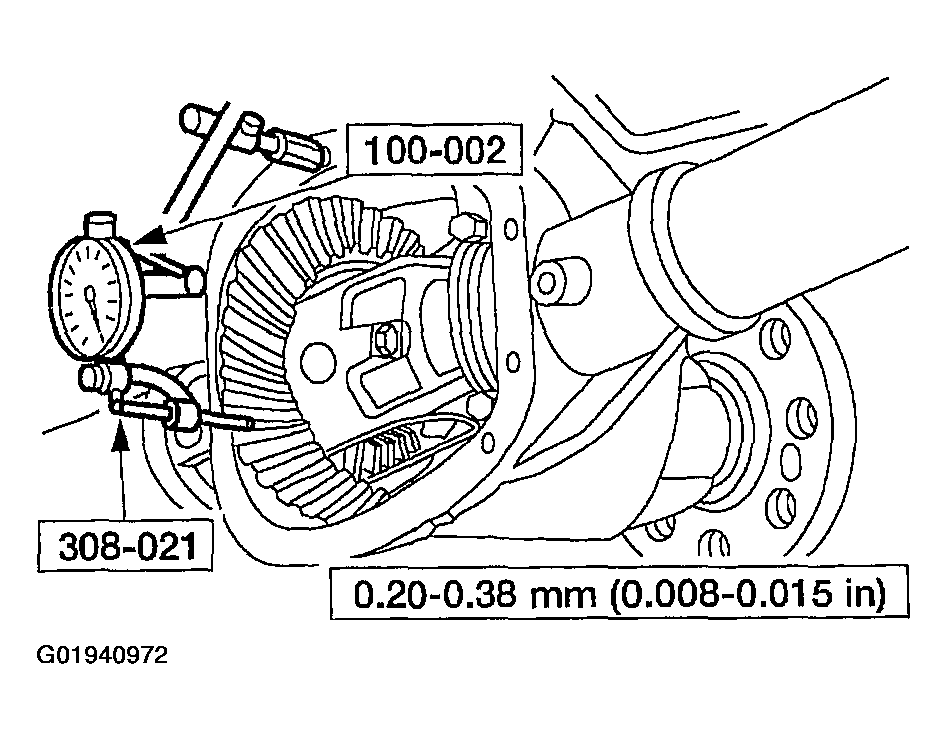
- Using the special tools, measure and note the differential ring gear backlash.
- If backlash is within the specification, See Fig 10 . The specification shown is the full allowable range. For the preferred range, refer to SPECIFICATIONS .
- If a zero backlash condition occurs, refer to Zero Backlash.
- If backlash is not within the specification, refer to Backlash Not Within Specification.
Zero Backlash
- If a zero backlash condition occurs, add 0.51 mm (0.020 inch) to the RH side and subtract 0.51 mm (0.020 inch) from the LH side to allow backlash indication. Measure the backlash. Refer to Measuring Backlash.
Backlash Not Within Specification
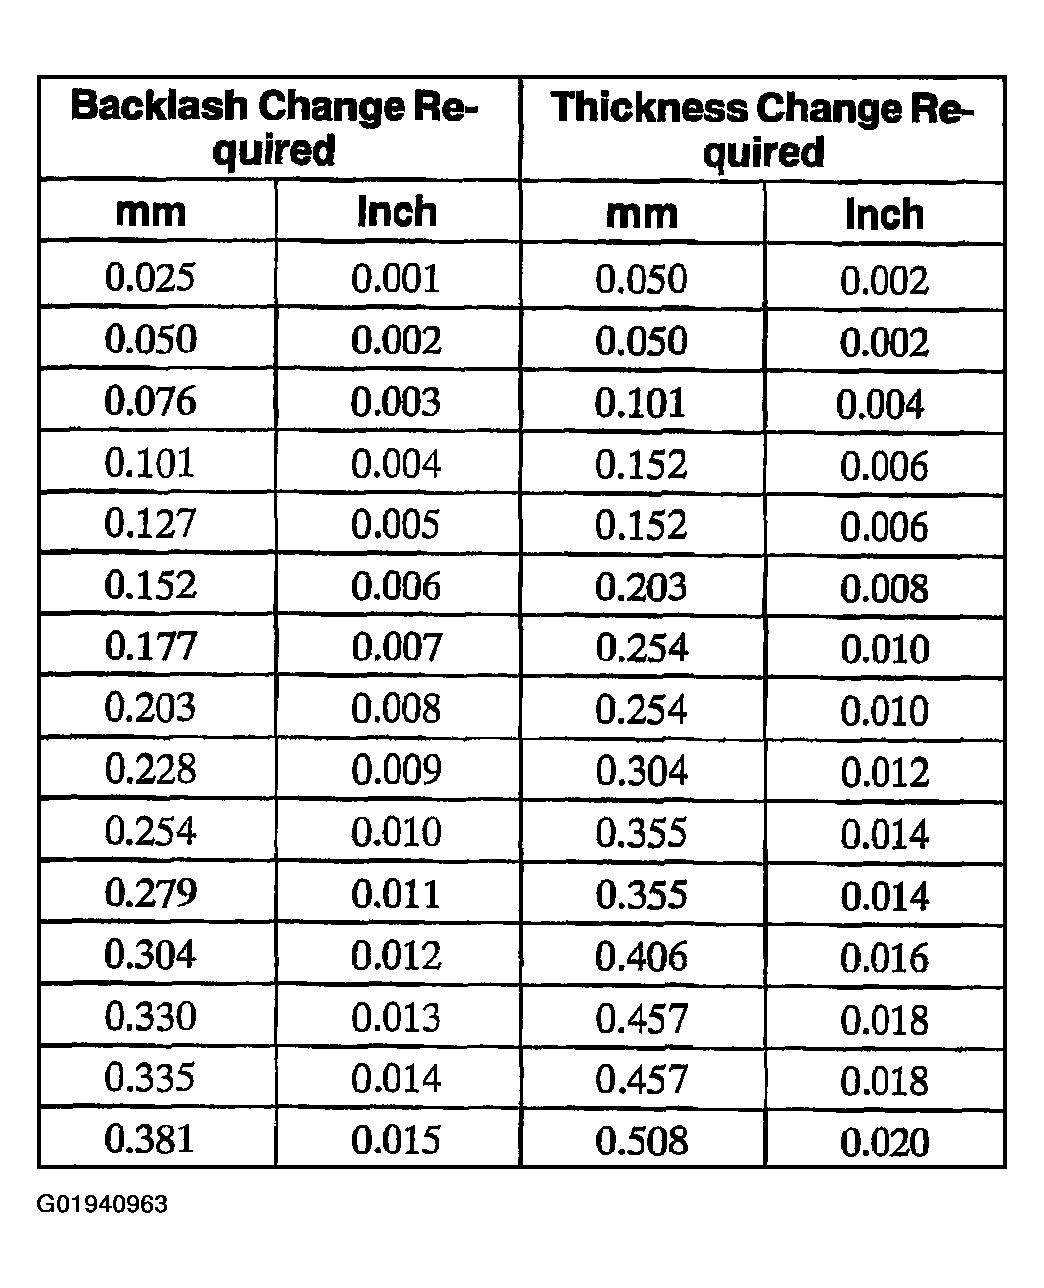
- To increase or decrease backlash, remove the differential bearing caps and install a thicker shim and a thinner shim accordingly.
- If backlash is not within the specification, increase the thickness of one differential bearing shim and decrease the thickness of the other differential bearing shim by the same amount.
- Rotate the differential assembly several times to verify that the differential bearings seated correctly.
- Using the special tools, recheck the backlash.
- If backlash is within the specification, refer to Backlash Within Specification in this procedure. If backlash is not within the specification, repeat Backlash Not Within Specification in this procedure.
- The specification shown is the full allowable range. For the preferred range, refer to SPECIFICATIONS in this section.
Backlash Within Specification
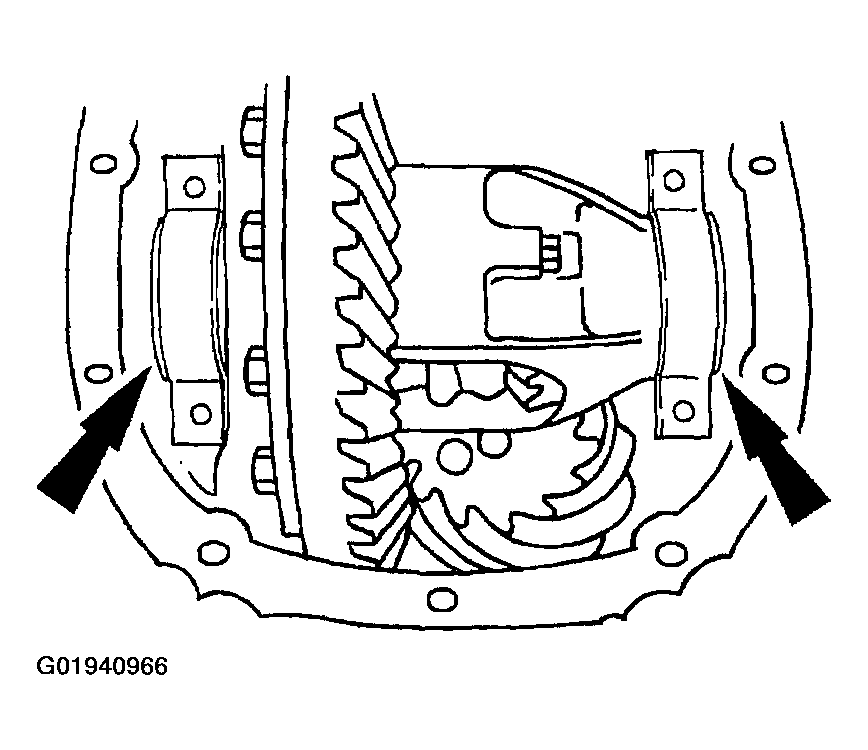
- Remove the bolts and the differential bearing caps.
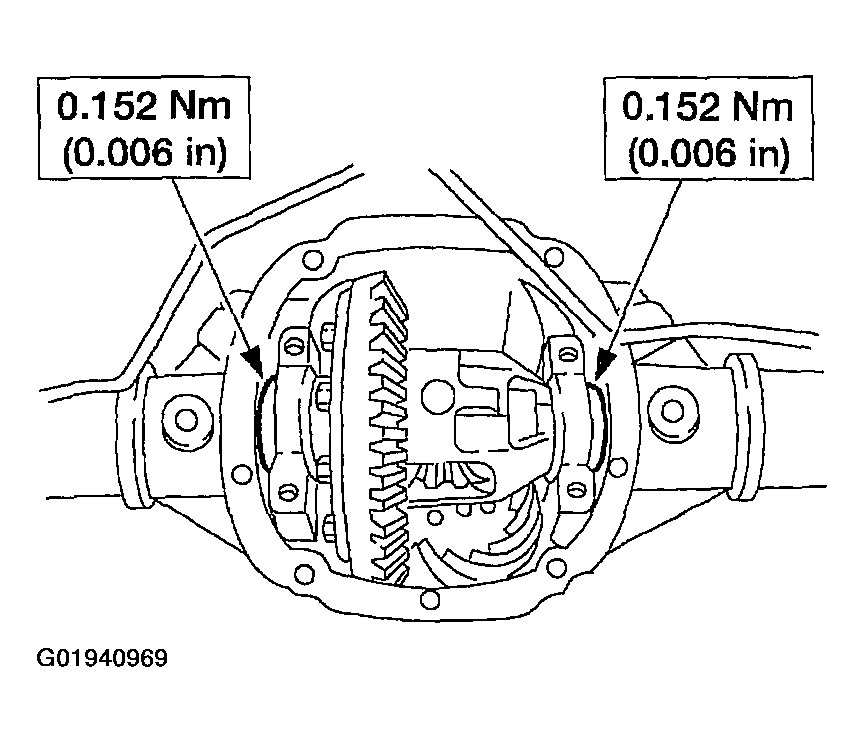
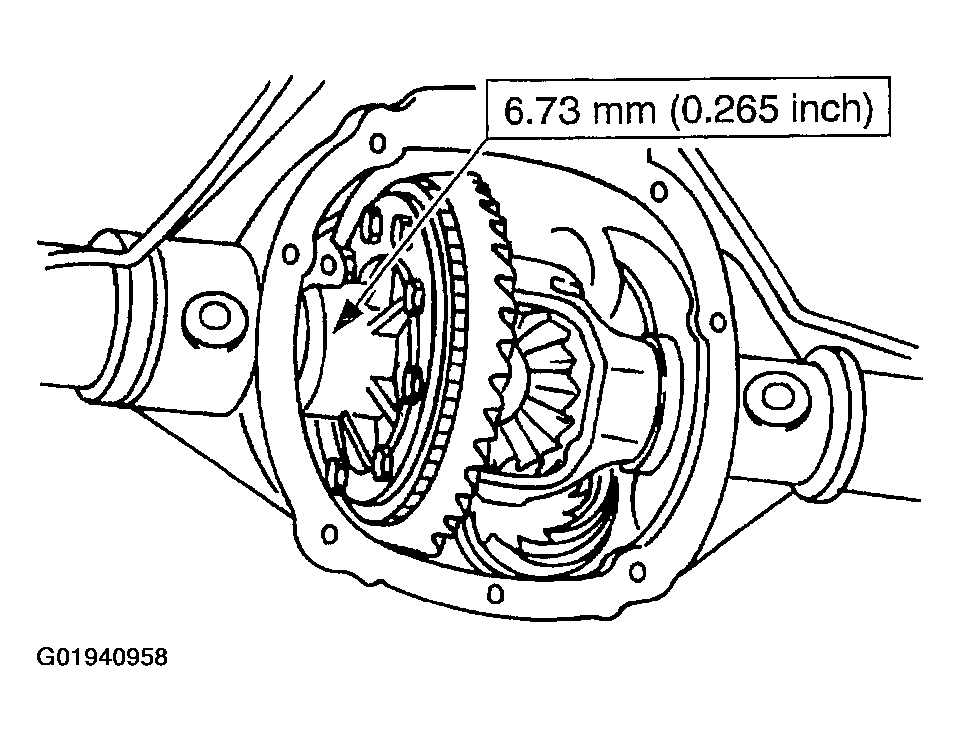
- To establish differential bearing preload, increase both left and right differential bearing shim sizes by the specification shown.
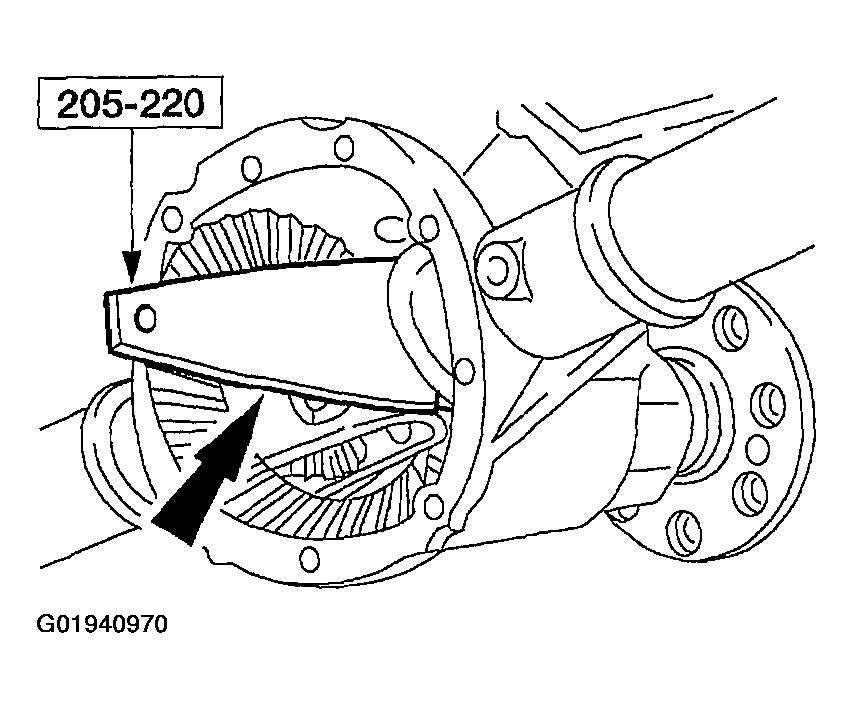
- Using the special tool, fully seat the differential bearing shims. Make sure the assembly rotates freely.
- Install the differential bearing caps and bolts.
- Using the special tools, recheck the backlash.
- The specification shown is the full allowable range. For the preferred range, refer to SPECIFICATIONS in this section.
- Install the axle shafts. For additional information, refer to AXLE SHAFT .
CAUTION:
Always install the differential bearing caps in their identical locations and positions.
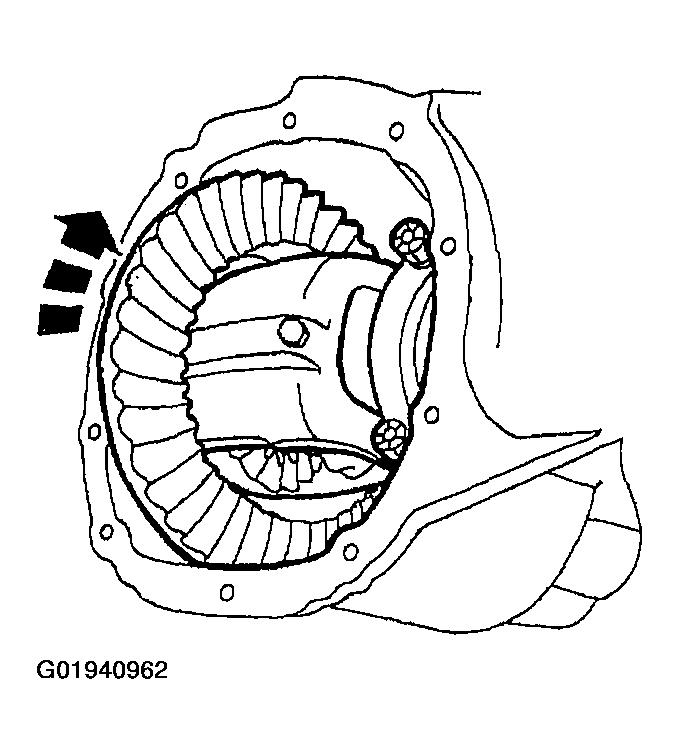
NOTE:
Apply pressure toward the left side to make sure the left differential bearing cup seats correctly.