LEMON Manuals: Even more car manuals for everyone: 1960-2025
Home >> Ford >> 2002 >> Crown Victoria Base, 4.6 9 >> Repair and Diagnosis >> Heating, Ventilation & A/C (HVAC) >> General Servicing >> HVAC Systems - Compressor Servicing >> Ford FS-10 10-Cylinder >> Shaft Seal >> Installation

Shaft Seal: Installation

CAUTION: To prevent refrigerant system contamination, do not allow dirt or other foreign materials to enter the A/C compressor.
  1. Clean the A/C compressor nose area.
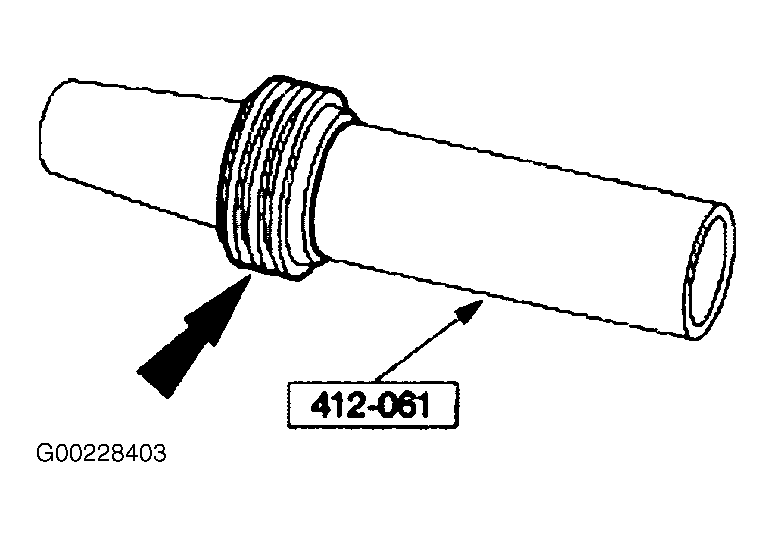
  2. Place the shaft seal on the special tool. See Fig 7. Lubricate the shaft seal and the special tool with PAG oil or equivalent.
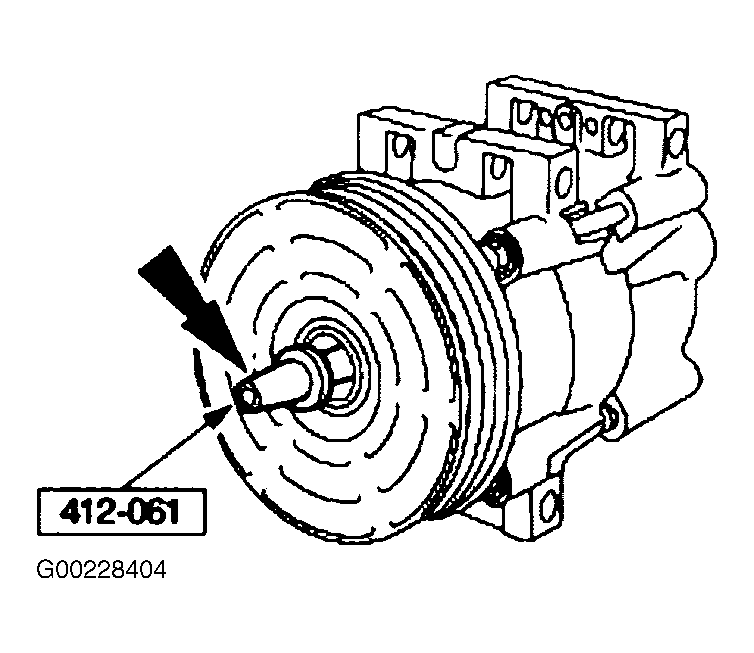
  3. Position the shaft seal and the special tool over the A/C compressor shaft. See Fig 8.
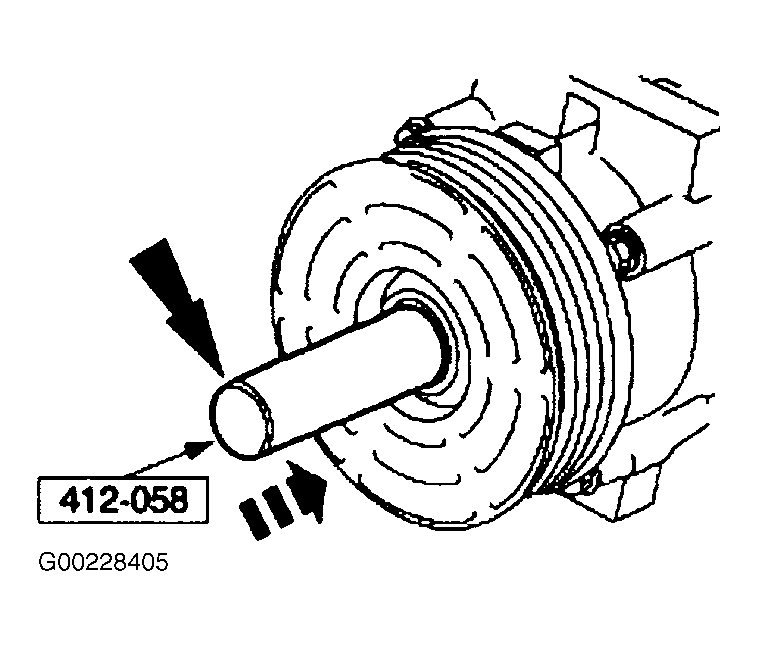
  4. Push the shaft seal onto the A/C compressor shaft with the special tool until seated. See Fig 9.
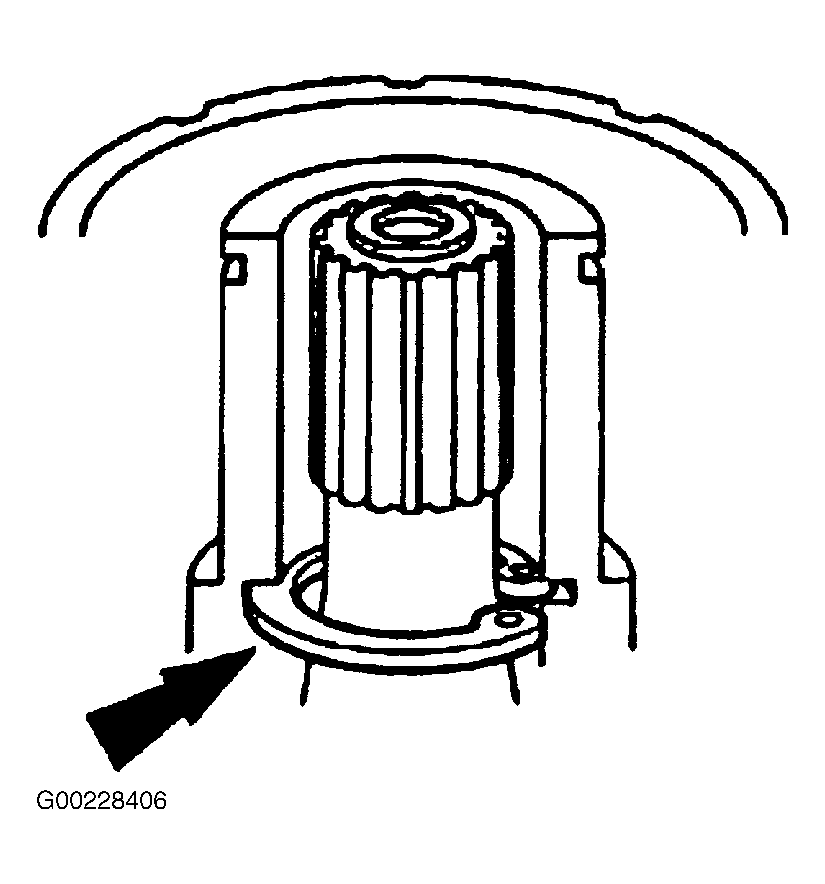
  5. Install the shaft seal snap ring. See Fig 10.
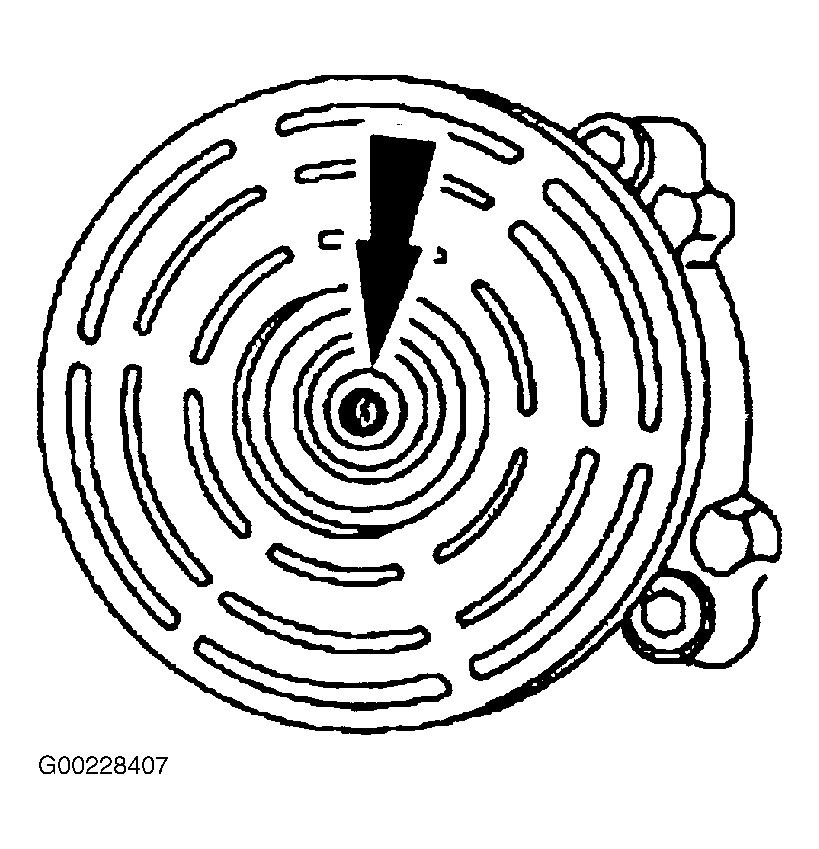
  6. Install the shaft seal felt. See Fig 11.
  7. Install the A/C clutch. See CLUTCH & CLUTCH FIELD COIL .
  8. Leak test the system. See LEAK TESTING in GENERAL SERVICING PROCEDURES article in GENERAL SERVICING.
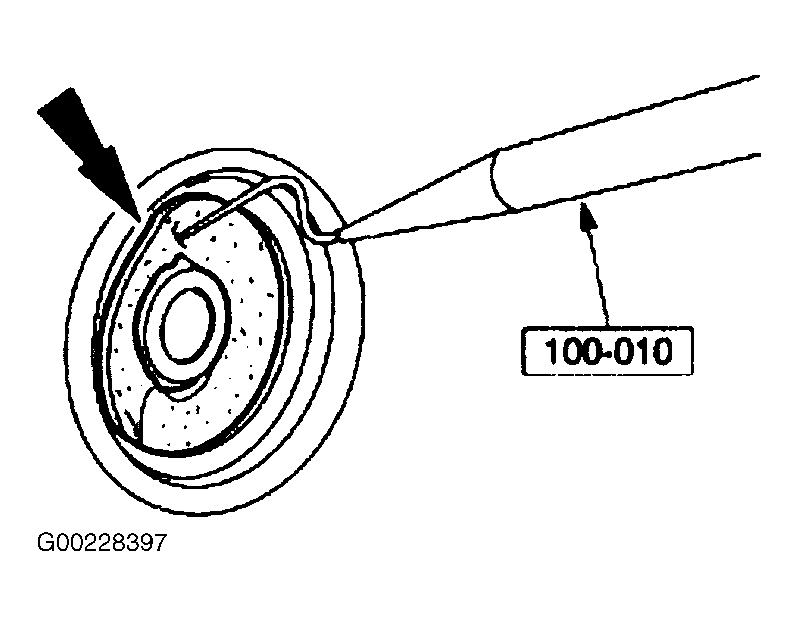
Fig 1: Removing Felt Pad From Compressor
G00228397Courtesy of FORD MOTOR CO.
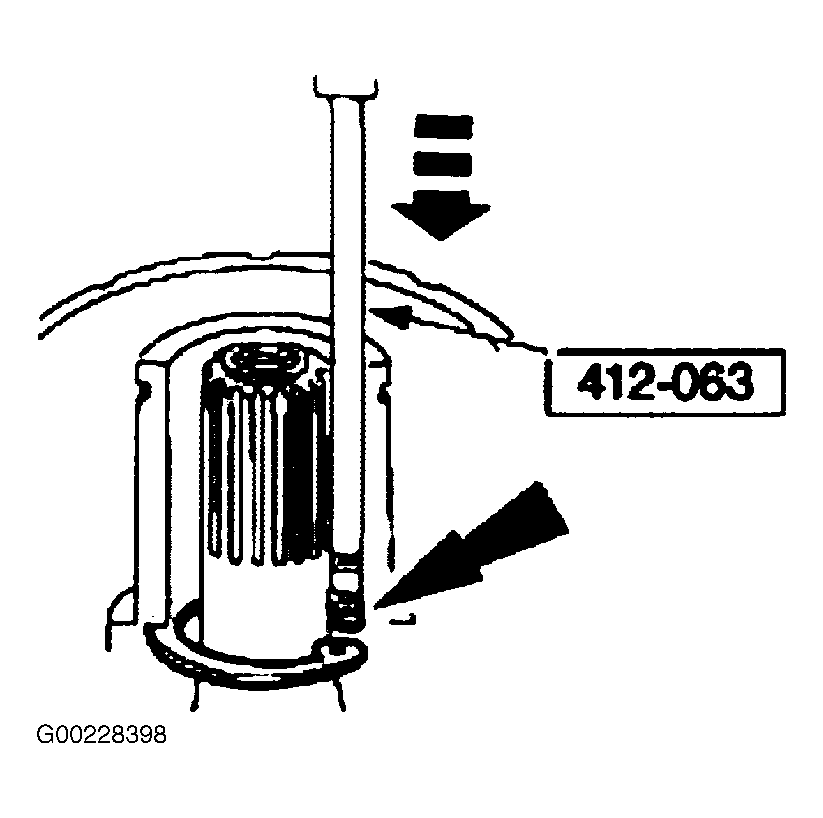
Fig 2: Installing Snap Ring Removal Tool
G00228398Courtesy of FORD MOTOR CO.
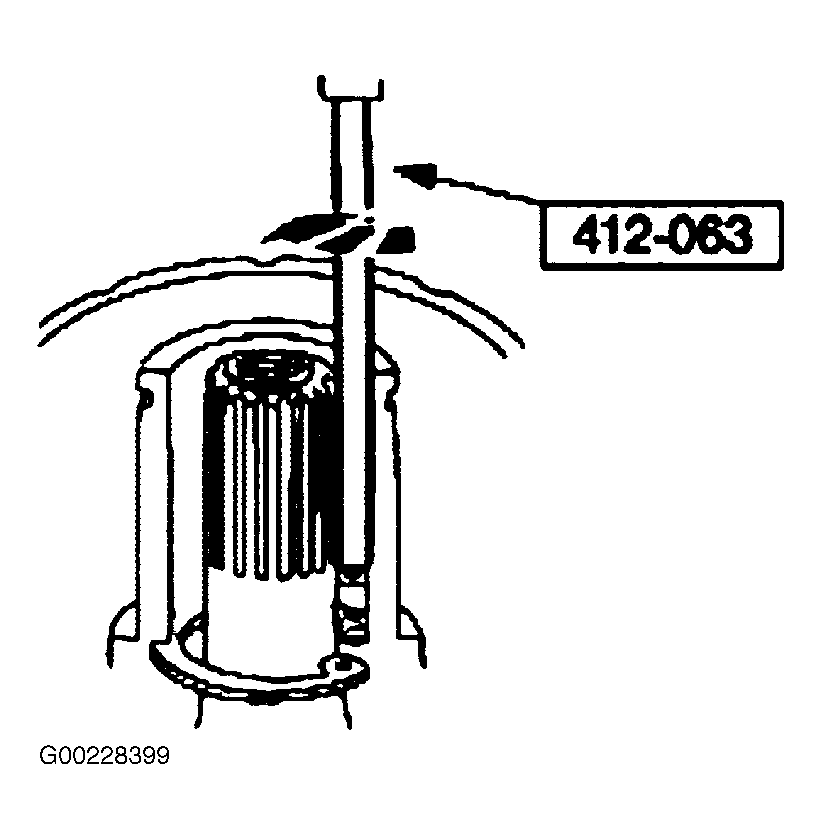
Fig 3: Removing Snap Ring From Groove
G00228399Courtesy of FORD MOTOR CO.
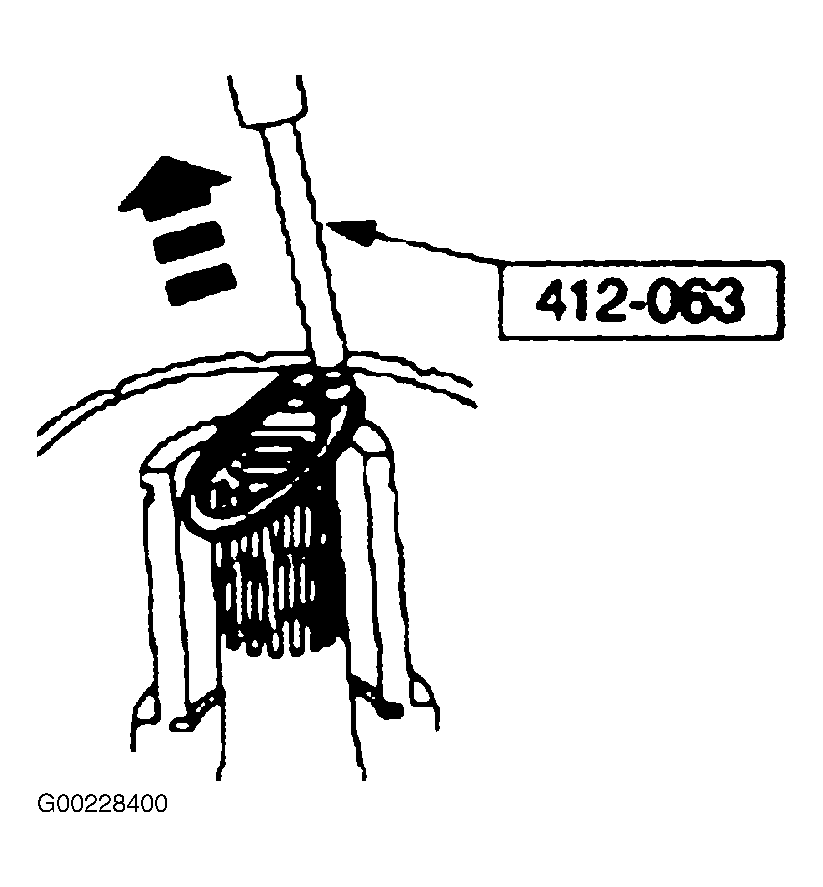
Fig 4: Removing Snap Ring From Compressor Housing
G00228400Courtesy of FORD MOTOR CO.
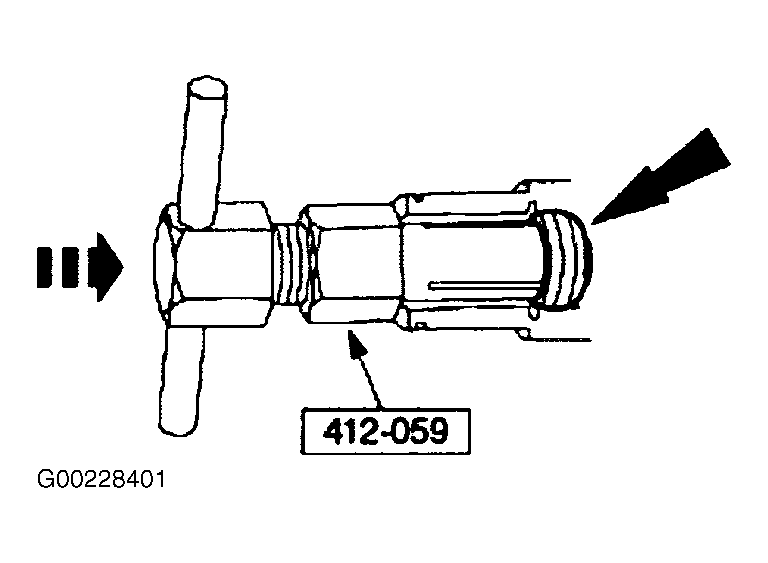
Fig 5: Identifying Shaft Seal Removal Tool
G00228401Courtesy of FORD MOTOR CO.
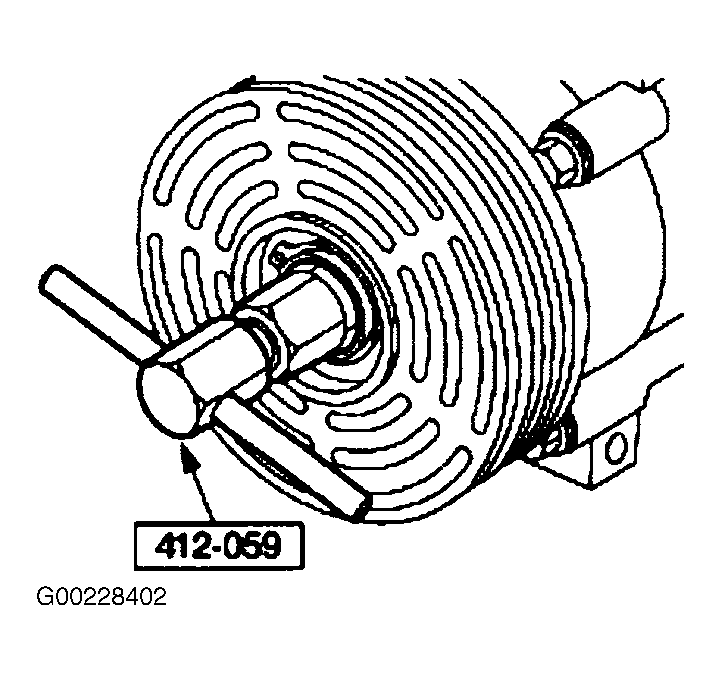
Fig 6: Installing Shaft Seal Removal Tool
G00228402Courtesy of FORD MOTOR CO.
Fig 7: Installing Seal Onto Seal Protector
G00228403Courtesy of FORD MOTOR CO.
Fig 8: Pushing Shaft Seal & Protector Onto Shaft
G00228404Courtesy of FORD MOTOR CO.
Fig 9: Installing Shaft Seal
G00228405Courtesy of FORD MOTOR CO.
Fig 10: Seating Snap Ring
G00228406Courtesy of FORD MOTOR CO.
Fig 11: Installing Shaft Felt Pad
G00228407Courtesy of FORD MOTOR CO.