- Align the dowel pin on the back of the clutch field coil with the hole in the compressor front housing and press the field coil into place over the nose of the compressor.
- Install the clutch coil lead wire harness retaining clip on the compressor front housing and tighten the retaining screw.
- Install the clutch field coil and snap ring with Snap Ring Pliers. The bevel side of the snap ring must be facing outward. Also, both eyelets of the snap ring must be to the right or left of the pin on the compressor. Press in on the snap ring to be certain that it is properly seated in the groove.
CAUTION:
If the snap ring is not fully seated in the groove it will vibrate out, resulting in a clutch failure and severe damage to the front housing of the compressor.
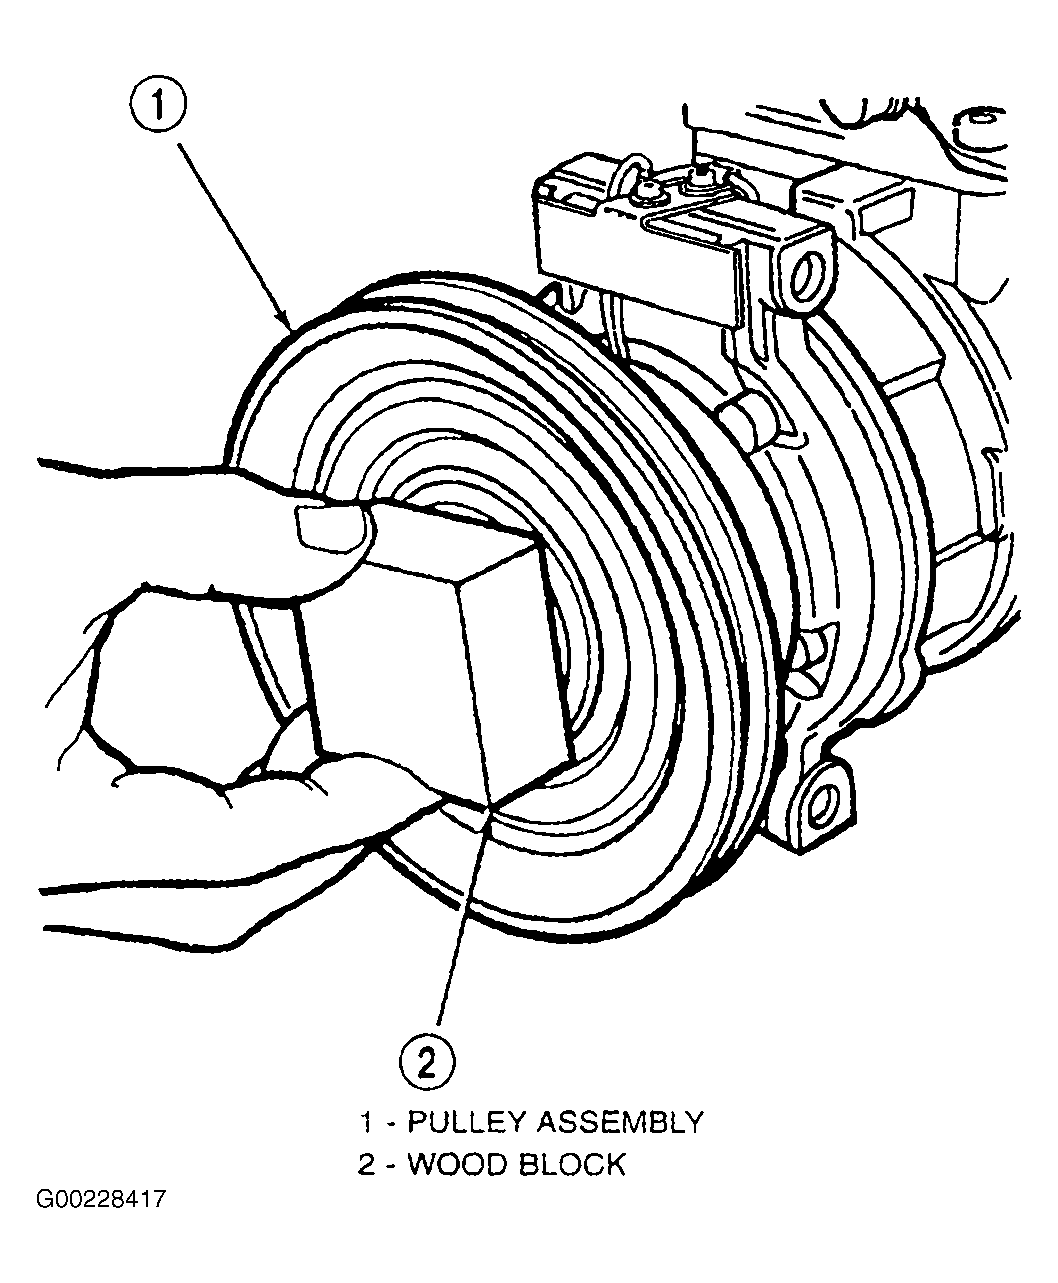
- Install the pulley assembly onto the compressor. If necessary, place a block of wood on the friction surface and tap gently with a hammer. See Figure.
CAUTION:
DO NOT mar the pulley friction surface.
- Install the pulley assembly retaining snap ring (bevel side outward) with snap ring pliers. Press in on the snap ring to be certain that it is, properly seated in the groove.
- If the original clutch plate assembly and pulley assembly are to be reused, the old shim(s) can be used. If not, place a stack of shims equal to the old shims on the shaft against the shoulder.
- Install the clutch plate assembly onto the shaft.
- With the clutch plate assembly tight against the shims, measure the air gap between the clutch plate and the pulley face with feeler gauges. The air gap should be 0.014-0.026" (0.35-0.65 mm.). If the proper air gap is not obtained, add or subtract shims as needed until the desired air gap is obtained.
- Install the compressor shaft bolt. Tighten the bolt to 115 INCH Lbs. (13 N.m).
NOTE:
The shims may compress after tightening the shaft bolt. Recheck the air gap in 4 or more places to verify the air gap is still correct. Spin the pulley before performing a final check of the air gap.