Instrument Panel: Installation
CAUTION:
Electronic modules are sensitive to static electrical charges. Avoid exposing any modules to static electrical charges, as this may cause damage to the modules.
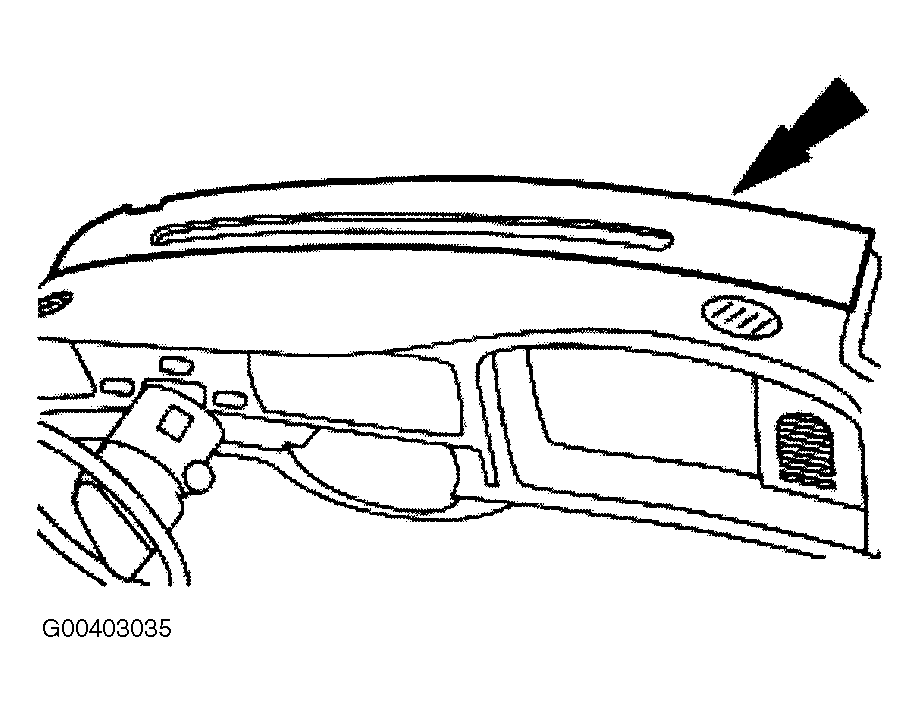
- Install the instrument panel into the vehicle.
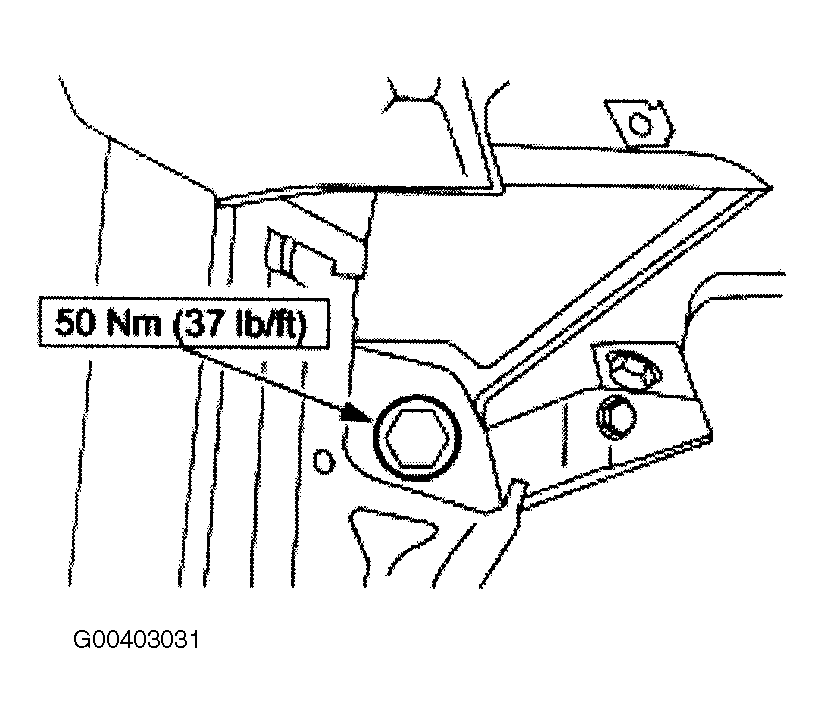
- Install the lower LH instrument panel cowl side bolt.
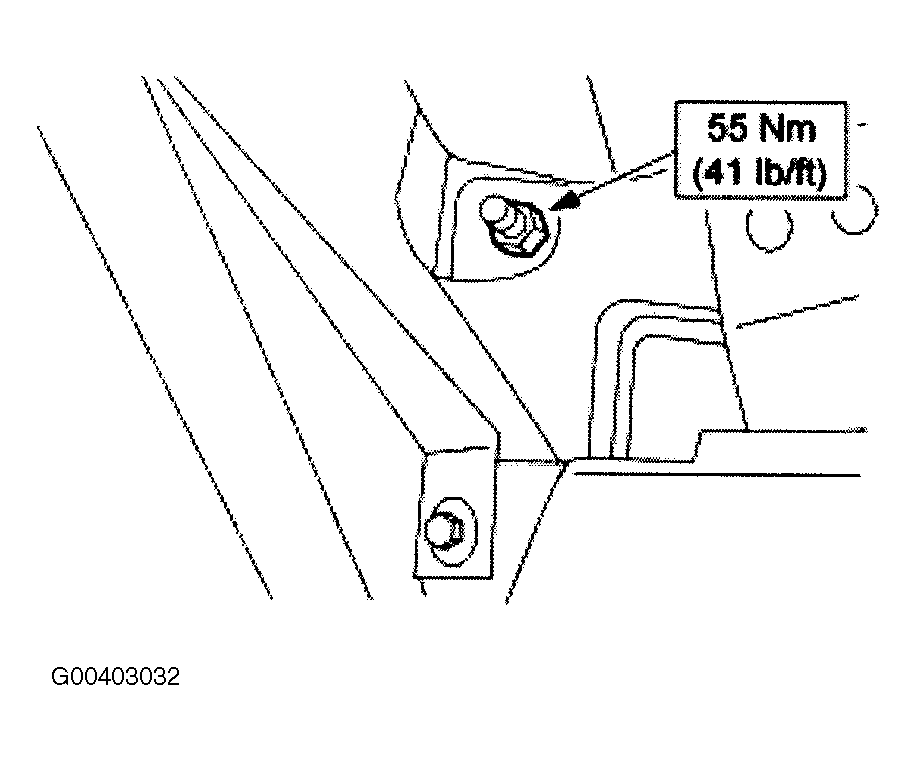
- Install the upper LH instrument panel cowl side nut.
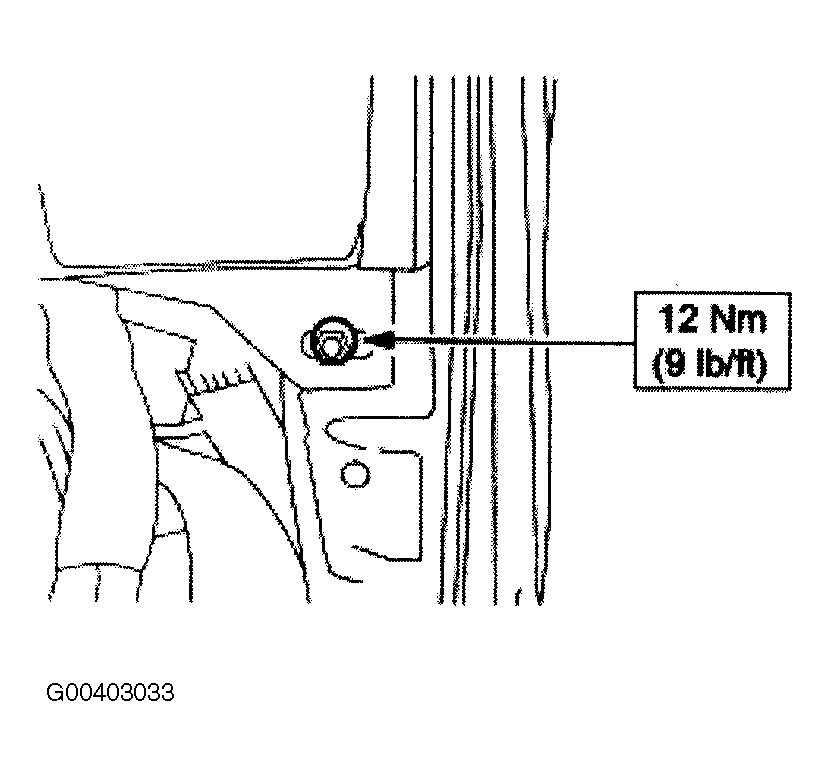
- Install the RH instrument panel cowl side nut.
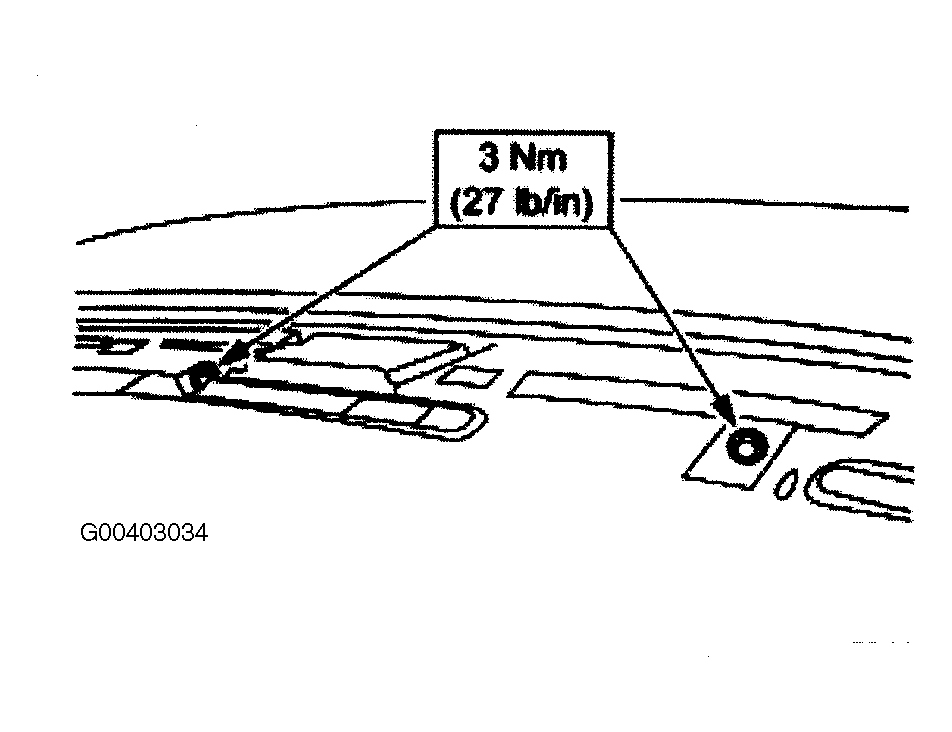
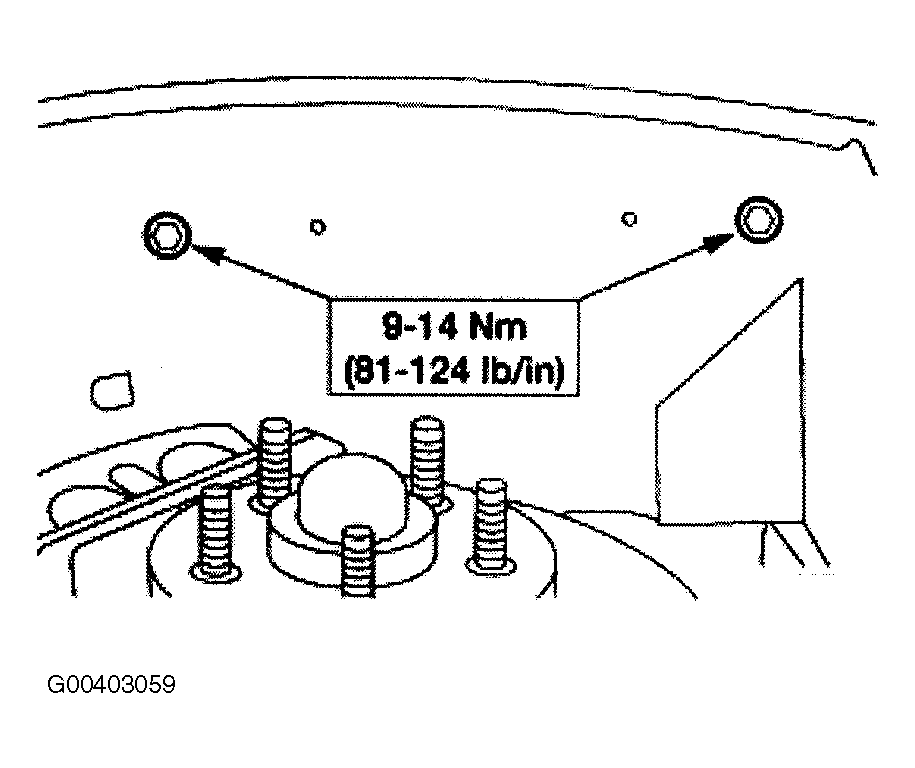
- Install the three instrument panel cowl top screws.
- Install the defroster opening grille.
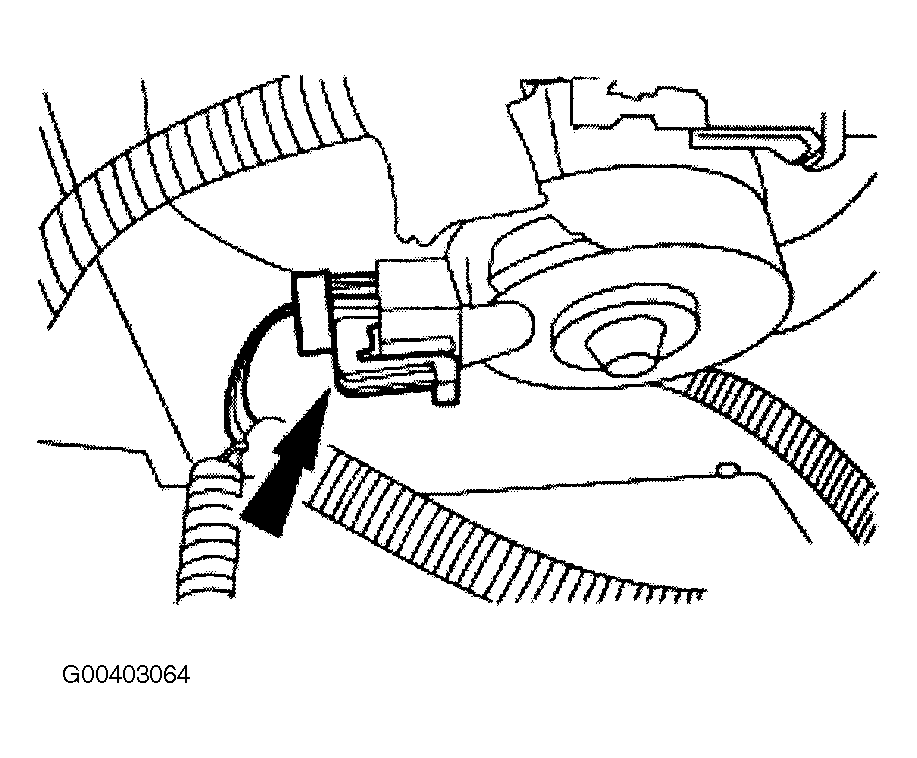
- If equipped, connect the electrical connectors.
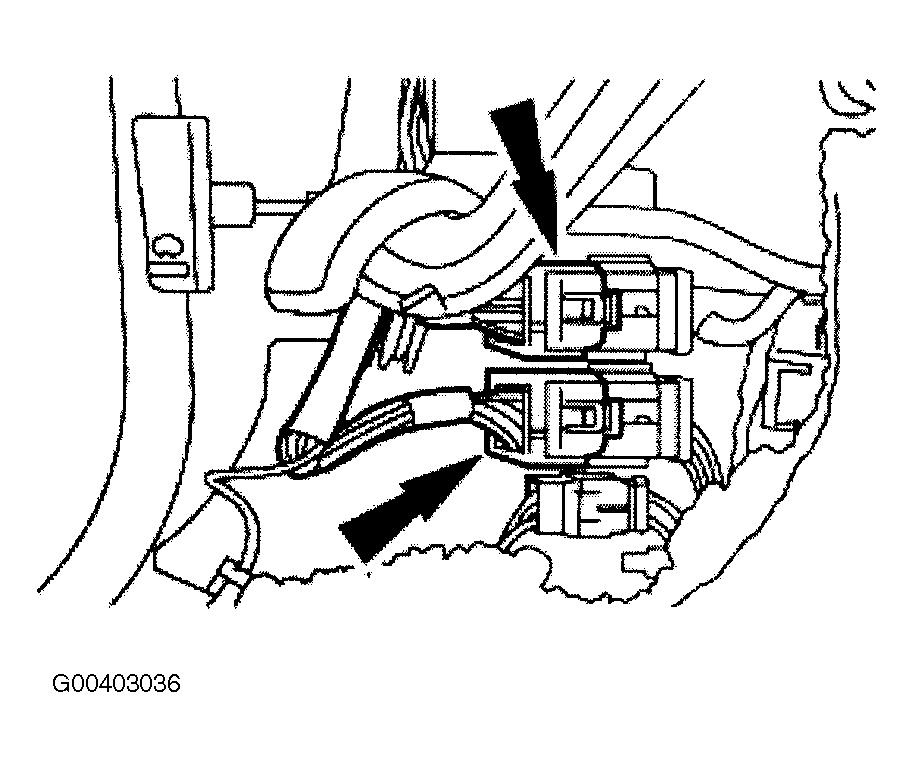
- Connect the LH wiring harness connectors.
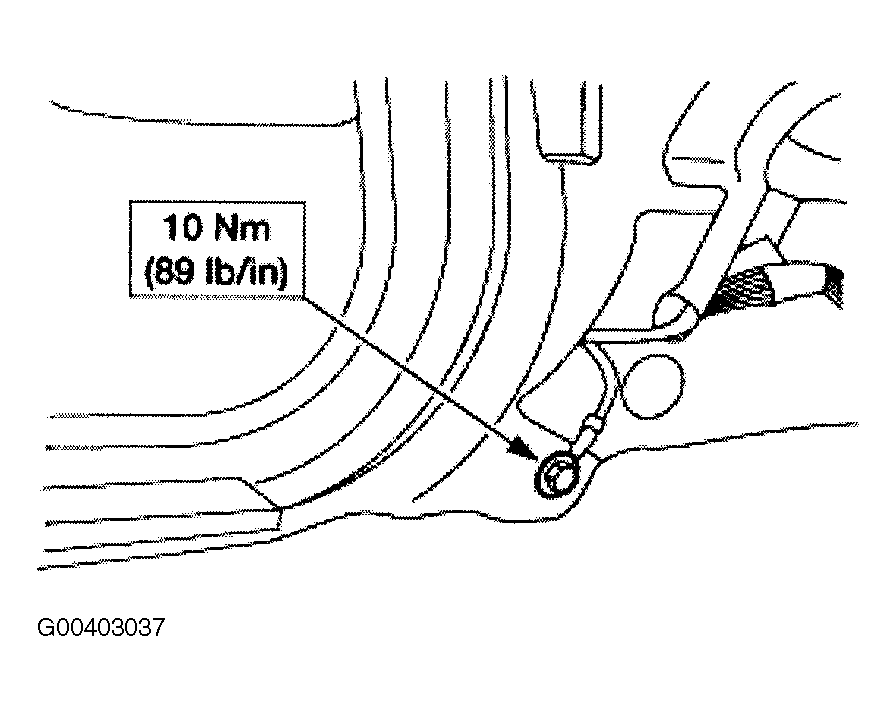
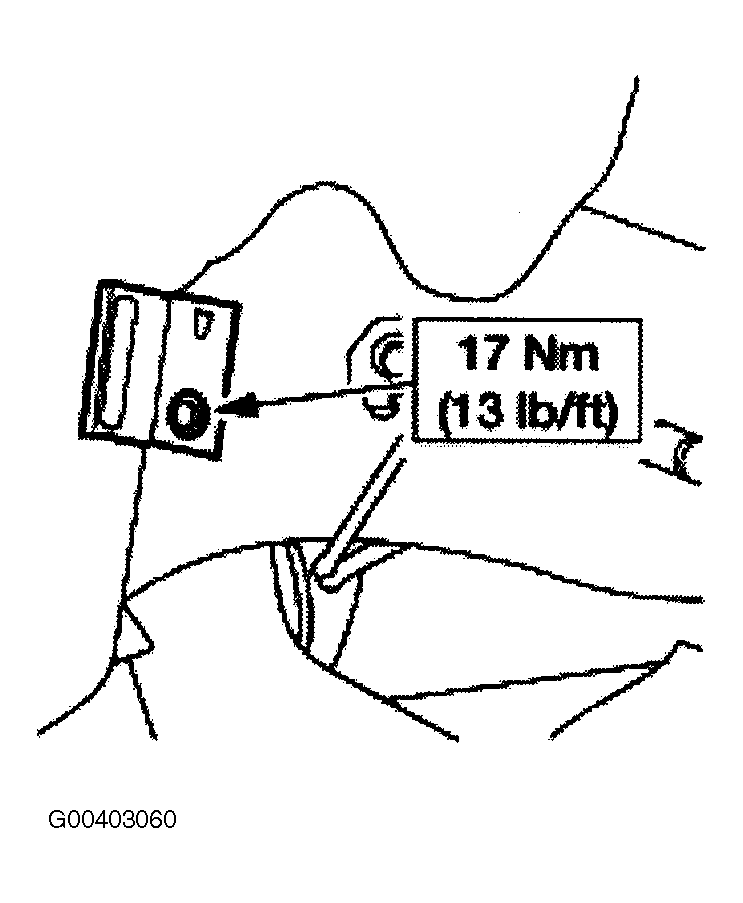
- Install the LH ground bolt.
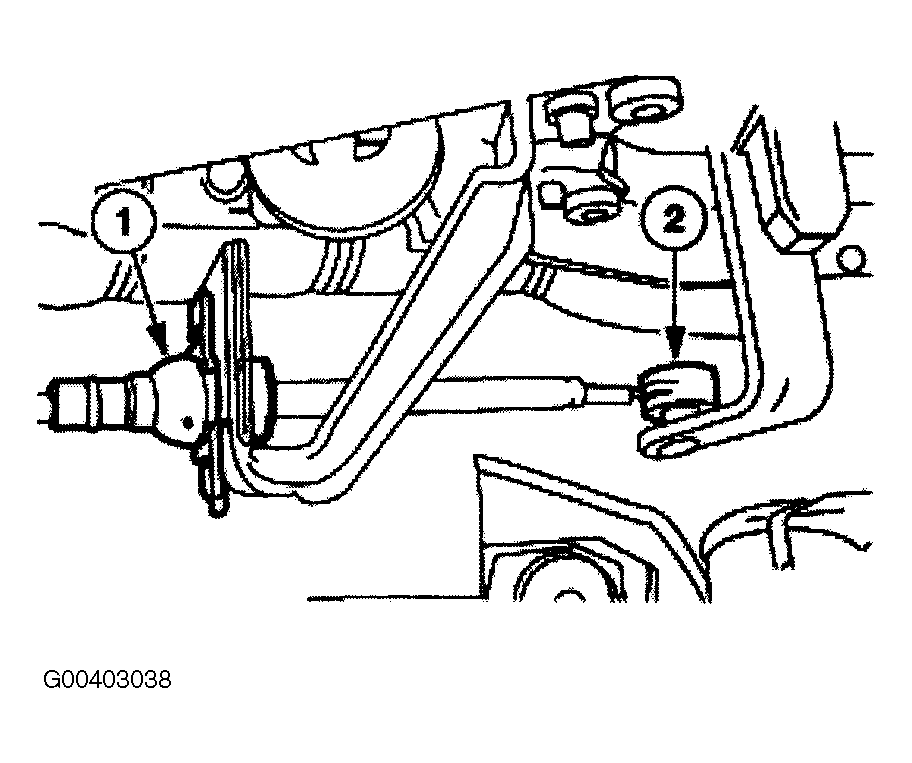
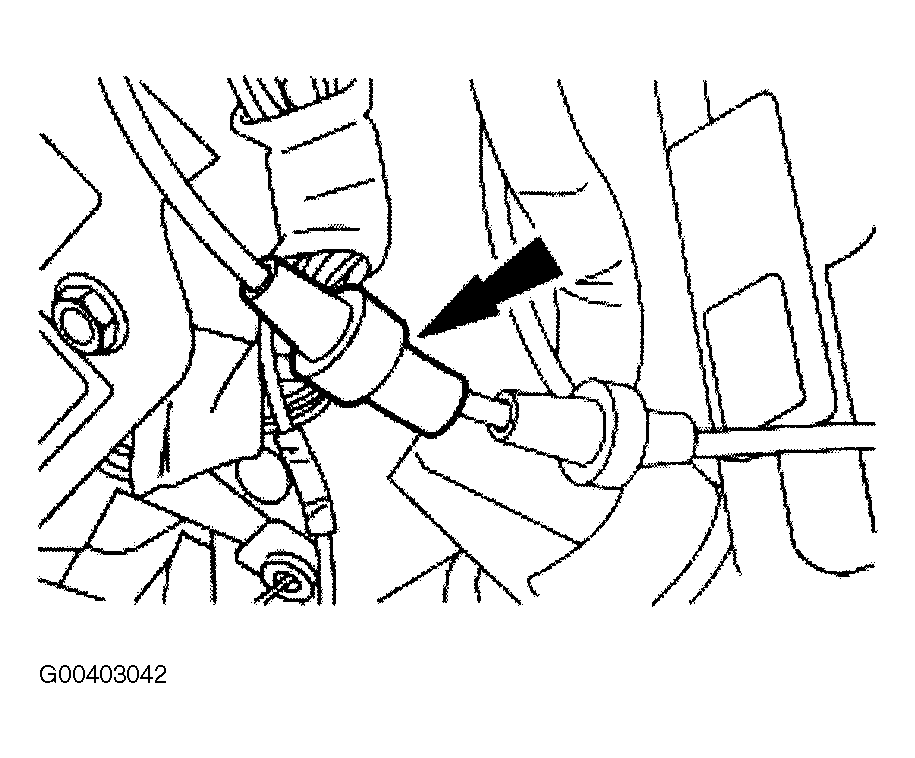
- If equipped, connect the transmission shift cable to the steering column.
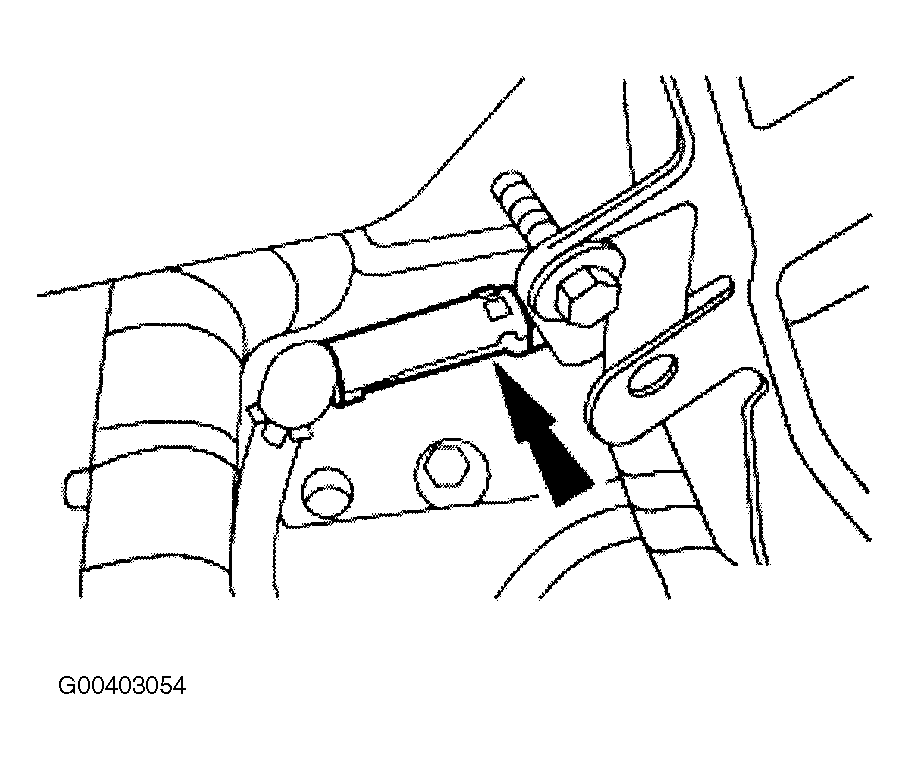
- Connect the cable to the steering column bracket.
- Connect the cable to the steering column shift tube lever.
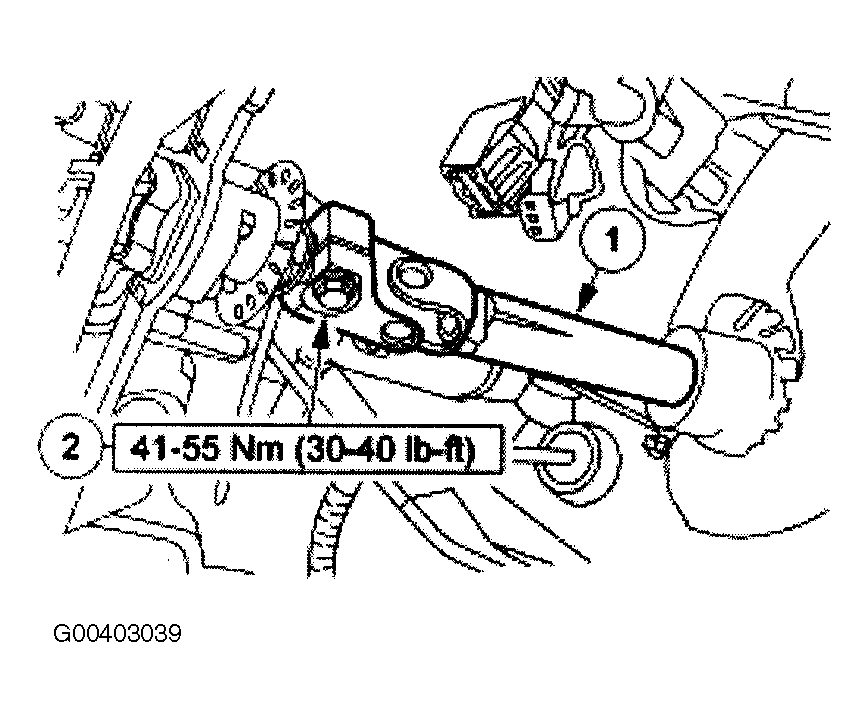
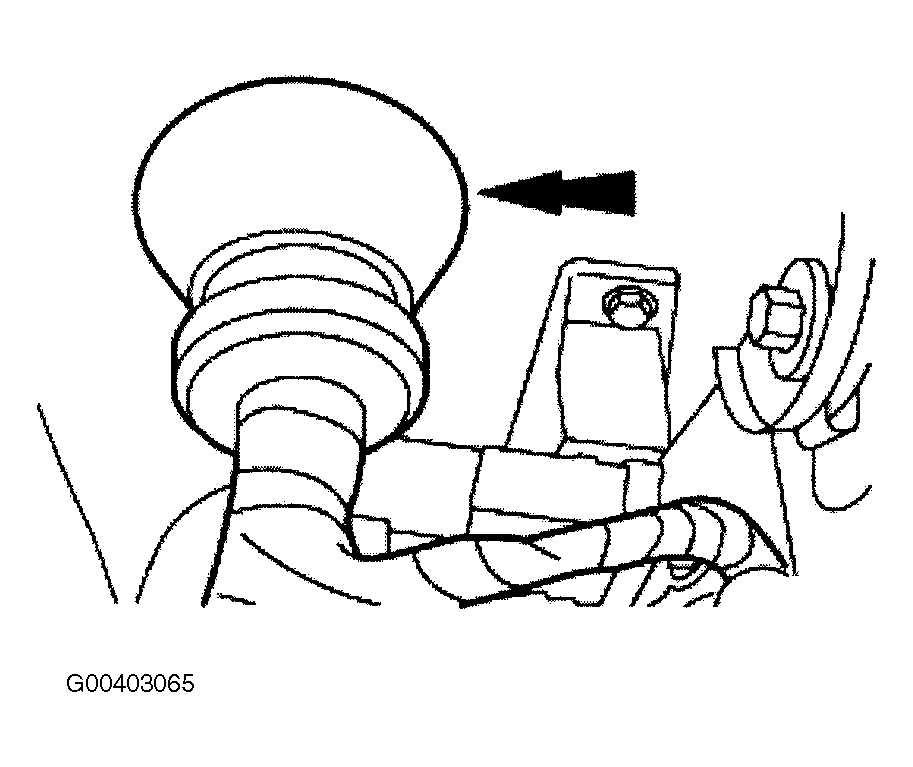
- Connect the intermediate shaft to the steering column shaft.
- Connect the intermediate shaft to the steering column shaft.
- Install a new pinch bolt.
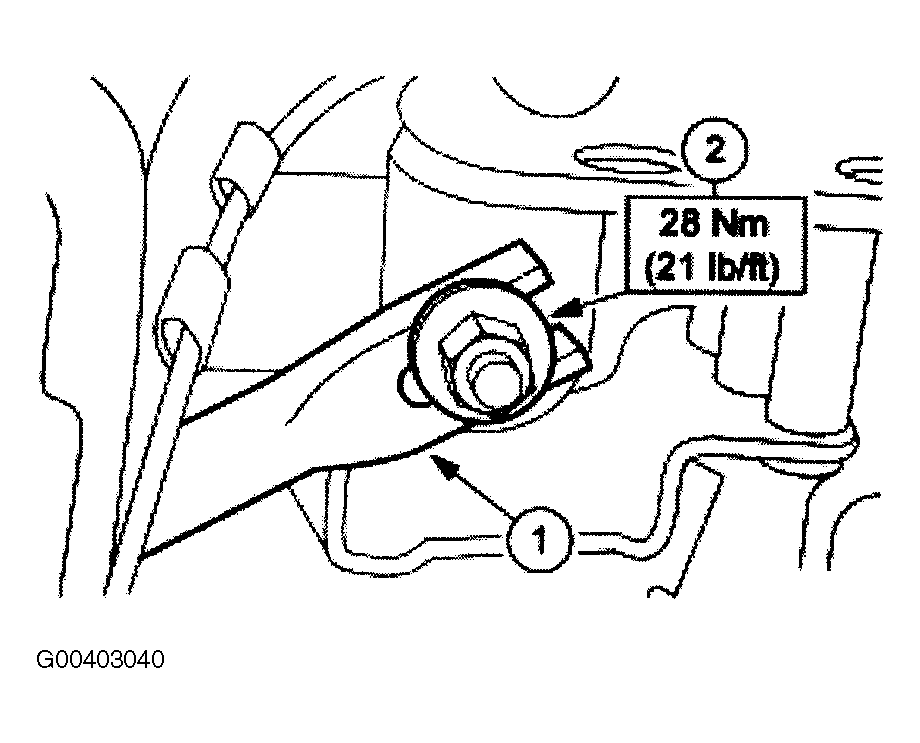
- Install the steering column brace.
- Position the steering column brace.
- Install the nut.
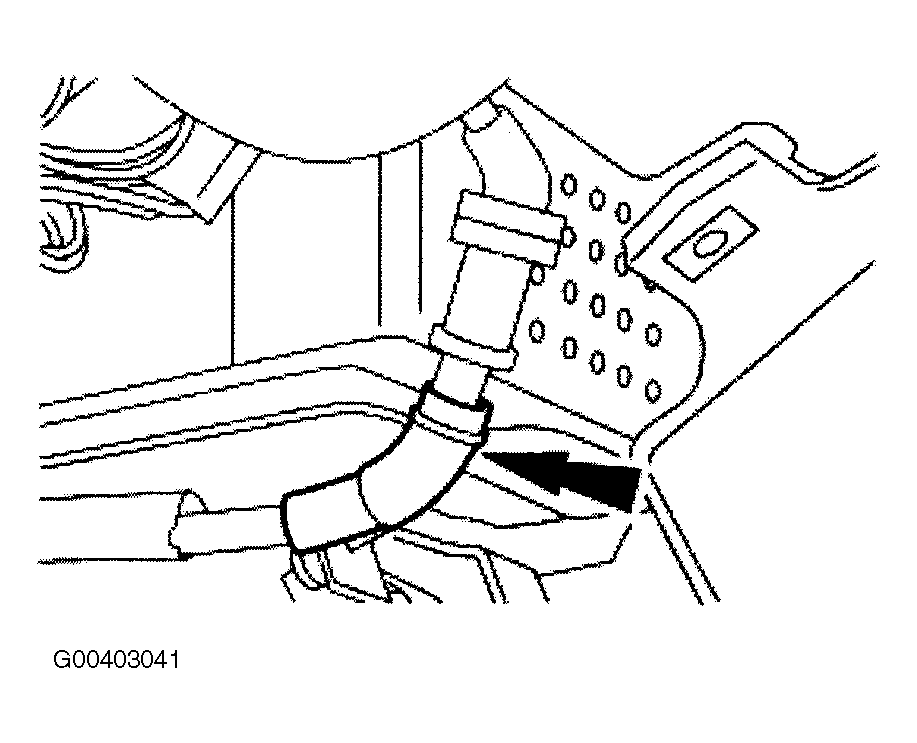
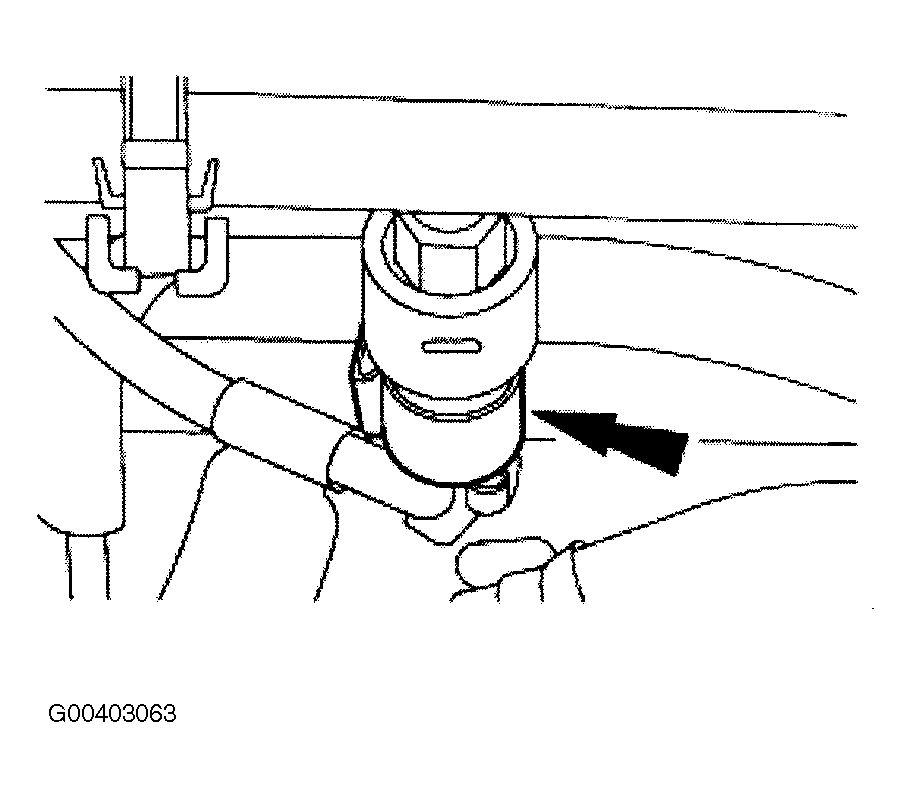
- Connect the vacuum connector.
- Connect the parking brake release vacuum connector.
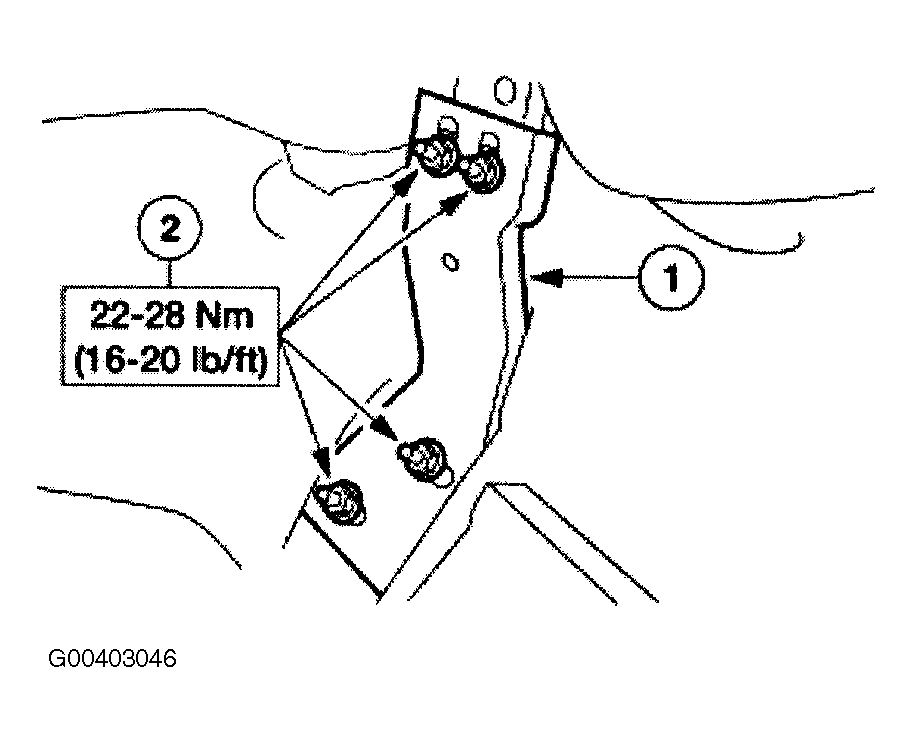
- Install the instrument panel steering column opening cover reinforcement.
- Position the instrument panel steering column opening cover reinforcement.
- Install the bolts.
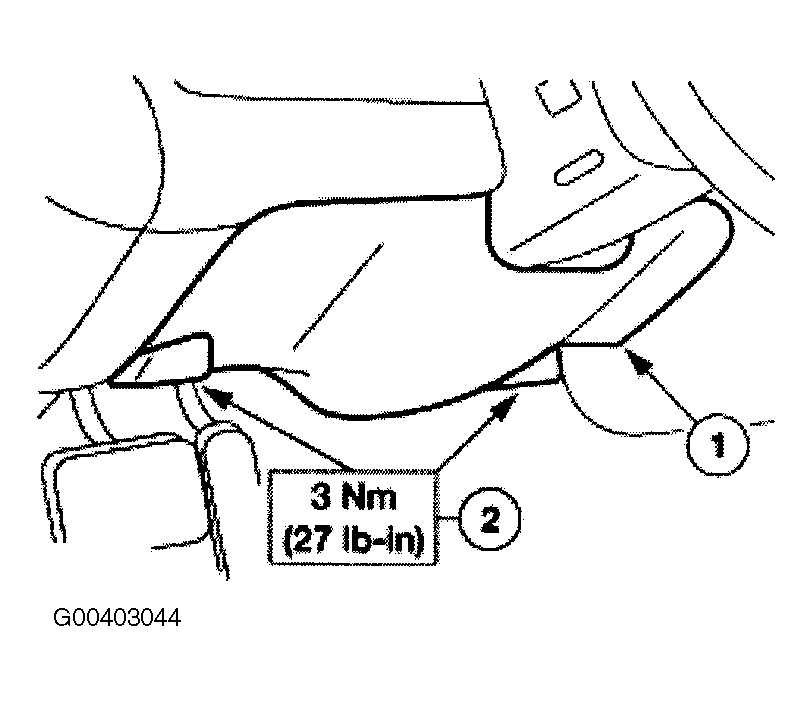
- Install the instrument panel lower steering column cover.
- Position the instrument panel lower steering column cover.
- Install the screws.
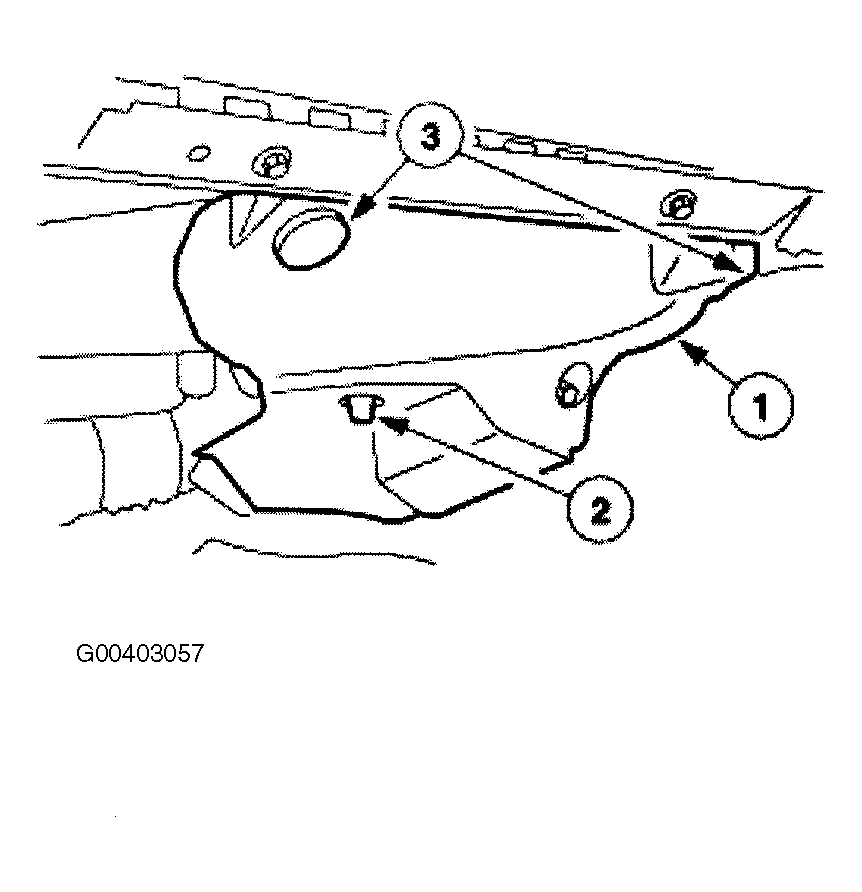
- Install the LH instrument panel insulator.
- Position the LH instrument panel insulator.
- Install the pin-type retainers.
- Connect the courtesy lamp.
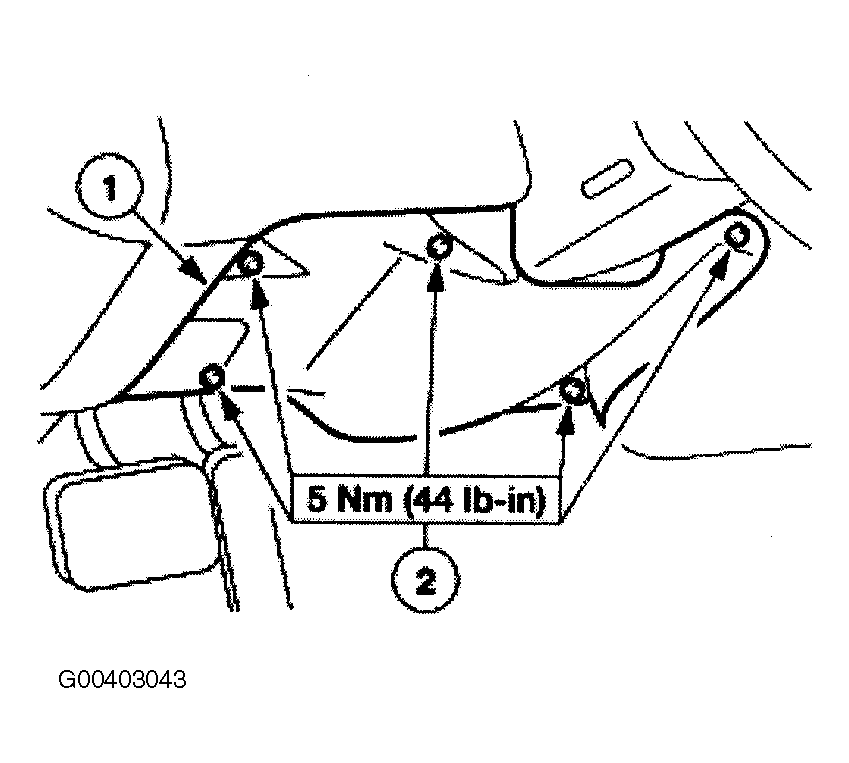
- Install the instrument panel tunnel brace.
- Position the instrument panel tunnel brace.
- Install the nuts.
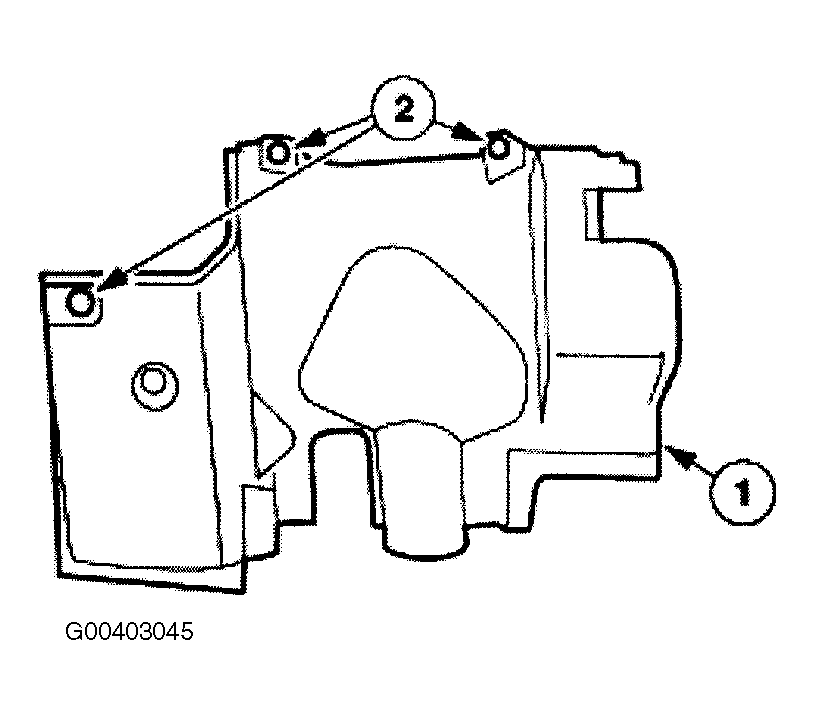
- Position the instrument panel tunnel brace cover and install the pin-type retainer.
- Connect the climate control head vacuum harness connector.
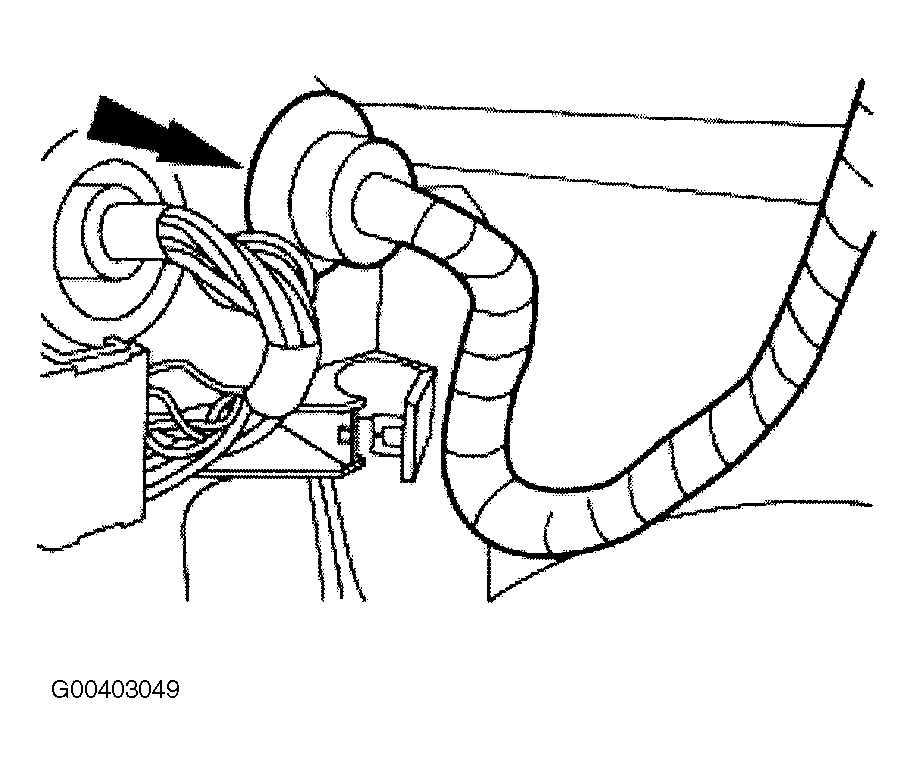
- Feed the RH wiring harness through the dash panel and seat the wiring grommet.
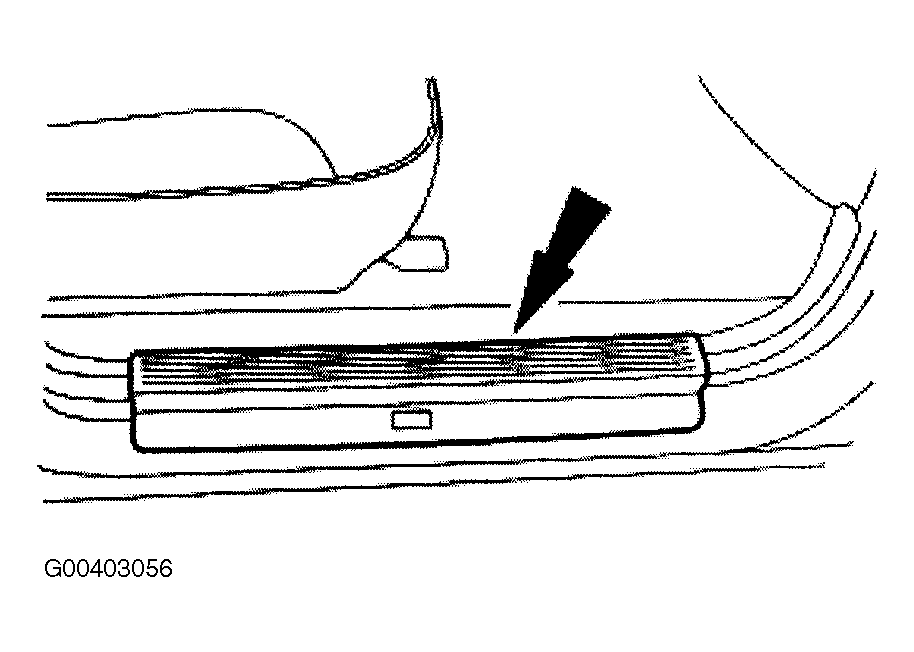
- Install the LH and RH door weatherstrip seals.
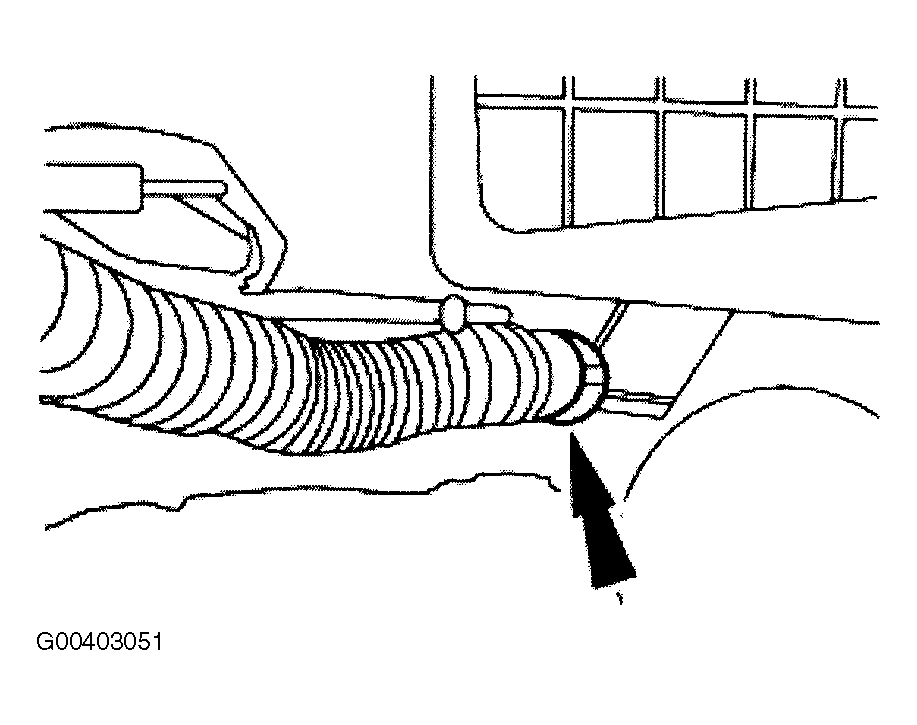
- If equipped, connect the EATC hose to the evaporator housing.
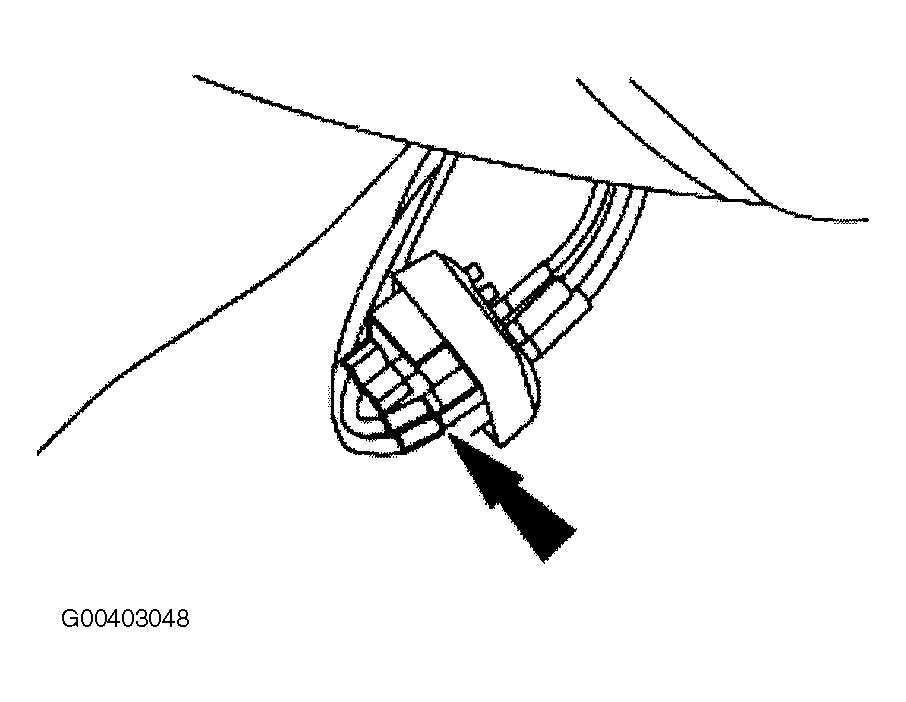
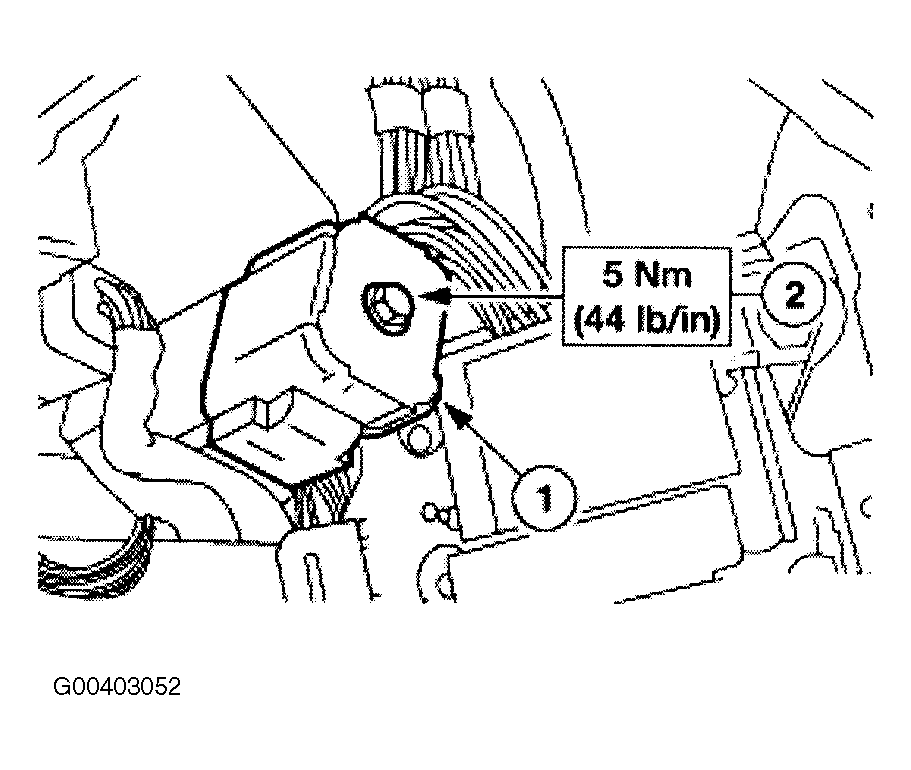
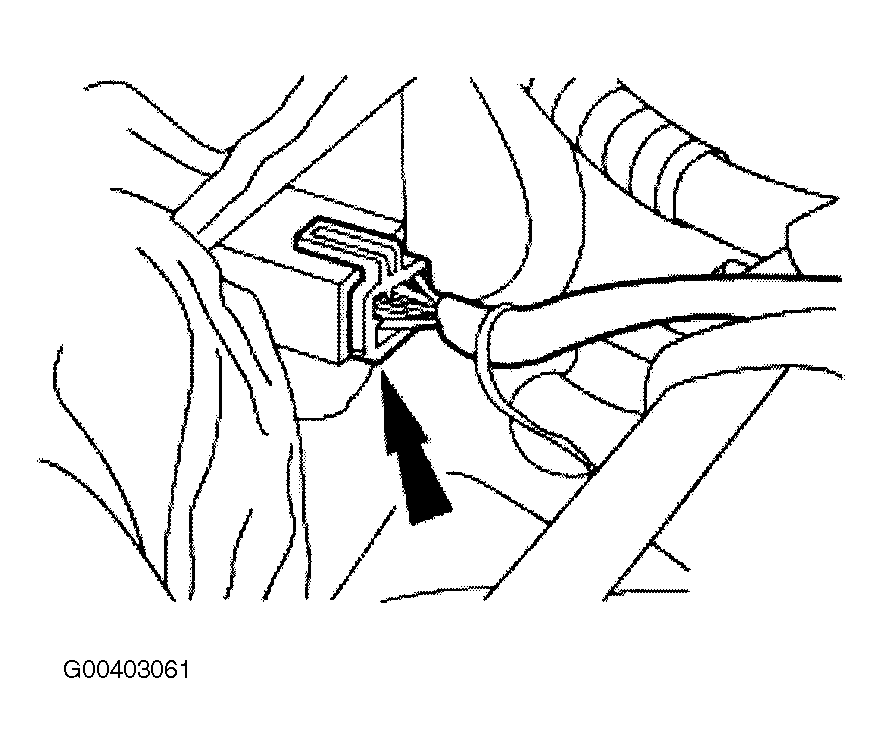
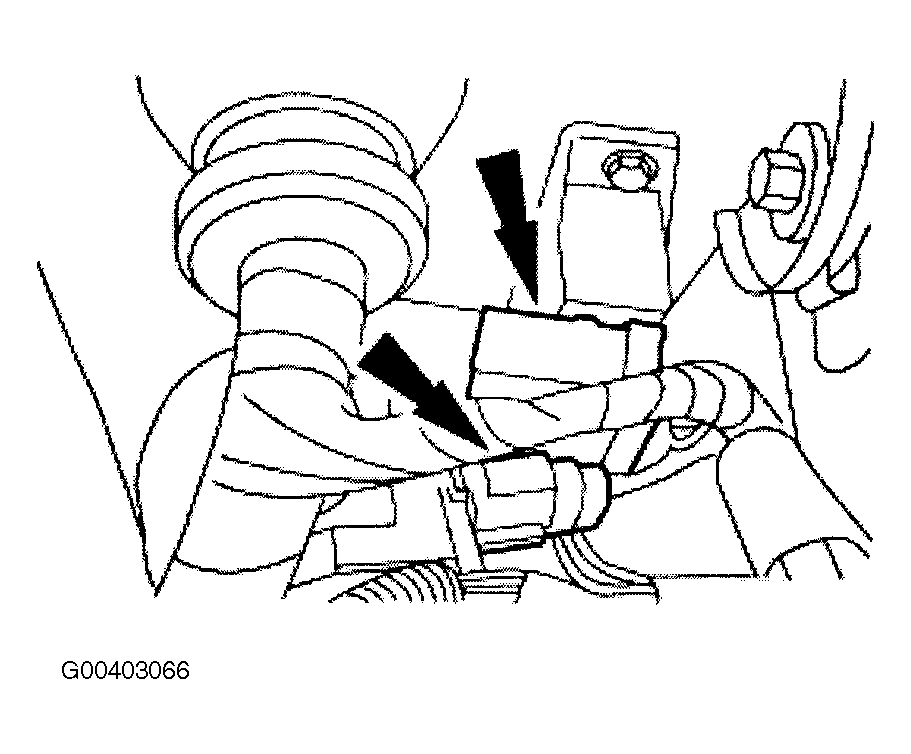
- Connect the RH bulkhead electrical connector.
- Connect the RH bulkhead electrical connector.
- Tighten the bolt.
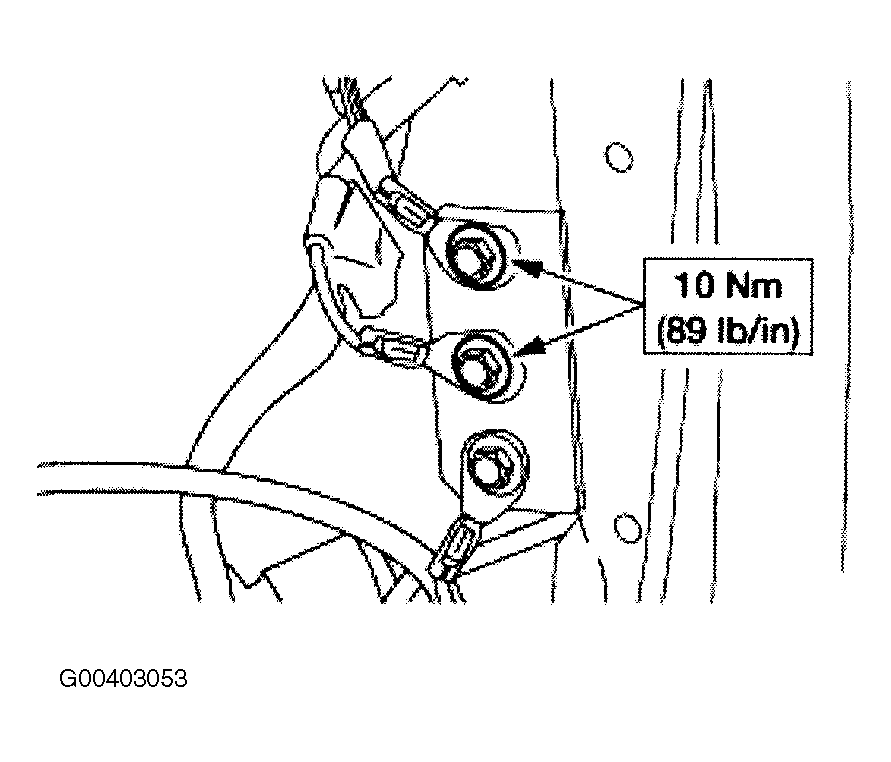
- Install the RH ground bolts.
- Connect the antenna cable in-line connector.
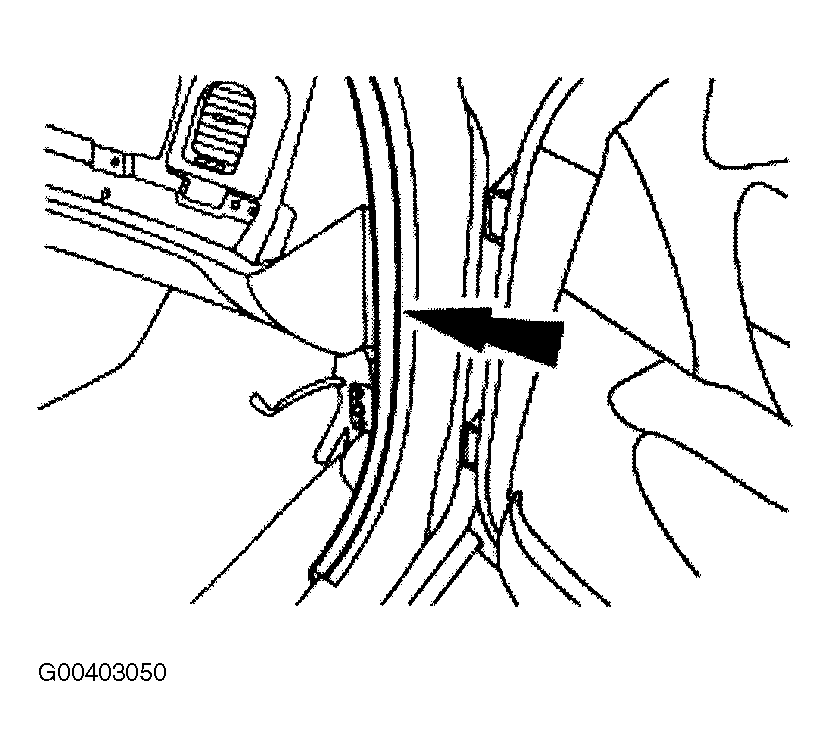
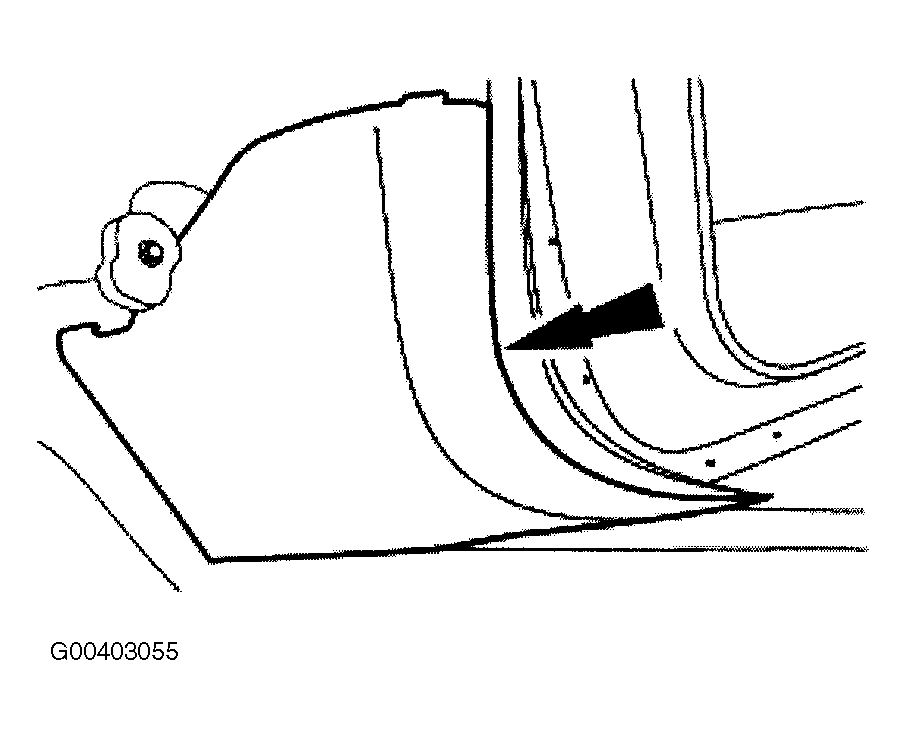
- Install the LH and RH A-pillar lower trim panels.
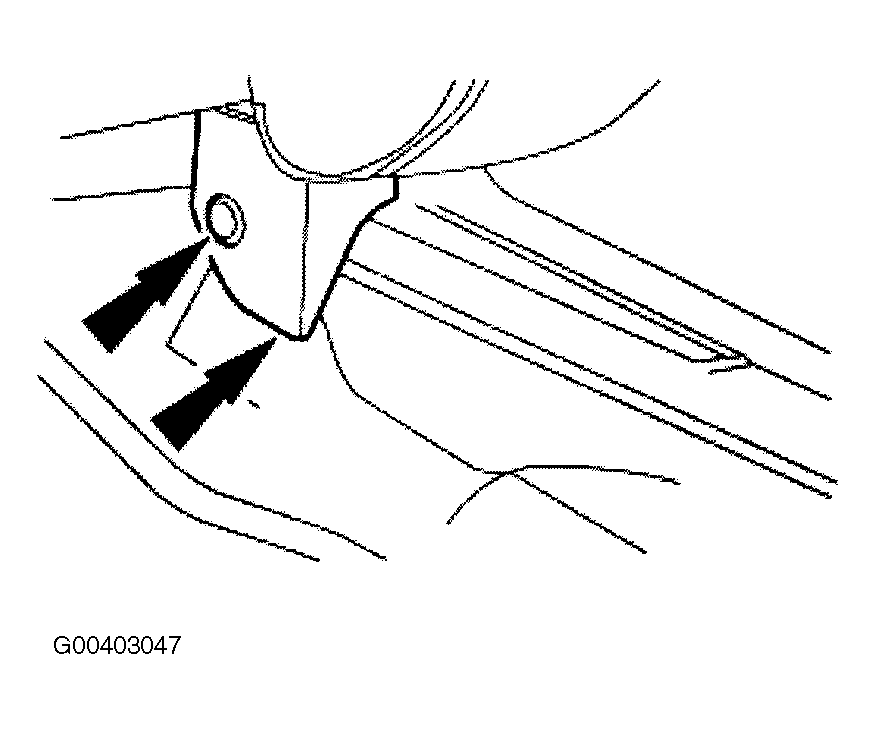
- Install the RH instrument panel lower insulator.
- Position the RH instrument panel lower insulator.
- Engage the locking tab.
- Install the pin-type retainers.
- Connect the courtesy lamp.
- Install the RH instrument panel lower insulator.
- Position the RH instrument panel lower insulator.
- Engage the locking tab.
- Install the pin-type retainers.
- Connect the courtesy lamp.
- Remove the RH front wheel and tire assembly.
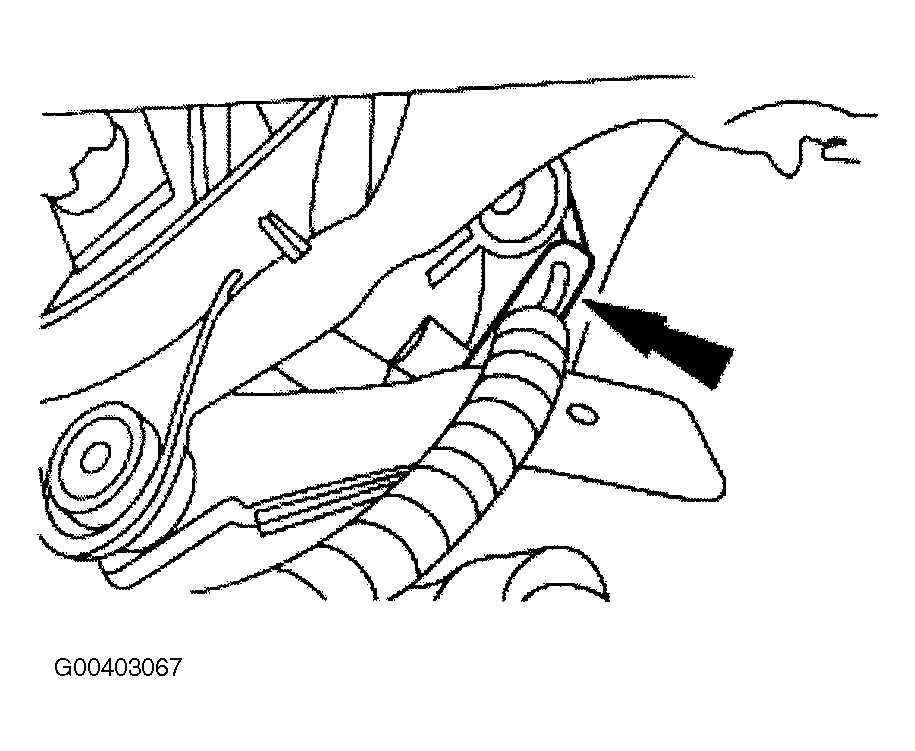
- Lock the RH wiring harness into the guide.
- Install the upper fender splash shield.
- Install the bolts.
- Install the lower fender splash shield locator and bolt.
- Install the RH front wheel and tire assembly.
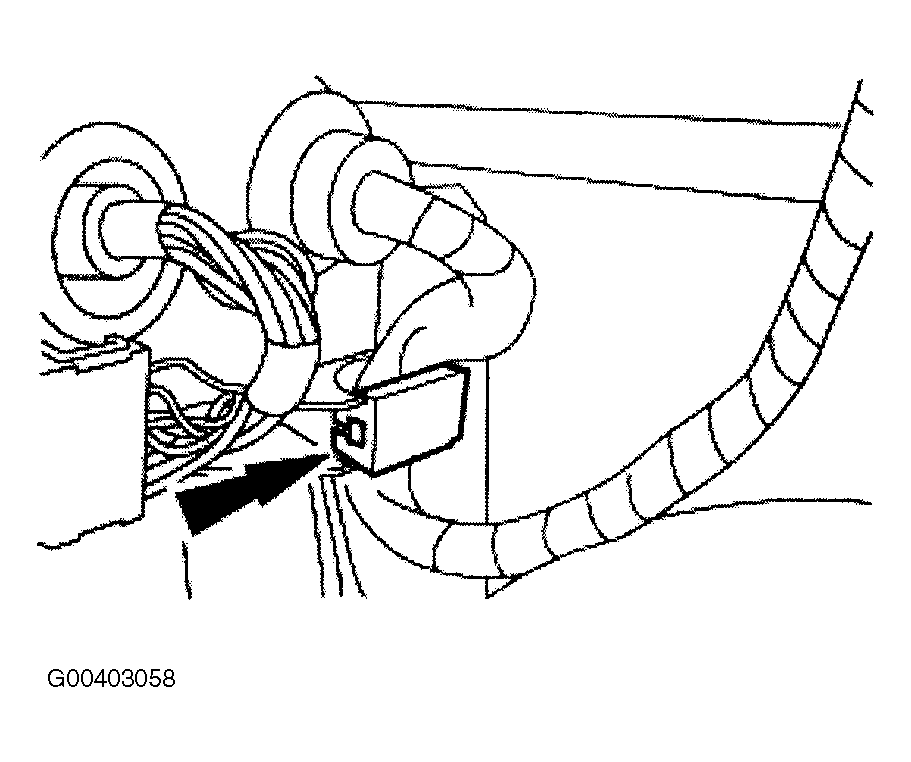
- Connect the blower motor controller electrical connector.
- Engage the wiring harness locators.
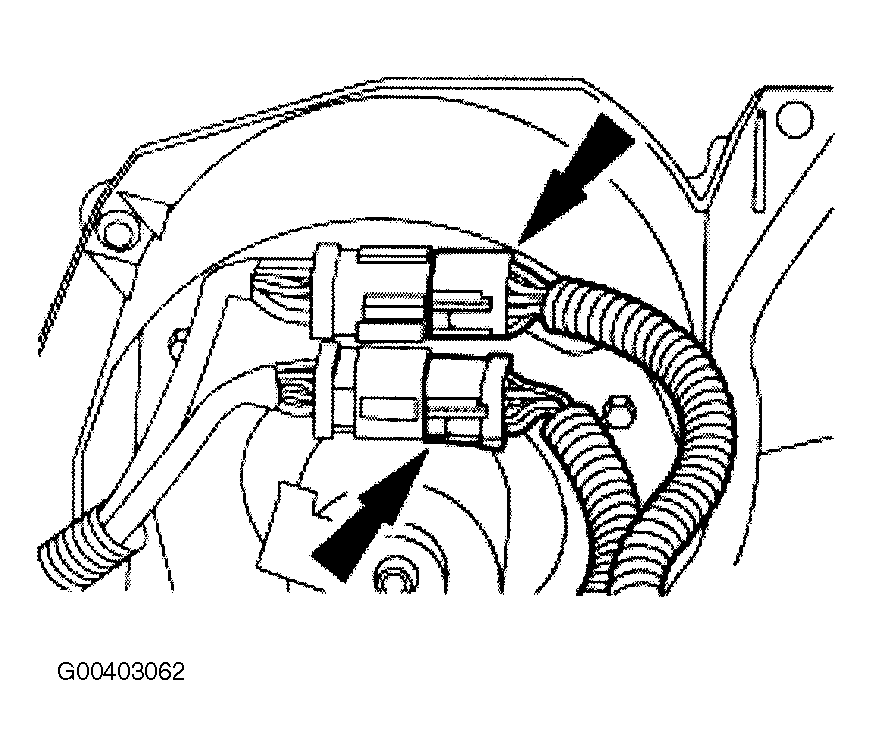
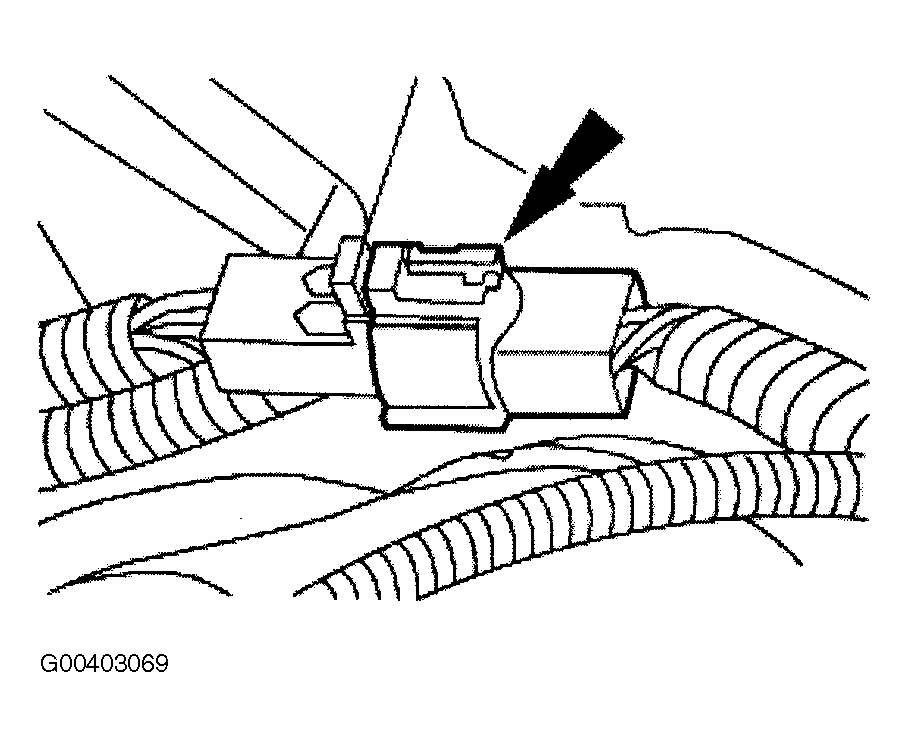
- Connect the RH engine compartment in-line wiring harness connectors.
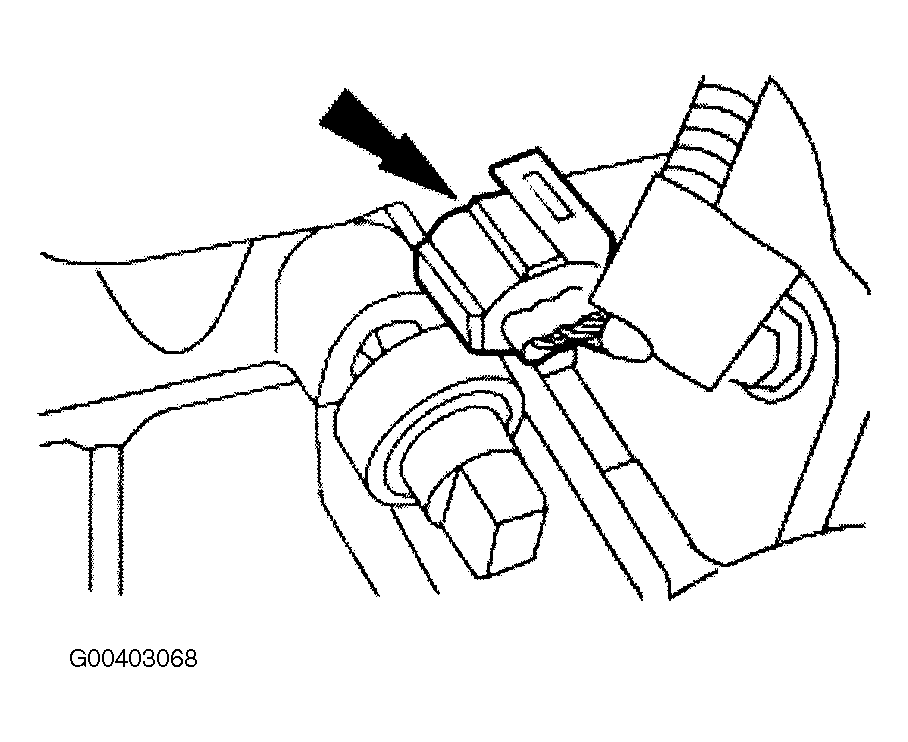
- Connect the A/C pressure cut-off switch electrical connector.
- Connect the blower motor electrical connector.
- Seat the LH wiring harness grommet.
- Connect the LH engine compartment in-line electrical connectors.
- Connect the windshield wiper motor electrical connector.
- Engage the wiring harness locators.
- Connect the brake fluid sensor electrical connector.
- Connect the LH engine compartment in-line electrical connector.
- Engage the wiring harness locators.
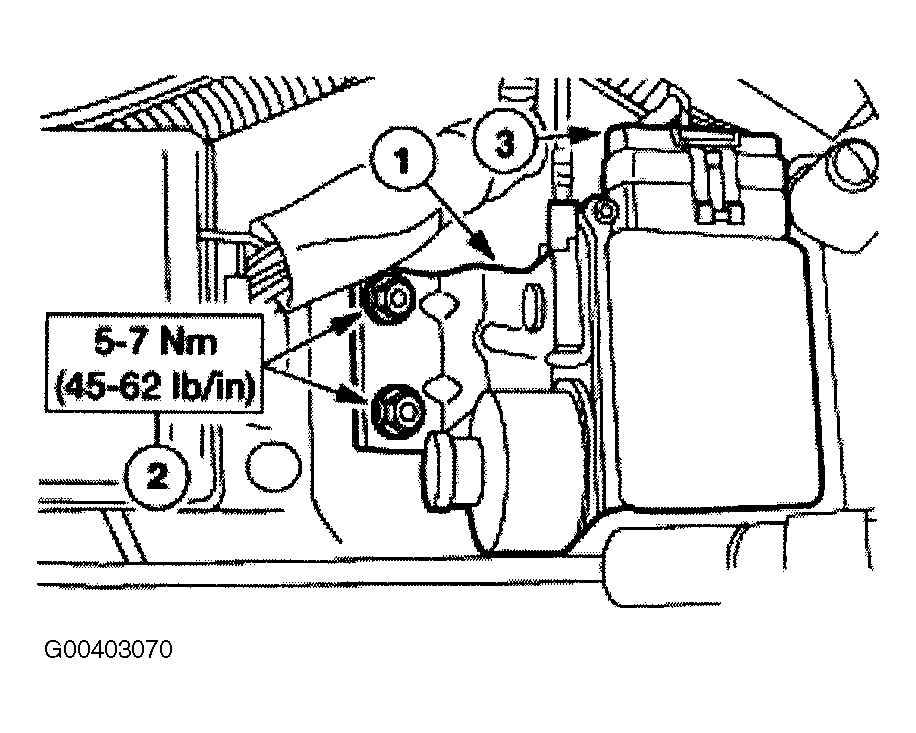
- Install the speed control servo.
- Position the speed control servo.
- Install the nuts.
- Connect the electrical connector.
- If equipped, install the floor console. For additional information, refer to FLOOR CONSOLE .
- Repower the Supplemental Restraint System (SRS). For additional information, refer to DISABLING & ACTIVATING AIR BAG SYSTEM .
NOTE:
Two technicians are needed to carry out this step.
NOTE:
Feed the LH wiring harness through the dash panel while carrying out this step.
NOTE:
Make sure the center instrument panel locator is engaged at the cowl top.