Brake Pads: Installation
CAUTION:
Do not allow grease, oil, brake fluid or other contaminants to contact the pad lining material. Do not install contaminated pads.
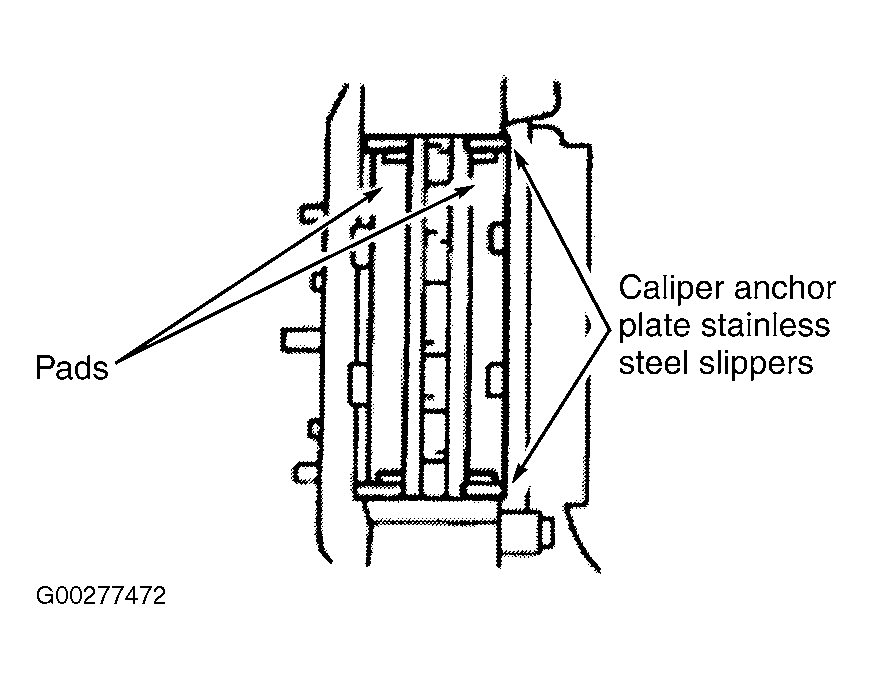
- Install the new disc brake caliper anchor plate stainless steel slippers. If required, make sure the slippers are clean and in good condition. See Fig 3 . Install the pads.
- Compress the caliper pistons.
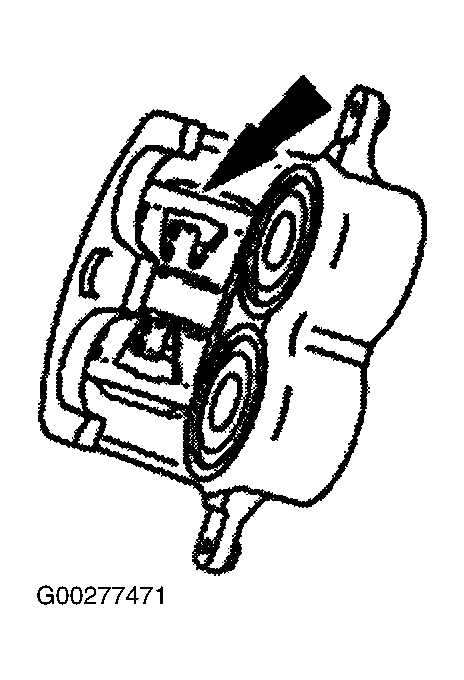
- Install the disc brake pad anti-rattle clip. See Fig 2 .
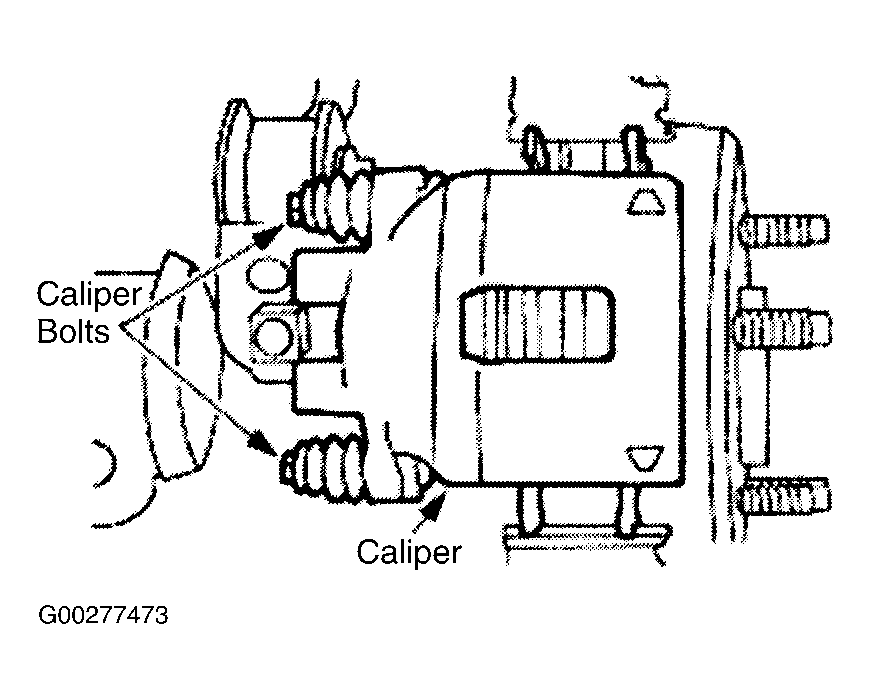
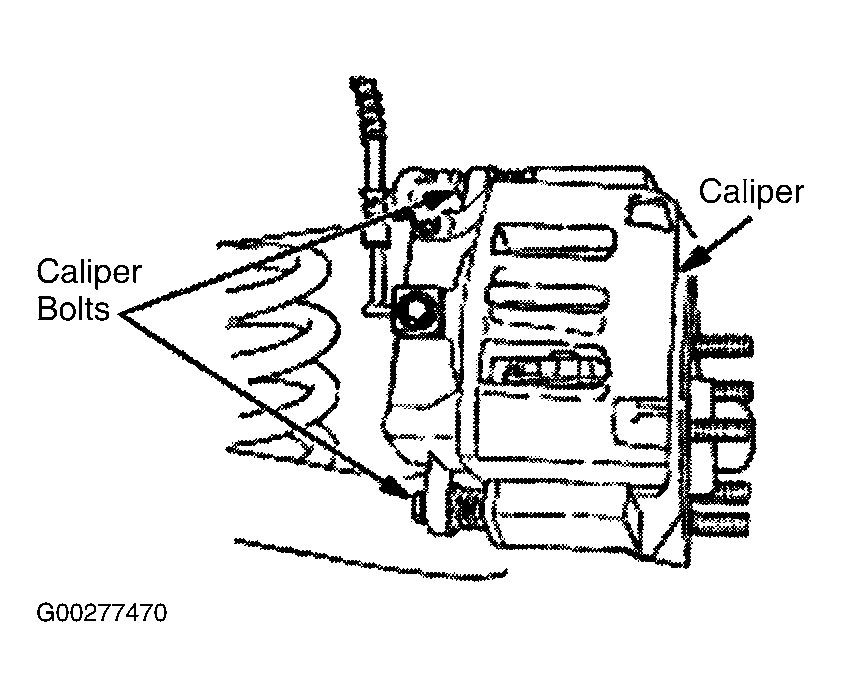
- Install the disc brake caliper. Install the disc brake caliper bolts. See Fig 1 .
- Install the wheel and tire assembly.
- Lower the vehicle.
- Fill the brake master cylinder reservoir with clean DOT 3 brake fluid. Install brake master cylinder filler cap.
- Inspect brake operation.
NOTE:
Use a wood block or used pad to protect pistons and boots.
CAUTION:
Use care not to damage the bleeder screw or brake disc shield.
NOTE:
Tighten the lower caliper bolt first.
NOTE:
If equipped with air suspension, reactivate the system by turning on the air suspension switch.
CAUTION:
Install the brake pads in full axle sets. Do not install new brake pads on only one side of vehicle.
- Install the new slipper and brake pads.
- Position the caliper on the anchor plate and install the bolts. See Fig 1 .
- Install the wheel and tire assembly.
- Lower the vehicle.
- Check the fluid level at the master cylinder. Add fluid if necessary.
- Verify correct brake operation.
- Recheck the master cylinder fluid level.
WARNING:
Use of any other than approved DOT 3 or DOT 4 brake fluid will cause permanent damage to brake components and will render the brakes inoperative. Failure to follow these instructions may result in personal injury.
WARNING:
Pump the brake pedal several times to make sure the caliper piston is extended to its operating position. Failure to follow these instructions may result in personal injury.