Drive Pinion: Installation
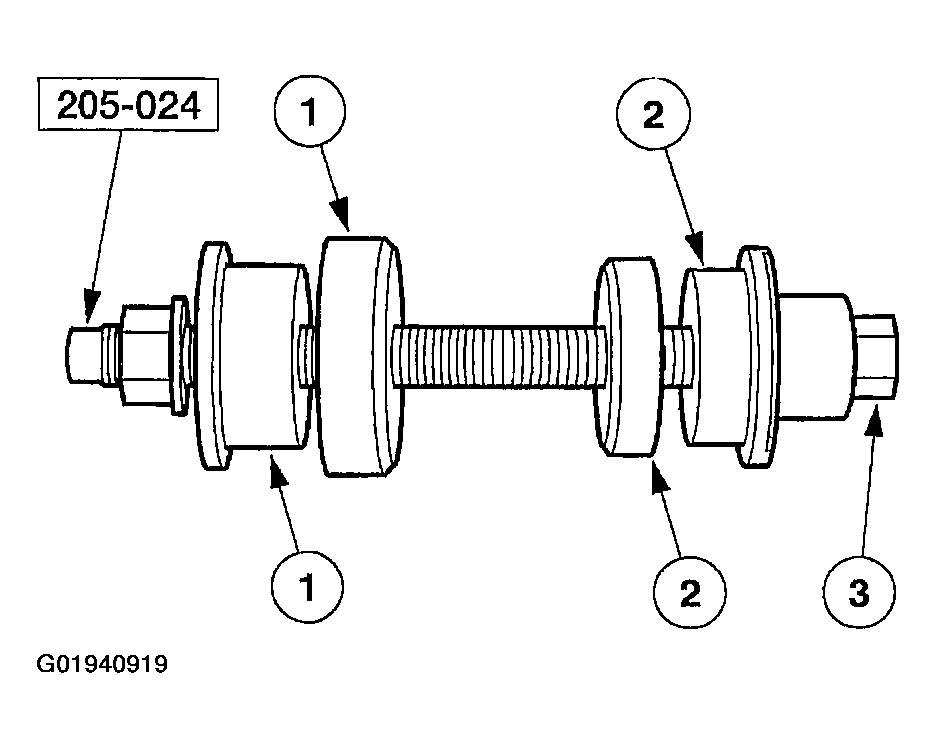
- Position the special tools and the inner and outer differential drive pinion bearing cups in their respective bores.
- After placing the inner and outer bearing cups in their bores, place the special tool on the inner bearing cup.
- Place the special tool on the outer bearing cup.
- Install the special tool into the replacer tools.
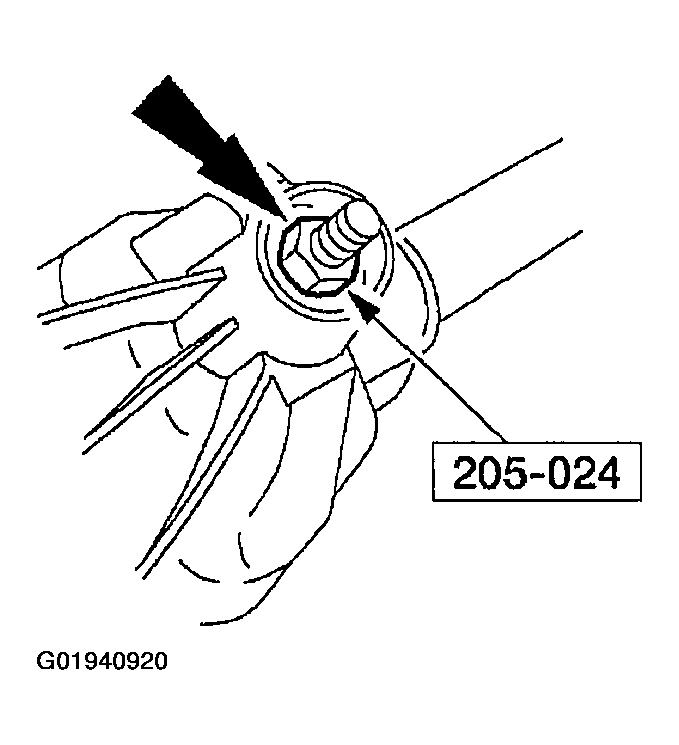
- Tighten the special tool to seat the differential drive pinion bearing cups into their bores.
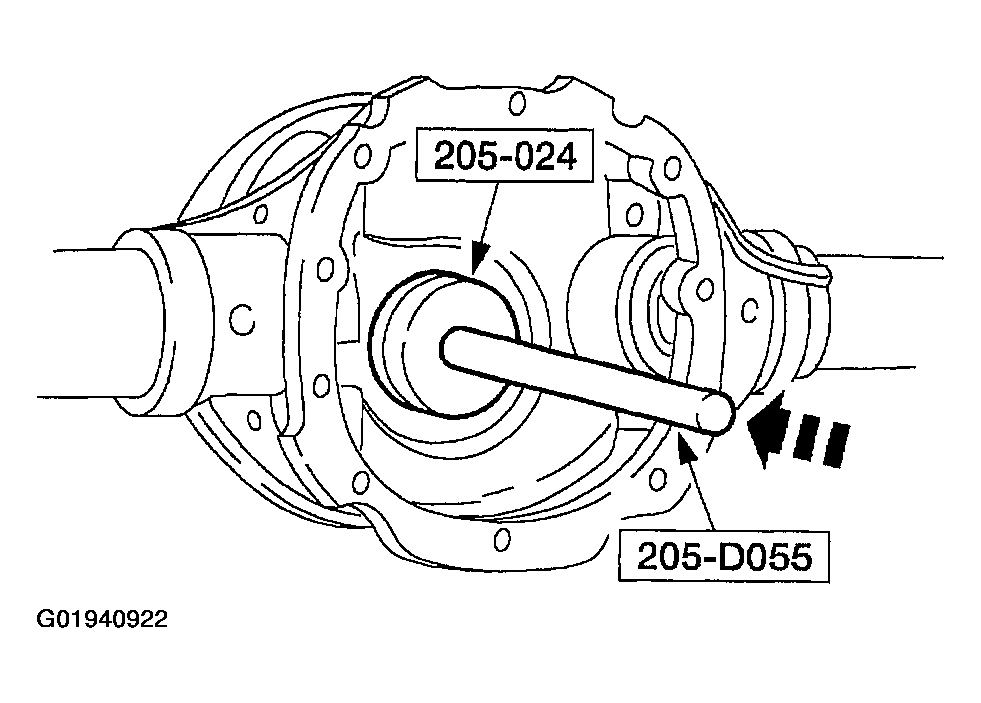
- Using the special tools, drive the outer differential drive pinion bearing cup into the differential housing.
- Using the special tools, drive the inner differential drive pinion bearing cup into the differential housing.
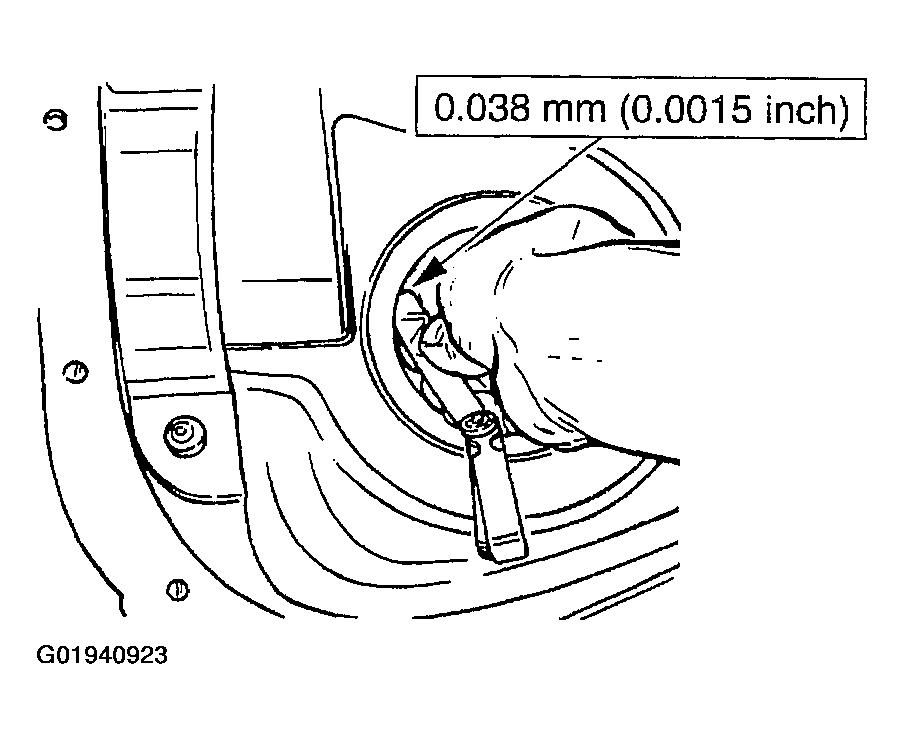
- Check that the cups have seated correctly in their bores.
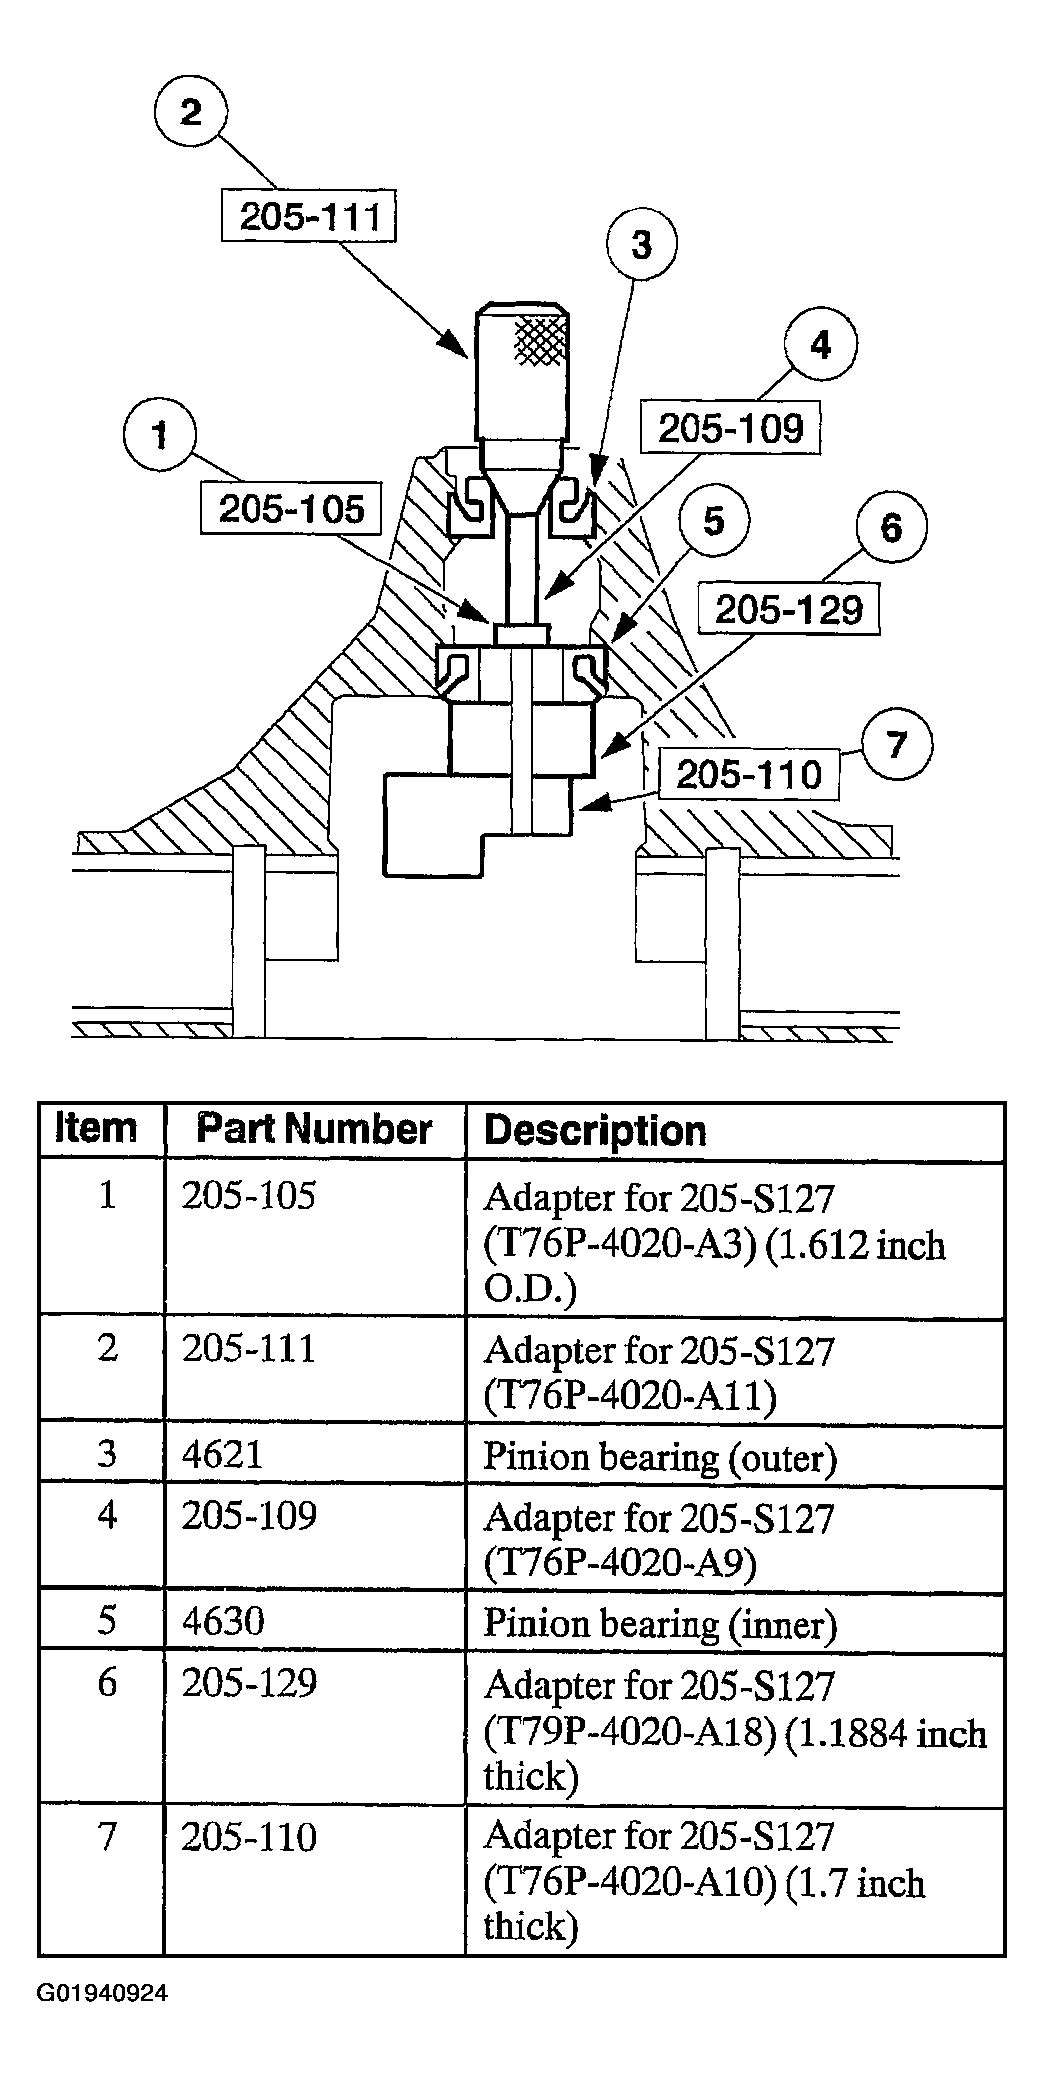
- Assemble and position the following in the differential housing.
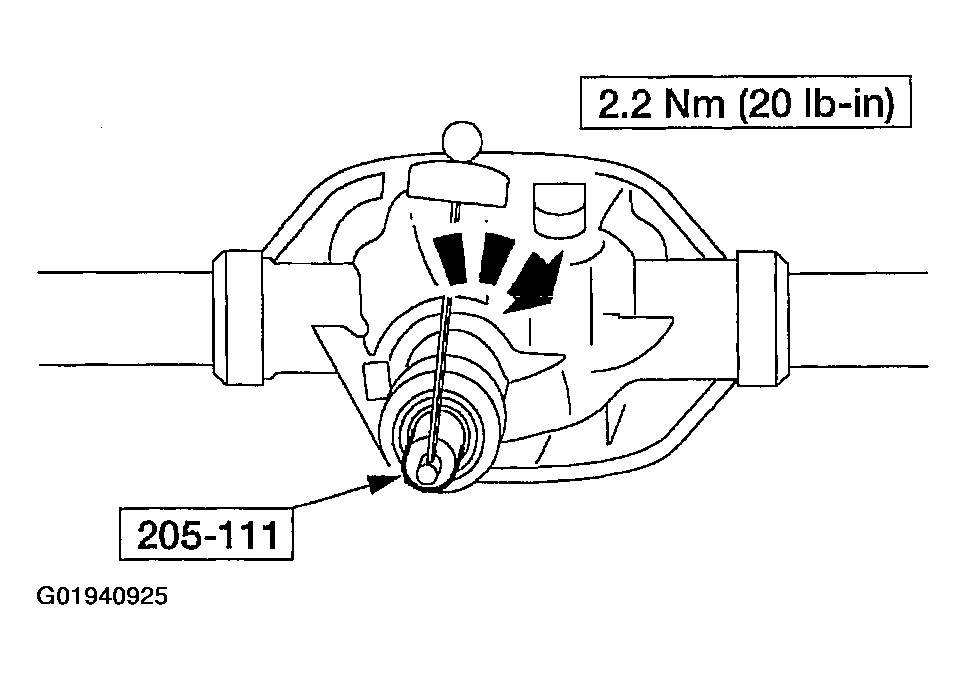
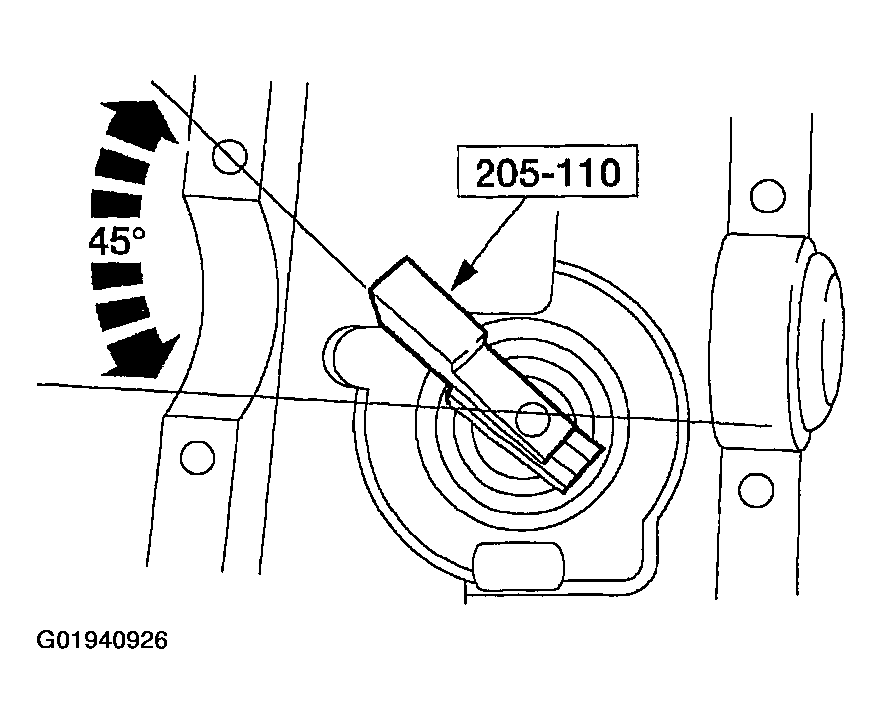
- Tighten the special tool to the specification shown.
- Rotate the special tool several half-turns to make sure the differential pinion bearings seat correctly and position the special tool as shown.
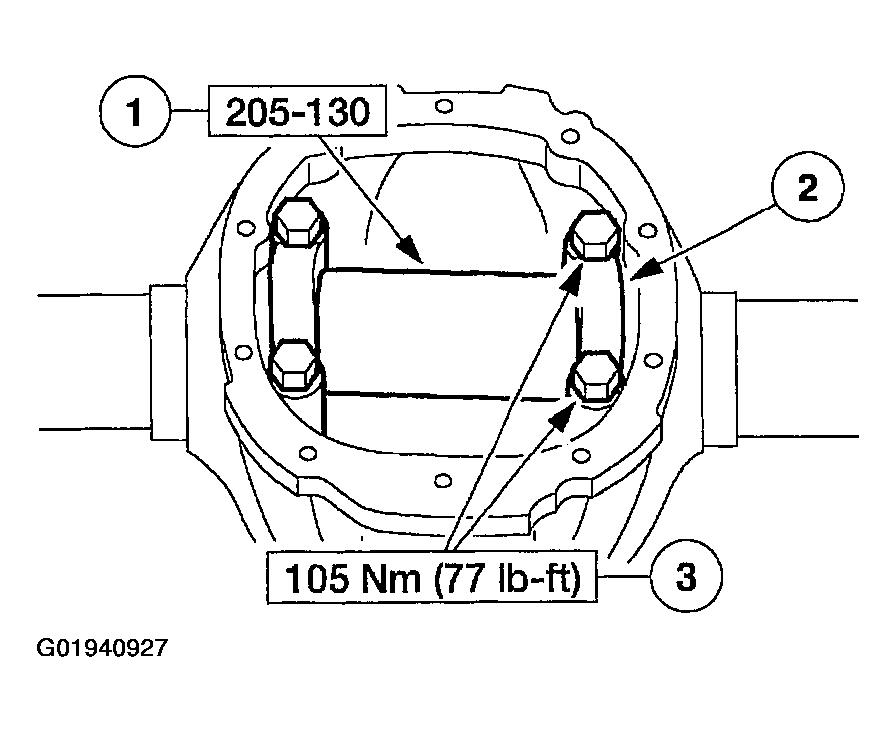
- Install the special tool.
- Position the special tool.
- Install the differential bearing caps.
- Install the bolts.
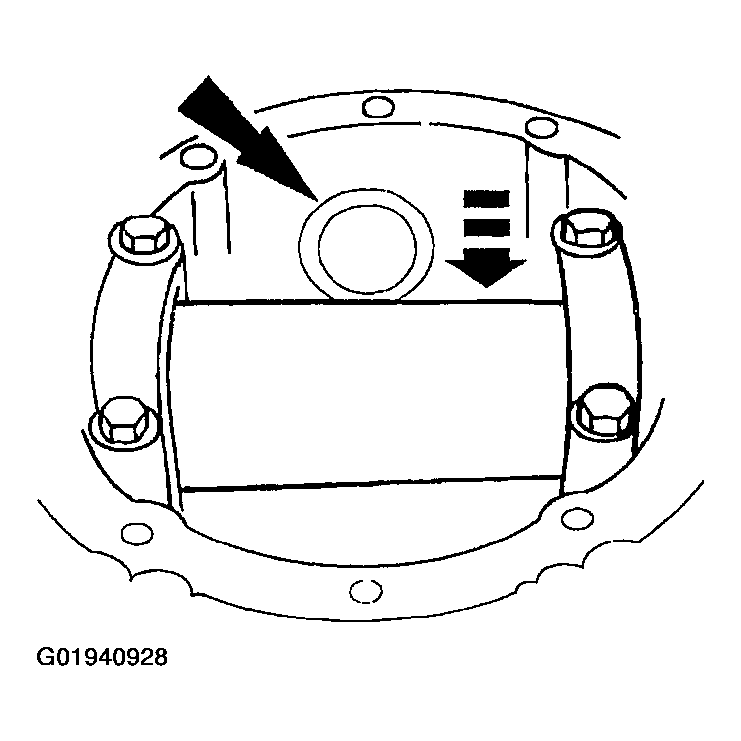
- Use a drive pinion bearing adjustment shim as a gauge for shim selection.
- After determining the correct shim thickness, remove the special tools.
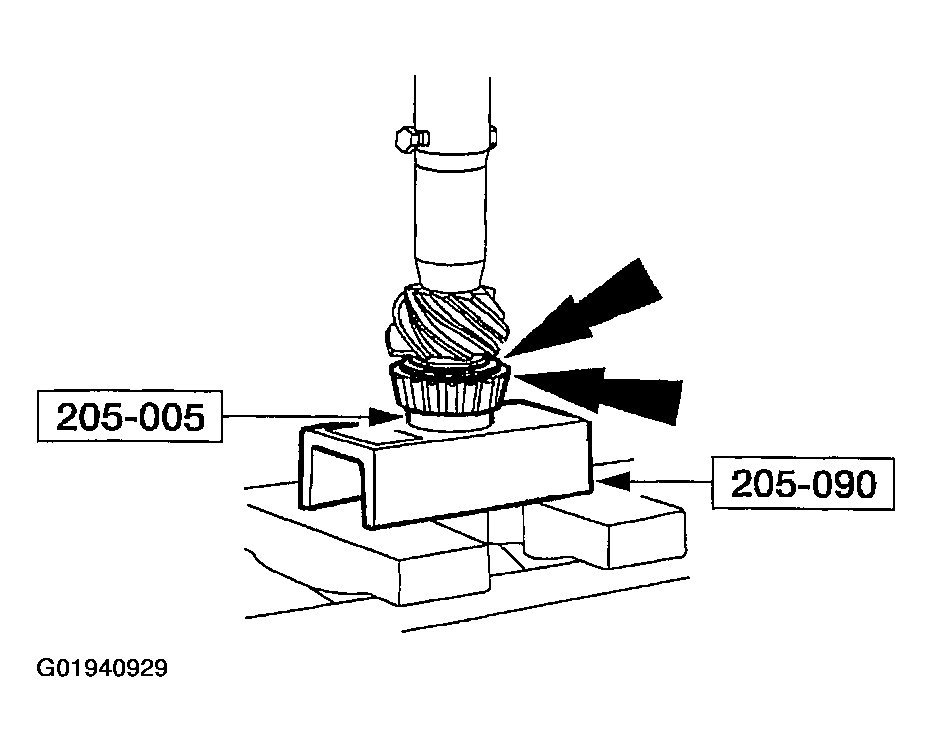
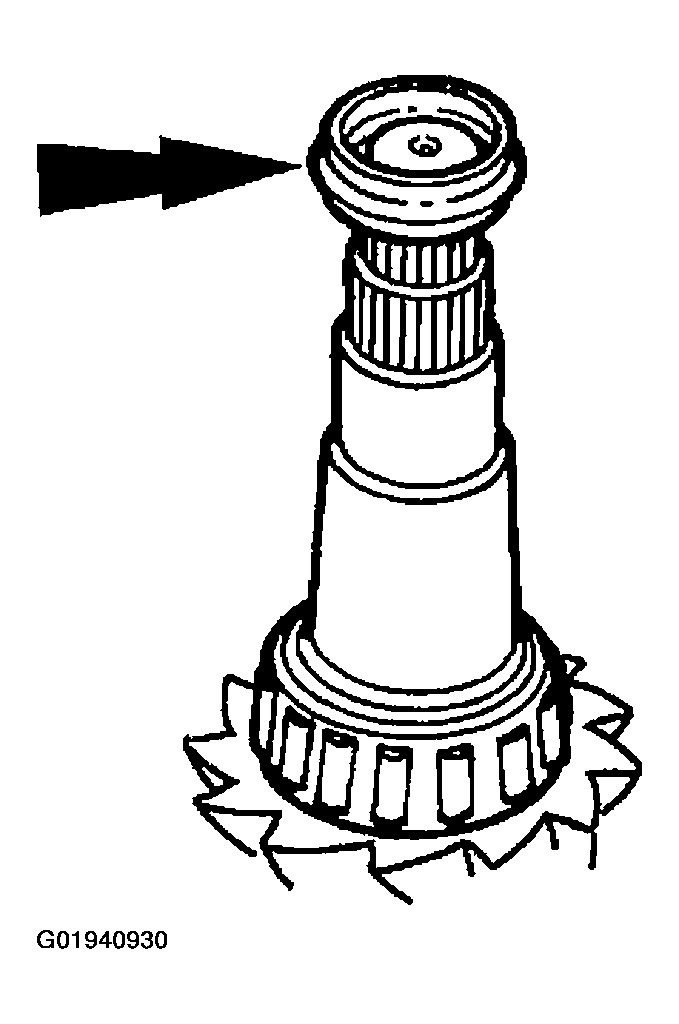
- Position the correct thickness drive pinion bearing adjustment shim and the differential pinion bearing on the drive pinion. Using a suitable press and the special tools, press the differential pinion bearing until it seats firmly on the pinion.
- Place a new differential drive pinion collapsible spacer on the pinion shaft against the pinion stem shoulder.
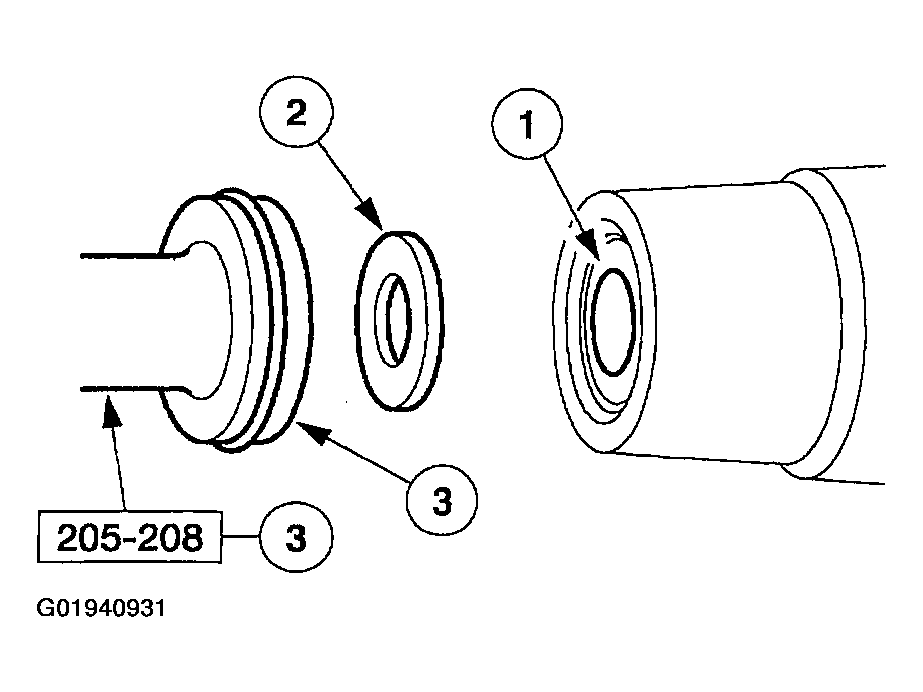
- Install a new rear axle drive pinion seal.
- Install the front differential pinion bearing.
- Install the rear axle drive pinion shaft oil slinger.
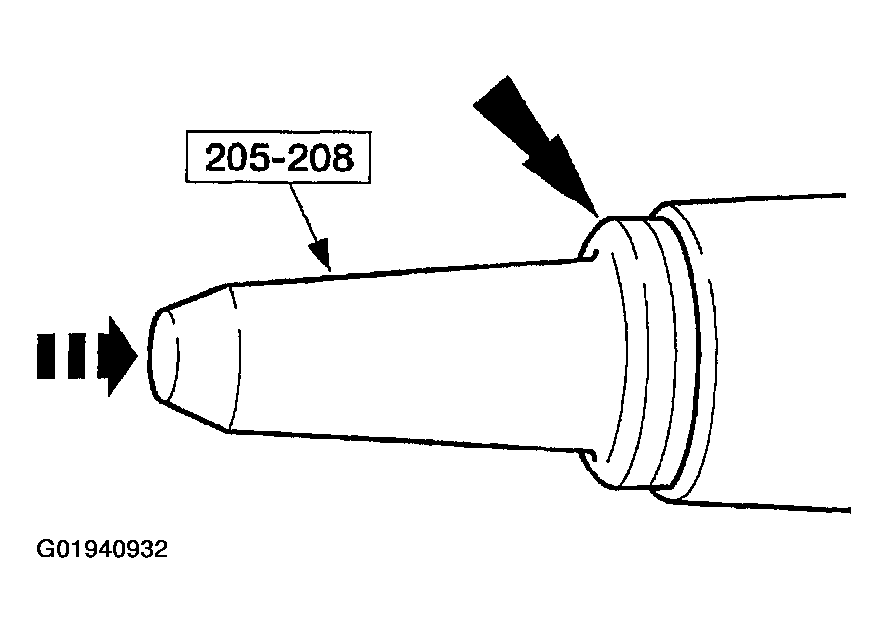
- Position the rear axle drive pinion seal on the special tool.
- Position the rear axle drive pinion seal in the seal bore, and use the special tool to drive the seal into place.
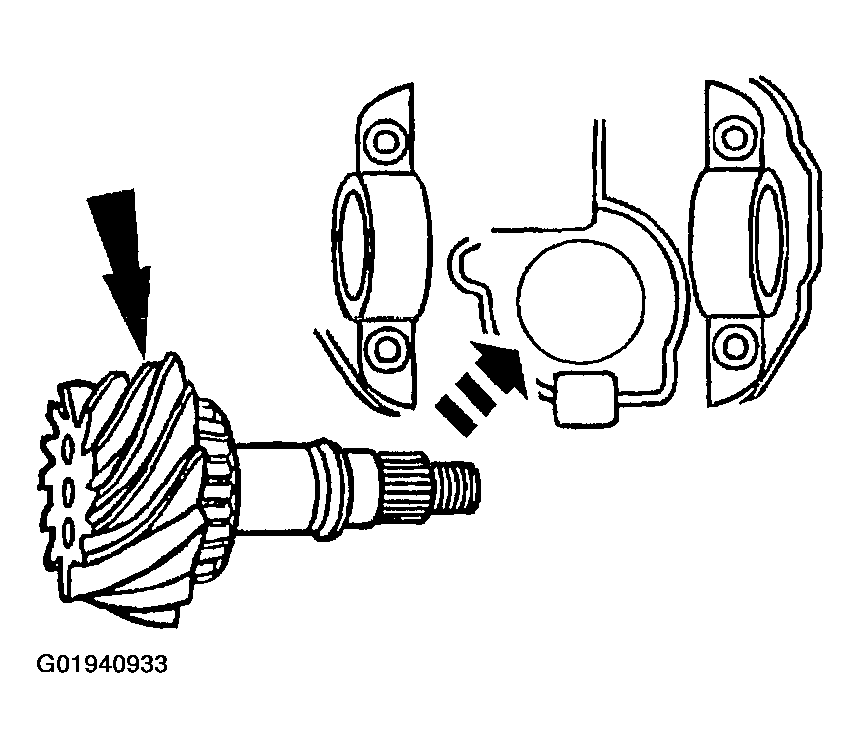
- From inside the differential housing, install the drive pinion assembly (drive pinion, shims, bearing, and the collapsible spacer) into the carrier bore.
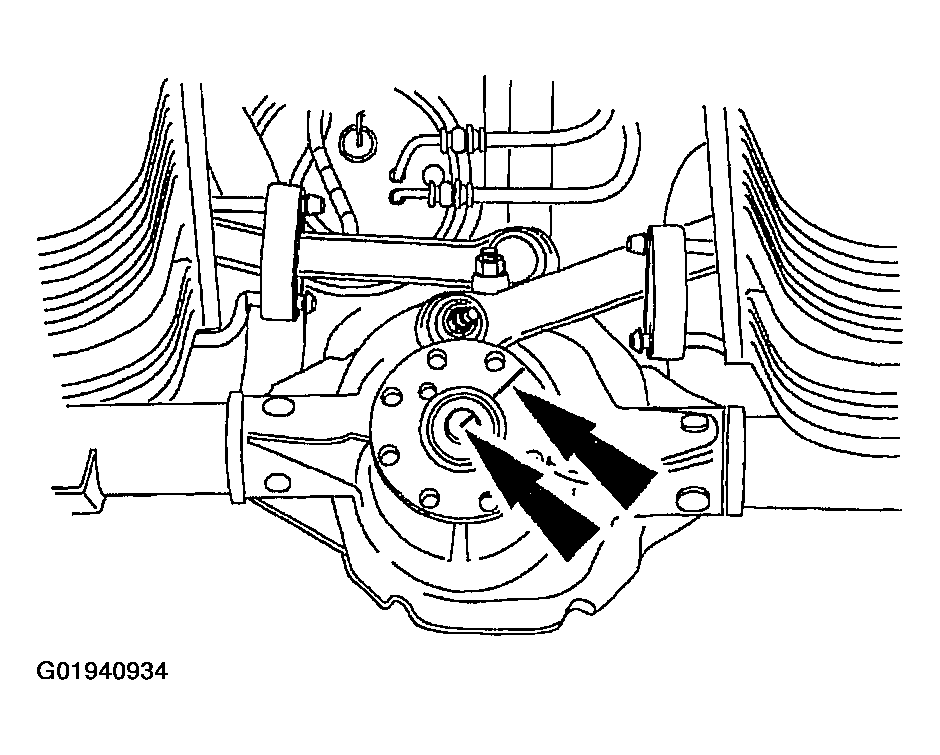
- Lubricate the pinion flange splines.
- Use SAE 80W-90 Premium Rear Axle Lubricant XY-80W90-QL or equivalent meeting Ford specification WSP-M2C197-A.
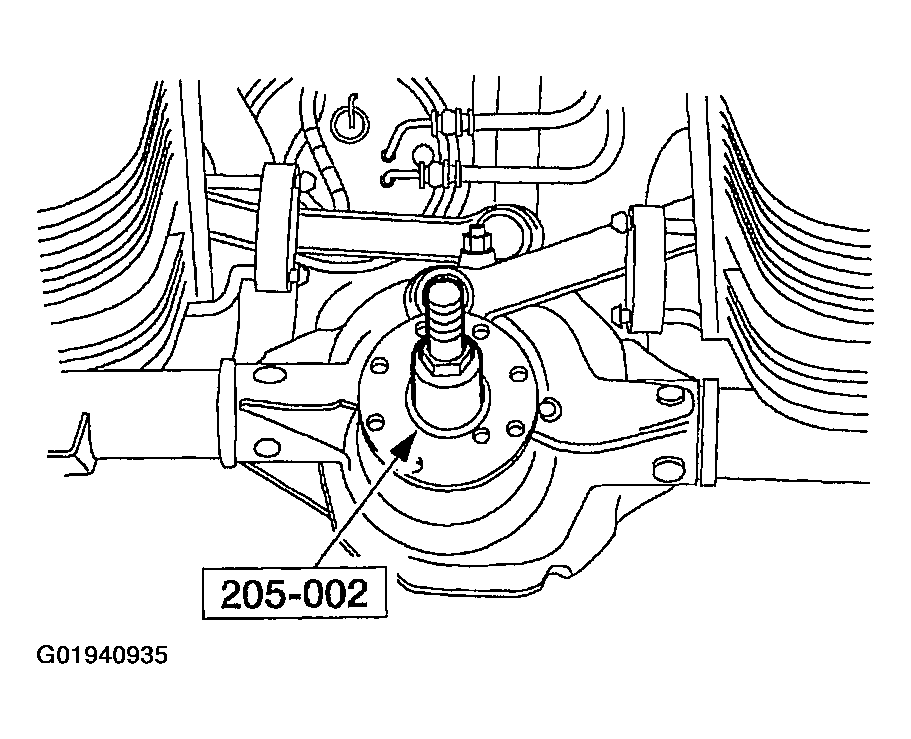
- Position the pinion flange.
- Using the special tool, install the pinion flange.
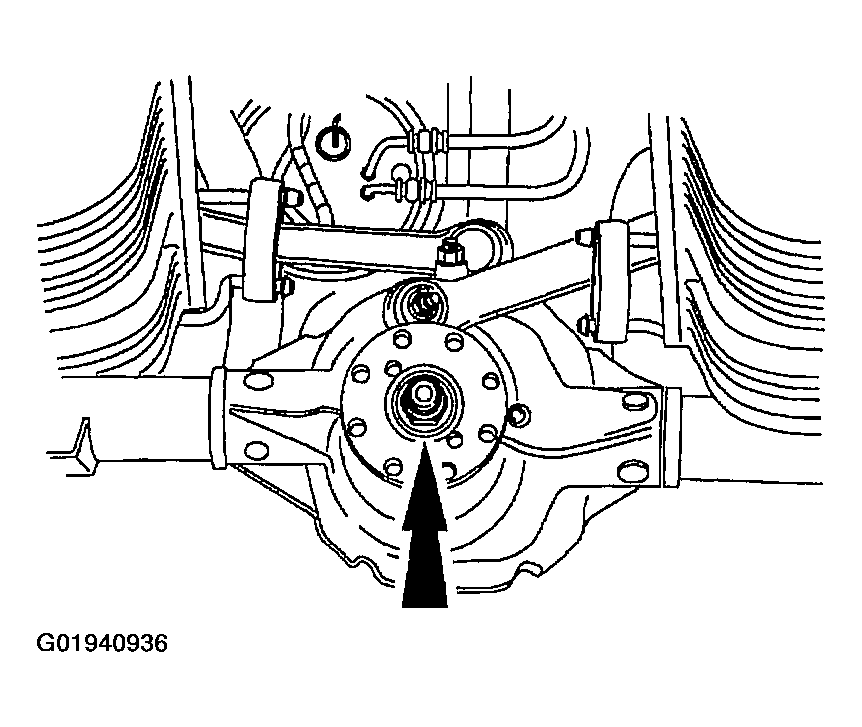
- Position the new nut.
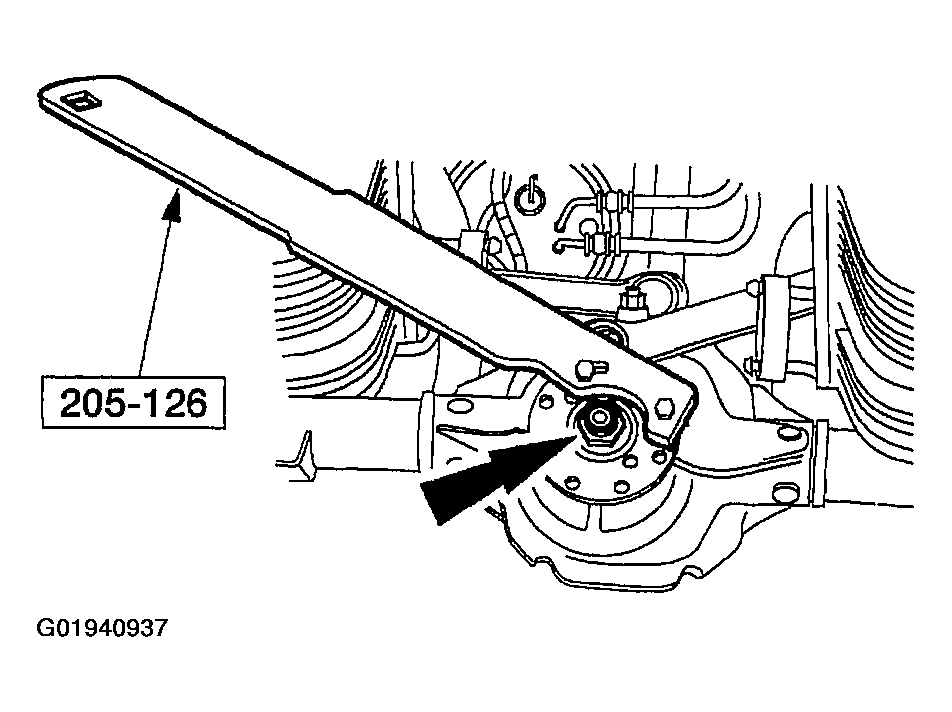
- Use the special tool to hold the pinion flange while tightening the nut.
- Rotate the pinion occasionally to make sure the differential pinion bearings (4621) (4630) seat correctly. Take frequent differential pinion bearing preload readings by rotating the pinion with a Nm (inch-pound) torque wrench.
- For new differential pinion bearings, tighten the nut to specification. Refer to torque specifications for new differential pinion bearings, see SPECIFICATIONS .
- For used differential pinion bearings, if the preload recorded prior to disassembly is lower than the specification for used bearings, tighten the nut to specification. See SPECIFICATIONS
- For used differential pinion bearings, if the preload recorded prior to disassembly is higher than the specification for used bearings, tighten the nut to the original reading as recorded.
- Install the differential case in the differential housing. For additional information, refer to DIFFERENTIAL CASE .
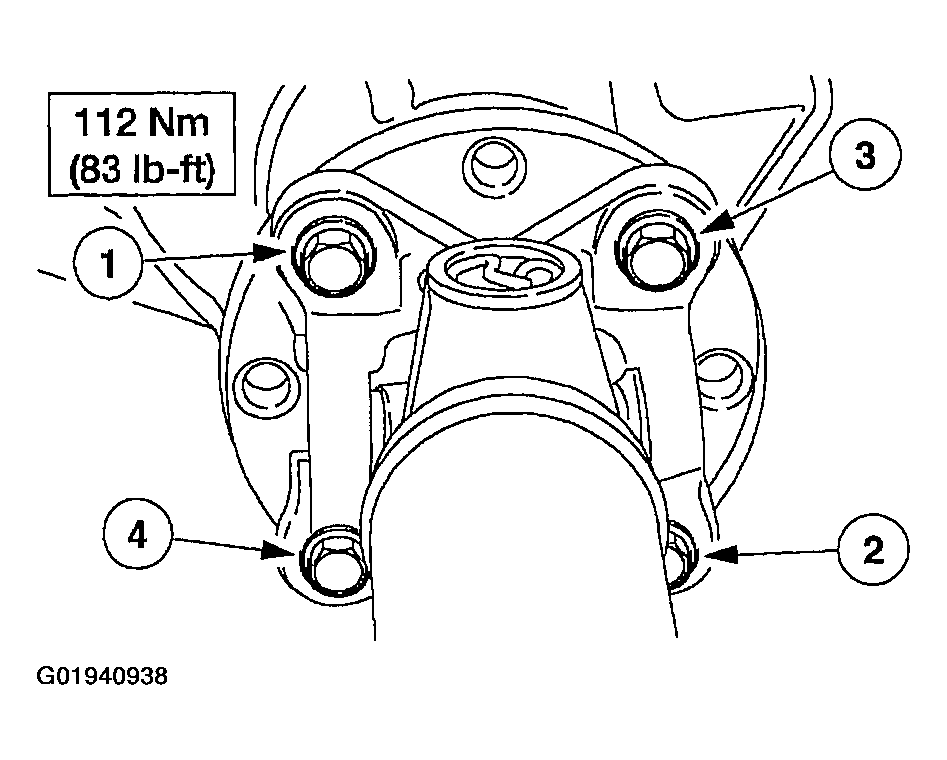
- Install the driveshaft.
NOTE:
This step and the following step show the preferred method for installing the differential drive pinion bearing cups. An alternate method is shown following these two steps.
 Courtesy of FORD MOTOR CO.
NOTE:
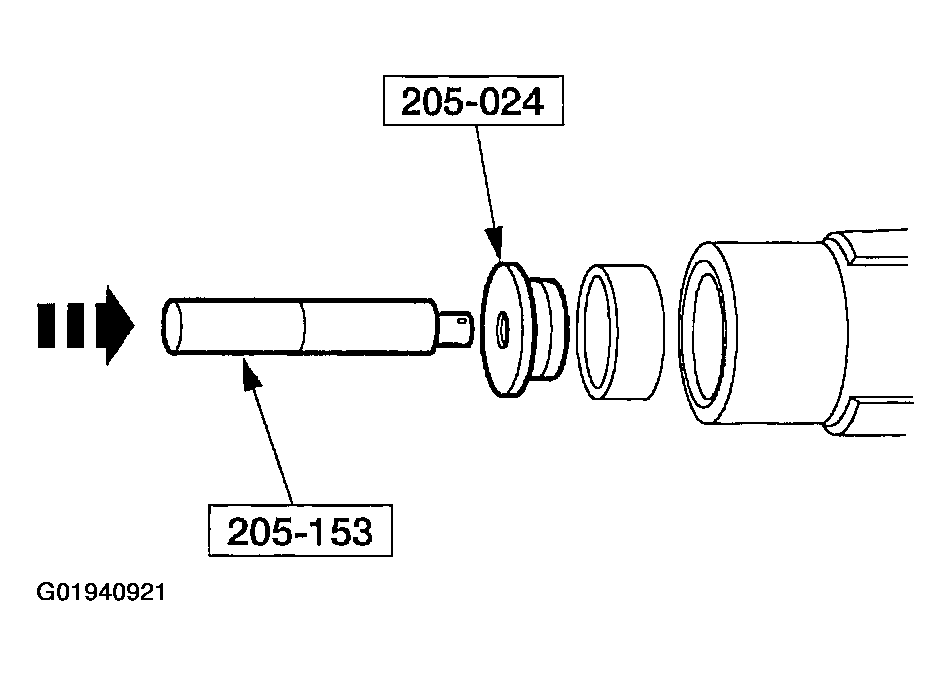
This step and the following step are alternate methods for installing the differential drive pinion bearing cups. Carry out these two steps if differential drive pinion bearing cup installation was not done in the previous steps.
Fig 3: Installing Outer Differential Drive Pinion Bearing Cup Using Drive Pinion Bearing Cup Installer & Handle
 Courtesy of FORD MOTOR CO.
CAUTION:
Always install new differential pinion bearings when installing new differential drive pinion bearing cups.
NOTE:
If the feeler gauge can fit between a cup and the bottom of its bore at any point around the cup, remove and reseat the cup.
NOTE:
Apply only a light oil film on the differential pinion bearings before assembling the tool.
NOTE:
This step duplicates final differential pinion bearing preload.
CAUTION:
Offset the special tool to obtain an accurate reading.
CAUTION:
Use only flat, clean drive pinion bearing adjustment shims (4663).
CAUTION:
Selection of too thick a shim results in a deep tooth contact at final assembly. Do not attempt to force the shim between the Gauge Block and the Gauge Tube. A slight drag indicates correct shim selection.
CAUTION:
Installation without the correct tool can result in early seal failure.
CAUTION:
If the rear axle drive pinion seal becomes misaligned during installation, remove the seal and install a new seal.
NOTE:
Coat the rear axle drive pinion seal lips with Premium Long-Life Grease XG-1-C or equivalent meeting Ford specification ESA-M1C75-B.
 Courtesy of FORD MOTOR CO.
NOTE:
Disregard the index marks if installing a new pinion flange.
CAUTION:
Do not under any circumstance loosen the nut to reduce preload. If it is necessary to reduce preload, install a new collapsible spacer and nut.
CAUTION:
Remove the special tool while taking preload readings with the N.m (inch-pound) torque wrench.
CAUTION:
Align the index marks.
CAUTION:
The driveshaft centering socket yoke fits tightly on the rear axle pinion flange pilot. To ensure that the yoke seats squarely on the flange, tighten the bolts evenly in a cross pattern as shown.