Engine Front Cover: Installation
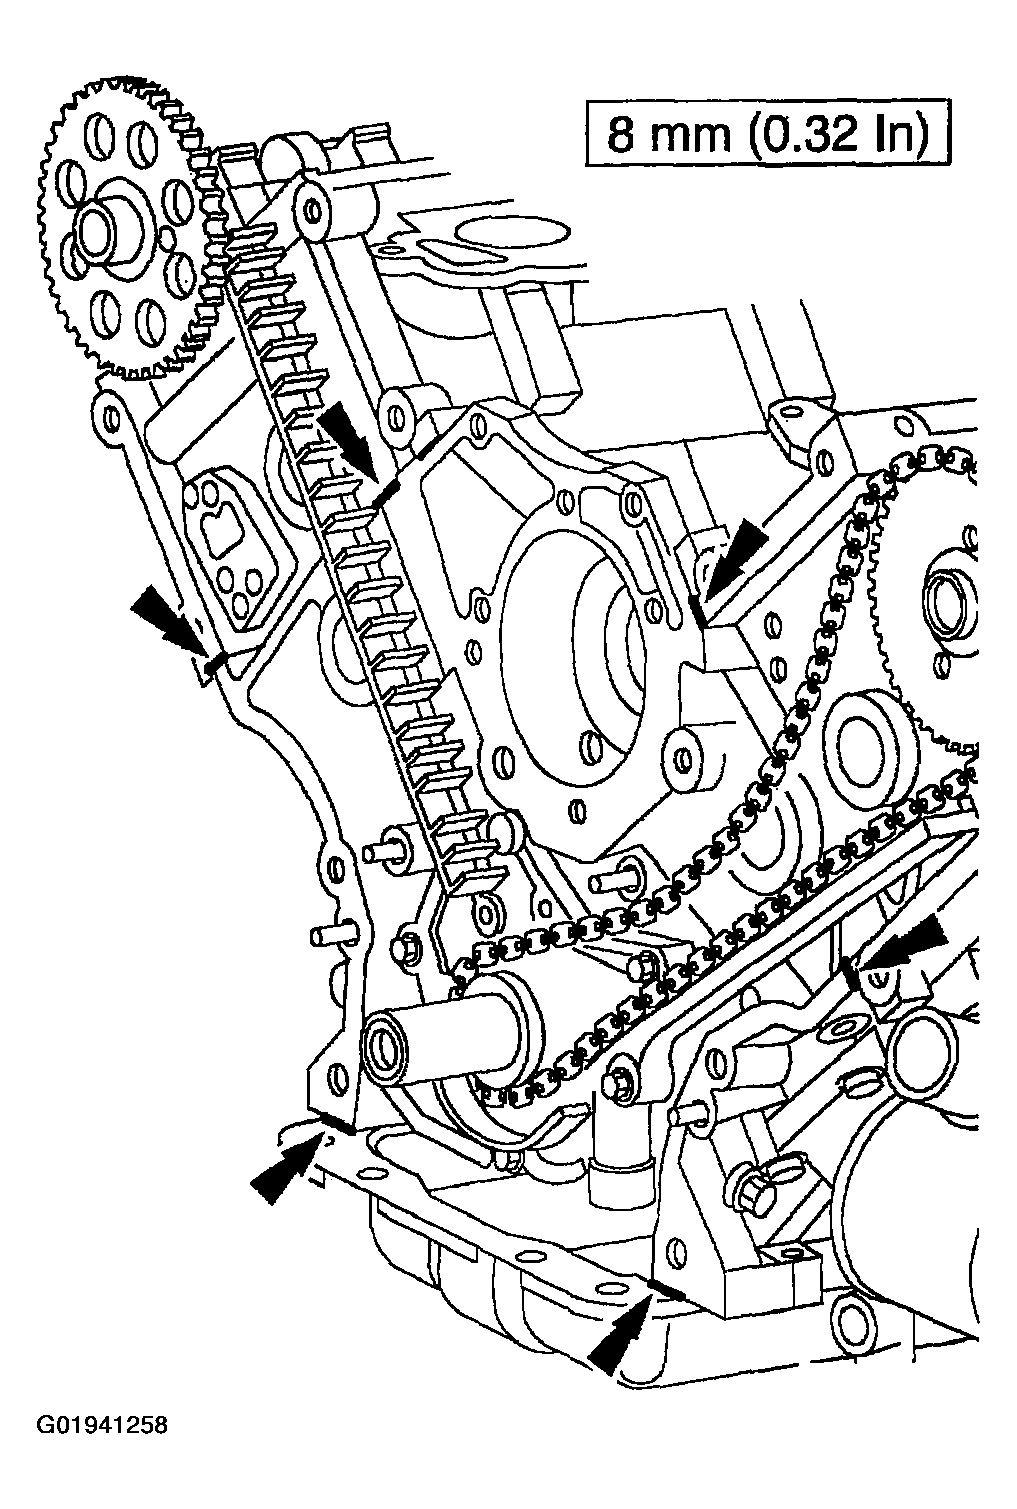
- Apply silicone along the cylinder head-to-block surface and the oil pan-to-cylinder block surface.
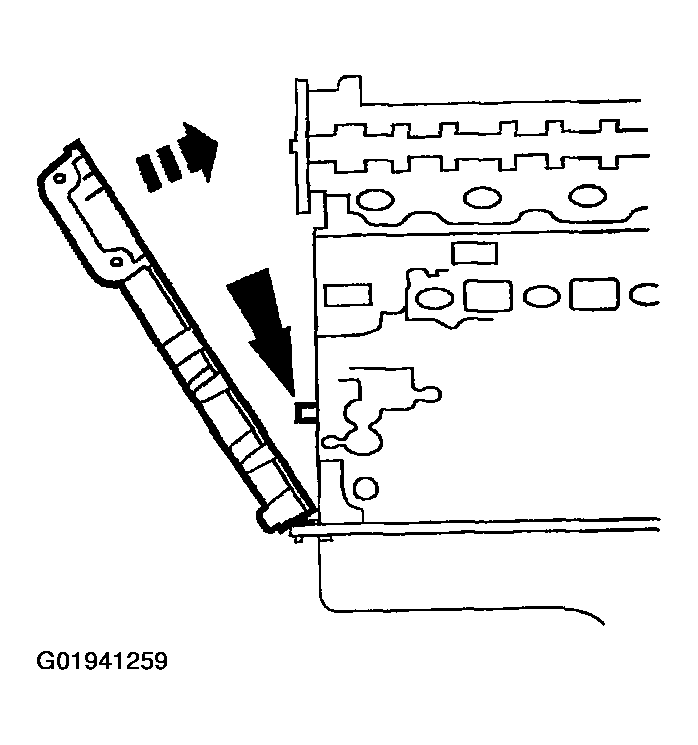
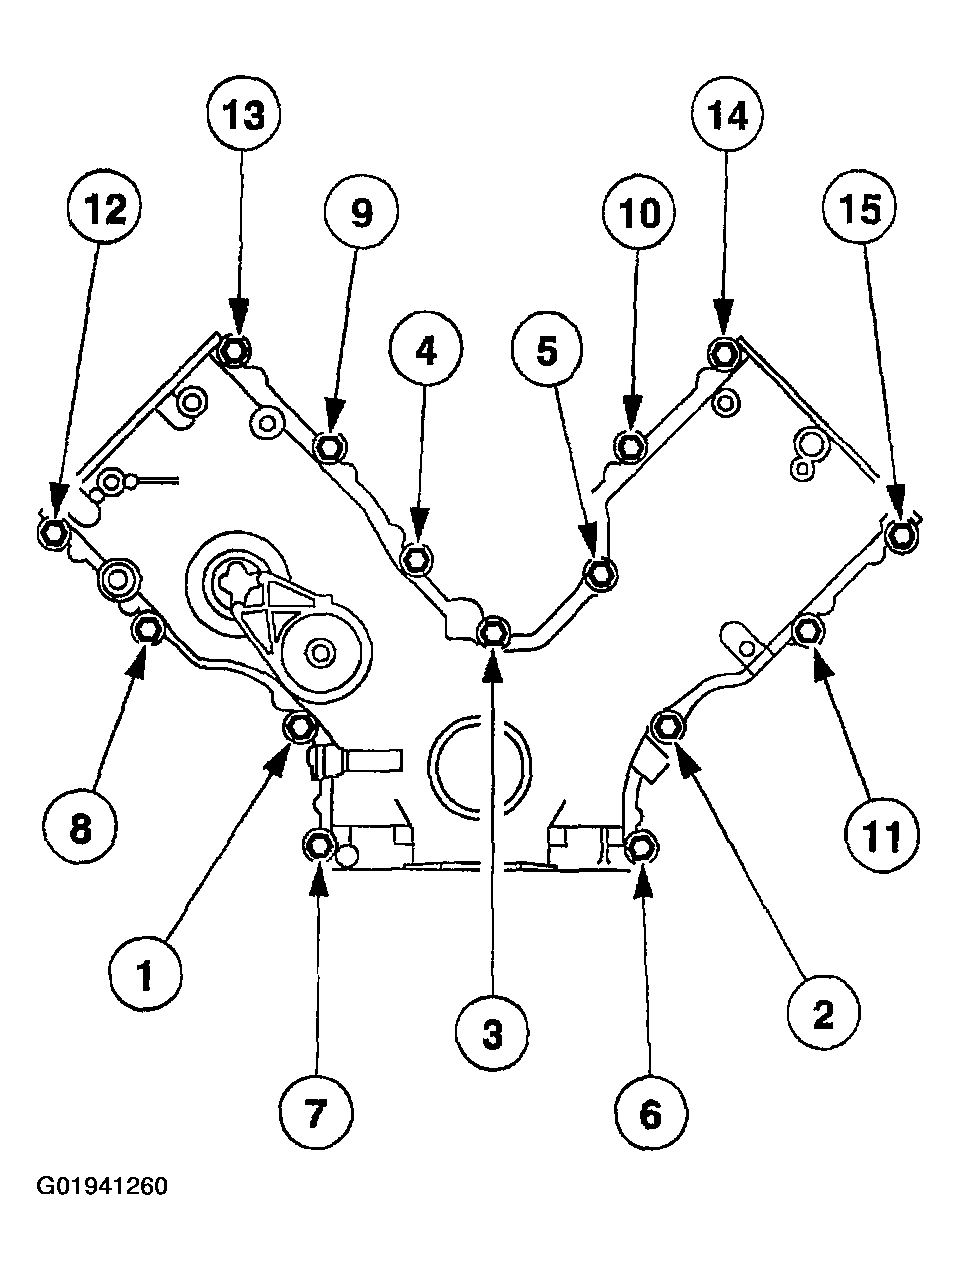
- Install the engine front cover on the front cover-to-cylinder block dowel and loosely install the bolts.
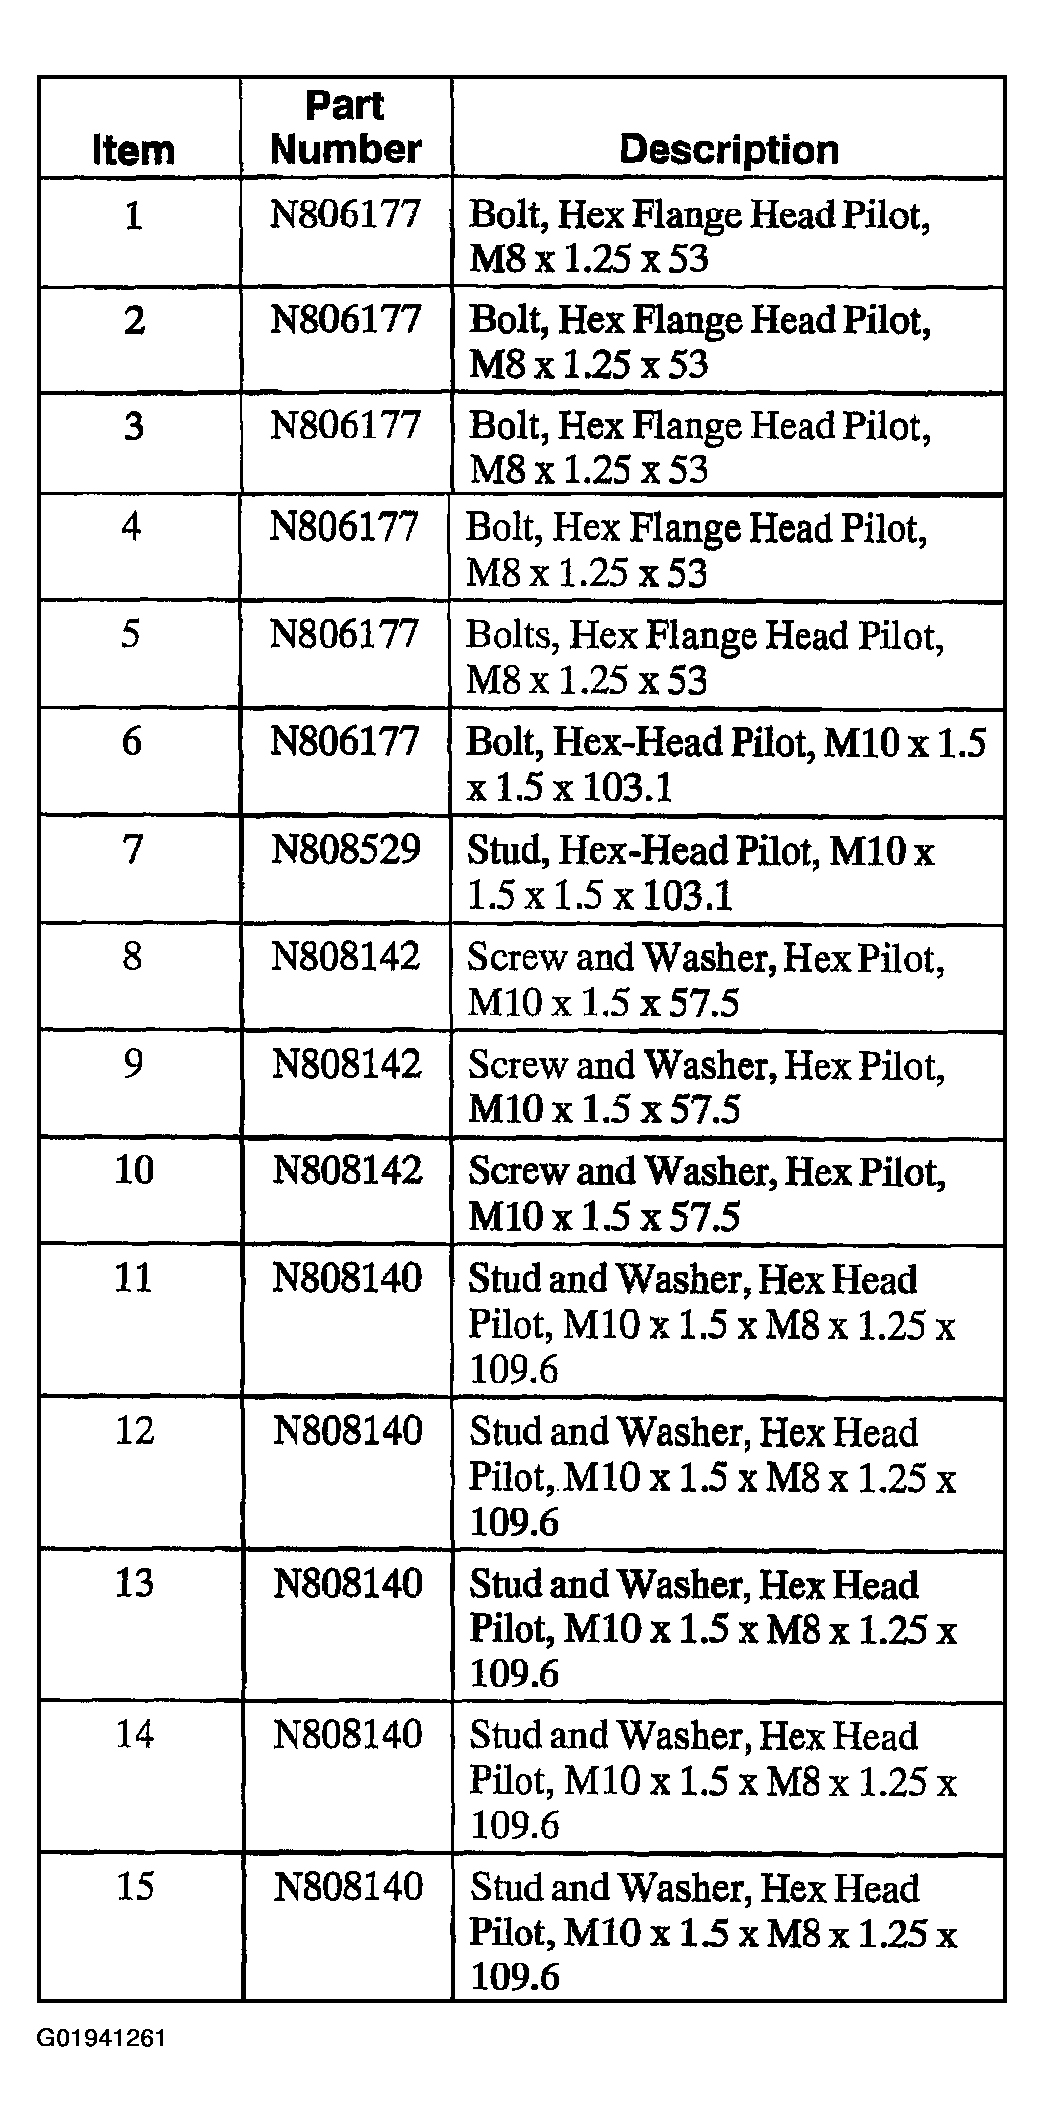
- Tighten the front cover bolts and stud bolts in sequence in two stages.
Stage 1: Tighten fasteners 1 through 7 to 25 N.m (18 lb-ft).
Stage 2: Tighten fasteners 6 through 15 to 40-55 N.m (29-40 lb-ft).
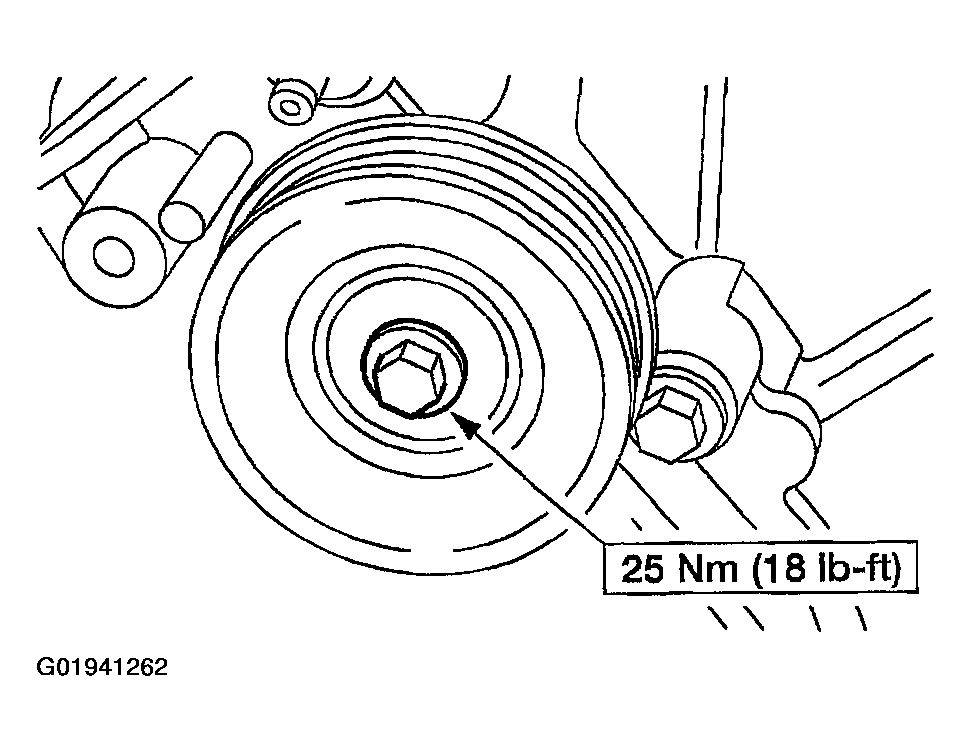
- Position the belt idler pulley and install the bolt.
- Install a new engine front cover front oil seal. For additional information, refer to CRANKSHAFT FRONT OIL SEAL .
- Raise and support the vehicle.
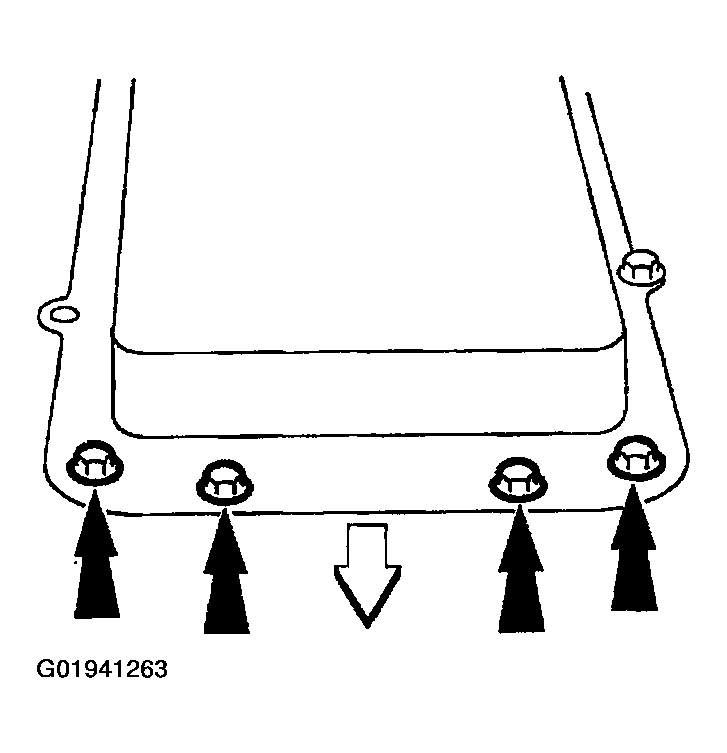
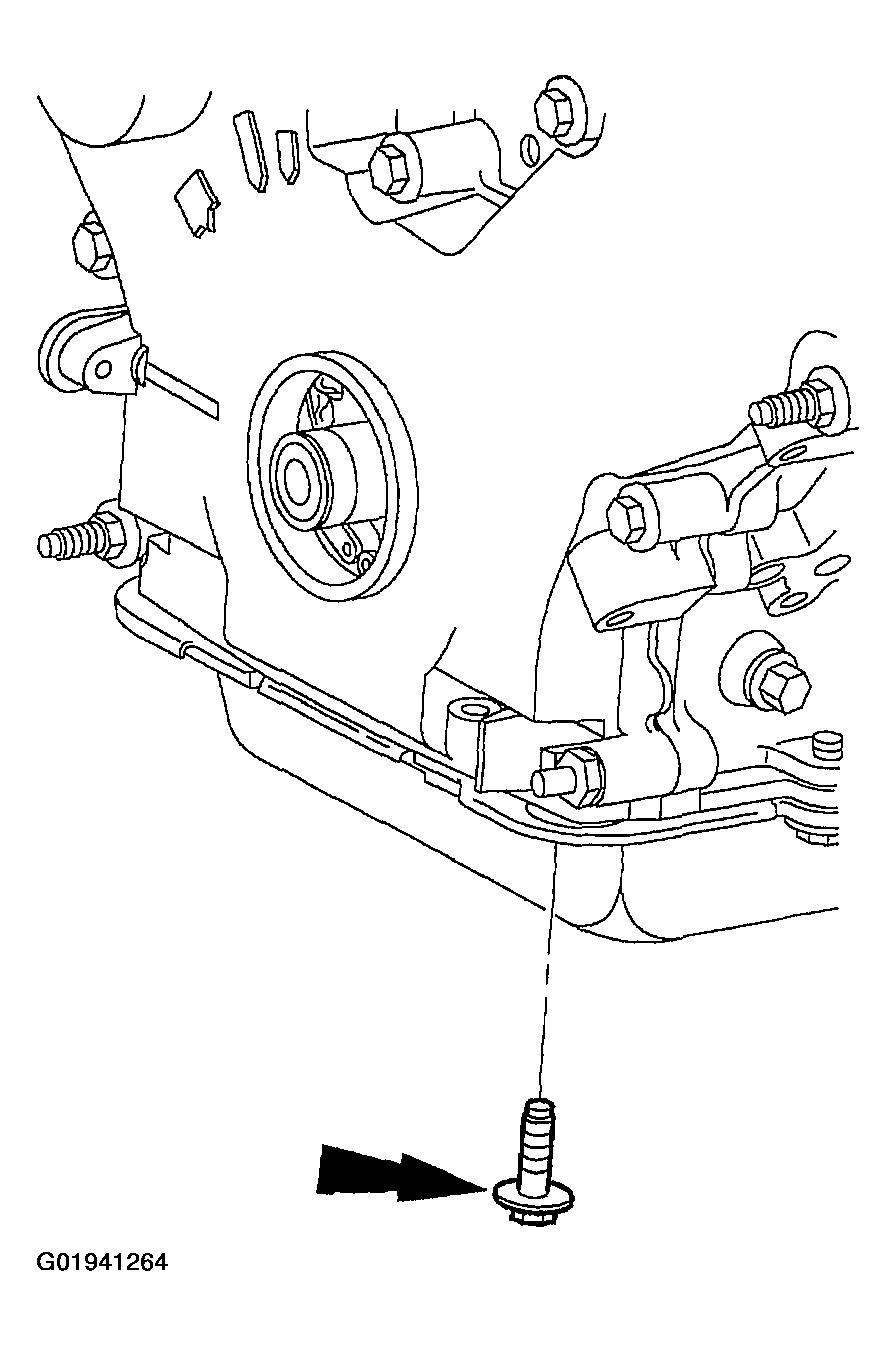
- Loosely install the front oil pan bolts.
- Tighten the bolts in two stages.
- Stage 1: Tighten to 20 N.m (15 lb-ft).
- Stage 2: Tighten an additional 60 degrees.
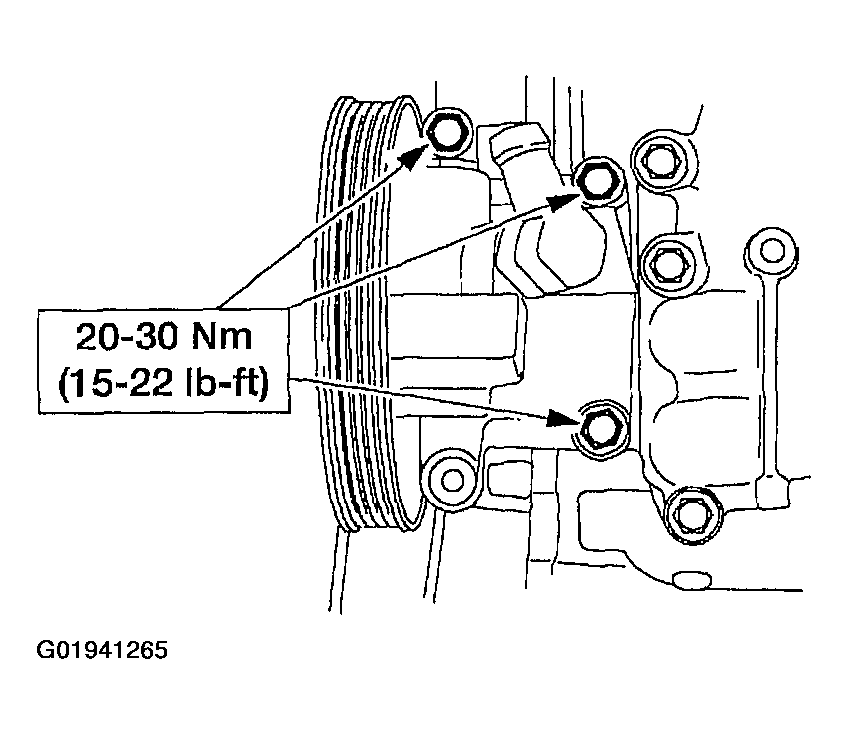
- Position the power steering pump and install the bolts.
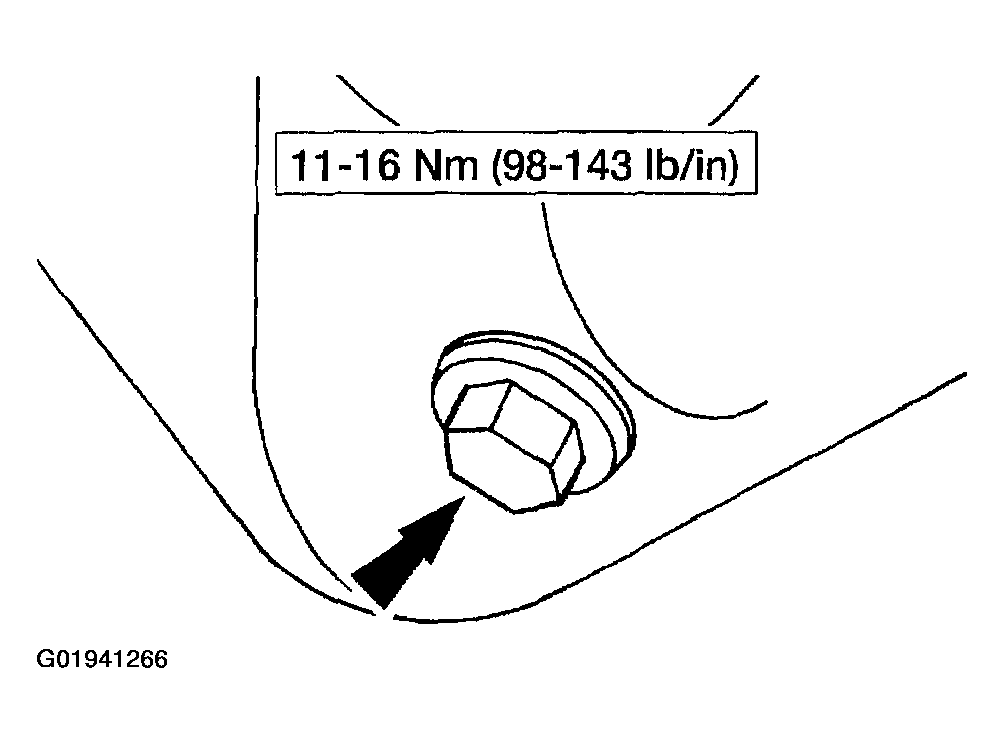
- Install the oil pan drain plug.
- Lower the vehicle.
- Install the valve covers. For additional information, refer to VALVE COVER RH and VALVE COVER LH .
- Install the water pump.
- Connect the battery ground cable. For additional information, refer to BATTERY, MOUNTING & CABLES .
- Fill the engine with oil.
NOTE:
If the engine front cover is not secured within four minutes, the sealant must be removed and the sealing area cleaned with metal surface cleaner. Allow to dry until there is no sign of wetness, or for four minutes, whichever is longer. Failure to follow this procedure can cause future oil leakage.
 Courtesy of FORD MOTOR CO.
NOTE:
Make sure to tighten the bolts in two stages.
NOTE:
The front lower hole in the power steering pump is not used.