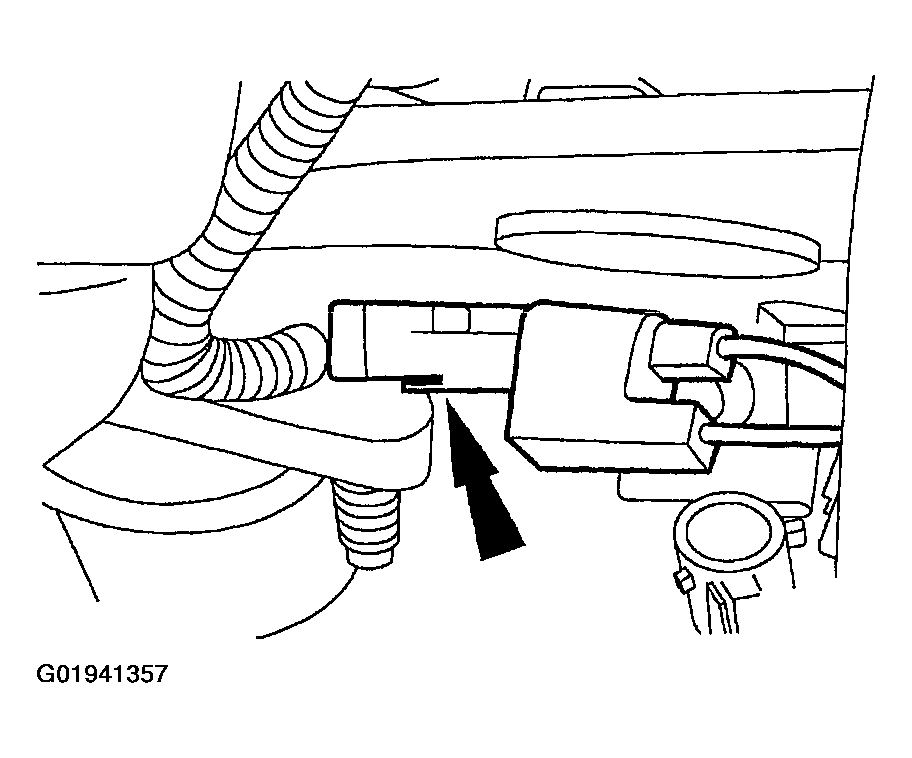
Cylinder Head LH: Installation
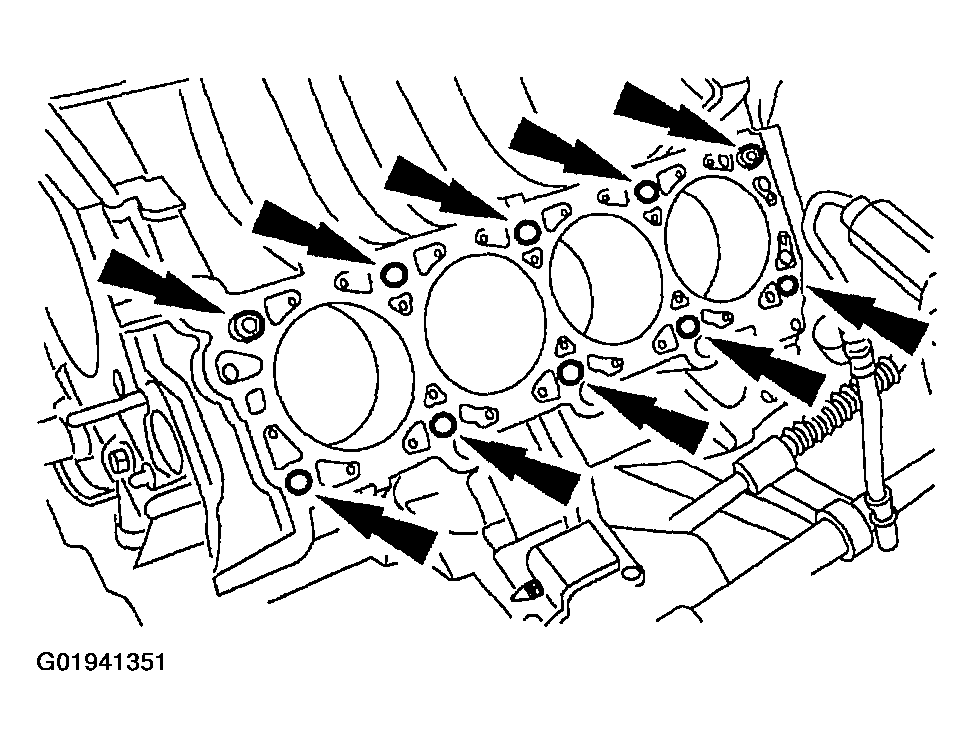
- Clean the sealing surface and the bolt holes.
- Install a new gasket.
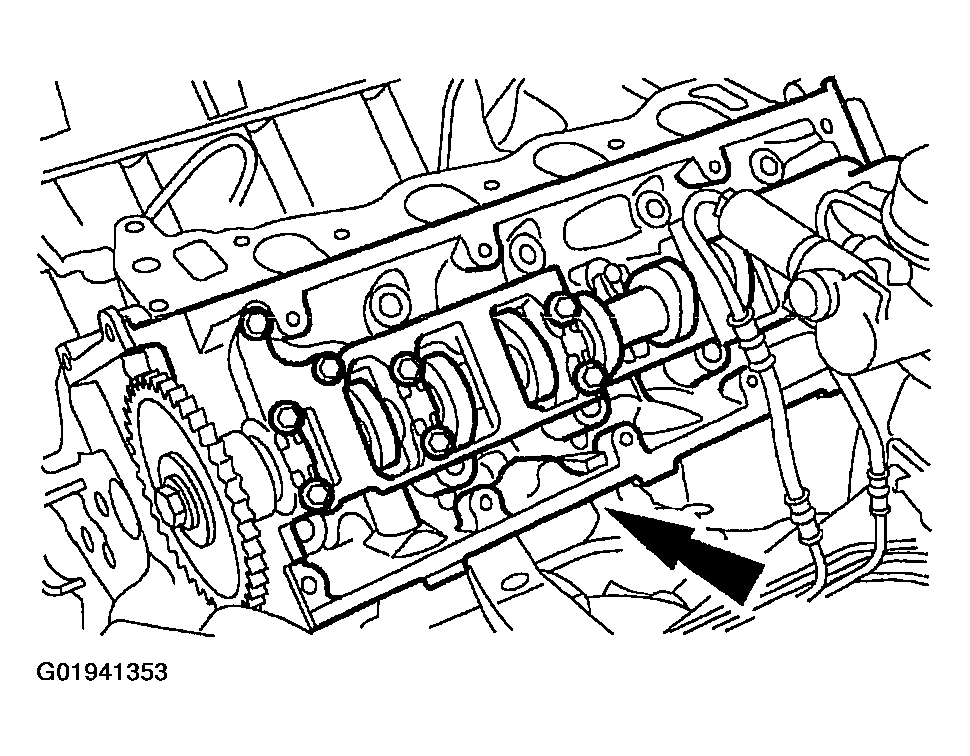
- Install the LH cylinder head.
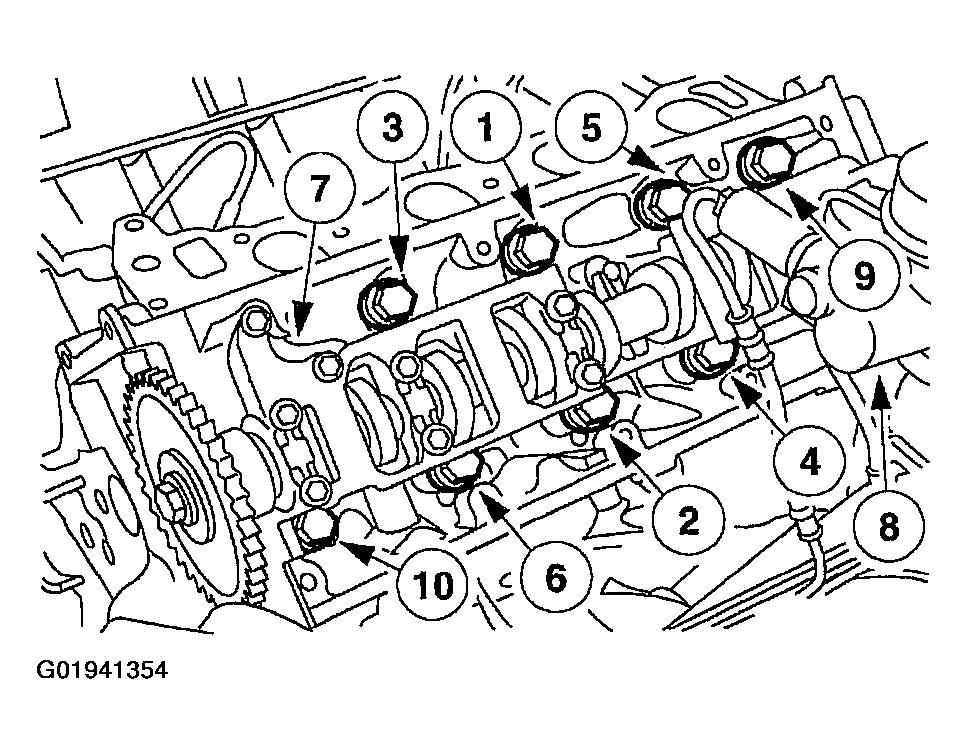
- Install ten bolts and tighten in sequence in six stages:
- Stage 1: Tighten to 37-43 N.m (28-31 lb-ft).
- Stage 2: Tighten an additional 85-95 degrees.
- Stage 3: Loosen the bolts a minimum of one full turn, 360 degrees.
- Stage 4: Tighten to 37-43 N.m (28-31 lb-ft).
- Stage 5: Tighten an additional 85-95 degrees.
- Stage 6: Tighten an additional 85-95 degrees.
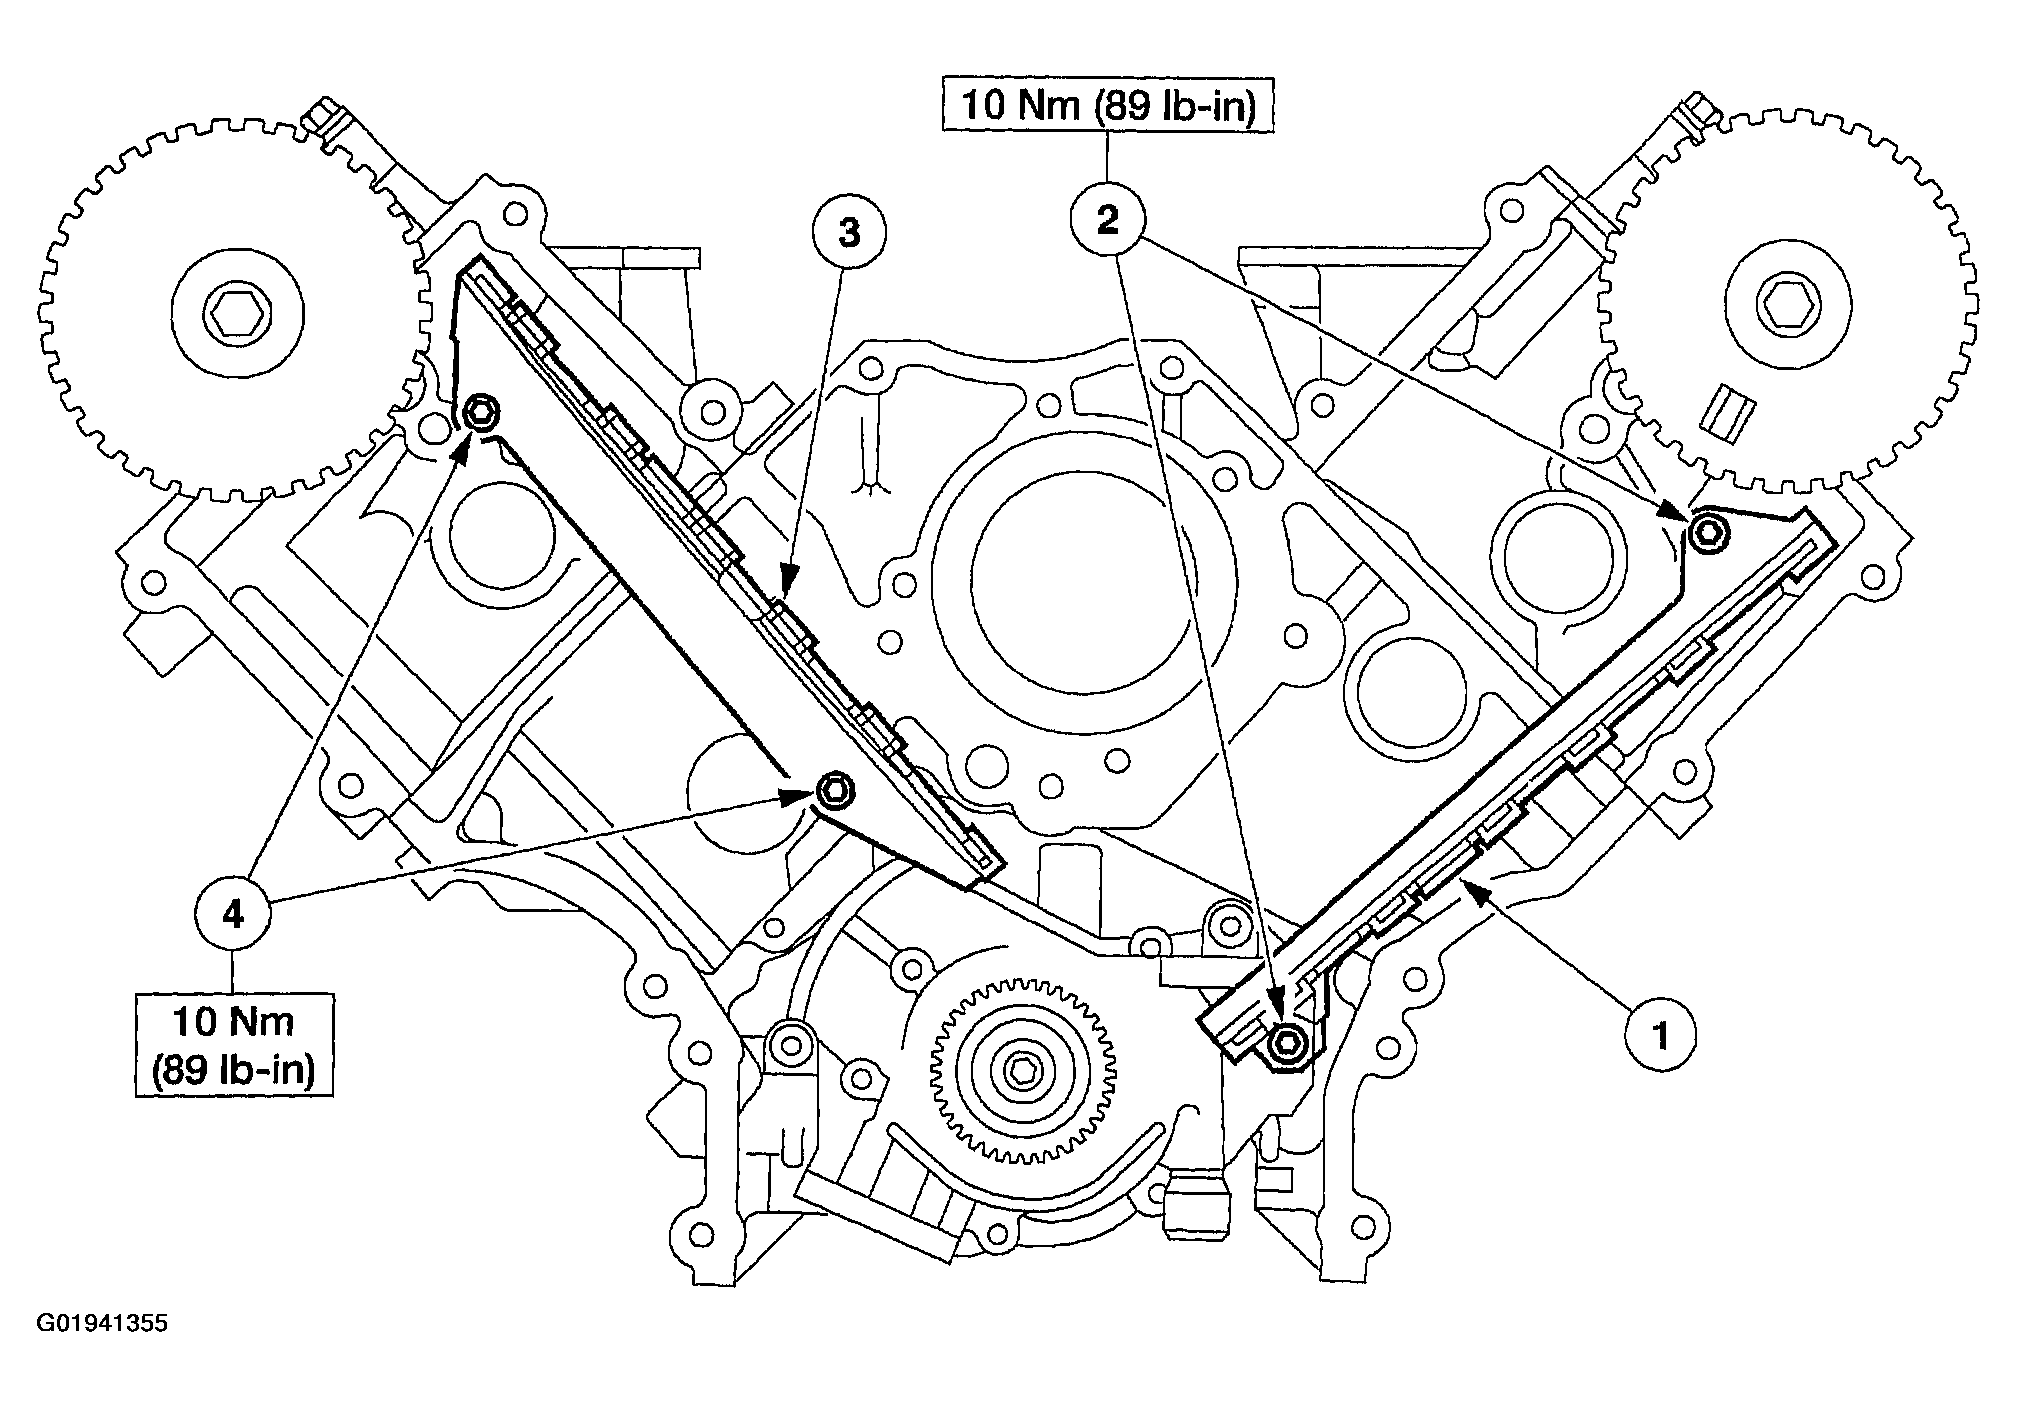
- Install the LH and RH timing chain guides.
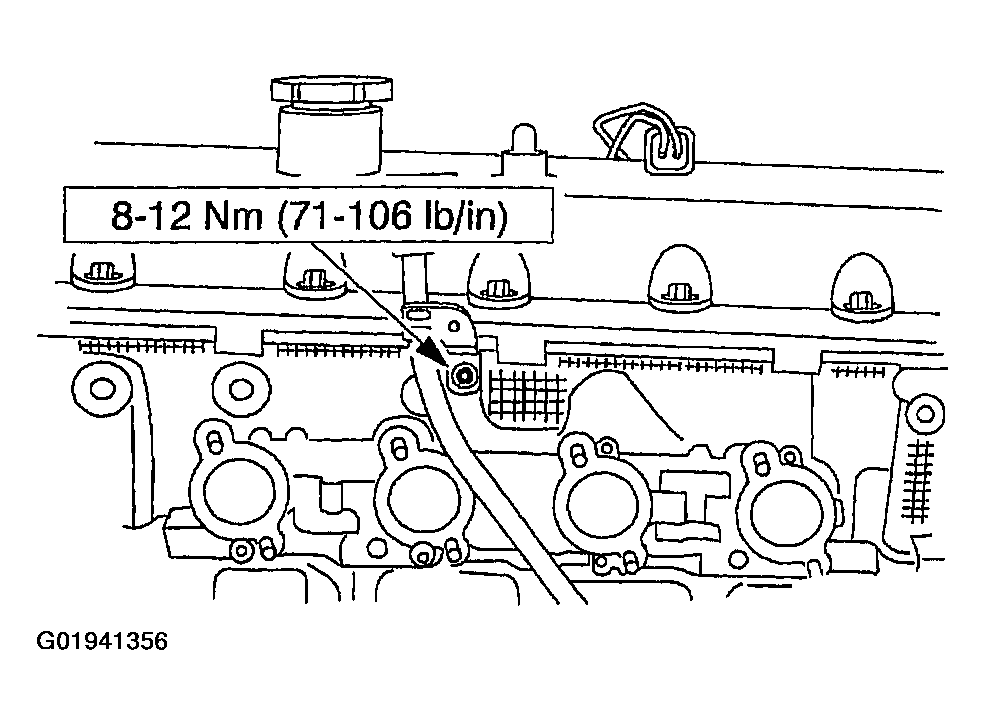
- Install the oil level indicator tube.
- Position the engine control sensor wiring and connect the radio ignition interference capacitor.
- Install the LH exhaust manifold. For additional information, refer to EXHAUST MANIFOLD - LH .
- Install the intake manifold. For additional information, refer to INTAKE MANIFOLD - NATURAL GAS ENGINES or INTAKE MANIFOLD - GASOLINE ENGINES .
- Install the timing chains. For additional information, refer to TIMING DRIVE COMPONENTS .
CAUTION:
Cylinder head sealing surfaces and bolt holes must be clean, dry and free of foreign material or engine damage may occur.
NOTE:
Clean all sealing surfaces with metal surface cleaner.
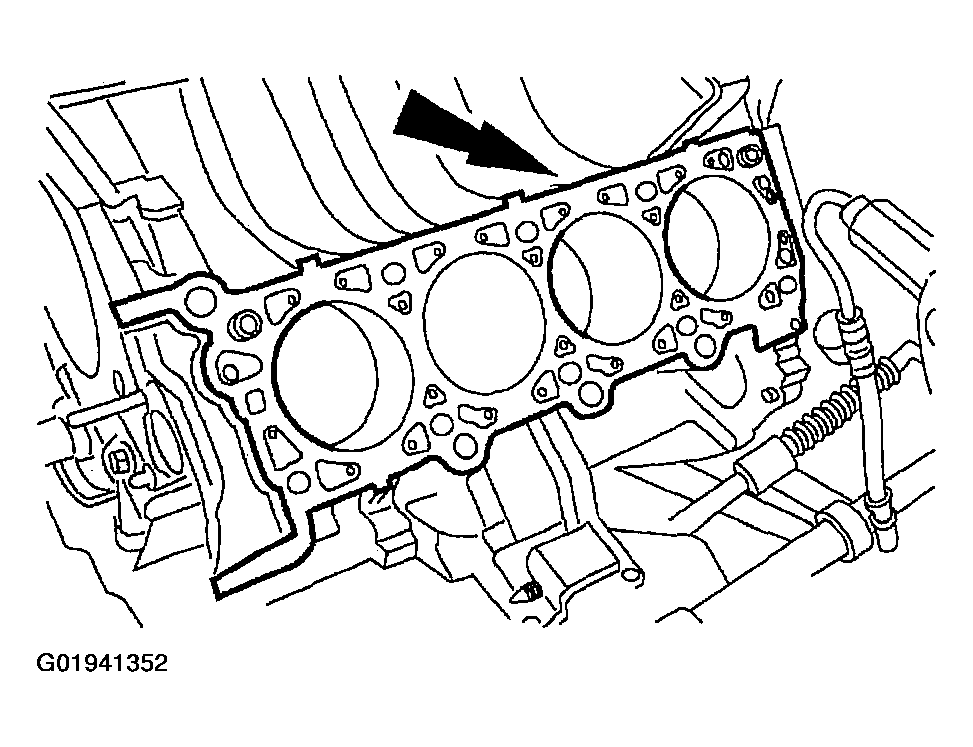
NOTE:
It will be necessary to support the number eight bolt. Support the bolt in the cylinder head so it does not contact the block during installation with a rubber band or a piece of tape.