Oil Pan: Removal
- Remove the air cleaner outlet tube.
- Remove the wiper arm and pivot shaft assembly. For additional information, refer to WIPER MOTOR .
- Remove the drive belt.
- Remove the fan motor and shroud assembly.
- Disconnect the fuel lines. For additional information, refer to FUEL SYSTEM - GENERAL INFORMATION or FUEL SYSTEM - GENERAL INFORMATION - NATURAL GAS .
- Remove the exhaust gas recirculation (EGR) tube.
- Remove the generator. For additional information, refer to GENERATOR .
- Remove the blower motor speed control. For additional information, refer to BLOWER MOTOR SPEED CONTROLLER .
- Raise the vehicle.
- Drain the engine oil.
- Install the drain plug.
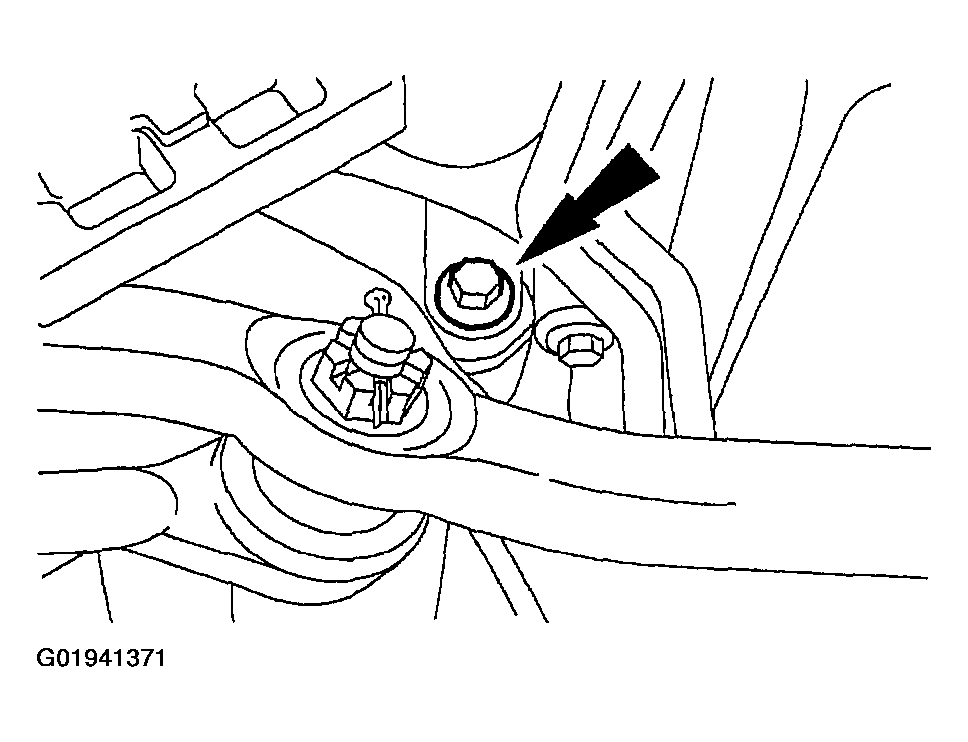
- Remove the RH engine mount bolt.
- Remove the two LH engine mount bolts.
- Remove the four nuts and support the exhaust.
- Remove the bolt for the transmission line support bracket.
- Loosen the nuts for the transmission mount.
- Lower the vehicle.
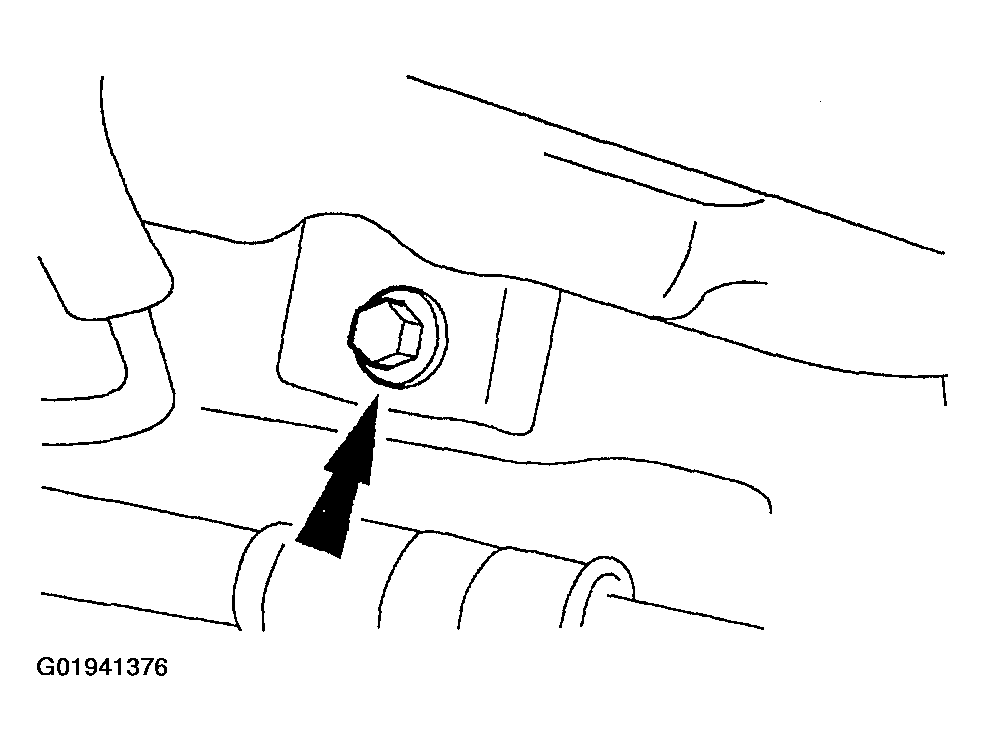
- Remove the bolt.
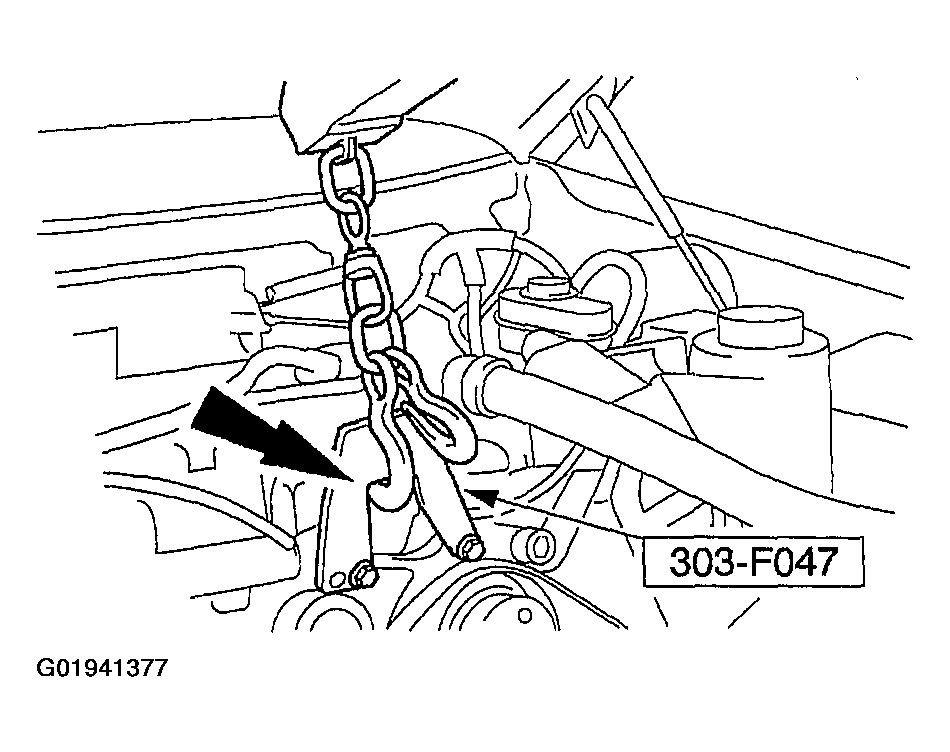
- Using the special tool, raise the engine with a suitable floor crane.
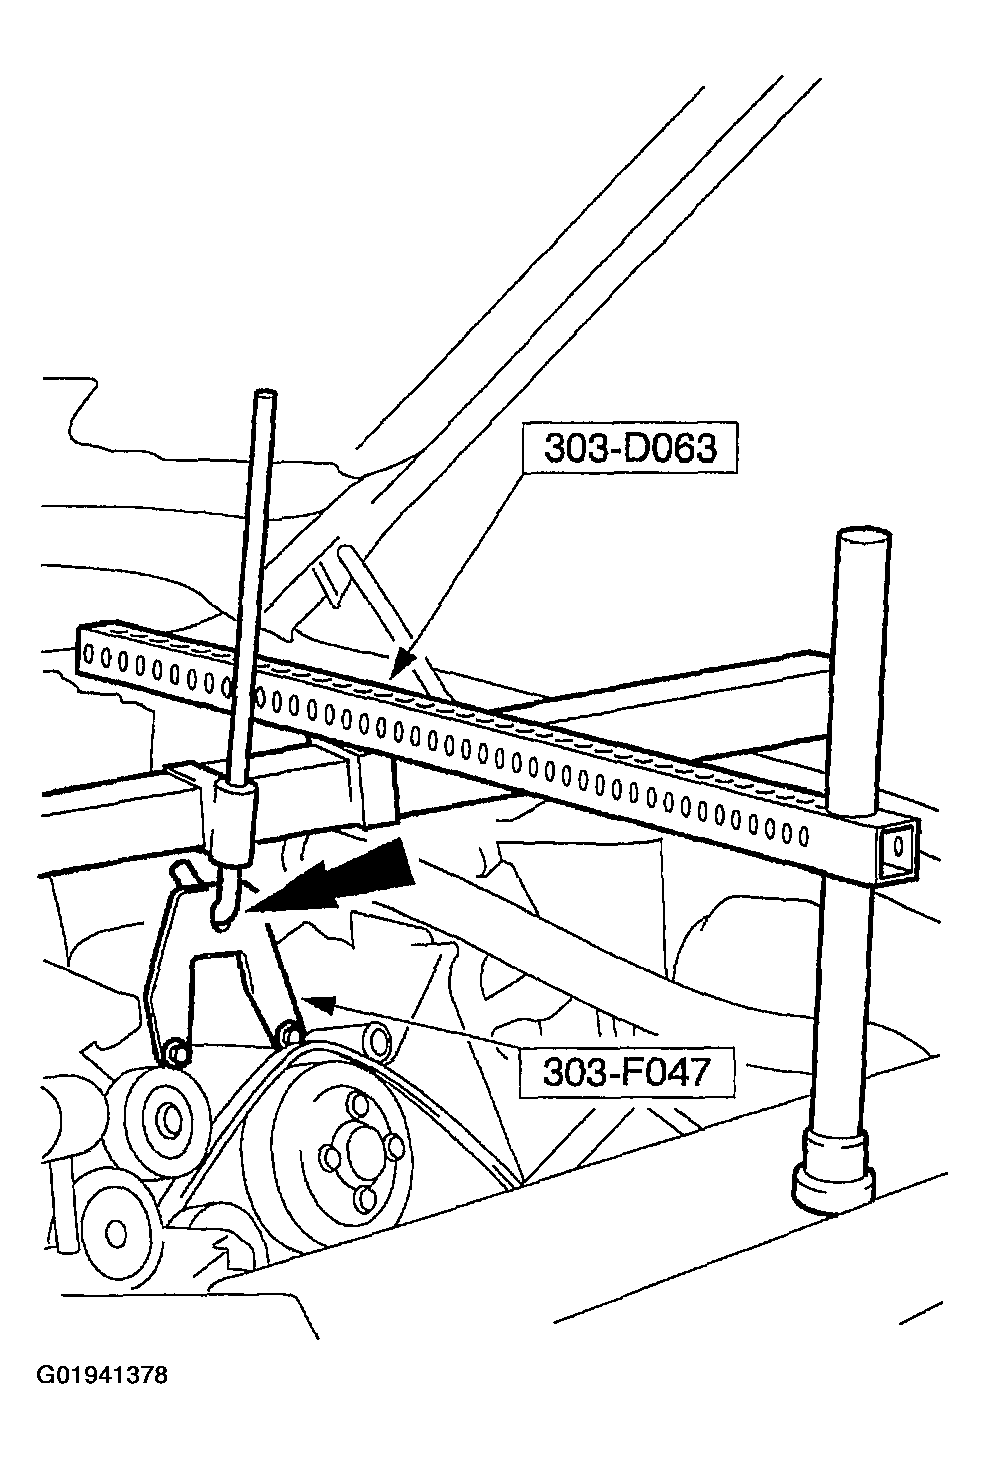
- Using the special tool, support the engine.
- Raise the vehicle.
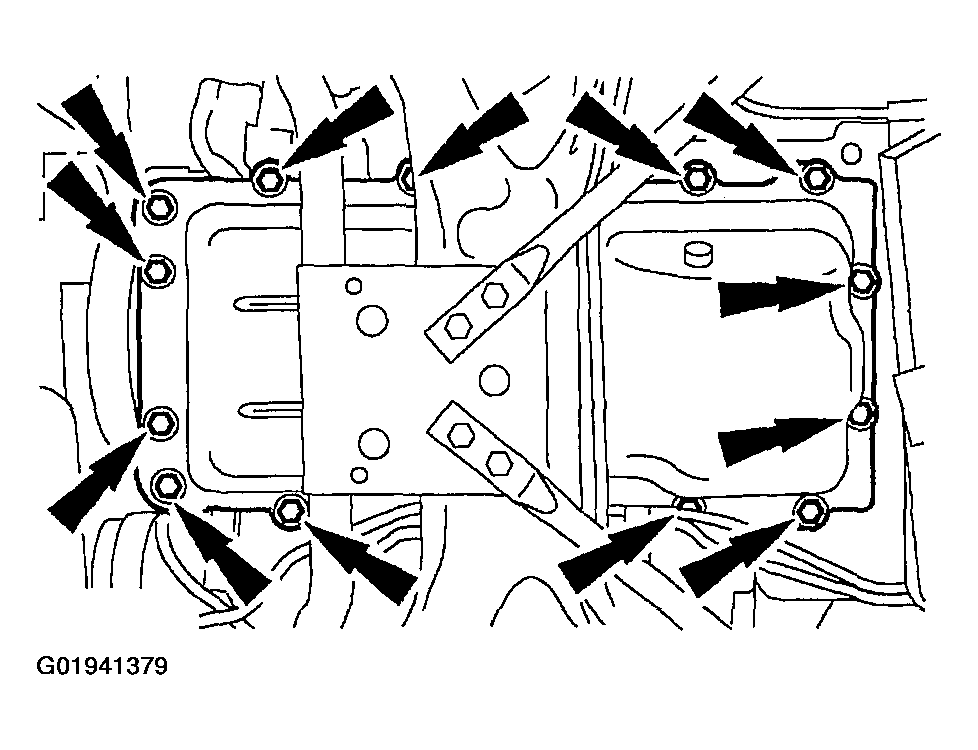
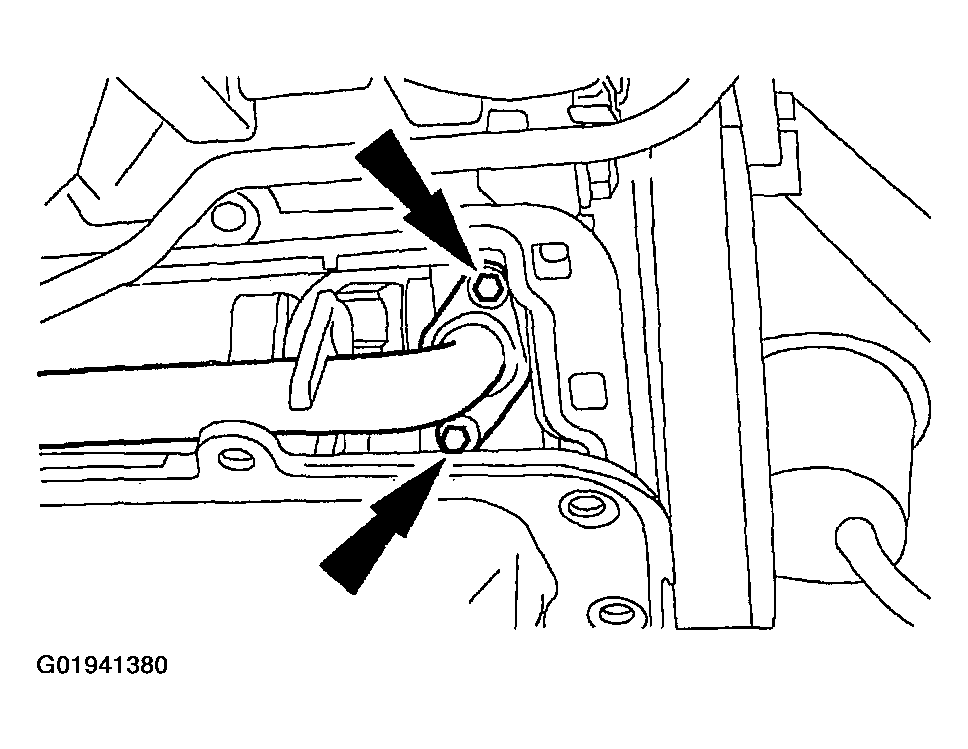
- Remove the oil pan bolts.
- Position the oil pan aside and remove the bolts from the oil pickup tube.
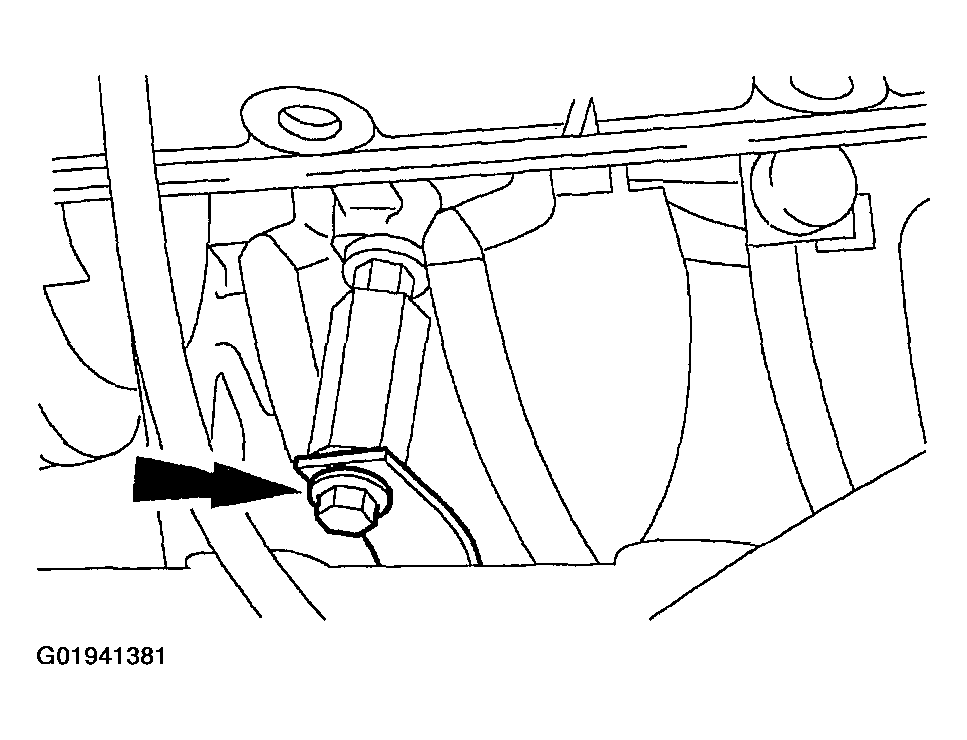
- Remove the bolt from the oil pickup tube bracket.
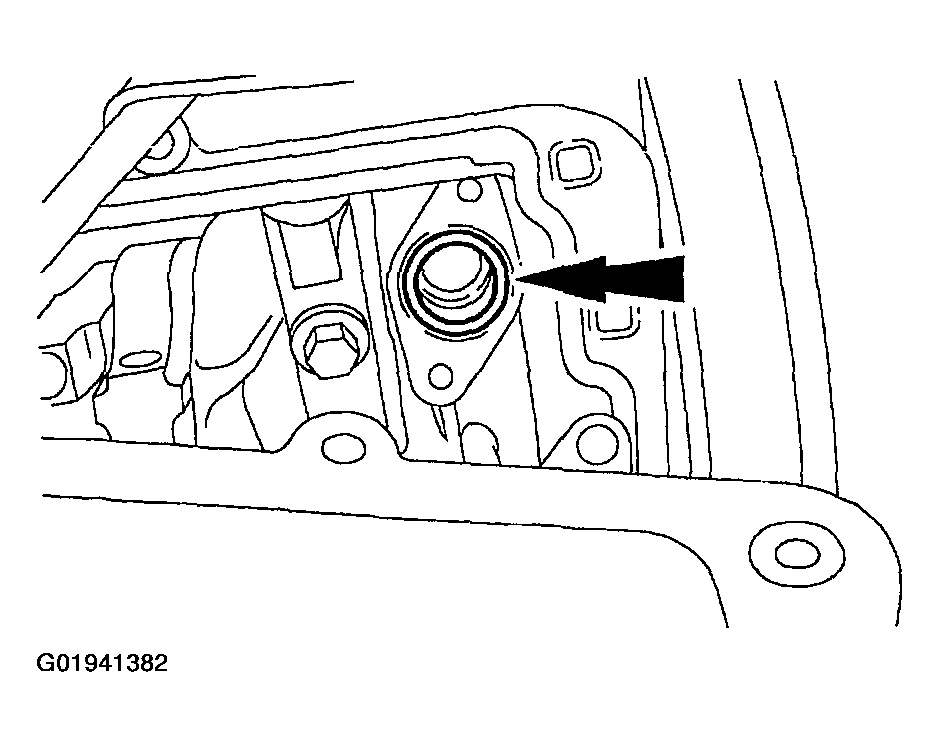
- Remove the O-ring and inspect.
- Remove the oil pan and gasket from the vehicle through the front.
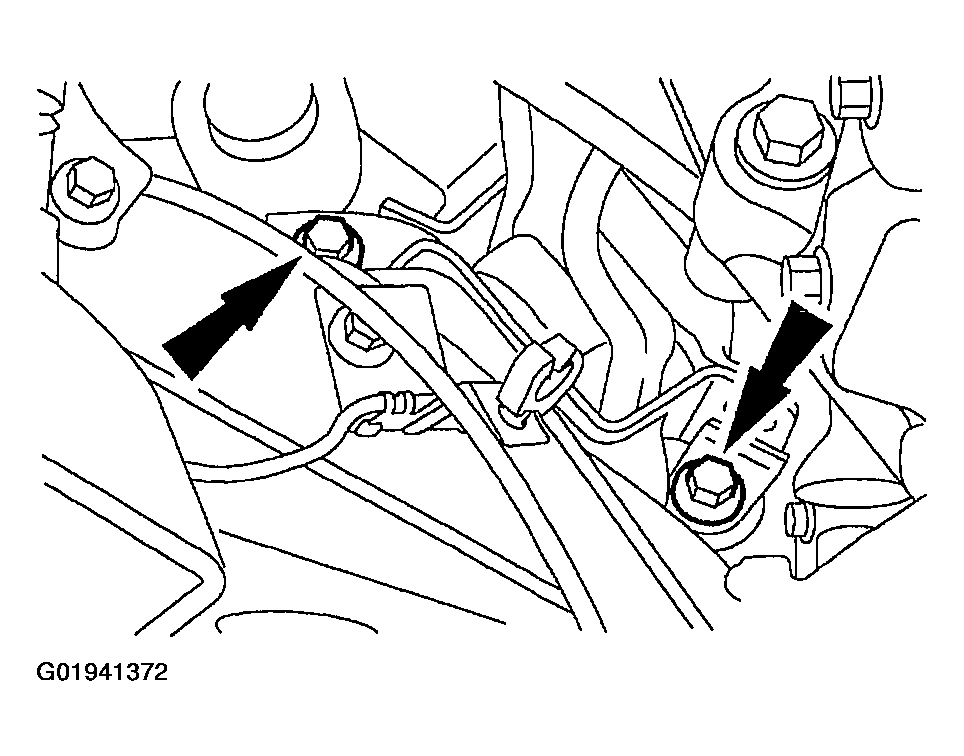
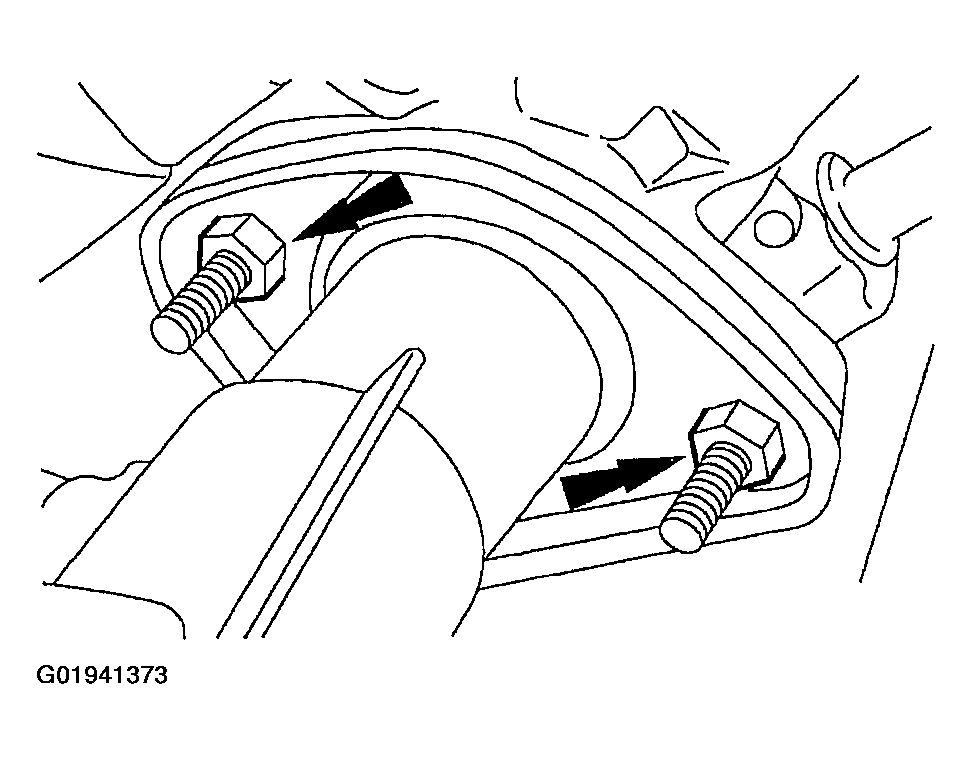
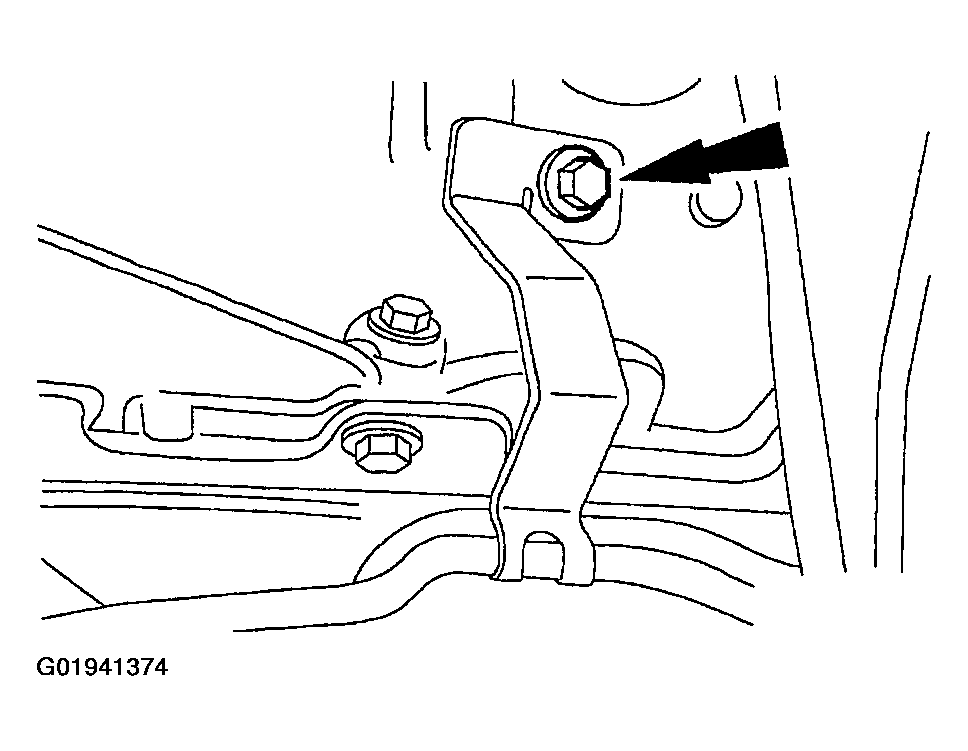
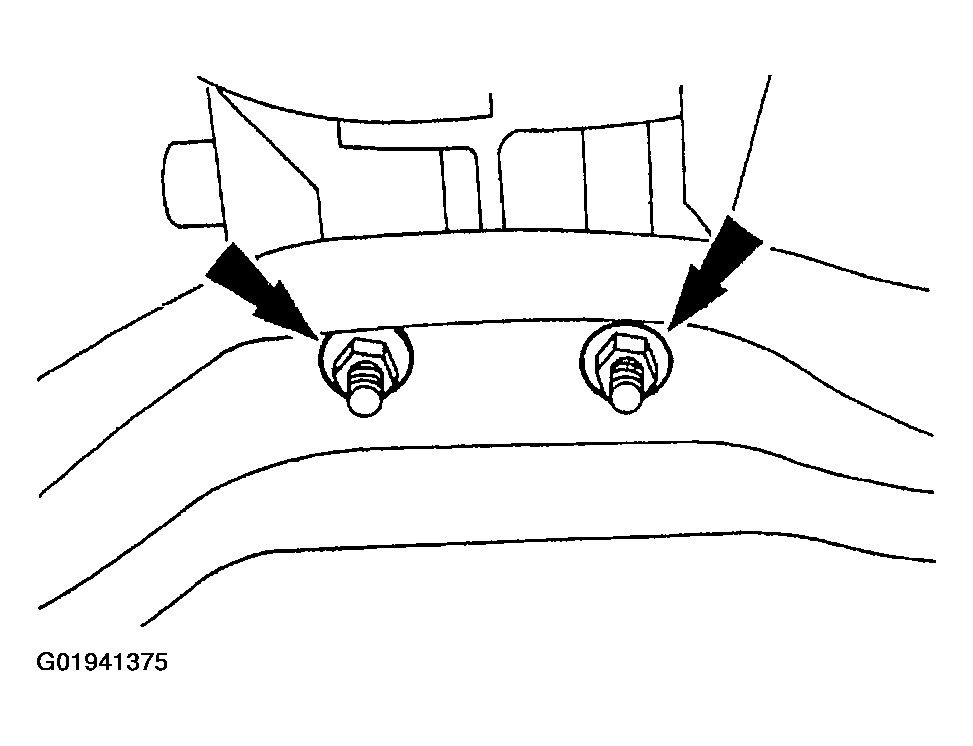
NOTE:
The RH motor mount has a second bolt accessed from the top.