Engine - 4.6L: Removal: Engine: Removal
- Remove the hood.
- Recover the air conditioning system. For additional information, refer to AIR CONDITIONING (A/C) SYSTEM RECOVERY, EVACUATION & CHARGING .
- Remove the air cleaner outlet tube.
- Disconnect the fuel lines. For additional information, refer to FUEL SYSTEM - GENERAL INFORMATION or FUEL SYSTEM - GENERAL INFORMATION - NATURAL GAS .
- Remove the wiper arm and pivot shaft. For additional information, refer to WIPER MOTOR .
- Drain the engine cooling system.
- Drain the engine oil.
- Install the oil drain plug after draining.
- Lower the vehicle.
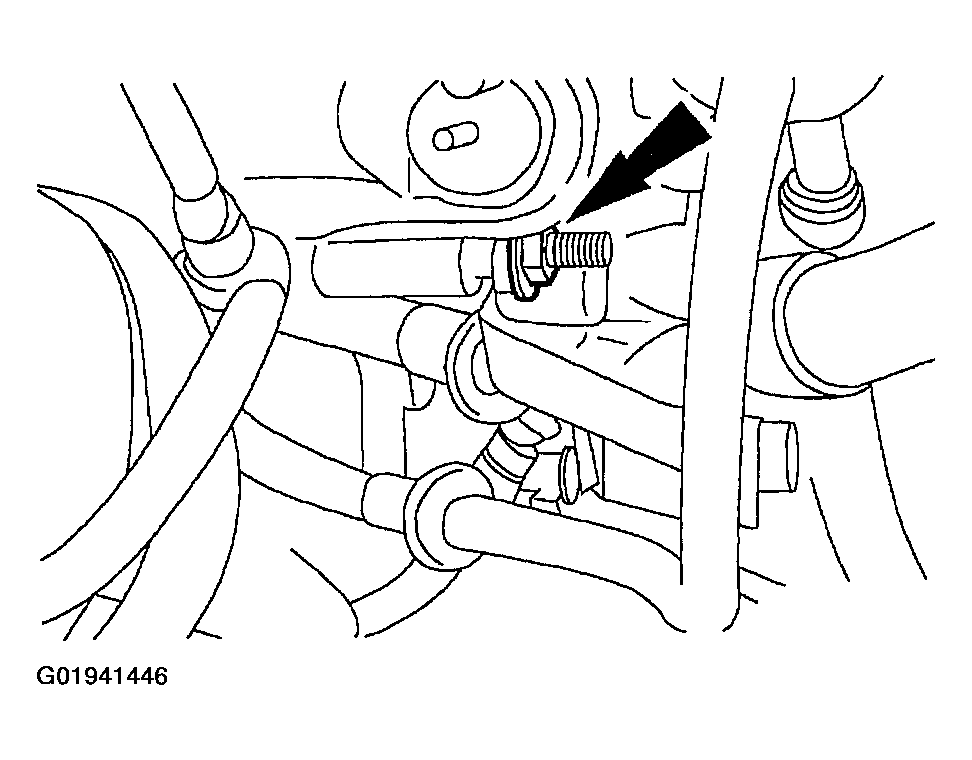
- Disconnect the lower radiator hose from the oil filter adapter.
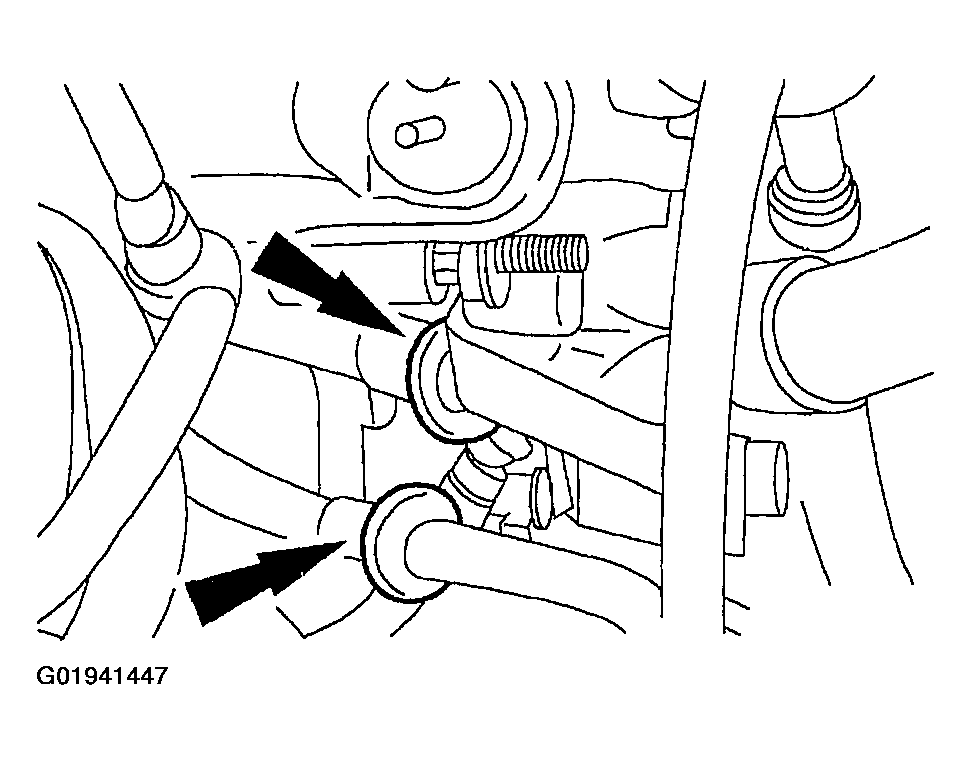
- Disconnect the two coolant hoses, and remove the oil cooler and secure it to the front of the engine.
- Remove the battery. For additional information, refer to BATTERY, MOUNTING & CABLES .
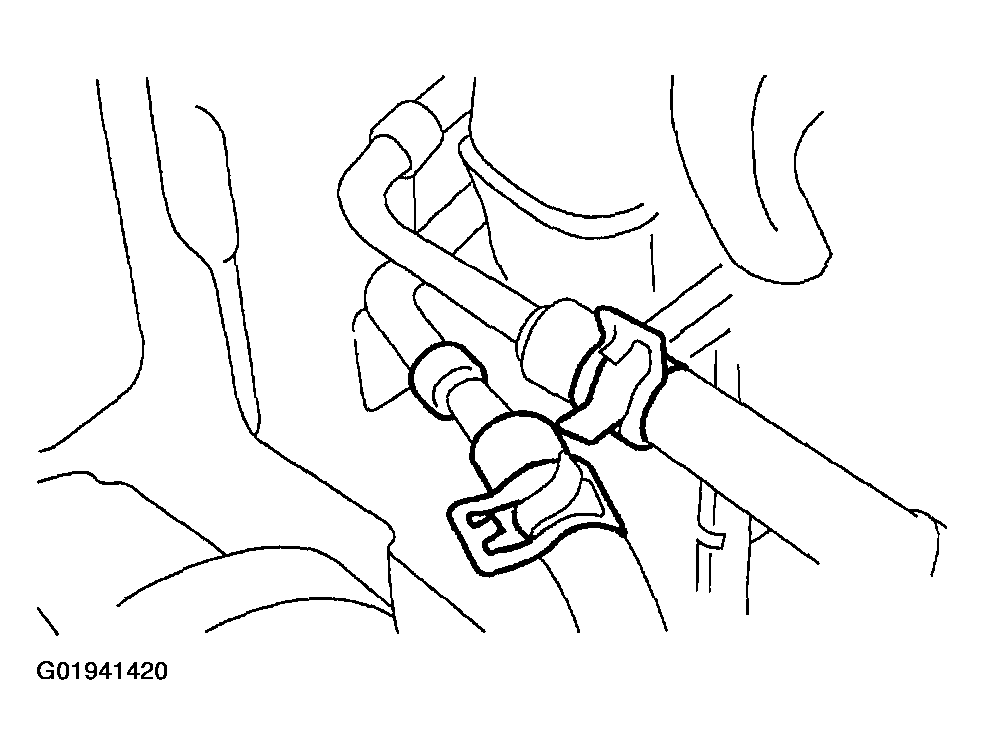
- Disconnect the hoses from the transmission fluid cooler.
- Position the clamp out of the way.
- Remove the hoses.
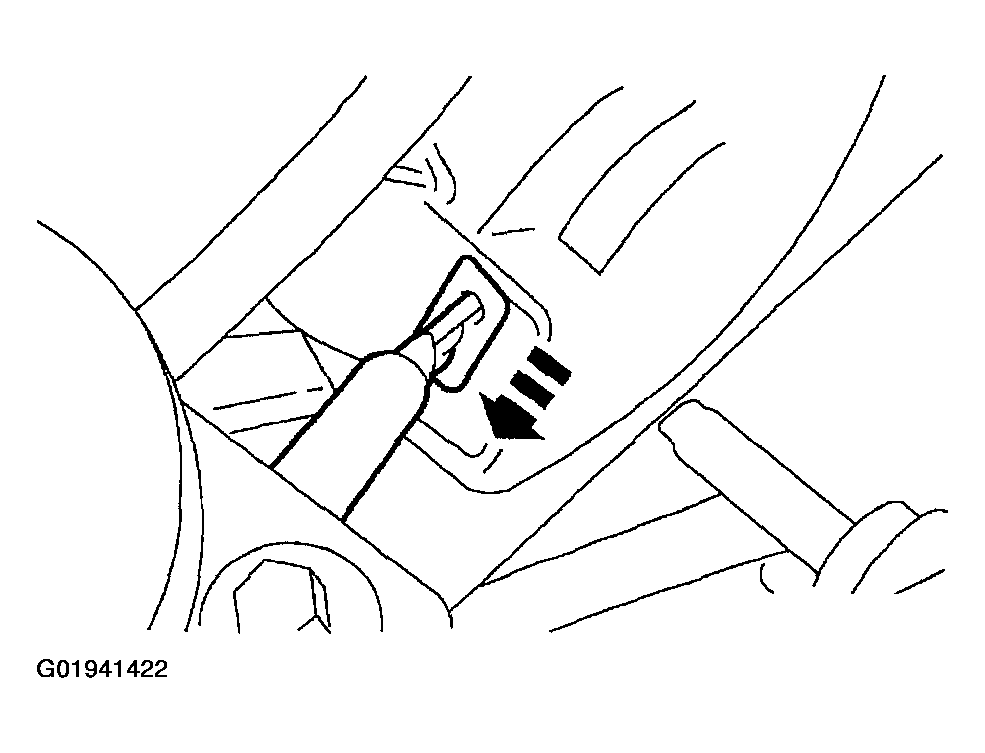
- Disconnect the hoses from the power steering fluid cooler.
- Position the clamps out of the way.
- Disconnect the hoses.
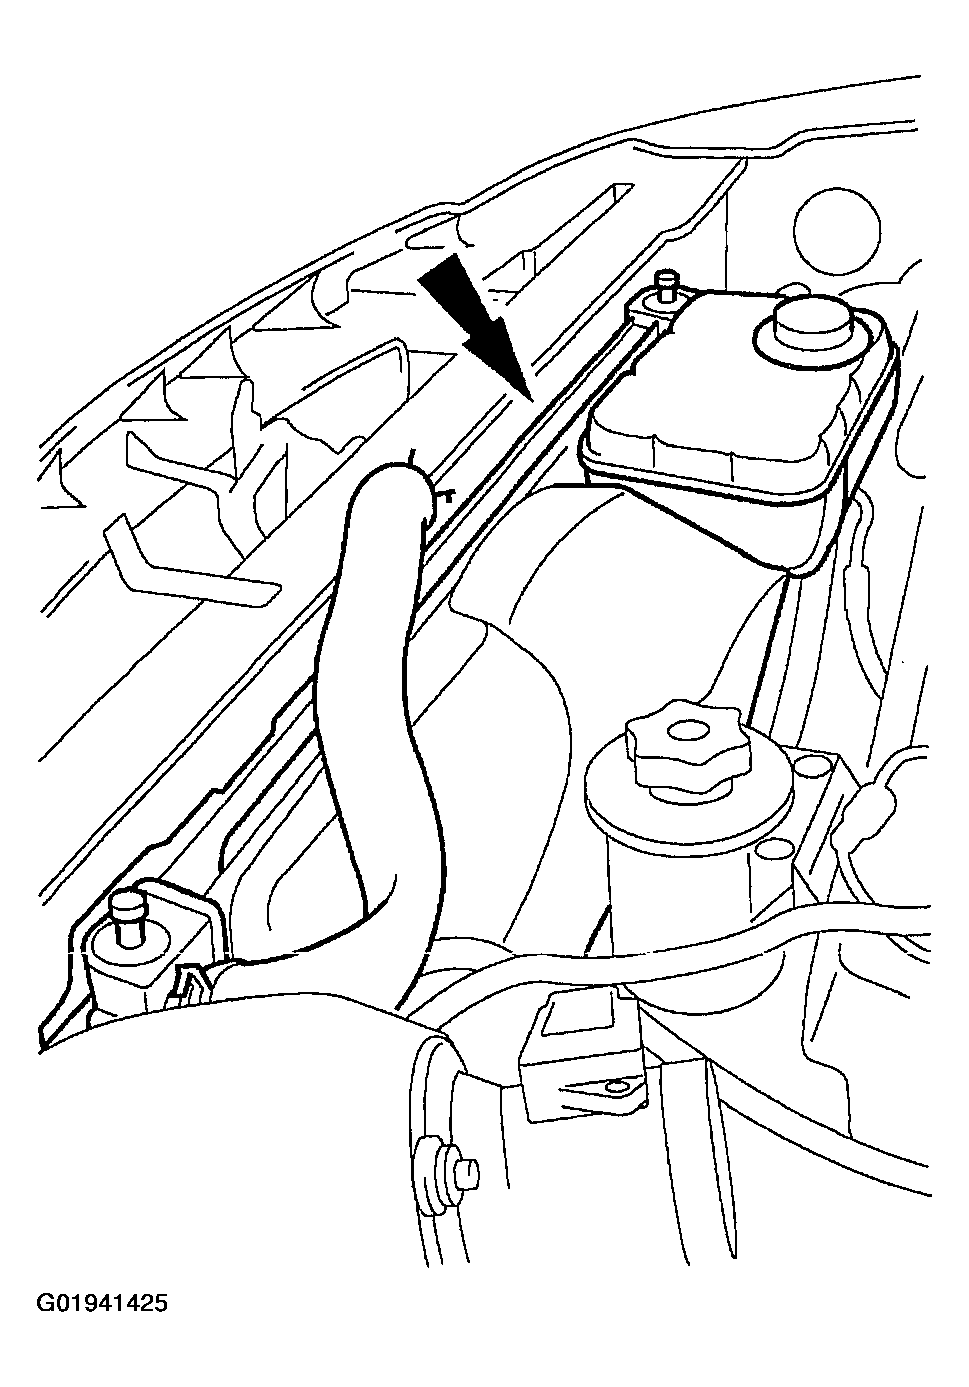
- Remove the radiator upper sight shield.
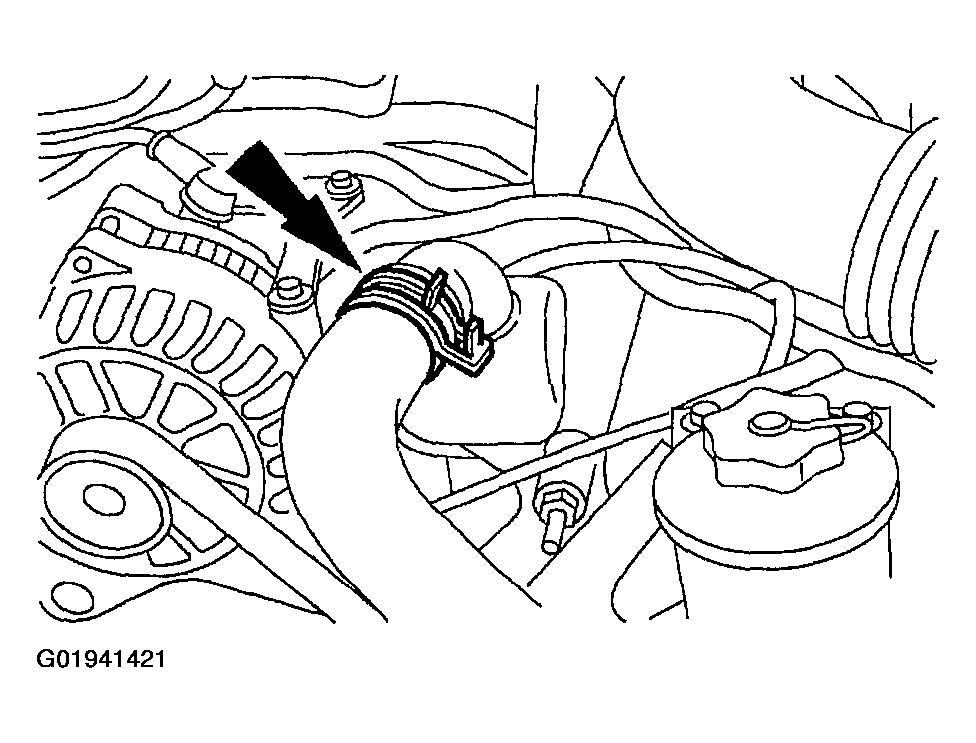
- Reposition the clamp and disconnect the upper radiator hose from the water hose connection. Secure the hose to the radiator assembly.
- Disconnect the electrical connection from the fan motor and position out of the way.
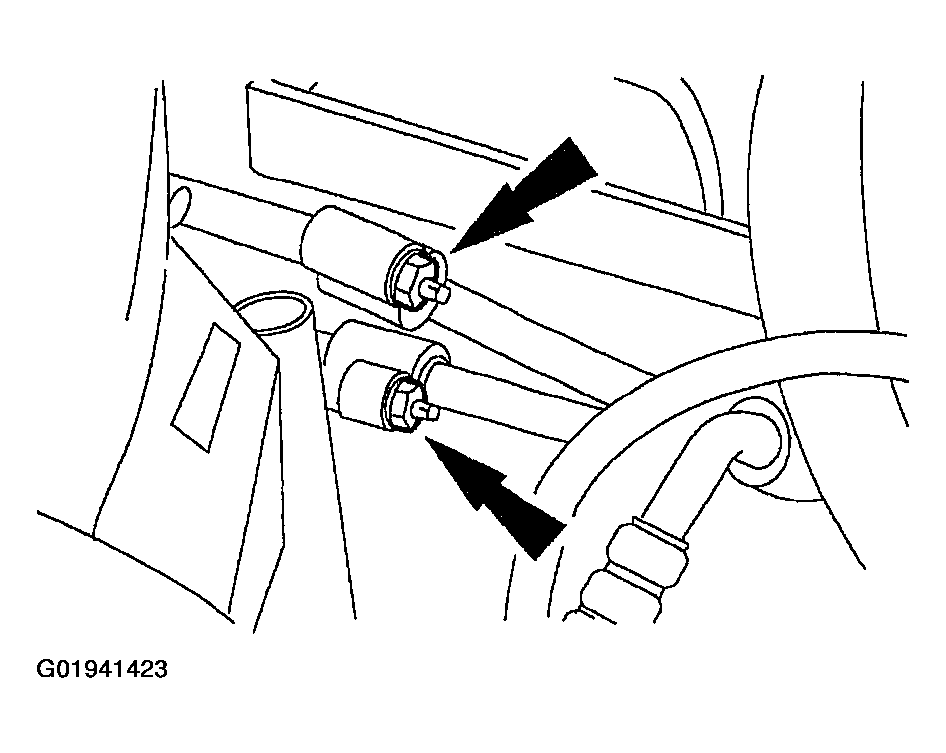
- Remove the nuts and separate the lines from the A/C condenser core.
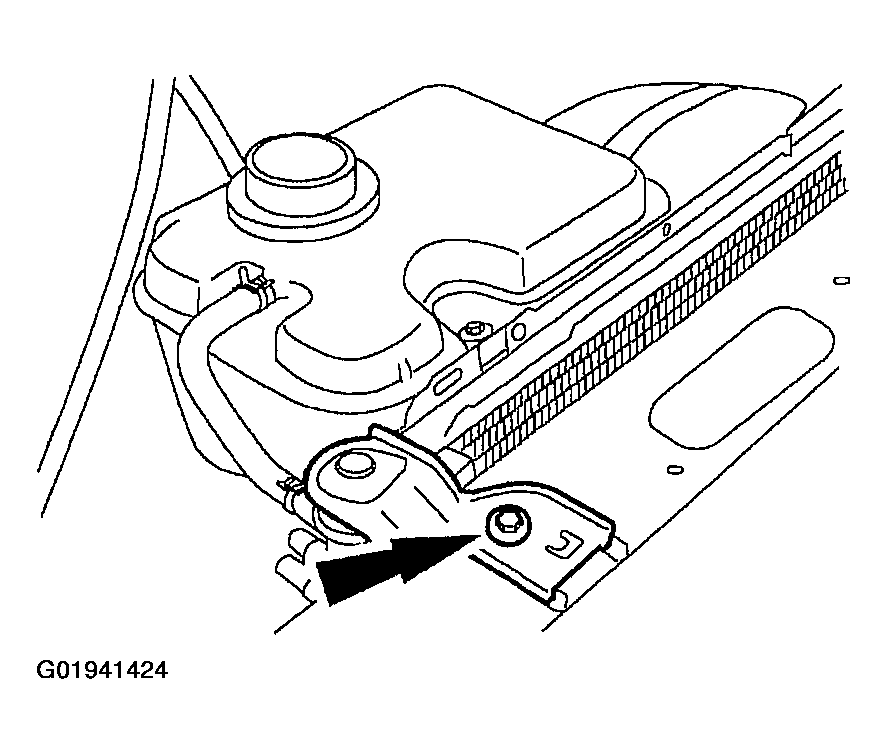
- Remove the bolts and the radiator support brackets.
- Remove the radiator assembly.
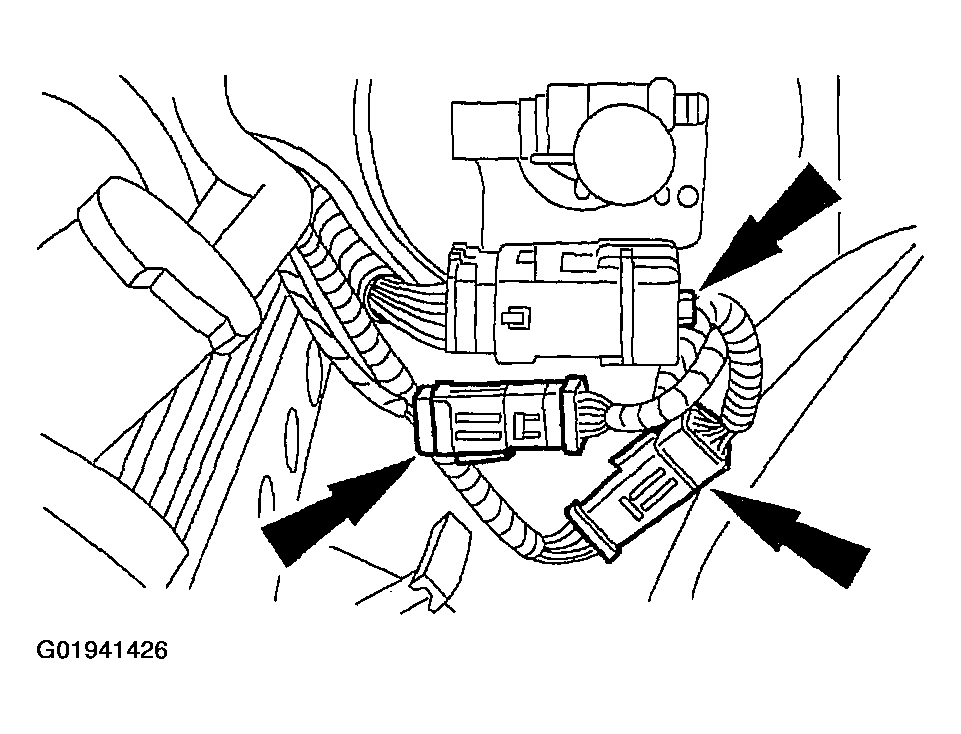
- Disconnect the engine bulkhead connectors.
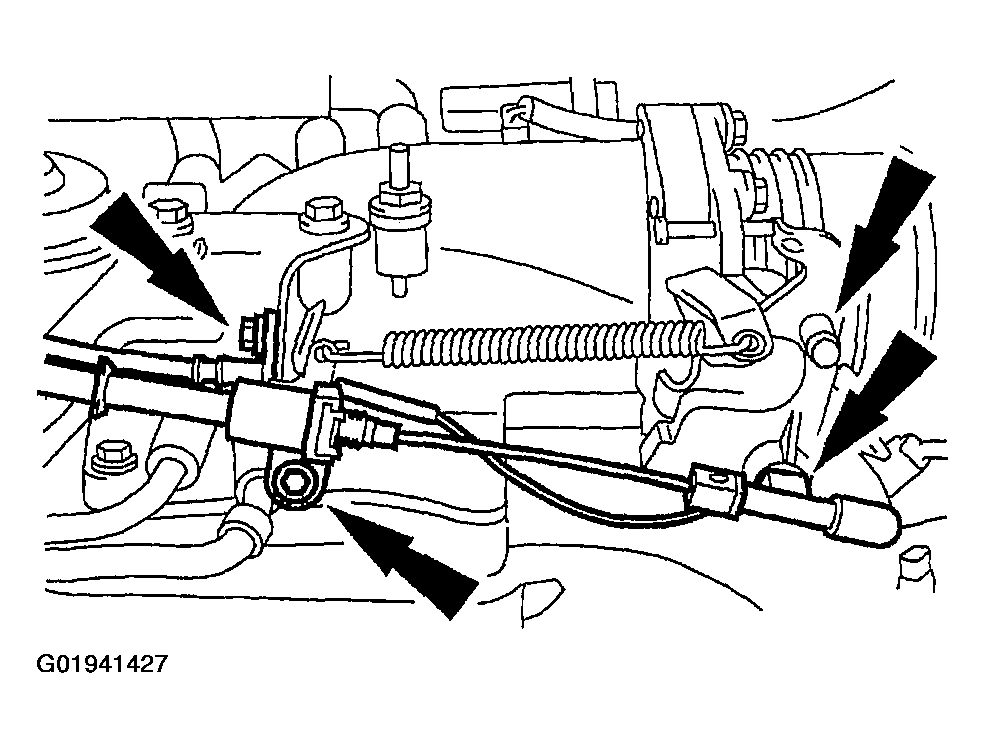
- Disconnect the accelerator cable (9A758) and the speed control actuator cable (9A825):
- Remove the bolts.
- Disconnect the cables.
Gasoline Engines
- Remove the accelerator cable and the speed control actuator cable from the clips and position out of the way.
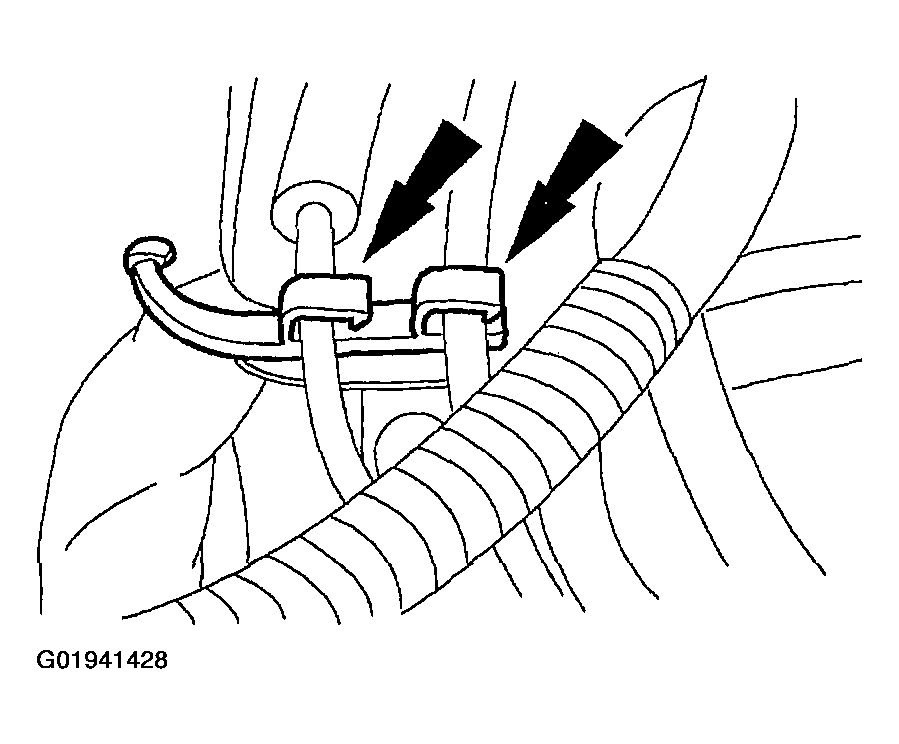 Courtesy of FORD MOTOR CO.
All Engines
- Disconnect the main vacuum supply hose.
- Remove the bolt.
- Raise the vehicle.
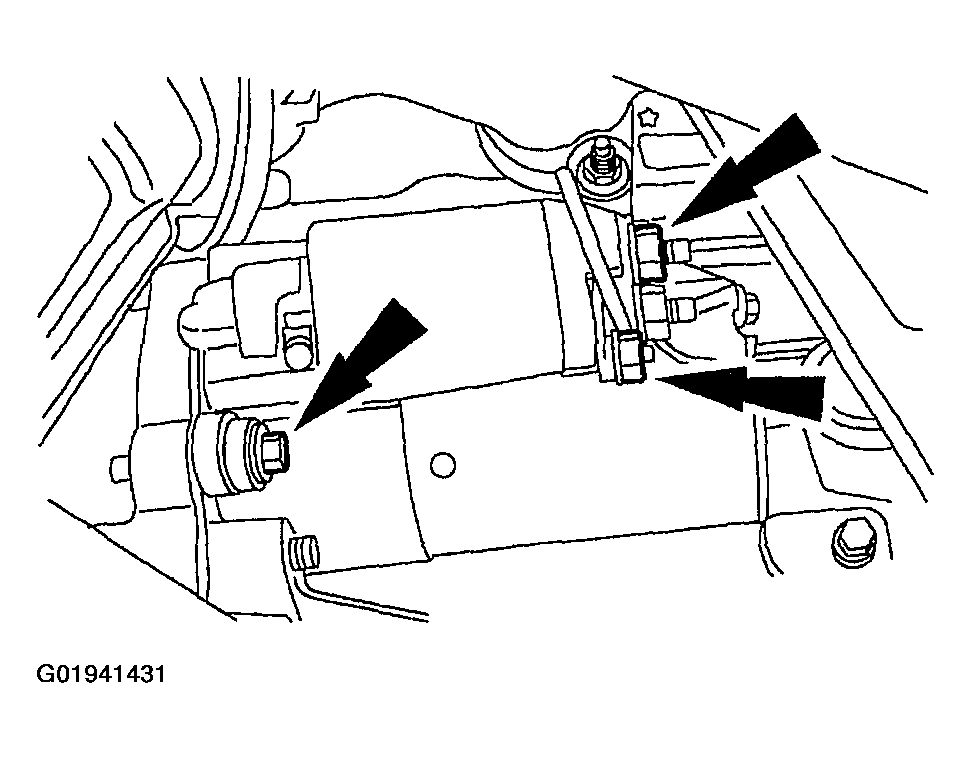
- Remove the starter motor:
- Disconnect the electrical connections.
- Remove the bolts.
- Remove the starter motor.
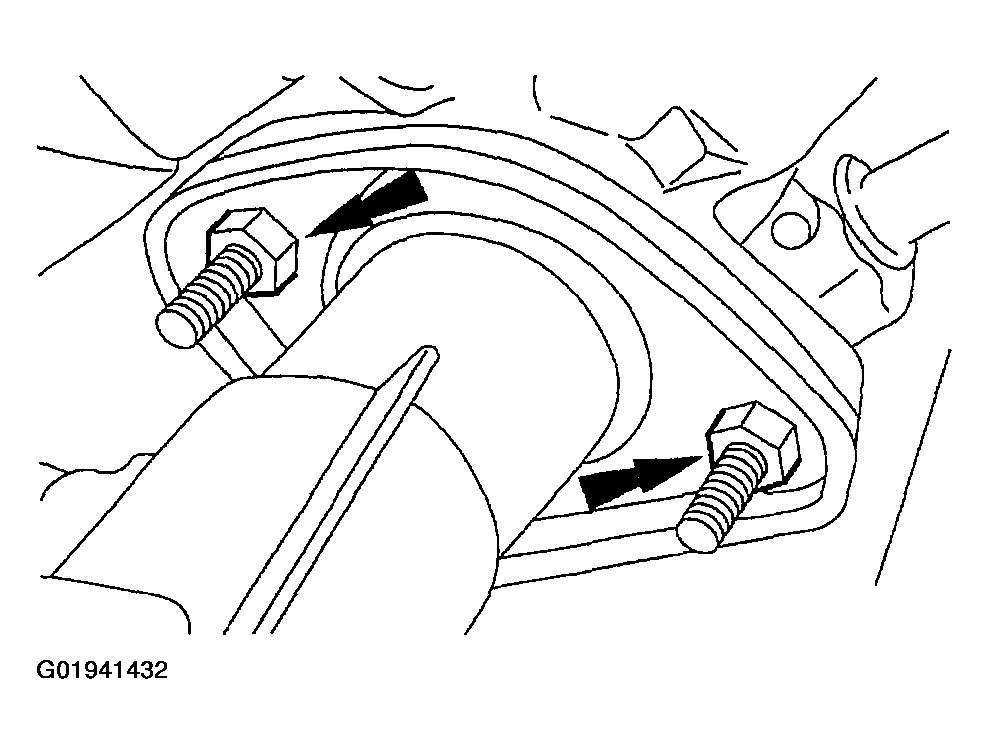
- Support the exhaust and remove the four nuts.
- Remove the bolts and the inspection cover.
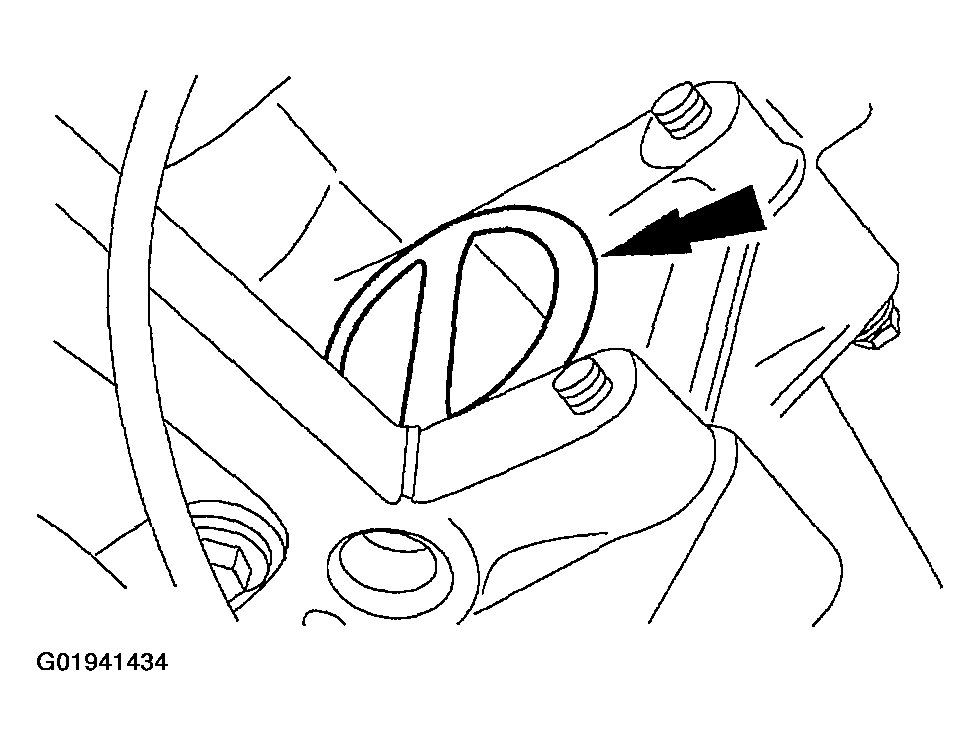
- Remove the torque converter nut access plug.
- Remove the four nuts.
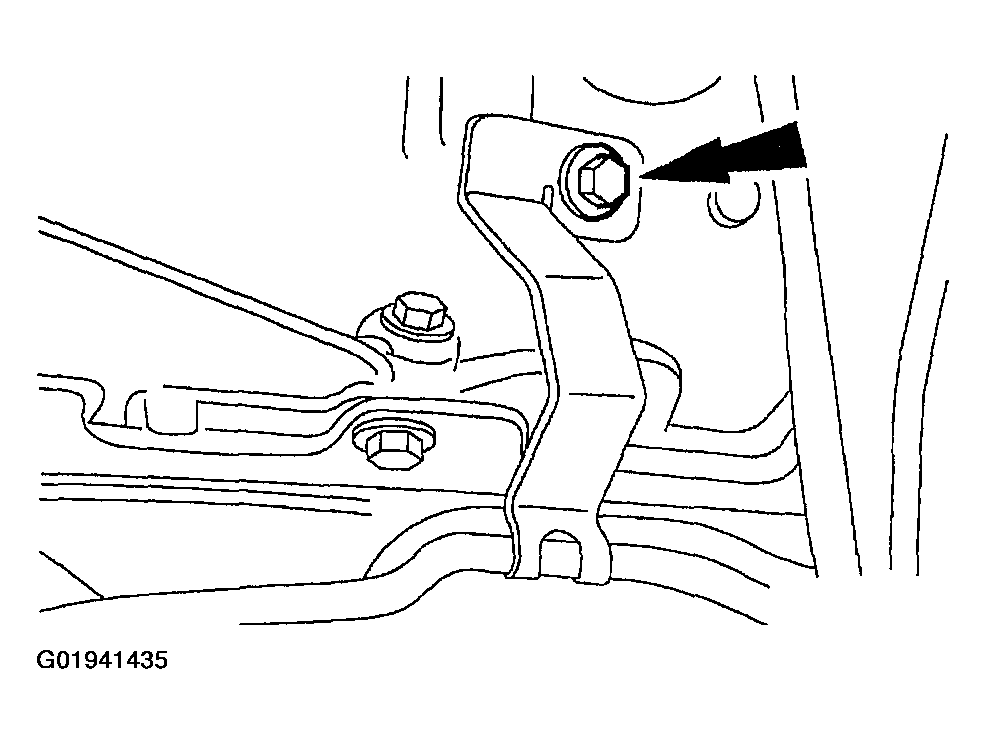
- Remove the bolt.
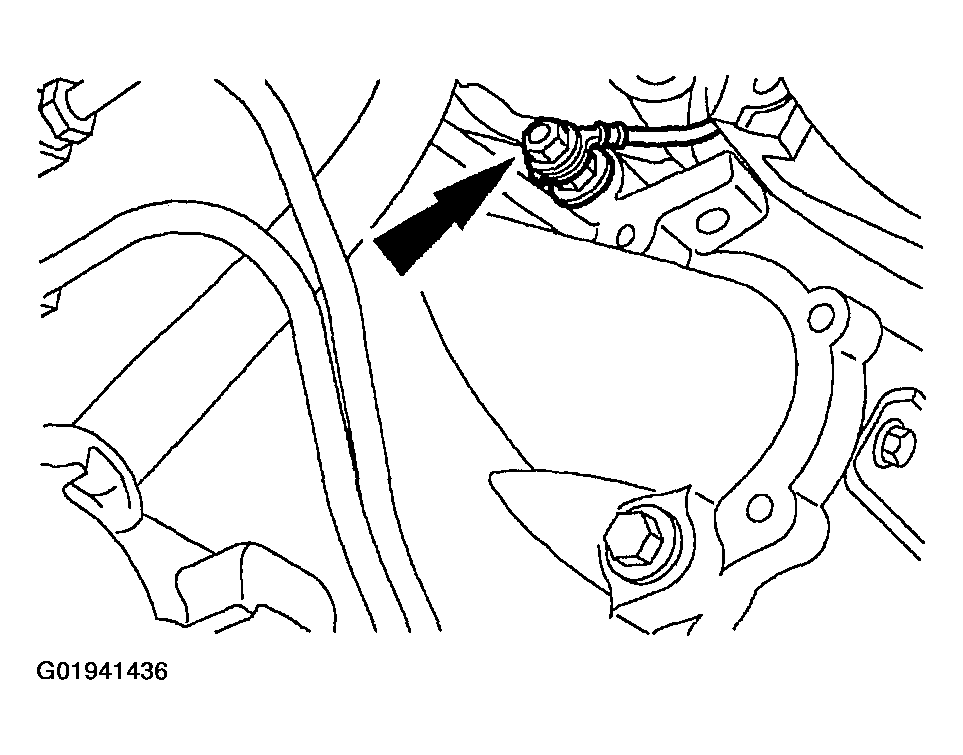
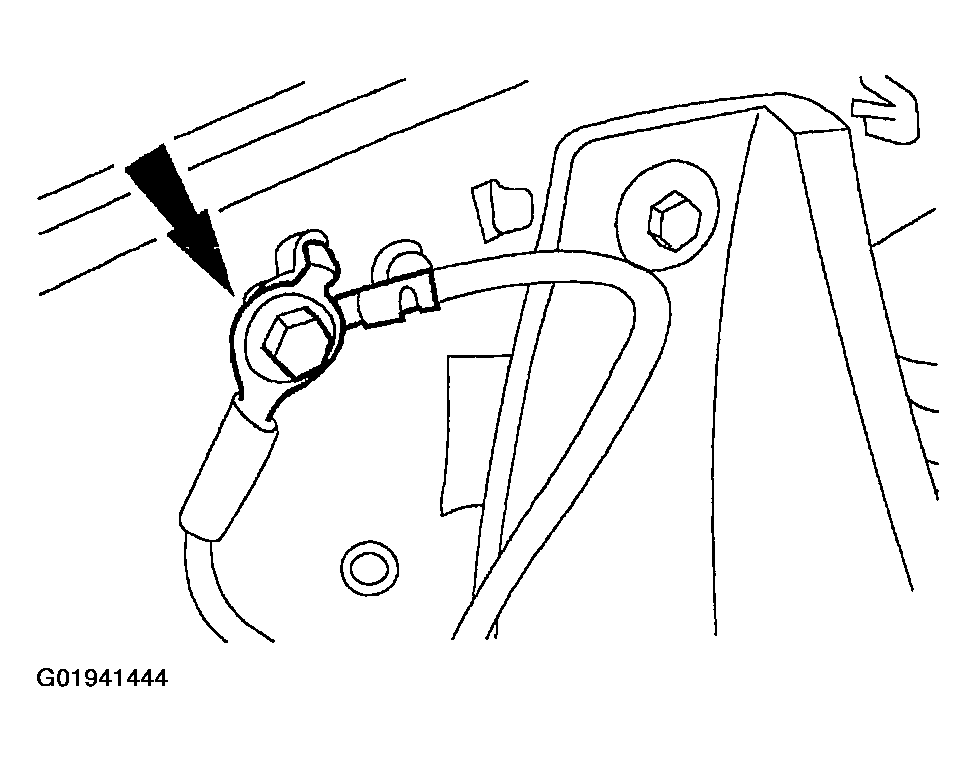
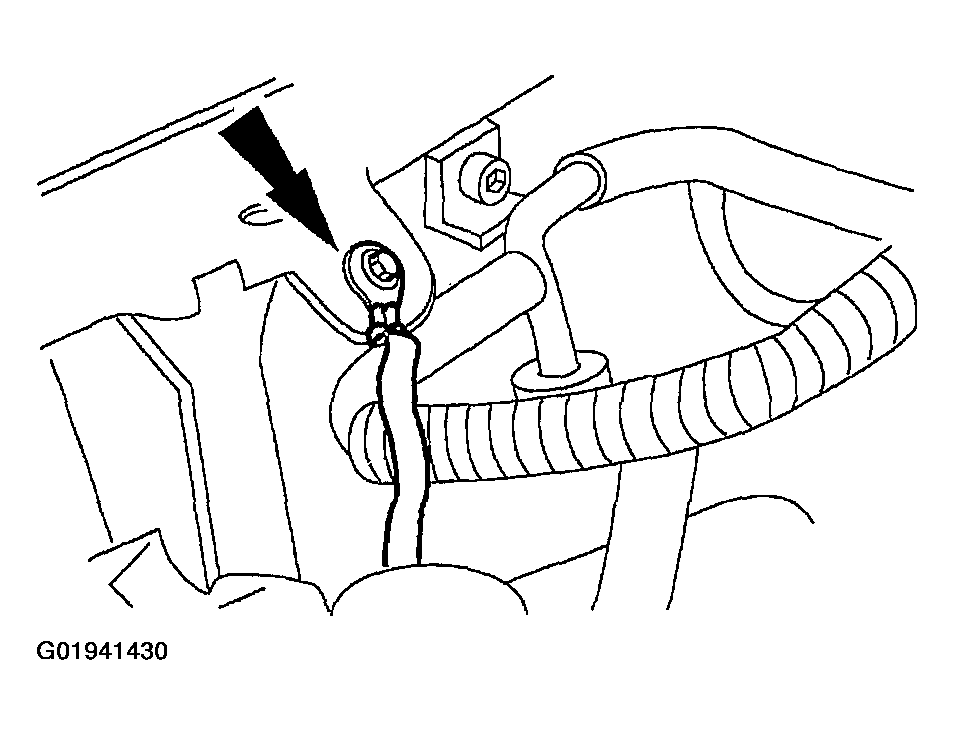
- Remove the nut and the ground wire.
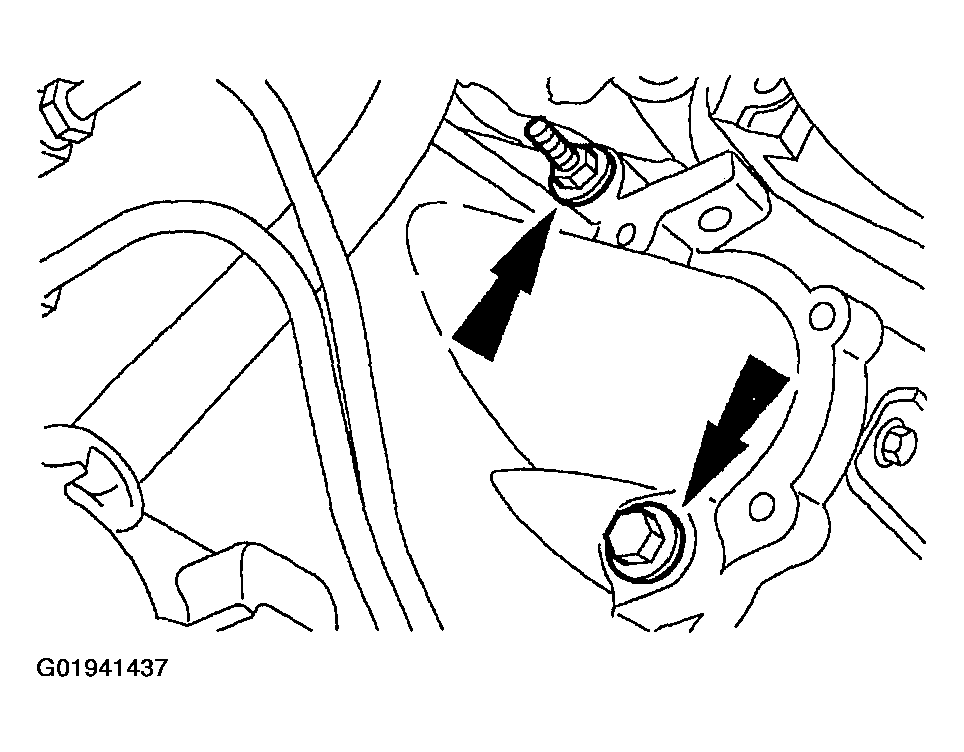
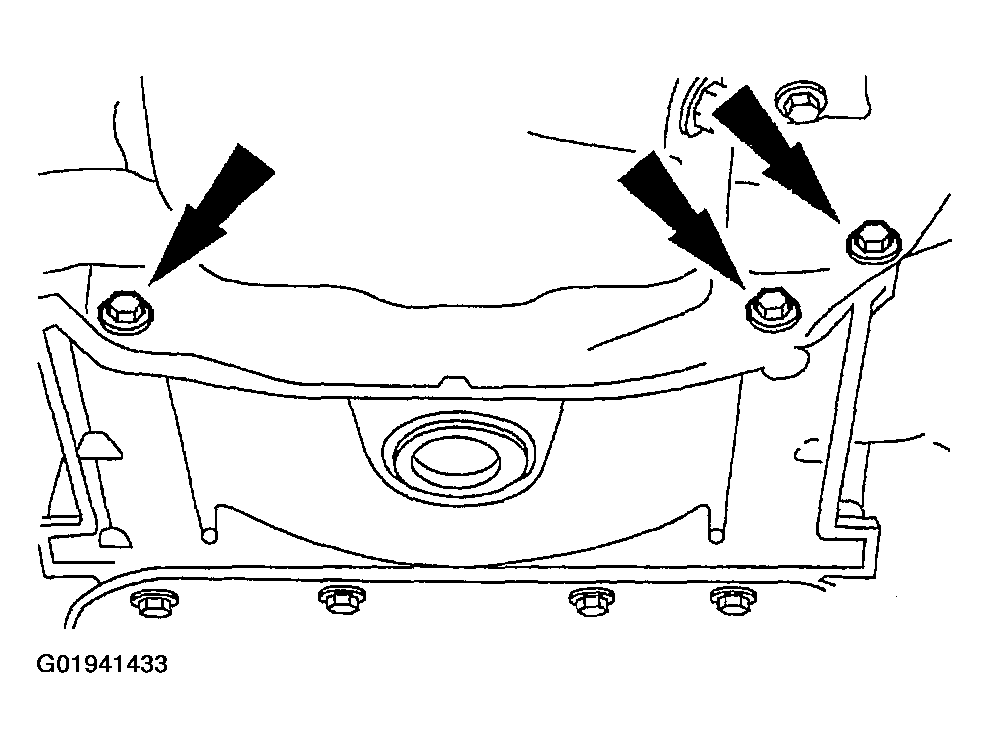
- Remove the five bolts and one stud.
Gasoline Engines
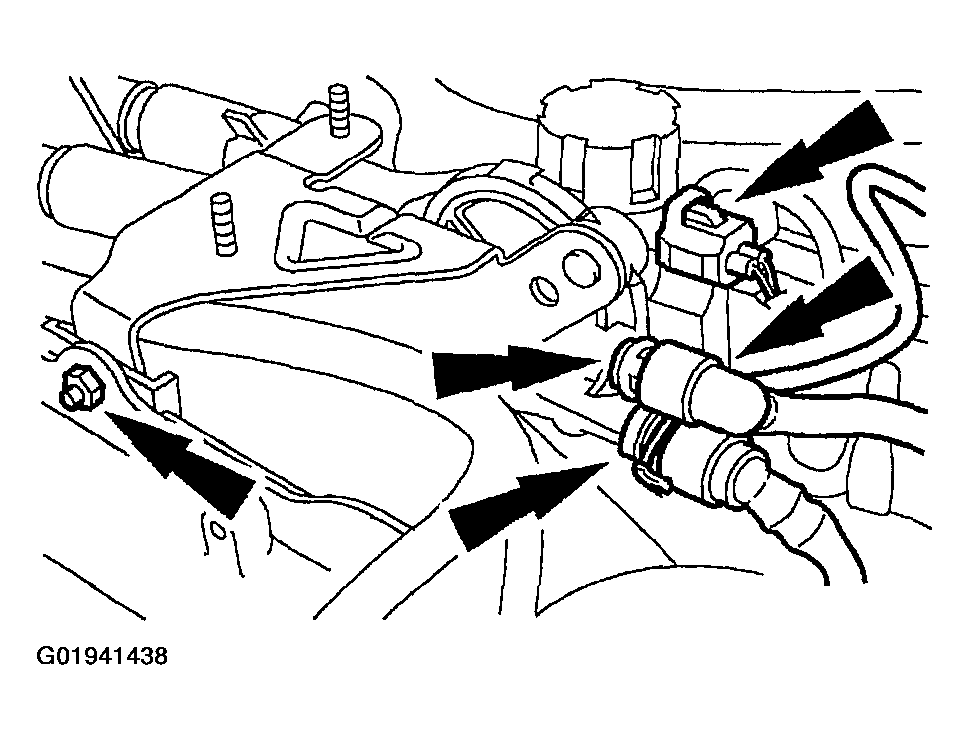
- Remove the evaporative emission (EVAP) canister purge valve.
- Disconnect the three hoses.
- Disconnect the connector.
- Remove the nut and the EVAP canister purge valve.
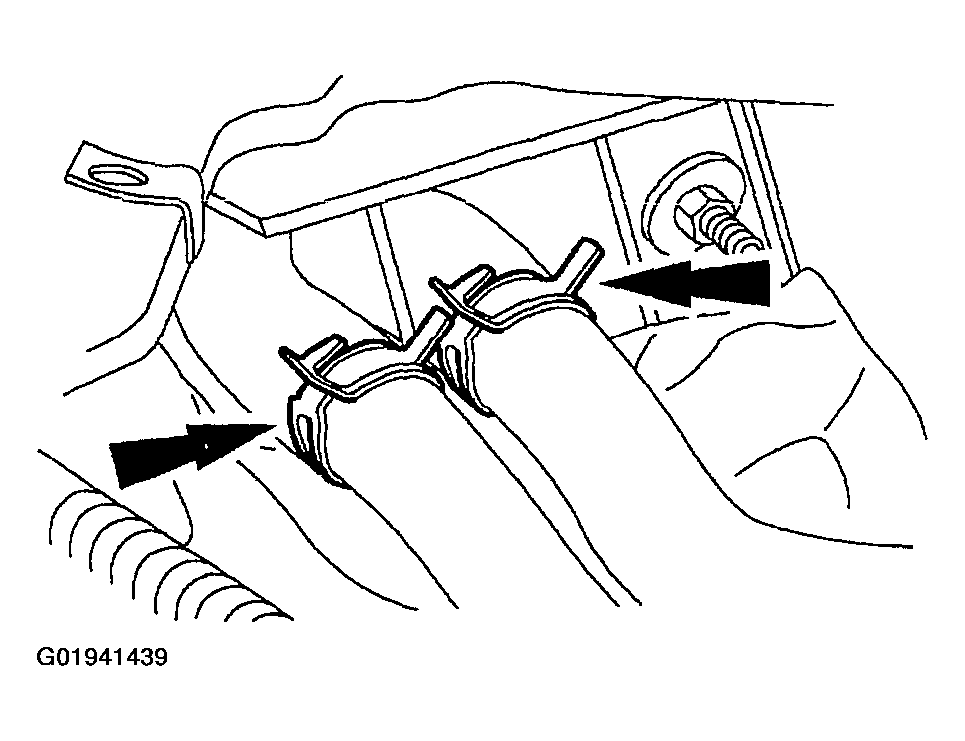
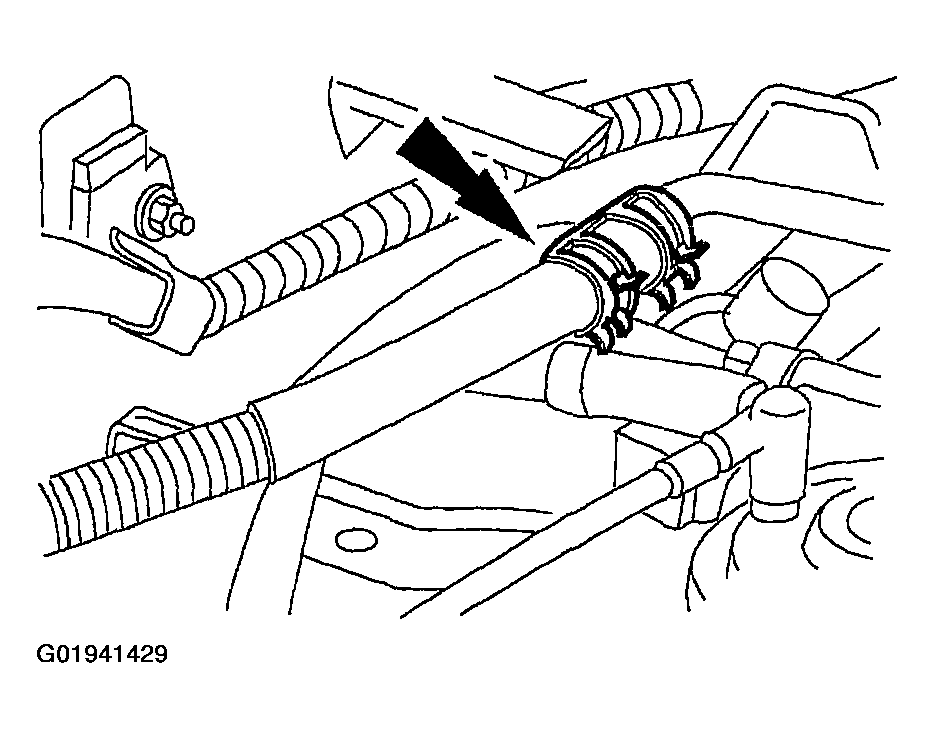
- Position the clamps out of the way and remove the heater water hoses.
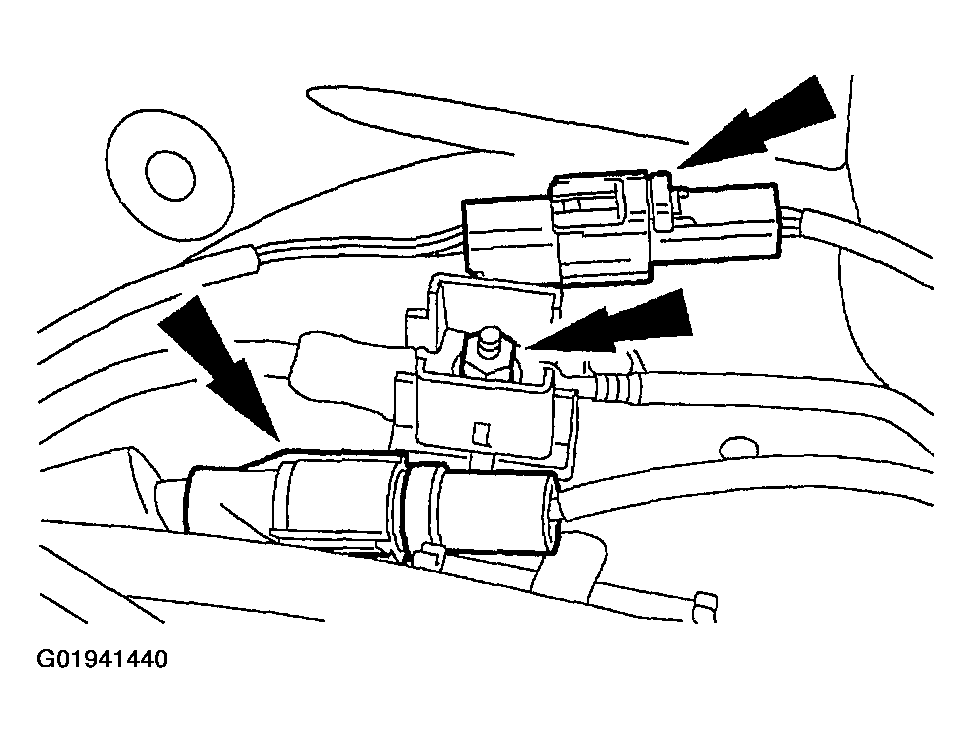
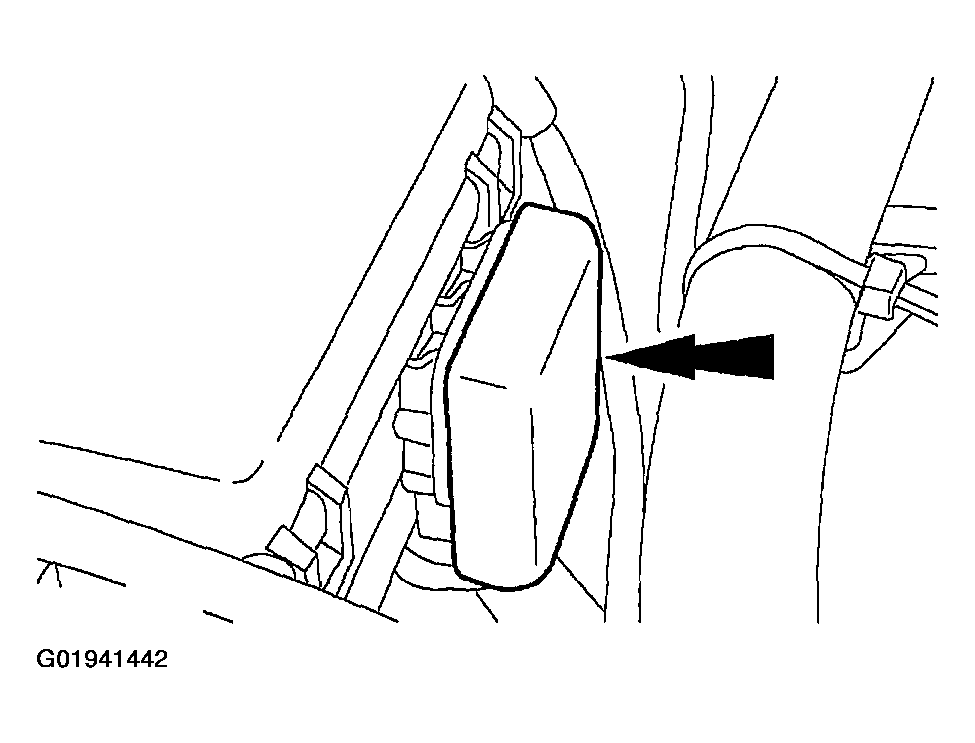
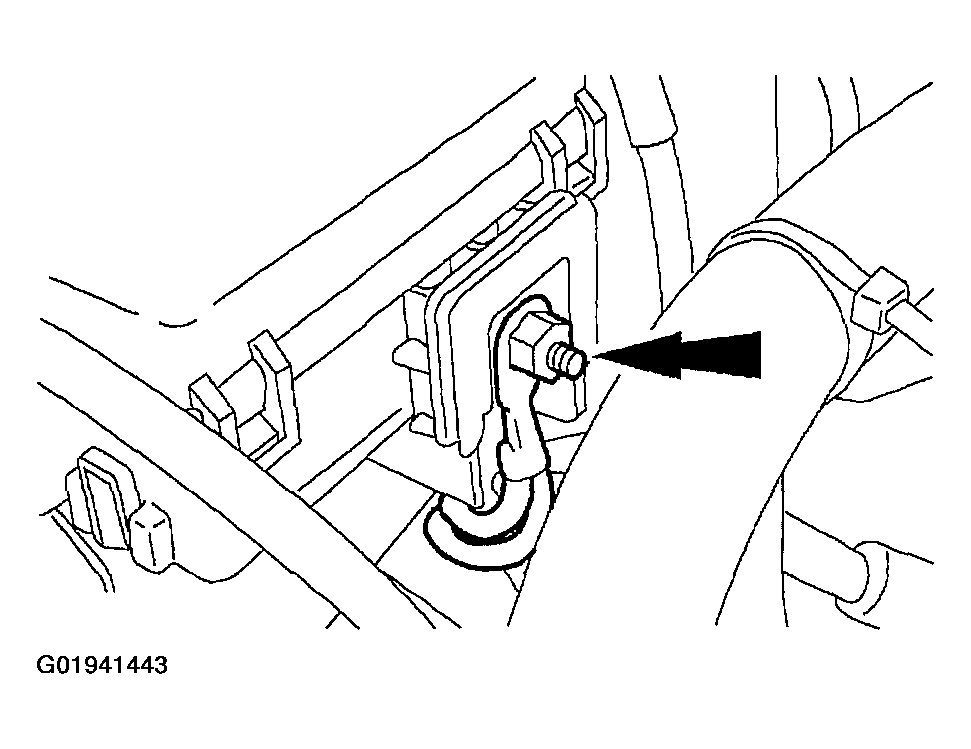
- Remove the nut and disconnect the electrical connectors on the RH inner fender.
Natural Gas Engines
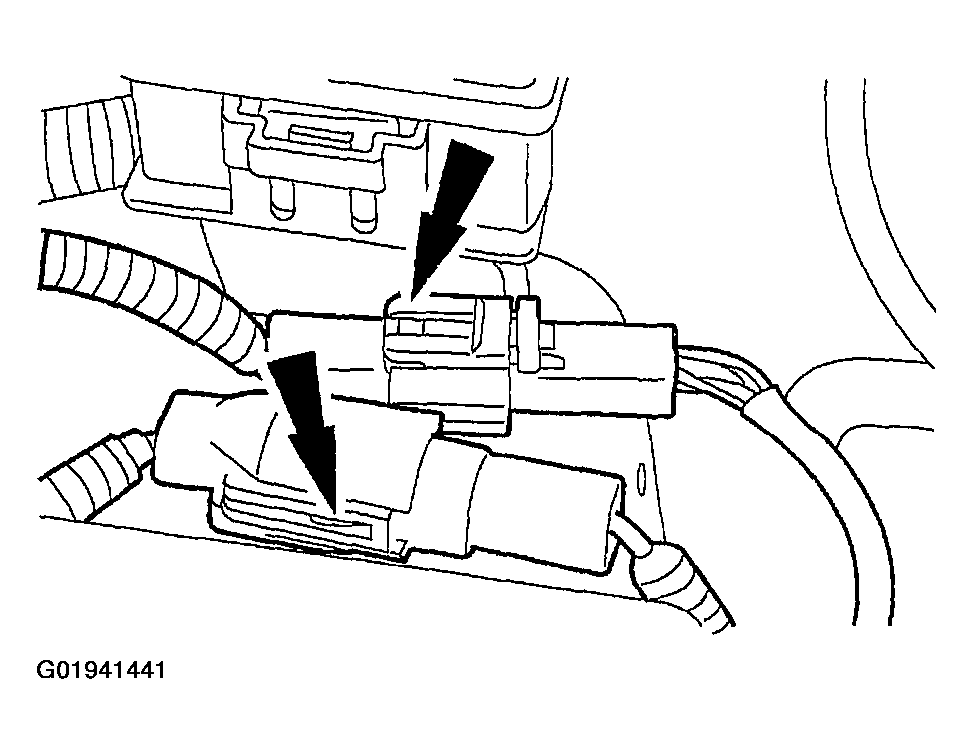
- Disconnect the connectors.
- Remove the cover.
- Remove the nut and the wiring.
All Engines
- Remove the bolt and the body ground.
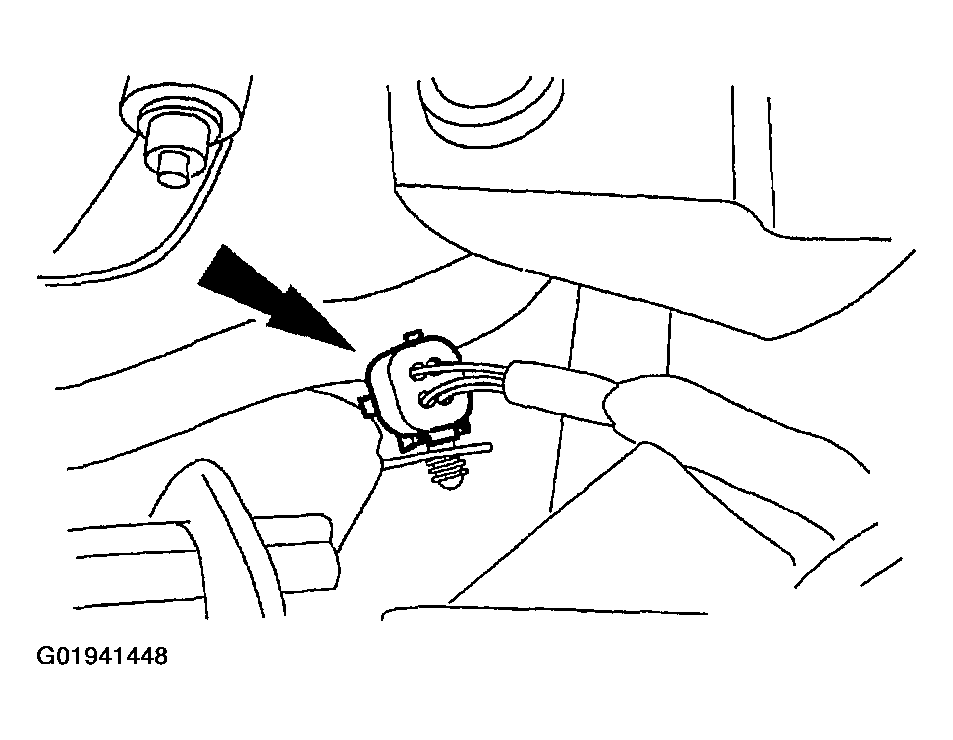
- Disconnect the A/C cycling switch electrical connector.
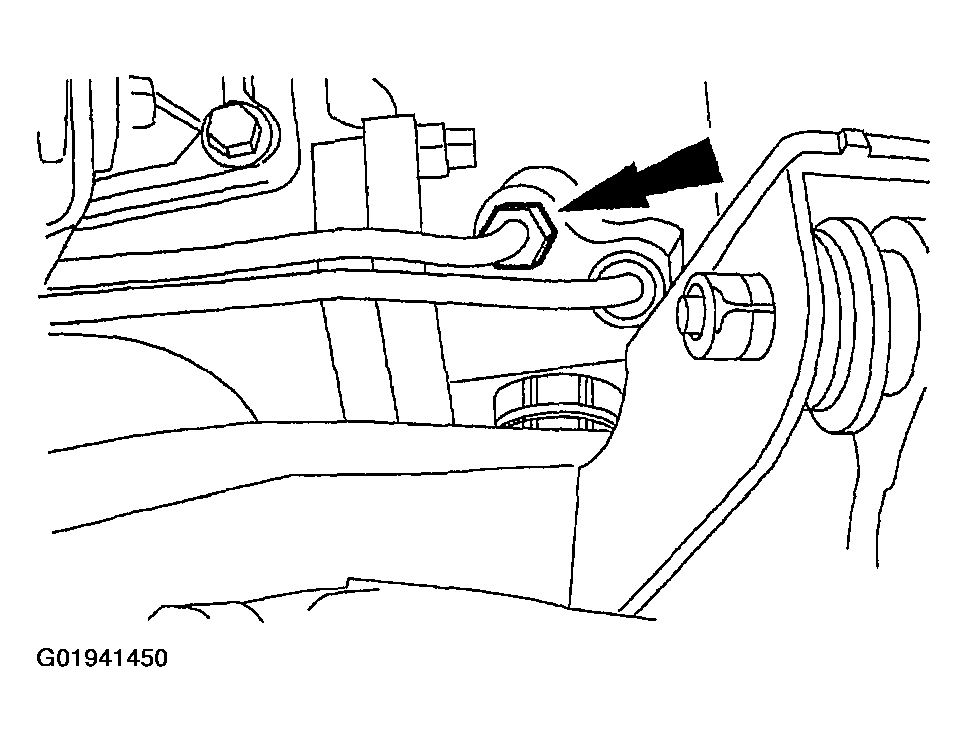
- Remove the nut.
- Disconnect the air conditioning lines.
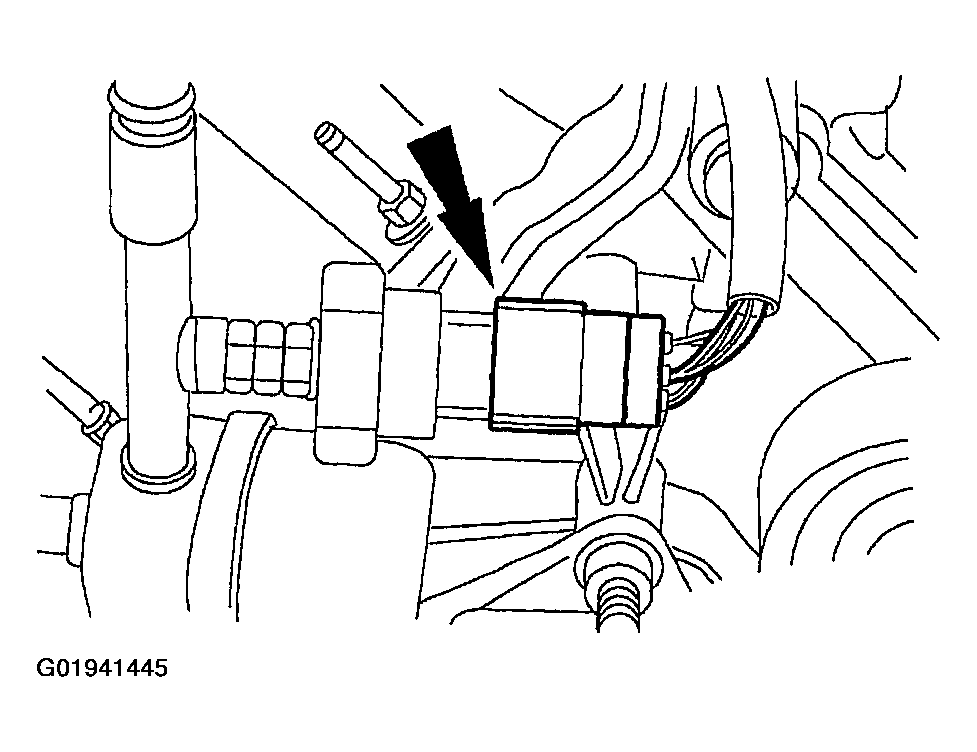
- Disconnect and unplug the RH heated oxygen sensor connector.
- Disconnect the LH heated oxygen sensor and separate the transmission harness from the rear of the LH cylinder head.
- Disconnect the power steering pressure hose.
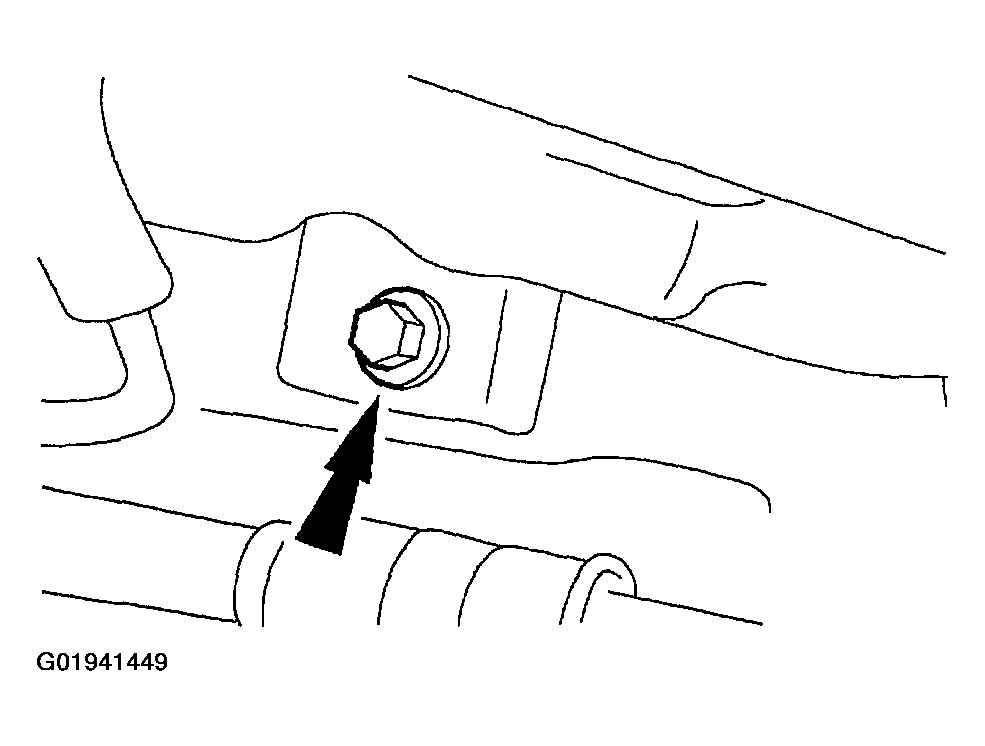
- Remove the bolt.
- Raise the vehicle.
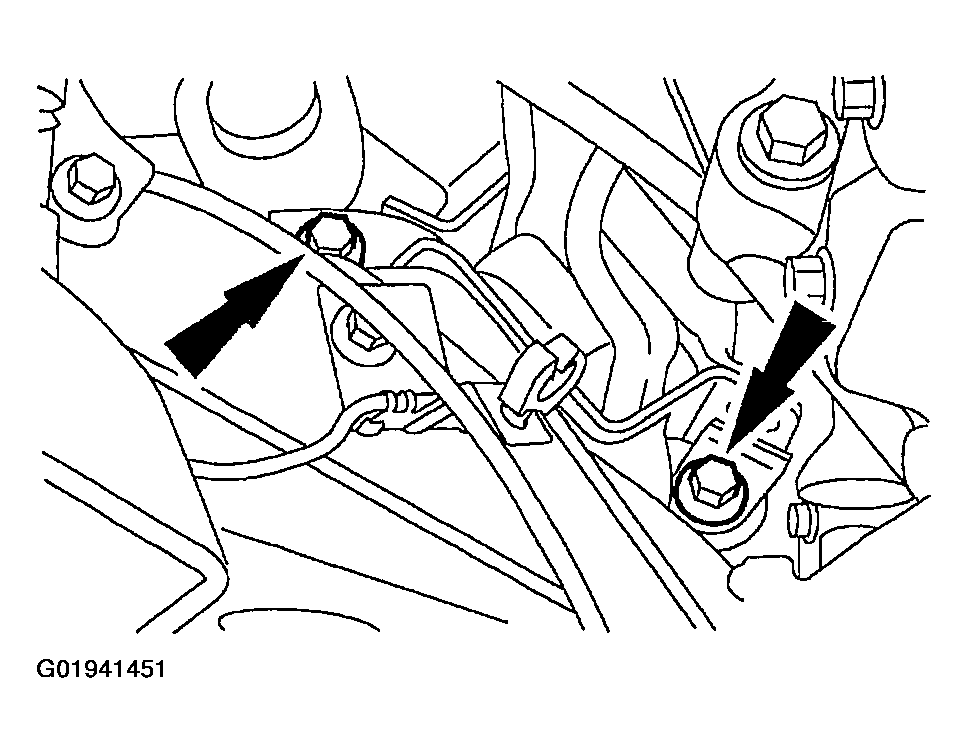
- Remove the LH bolts.
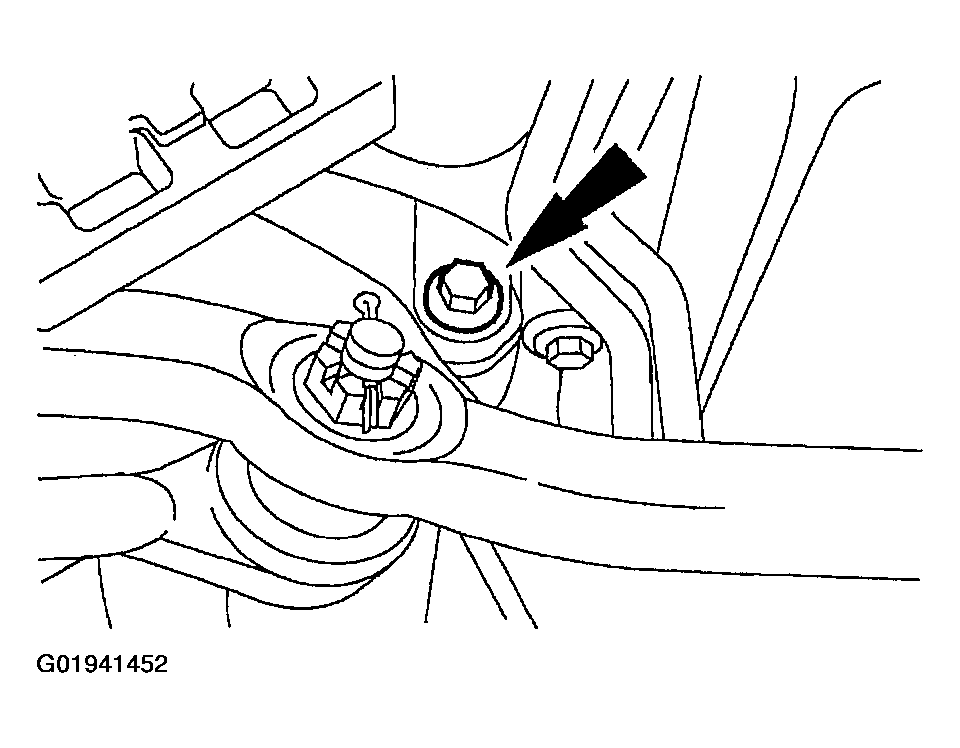
- Remove the RH bolt.
- Lower the vehicle.
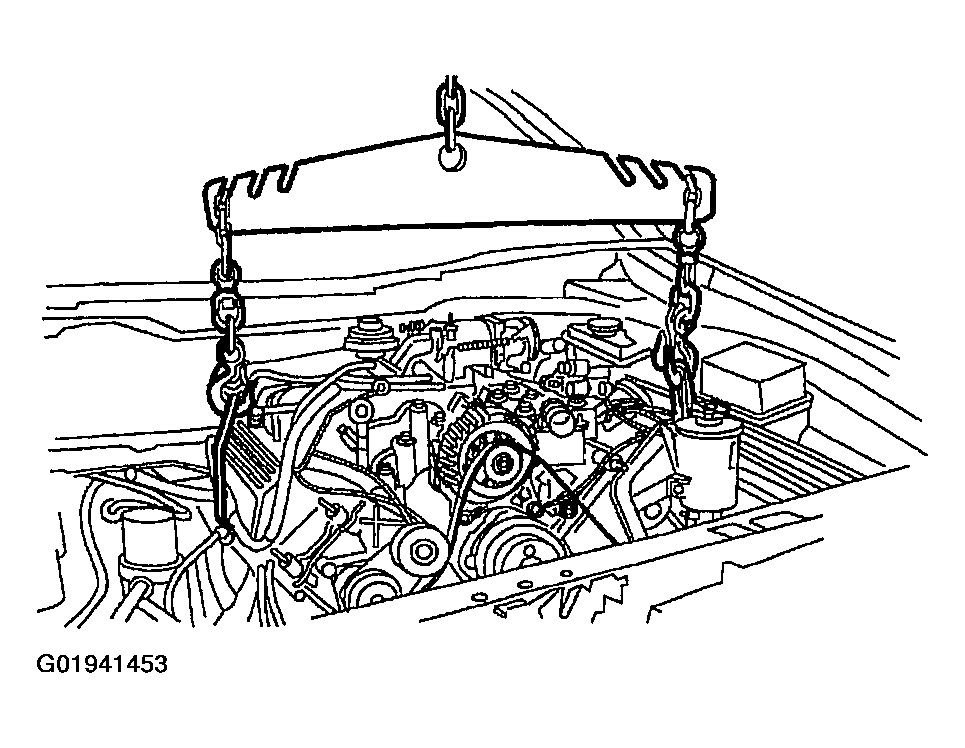
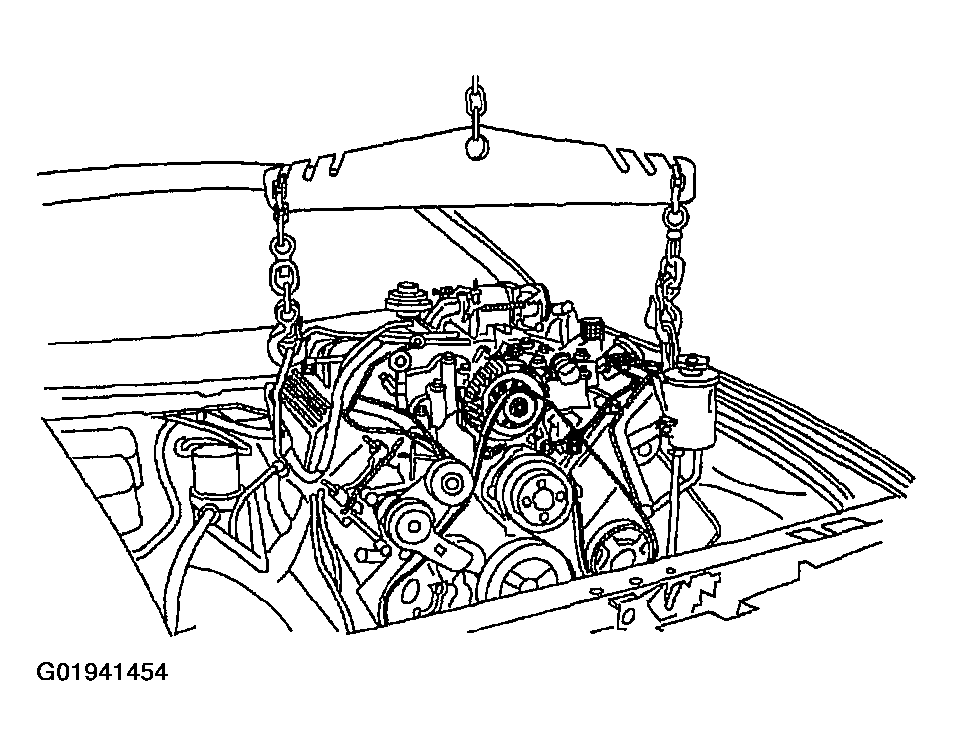
- Install the engine lifting equipment.
- Support the transmission.
- Remove the engine assembly from the vehicle.
- Remove the flexplate (6375). For additional information, refer to FLEXPLATE .
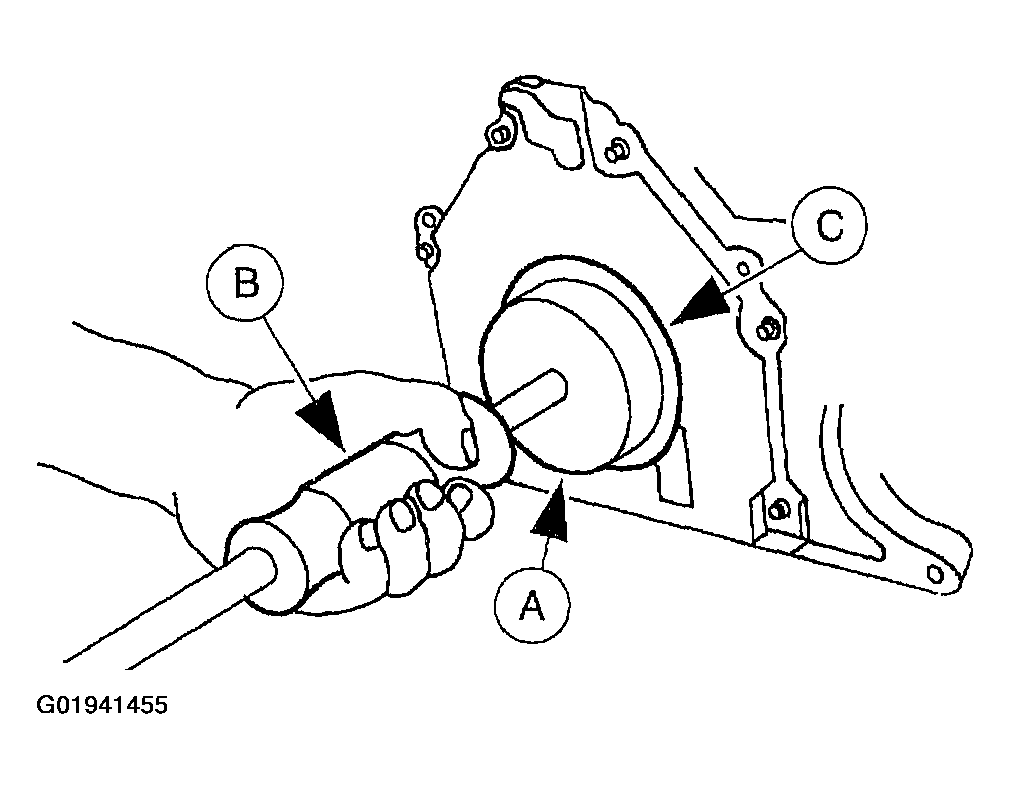
- Use the (A) Rear Crank Slinger Remover and the (B) Slide Hammer to remove the (C) rear oil seal slinger.
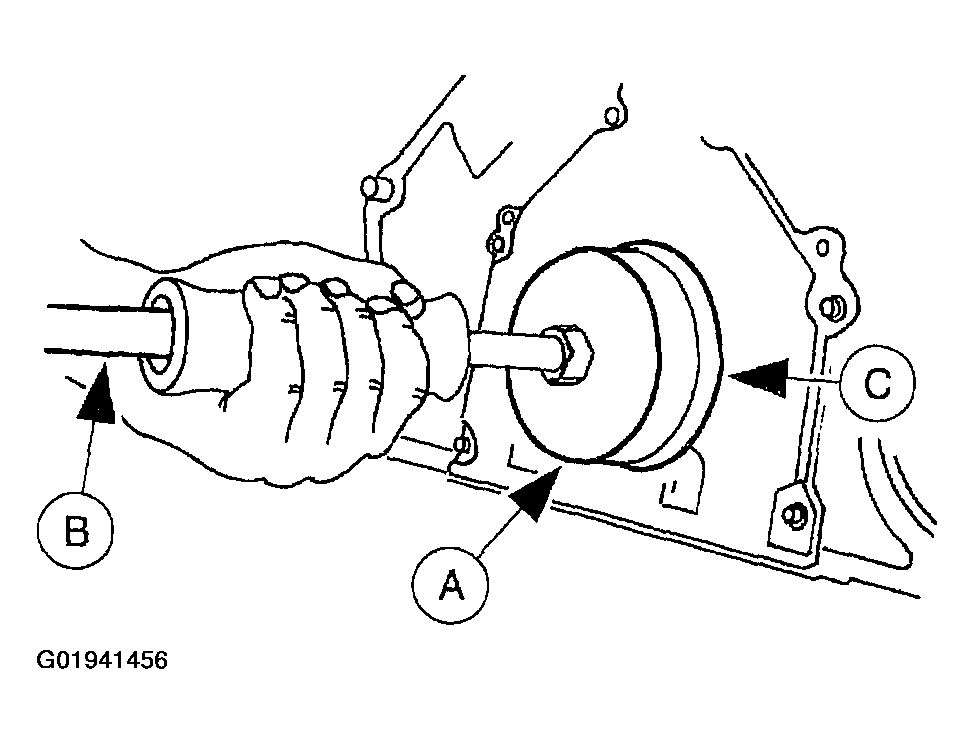
- Use the (A) Rear Crank Seal Remover and the (B) Slide Hammer to remove the (C) rear main seal.
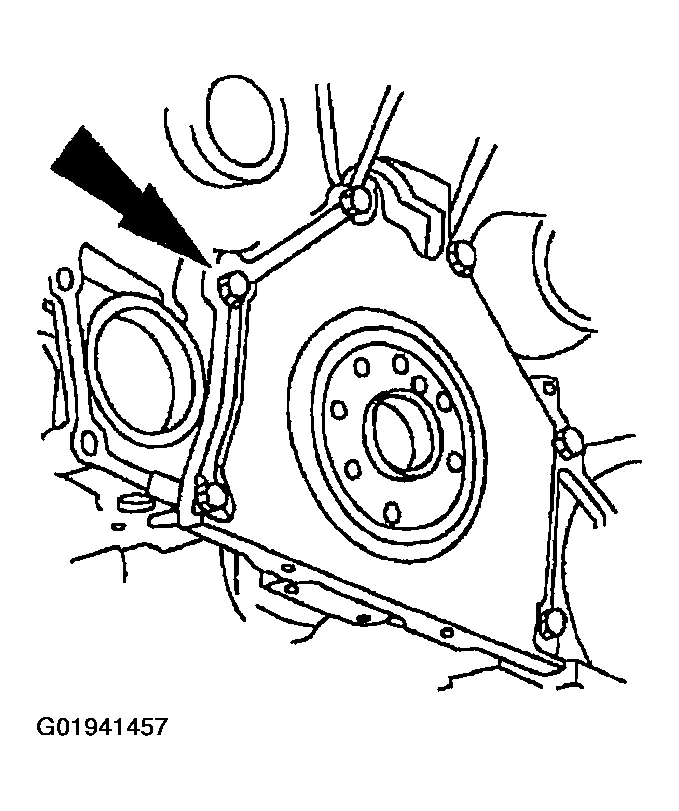
- Remove the eight bolts and the crankcase rear oil seal retainer.
- Mount the engine on a suitable engine stand.
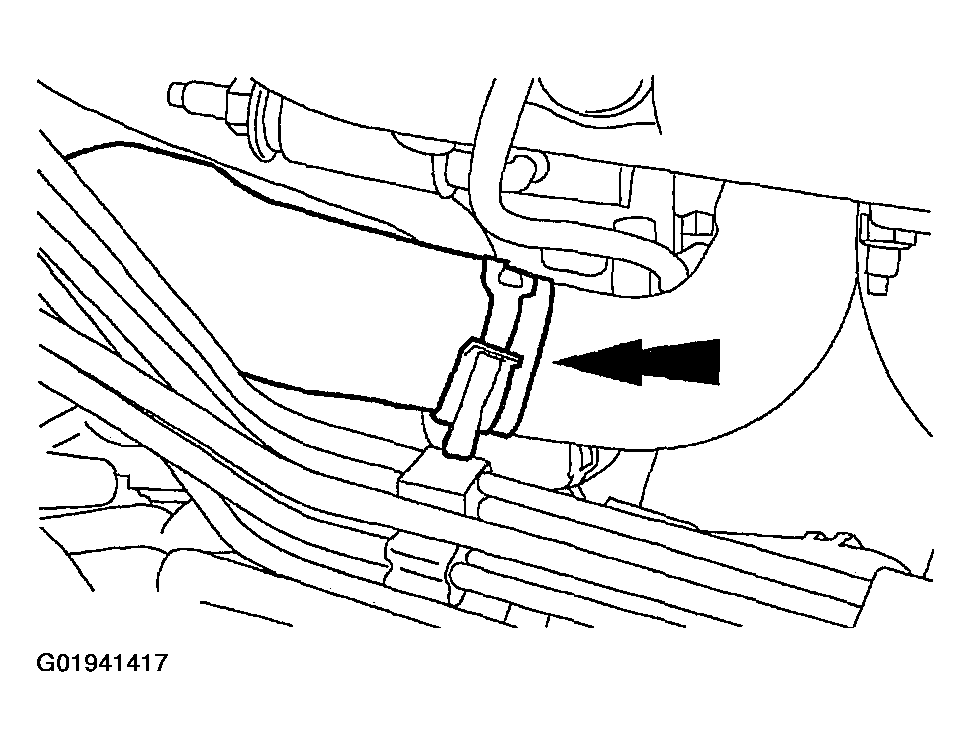
NOTE:
For oil cooler-equipped vehicles only.
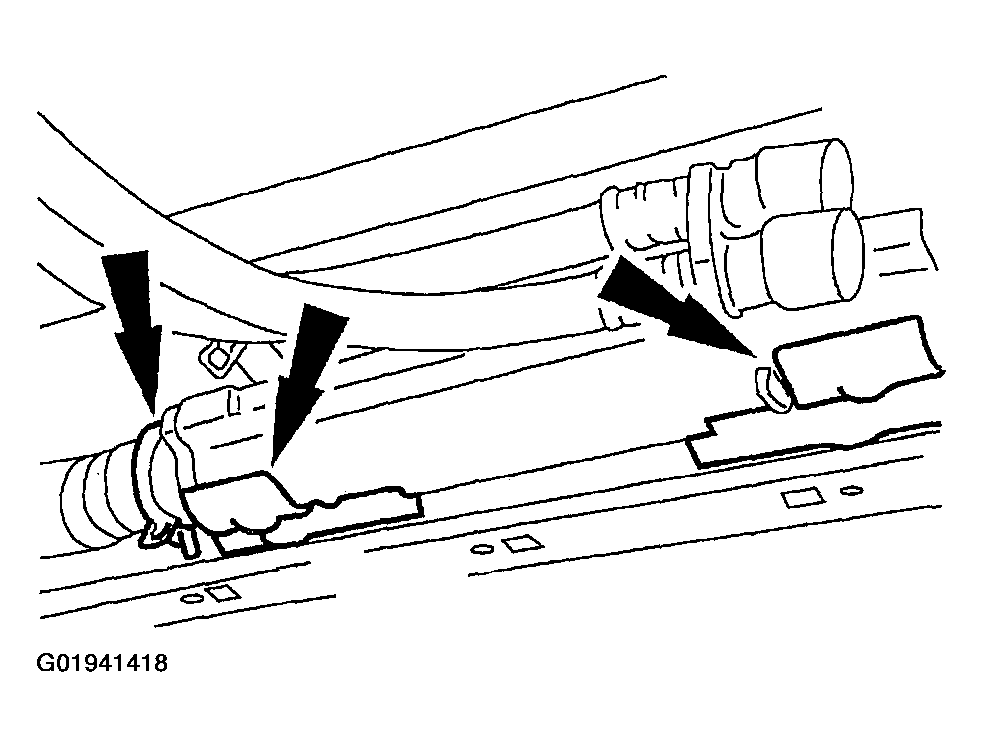
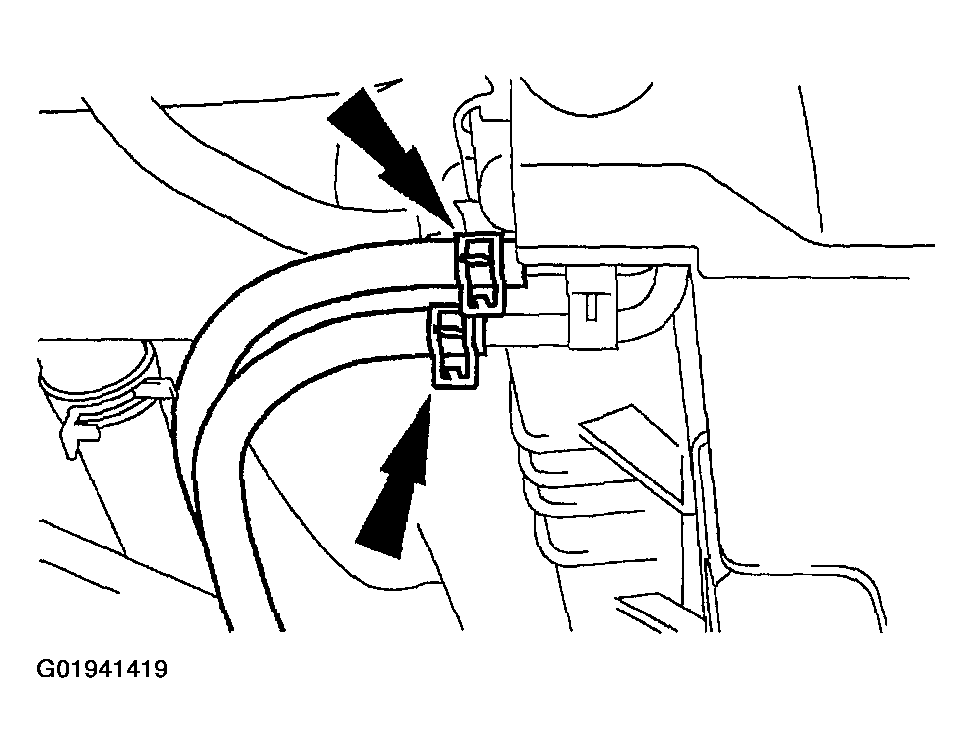
NOTE:
Mark one stud and the flexplate for assembly reference.