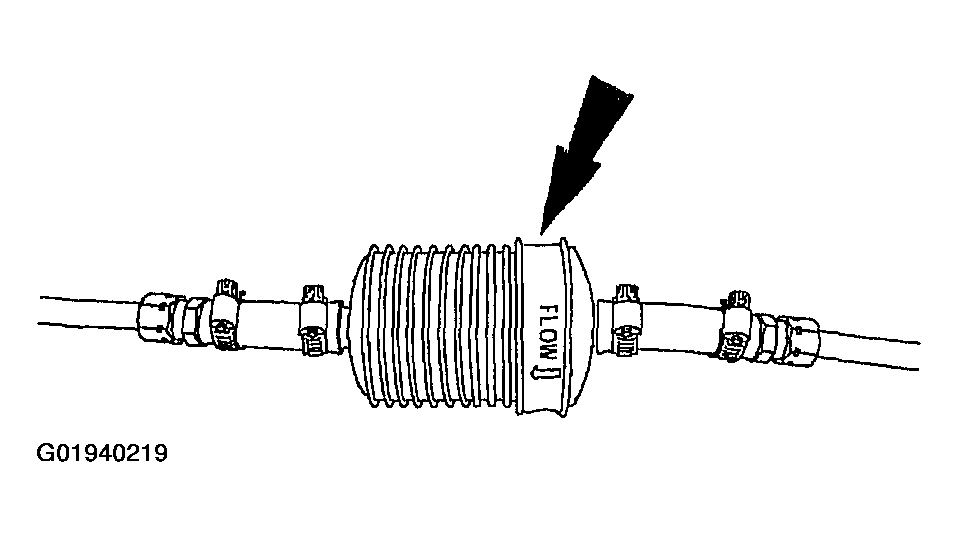
Transmission Fluid Cooler Tubes - BACKFLUSHING & Cleaning
- Using a suitable torque converter/fluid cooler cleaner, clean the fluid cooler tubes.
- Test your equipment to make sure that a vigorous fluid flow is present before proceeding. Replace the filter in the flush equipment if the flow is weak or contaminated.
- If the vehicle is equipped with an inline transmission fluid filter, remove and discard the filter.
- To aid in attaching the cleaner to the transmission steel cooler tubes, connect two additional rubber hoses to the transmission end of the steel transmission cooler tubes as follows:
- Disconnect the fluid cooler tubes from the oil-to-air (OTA) cooler.
- Install a rubber hose in place of the oil-to-air cooler.
- Connect the cleaner tank pressure line to the steel transmission cooler return tube (the longest tube).
- Connect a tank return hose to the steel transmission cooler pressure tube (shorter tube). Place the outlet end of this hose in the solvent tank reservoir.
- Turn on solvent pump and allow the solvent to circulate a minimum of 5 minutes (cycling switch on and off will help dislodge contaminants in the cooler system).
- Switch off the solvent pump and disconnect the solvent pressure hose from the transmission cooler return tube.
- Use compressed air to blow out the cooler(s) and tubes (blow air into the transmission cooler return tube) until all solvent is removed.
- Remove the rubber return hose from the remaining steel cooler tube.
- Install the oil-to-air (OTA) cooler tubes.
- Once a adequate flow has been established, install a new inline fluid filter on service kit assembly.
- Once the fluid filter has been installed, check that fluid will flow out of the filter.
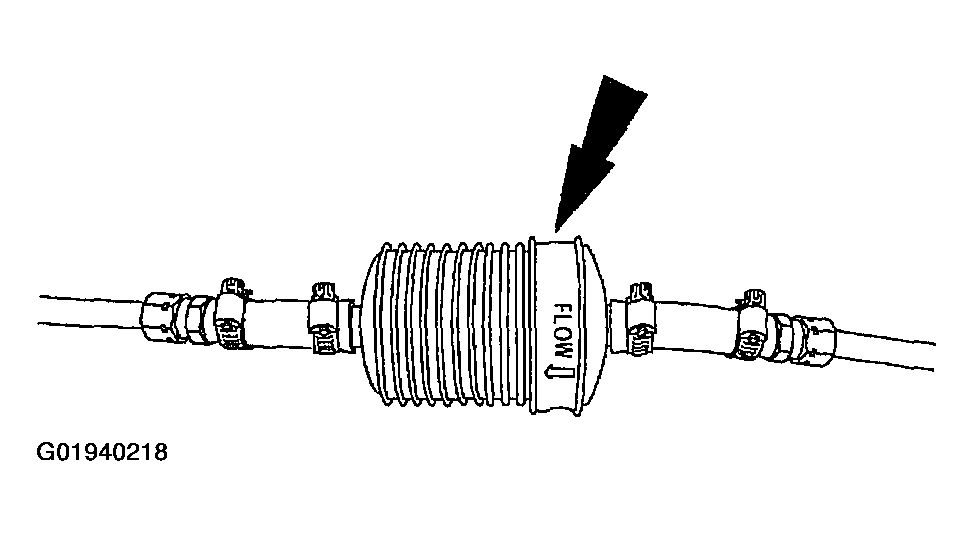
NOTE:
If the vehicle was not equipped with an inline fluid filter, install a fluid filter service kit (XC3Z-7B155-AA). Follow the instructions supplied in the kit. If the vehicle was equipped with a inline fluid filter, install a new fluid filter (XC3Z-7B155-BA).