Removal & Installation
- Disconnect the battery ground cable. Wait at least one minute before proceeding with the procedure to allow the backup power supply to deplete its energy. For additional information, refer to BATTERY, MOUNTING & CABLES .
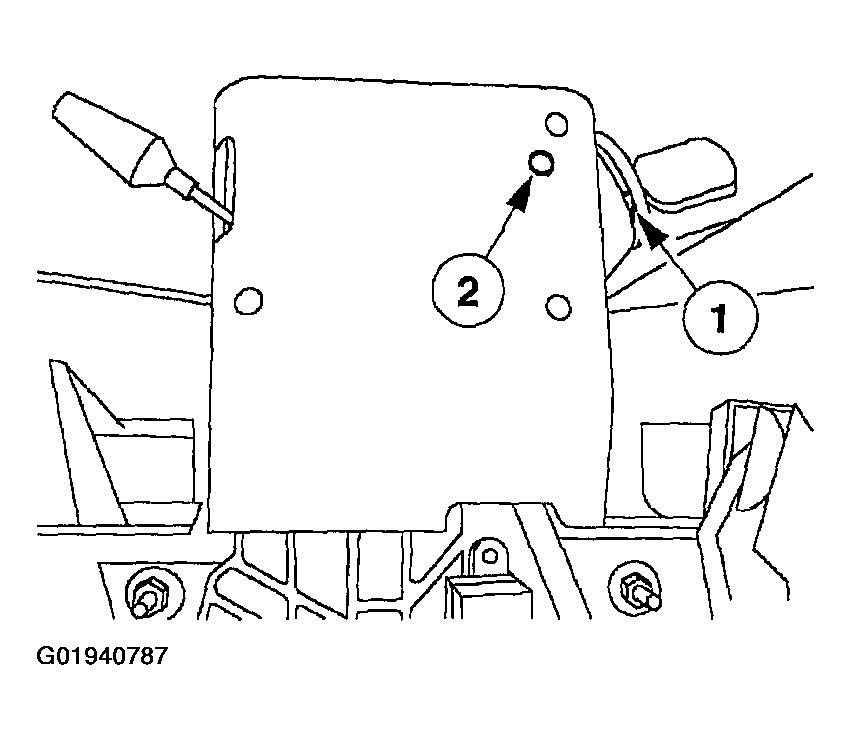
- Remove the lower steering column opening finish panel.
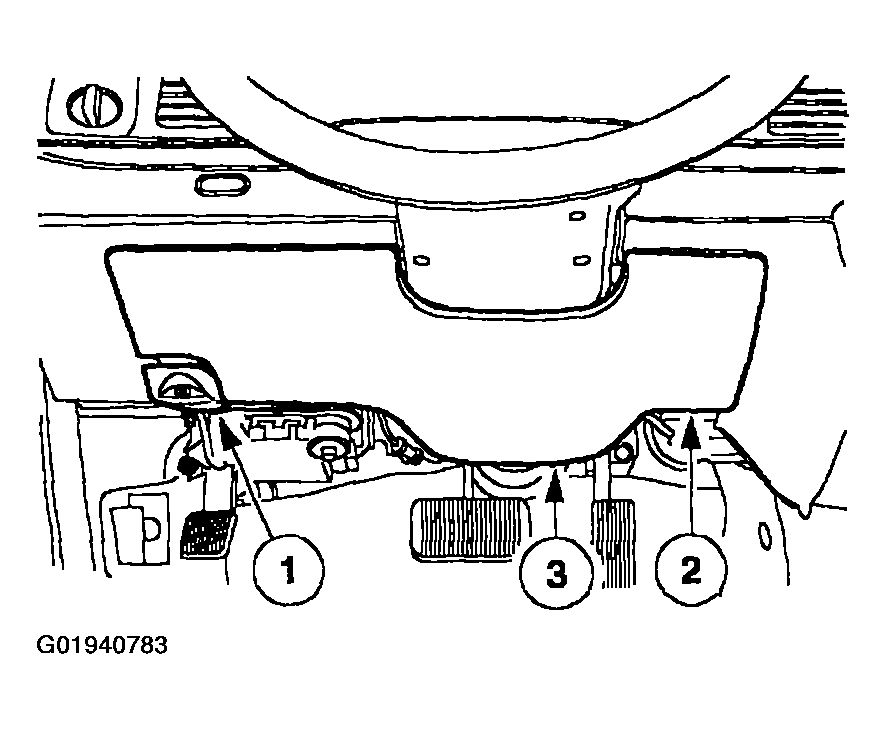
- Remove the screw and position the parking brake release handle out of the way.
- Remove the screw from the lower steering column opening finish panel.
- Pull outward to release the retaining clips and remove the lower steering column opening finish panel.
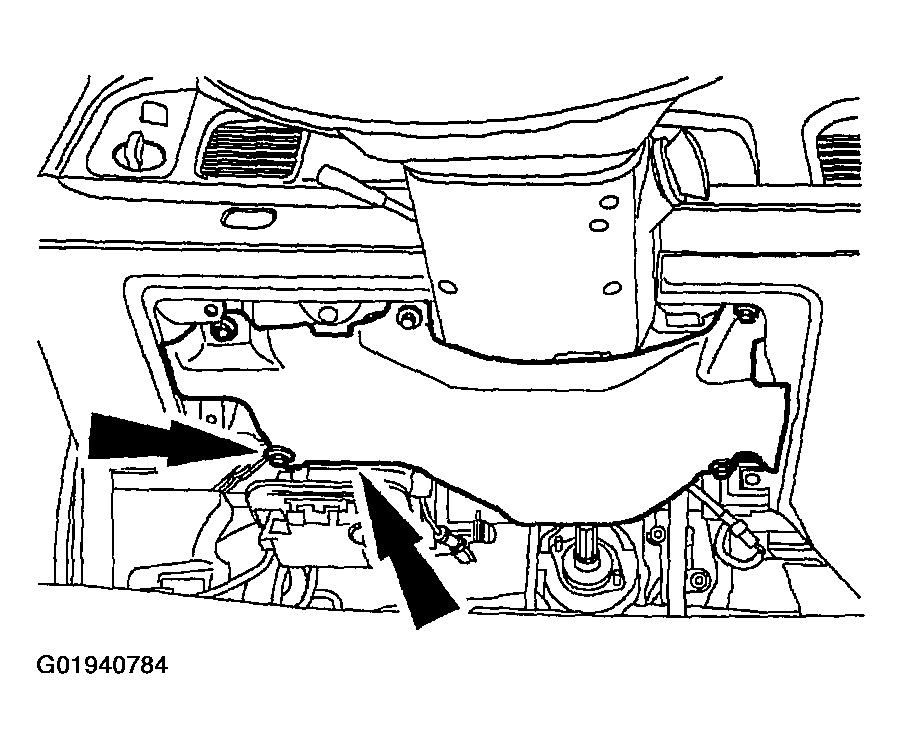
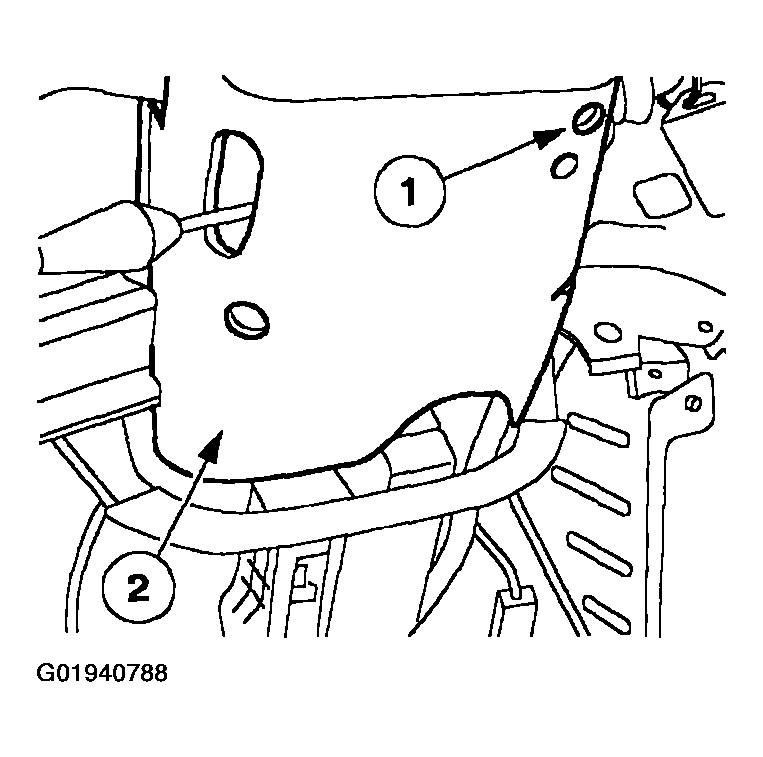
- Remove the five screws and the lower steering column opening finish panel reinforcement.
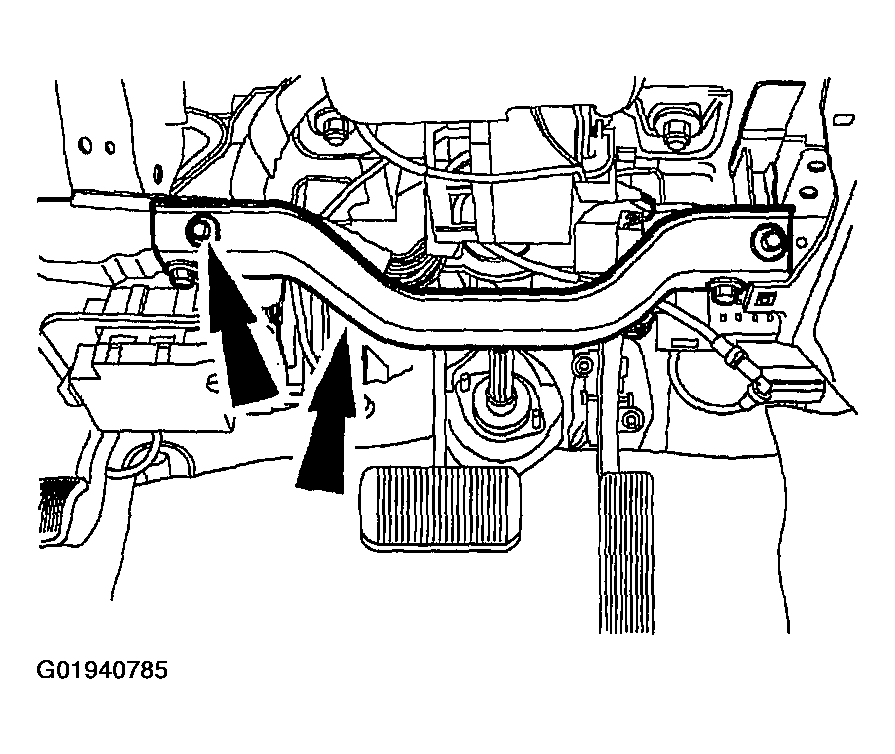
- Remove the four screws and the instrument panel reinforcement brace.
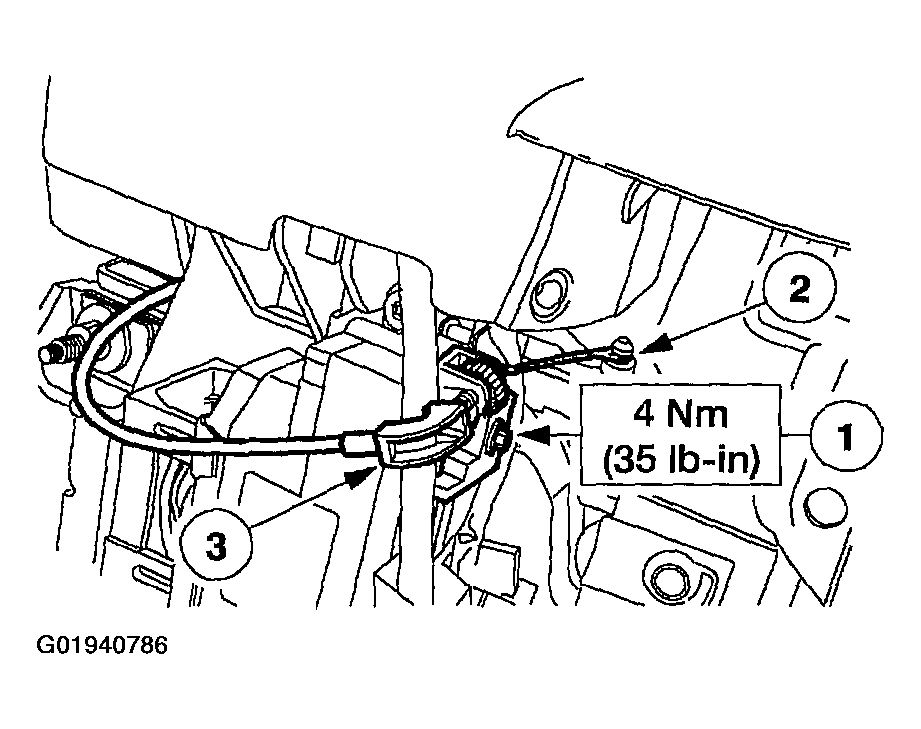
- Position the selector lever indicator cable aside.
- Loosen the screw.
- Disconnect the cable.
- Position the selector lever indicator cable aside.
- Remove the ignition switch lock cylinder.
- Rotate the ignition switch lock cylinder to the RUN position.
- Press the lock cylinder release pin and remove the ignition switch lock cylinder.
- Remove the lower steering column shroud.
- Remove the four screws.
- Remove the lower steering column shroud.
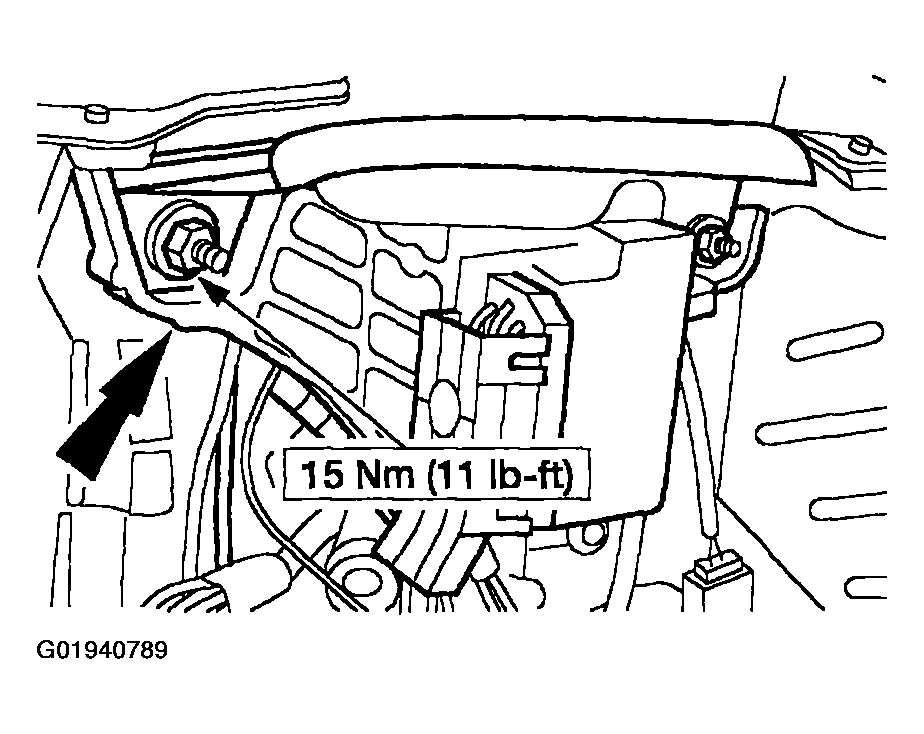
- Remove the four nuts and lower the steering column.
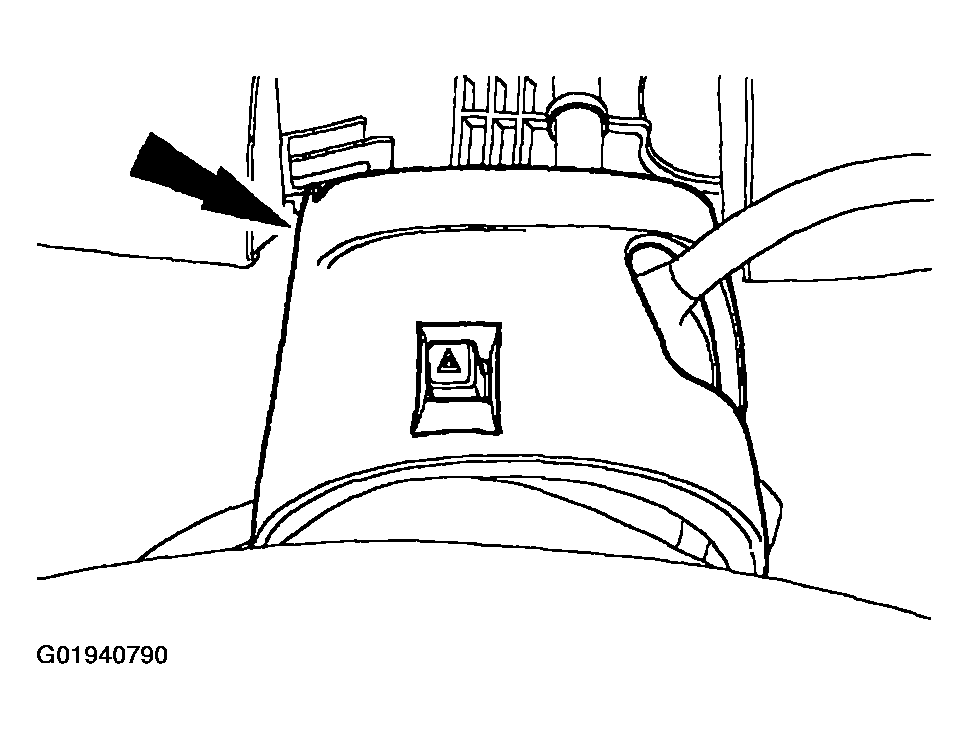
- Remove the upper steering column shroud.
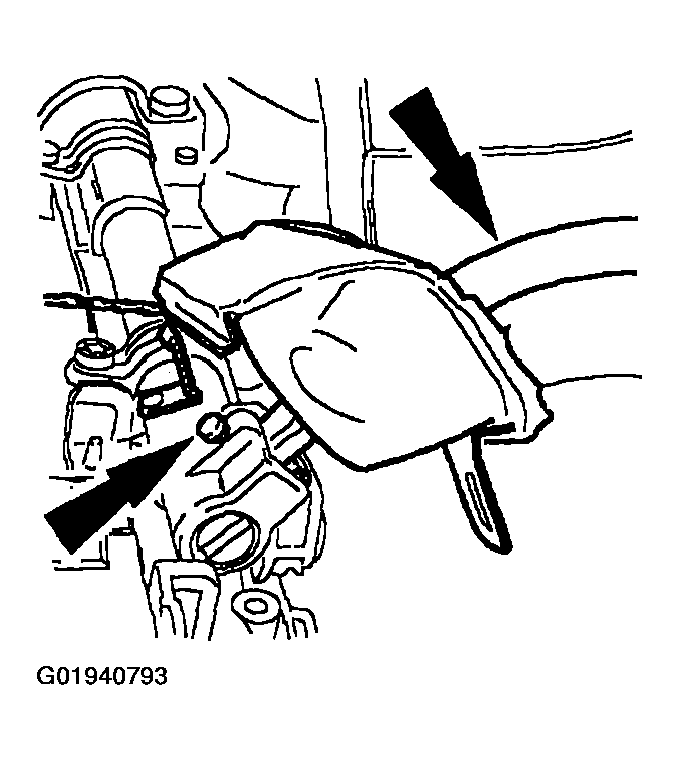
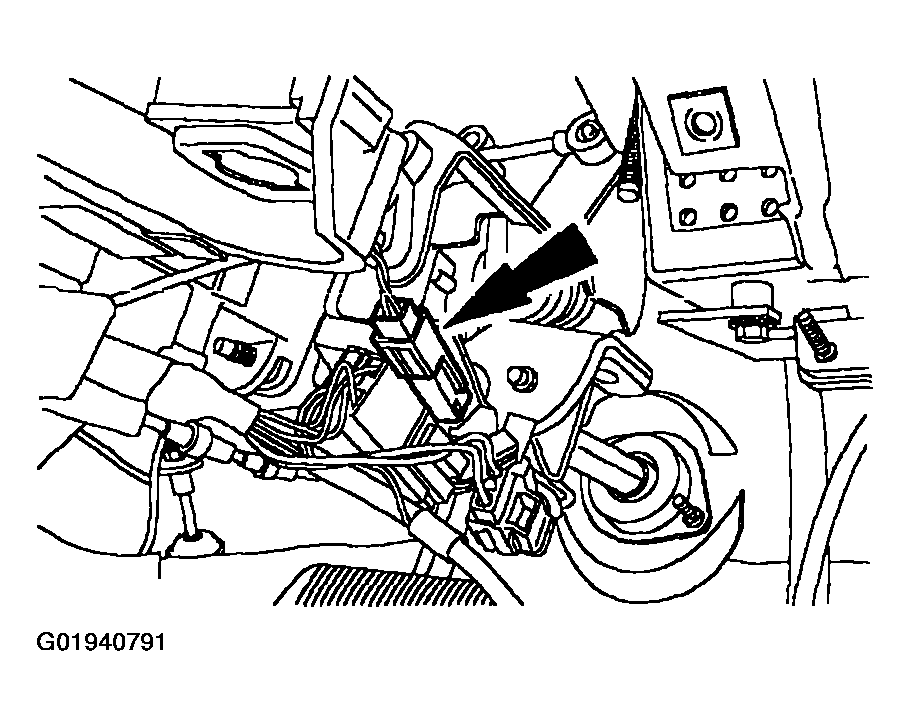
- Disconnect the transmission control switch (TCS) harness connector.
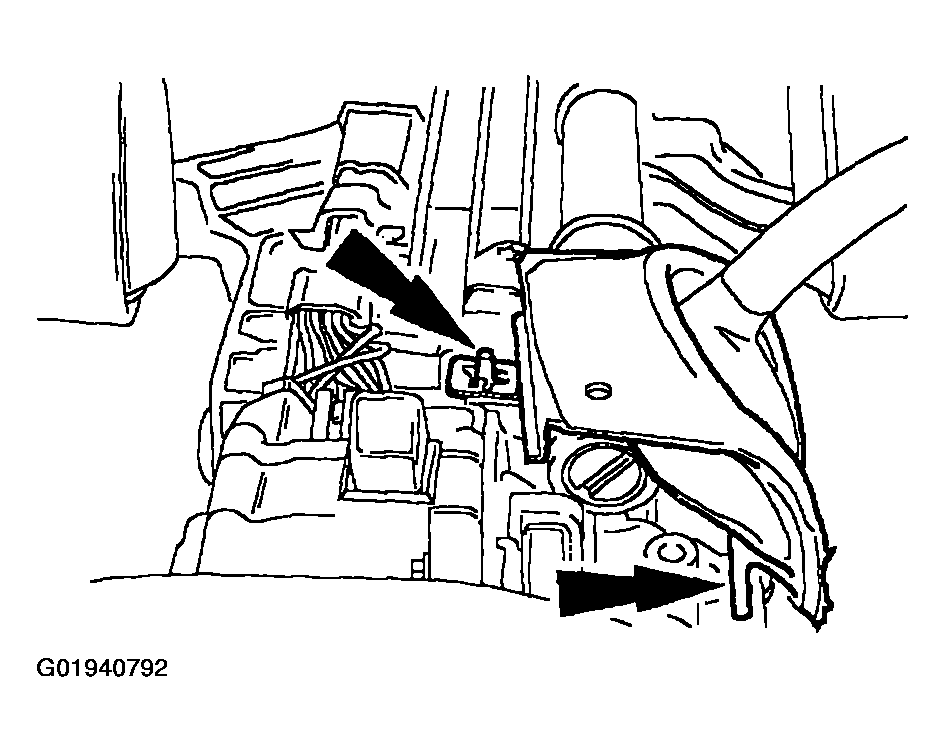
- Separate the TCS harness from the locators and the gearshift lever cover from the steering column.
- Remove the gearshift lever pin and the gearshift lever. Discard the gearshift lever pin.
- To install, reverse the removal procedure.
WARNING:
To avoid accidental deployment and possible personal injury, the backup power supply must be depleted before repairing or replacing any front or side air bag supplemental restraint system (SRS) components and before servicing, replacing, adjusting or striking components near the front or side air bag sensors, such as doors, instrument panel, console, door latches, strikers, seats and hood latches.
The side air bag sensors are located at or near the base of the B-pillar.
To deplete the backup power supply energy, disconnect the battery ground cable and wait at least one minute. Be sure to disconnect auxiliary batteries and power supplies (if equipped).
The side air bag sensors are located at or near the base of the B-pillar.
To deplete the backup power supply energy, disconnect the battery ground cable and wait at least one minute. Be sure to disconnect auxiliary batteries and power supplies (if equipped).
CAUTION:
Never reinstall the old gearshift lever pin (7G357).