Outer
Tie Rod End-Outer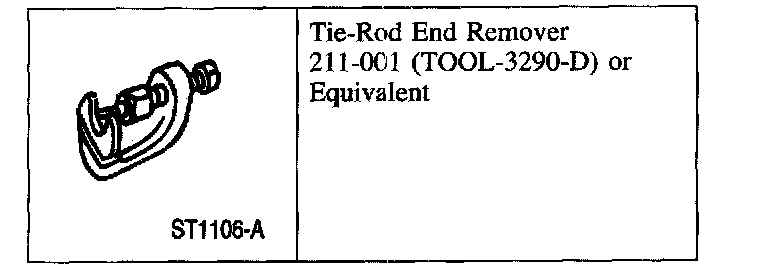
Special Tool(s)
Removal
1. Raise and support the vehicle.
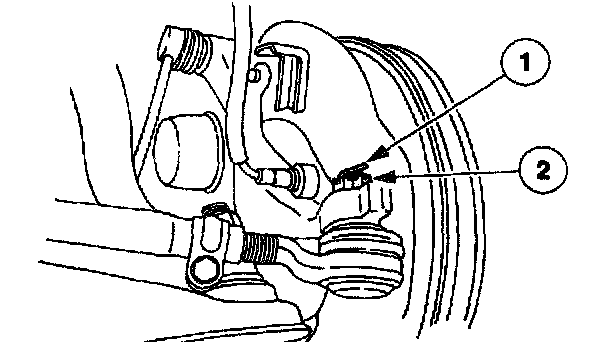
2. NOTE: Both the left side and the right side outer tie-rod ends are removed the same way. Only the left side is shown.
Remove the nut.
1 Remove the cotter pin.
2 Remove the nut.
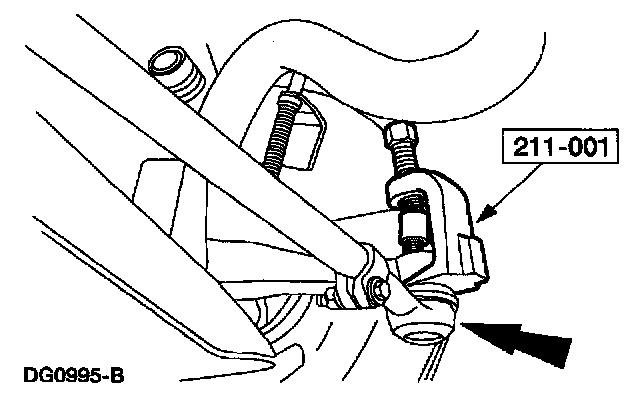
3. Using the special tool, remove the tie-rod end from the front wheel spindle.
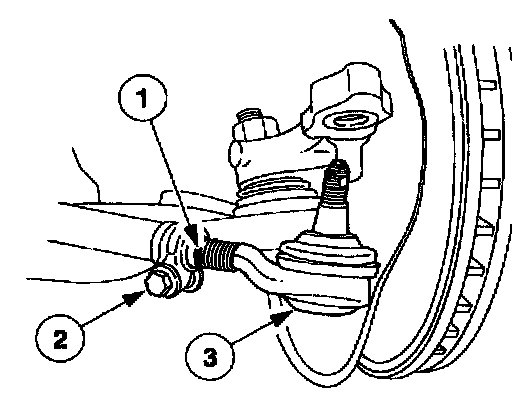
4. NOTE: Count the number of threads on the old tie-rod end from the end of the shaft to the scribe mark. This is the number of threads that the tie-rod end should be installed into the front wheel spindle tie-rod adjusting sleeve.
Remove the outer tie-rod end from the front wheel spindle tie rod adjusting sleeve.
1 Scribe a mark into the threads on the tie-rod end where shown.
2 Loosen the nut and bolt.
3 Remove the tie-rod end.
Installation
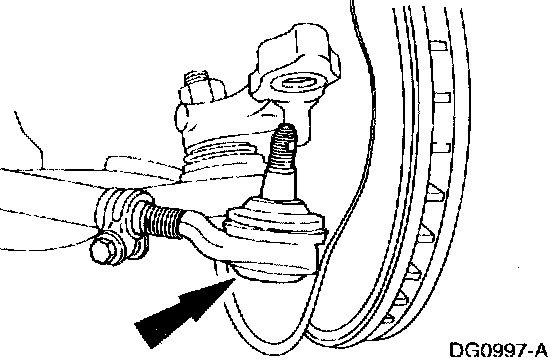
1. NOTE: Do not tighten the clamp on the front wheel spindle tie-rod adjusting sleeve until the front wheel alignment has been checked.
NOTE: Both the left side and the right side outer tie-rod ends are installed the same way. Only the left side is shown.
Install the tie-rod end into the front wheel spindle tie-rod adjusting sleeve.
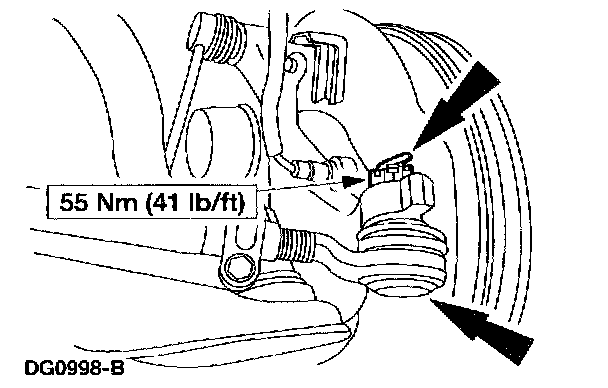
2. Install the tie-rod end, nut and a new cotter pin.
3. Lower the vehicle.
4. Check the wheel alignment. Adjust as necessary.