Universal Joint: Service and Repair
Driveshaft Universal Joint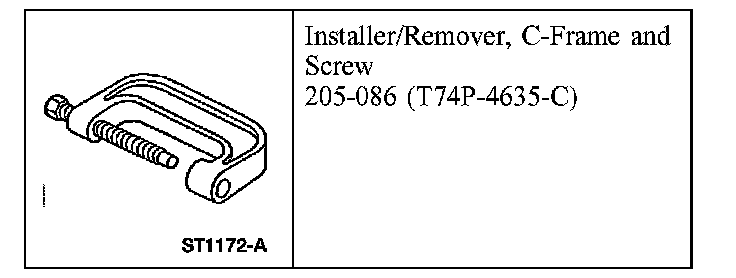
Special Tool(s)
Disassembly and Assembly
NOTE: The front driveshaft CV joint is not repairable.
1. Remove the driveshaft.
2. Index-mark the components at the universal joints for reassembly.
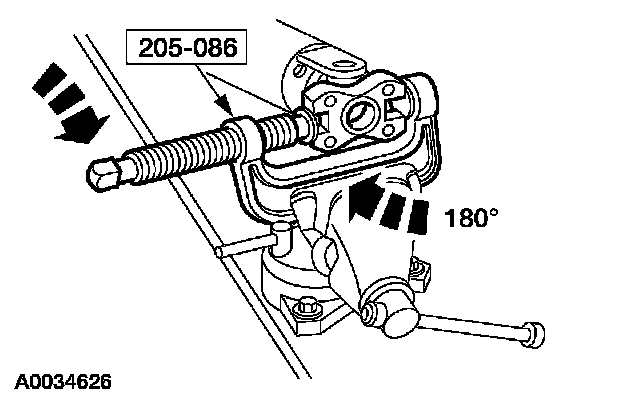
3. Position the driveshaft in the special tool. Using the special tool, press out a bearing cup.
4. If necessary, use a pair of pliers to remove the bearing cup if it cannot be pressed all the way out.
5. Rotate the driveshaft and press on the spider to remove the remaining bearing cup.
6. Remove the driveshaft flange.
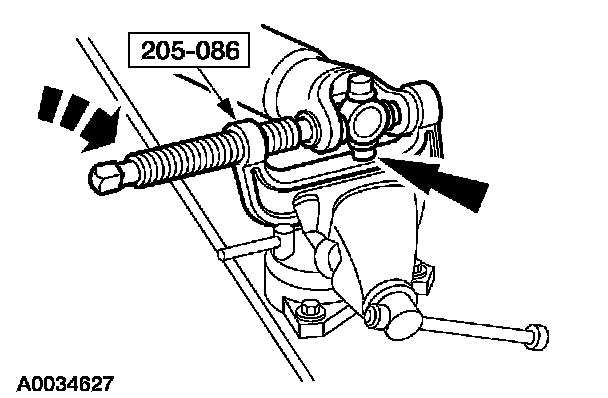
7. Position the driveshaft in the special tool. Using the special tool, press out the bearing cup.
8. If necessary, use a pair of pliers to remove the bearing cup if it cannot be pressed all the way out.
9. Rotate the driveshaft and press on the spider to remove the remaining bearing cup.
10. Remove the spider.
11. NOTE: Clean the bearing cup bores.
NOTE: Check the universal joints for freedom of movement. If binding, strike the driveshaft flange with a brass or plastic hammer. Do not strike the universal joint.
To assemble, reverse the disassembly procedure.
^ Use the yellow snap rings supplied in the kit to install the universal joint. If difficulty is encountered with the yellow snap rings, install the black snap rings, as required.