Transmission Fluid Cooler Tubes
Transmission Fluid Cooler Tubes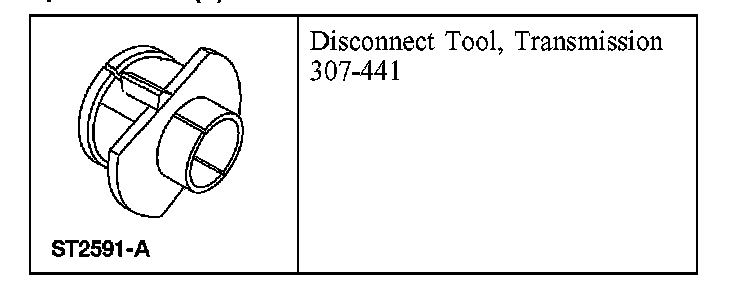
Special Tool(s)
Removal
1. With the vehicle in NEUTRAL, position it on a hoist.
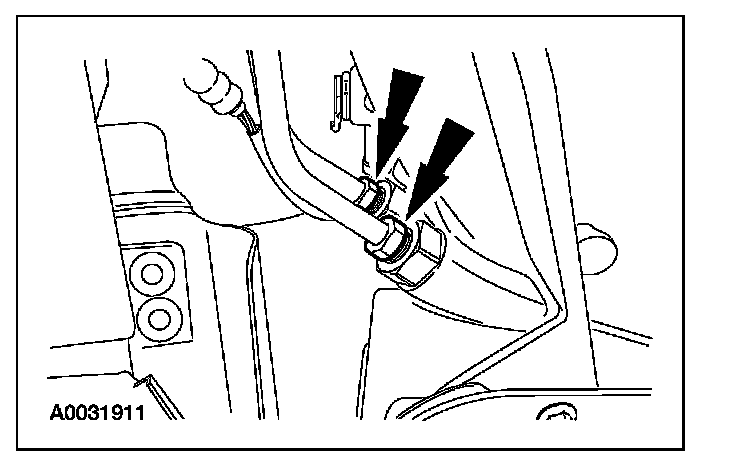
2. Use a backup wrench to hold the case fitting securely. Disconnect the fluid cooler fittings.
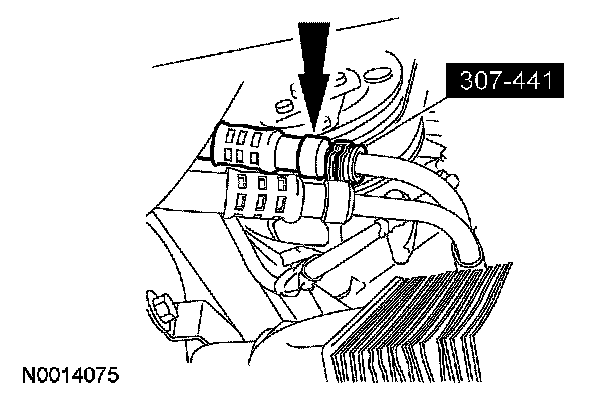
3. NOTE: If equipped, remove the safety retainer from the connector.
Disconnect the cooler line.
^ If equipped, use the special tool to disconnect the quick connect coupler.
^ If equipped, loosen and remove the screw clamp from the hose.
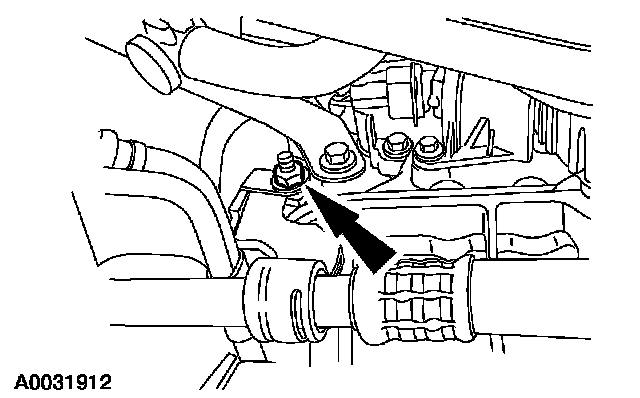
4. Remove the transmission cooler line bracket nut.
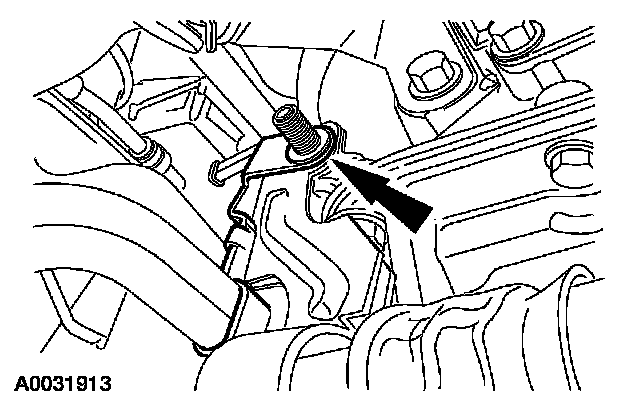
5. Remove the transmission cooler line bracket from the stud.
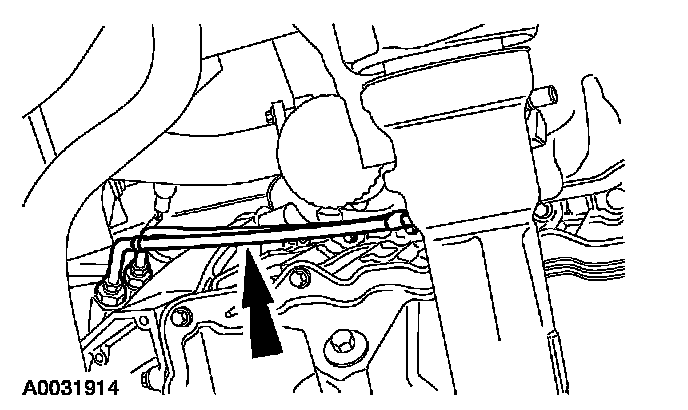
6. NOTE: 4x4 vehicle shown; 4x2 vehicle similar.
Remove both transmission cooler lines from the vehicle.
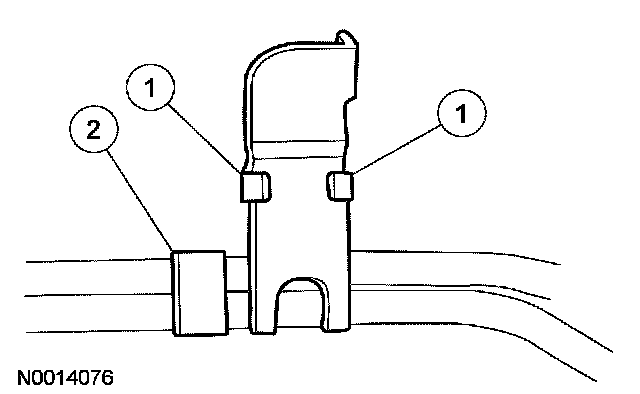
7. Remove the fluid cooler tube brackets.
1 Bend the tabs open to remove the bracket.
2 Remove the bracket.
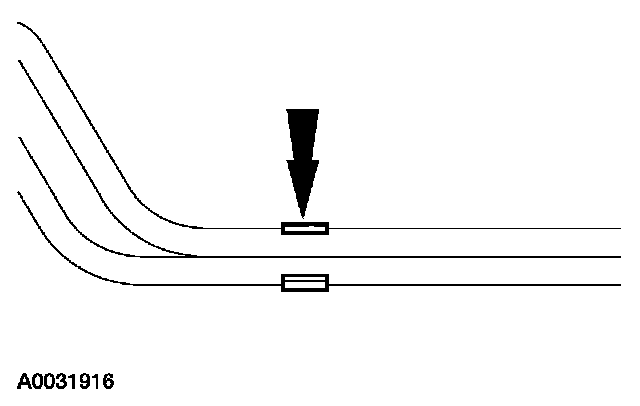
8. Remove the fluid cooler tube bracket.
Installation
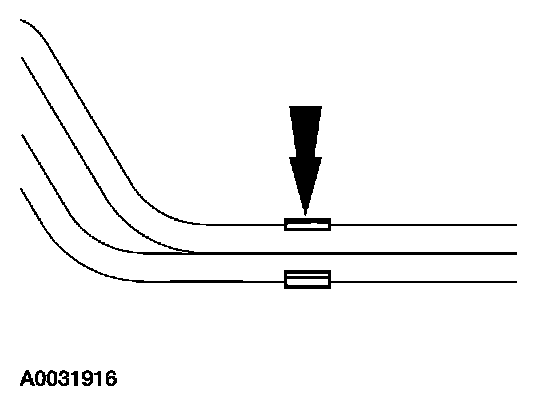
1. Install the fluid cooler tube bracket.
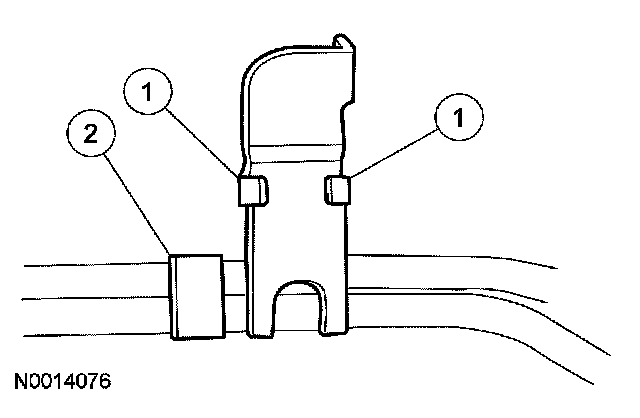
2. Install the fluid cooler tube brackets.
1 Install the bracket, bend the tabs closed.
2 Install the bracket.
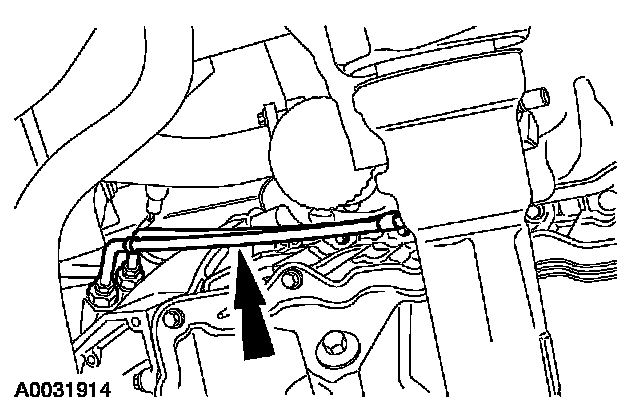
3. NOTE: 4x4 vehicle shown; 4x2 vehicle similar.
Install the transmission fluid cooler tubes into the vehicle.
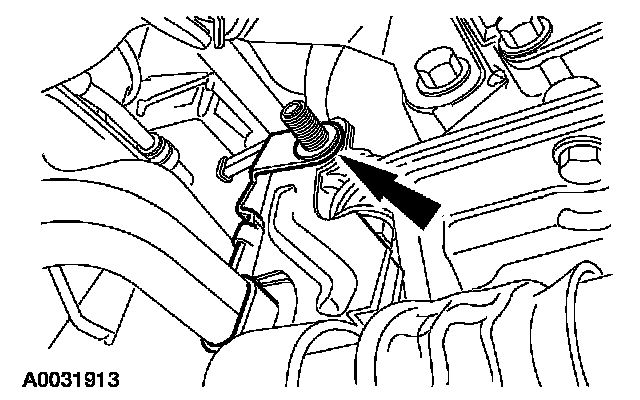
4. Install the transmission cooler line bracket.
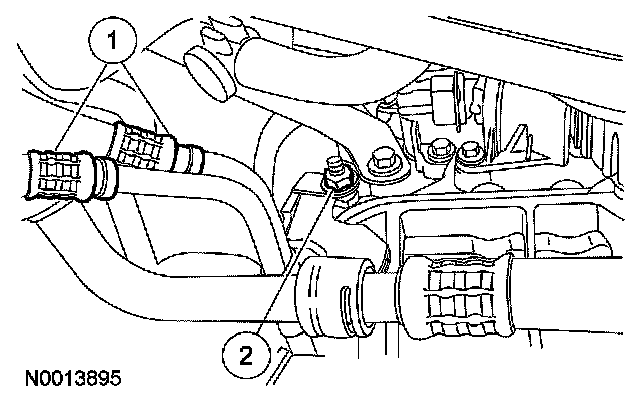
5. Install the transmission cooler lines.
^ Install the cooler line hoses.
^ Install the nut.
^ Tighten to 10 Nm (89 inch lbs.).
^ If equipped, install the safety retainer on the connector.
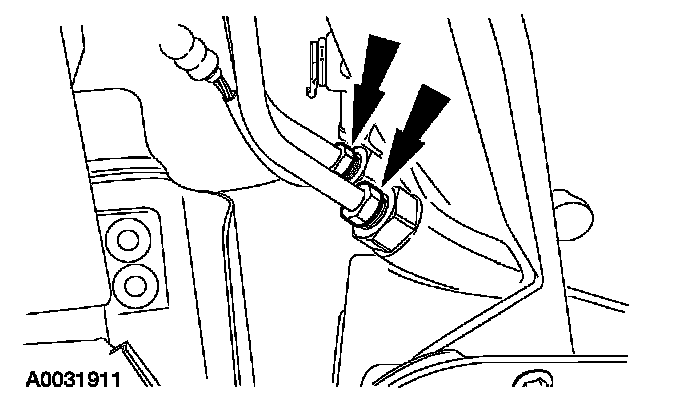
6. CAUTION: To prevent cross threading, all tube nuts must be hand started before being torqued to specification.
Use a backup wrench to hold the case fittings securely, install the transmission fluid cooler tubes.
^ Tighten to 30 Nm (22 ft. lbs.).
7. Position the vehicle.
8. Fill transmission fluid to the correct level using clean automatic transmission fluid and inspect for leaks.