Rear Axle
REAR DRIVE SHAFTRemoval and Installation
RAX-8 COMPONENT:
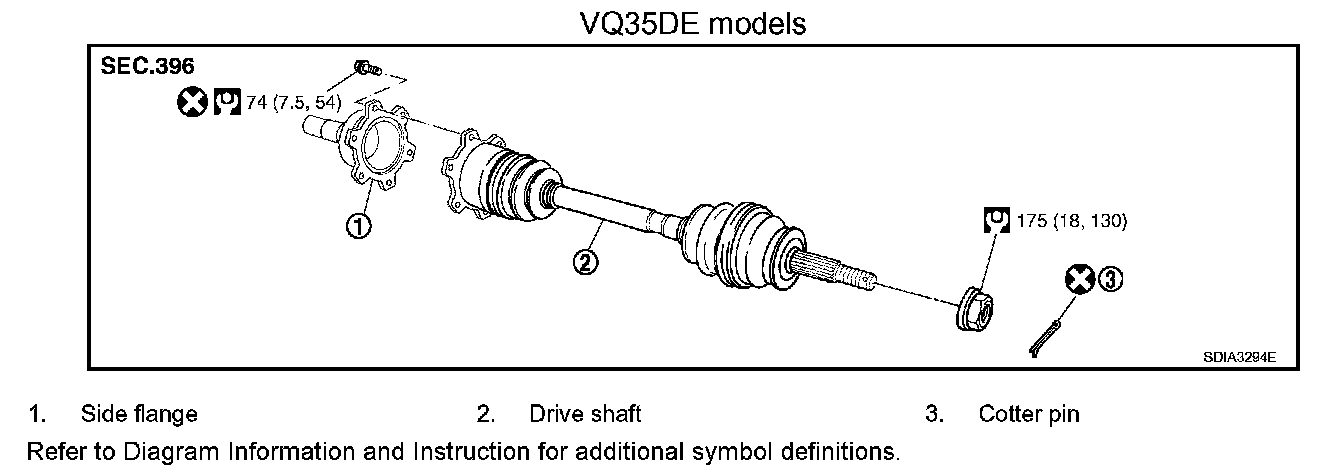
REMOVAL
1. Remove tires with power tool.
2. Remove cotter pin, then loosen hub lock nut with power tool.
3. Remove stabilizer connecting rod mounting bracket fixing bolt and free stabilizer connecting rod.
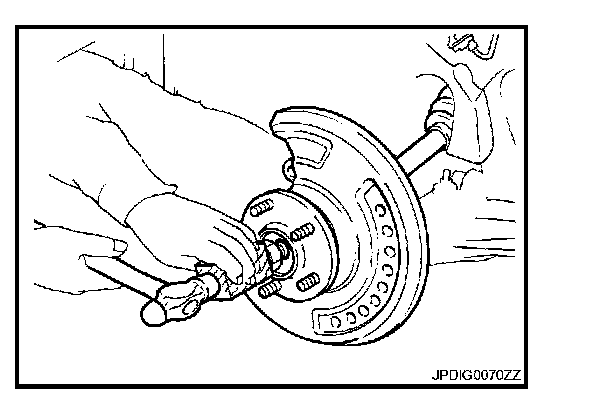
4. Separate the wheel hub and bearing assembly from drive shaft by lightly tapping the end with a suitable tool hammer and wood block, and then remove hub lock nut.
CAUTION:
^ Do not place drive shaft joint at an extreme angle. Also be careful not to overextend slide joint.
^ Do not allow drive shaft to hang down without support for counterpart such as joint sub-assembly, and other parts.
NOTE: Using a puller (suitable tool) if the wheel hub and bearing assembly and drive shaft cannot be separated even after performing the above procedure.
5. Remove mounting bolts between side flange and drive shaft with a power tool.
INSPECTION AFTER REMOVAL
^ Move joint up/down, left/right, and in the axial direction. Check for any rough movement or significant looseness.
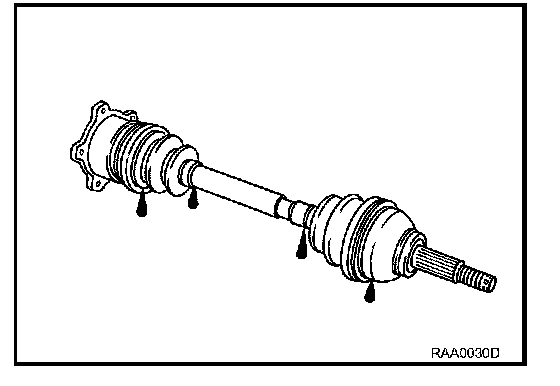
^ Check boot for cracks or other damage, and also for grease leakage.
^ If a malfunction is found, disassemble drive shaft, and then replace with new one.
INSTALLATION
Installation is the reverse order of removal. For tightening torque. Refer to "COMPONENT".
CAUTION: Do not reuse non-reusable parts.