High Pressure Fuel Pump Removal & Installation: Removal
- 1. Camshaft Timing - Set
Set the No. 1 piston at top dead center (TDC) , then rotate the crankshaft to 105° counterclockwise.
- 2. Fuel Pressure - Relieve
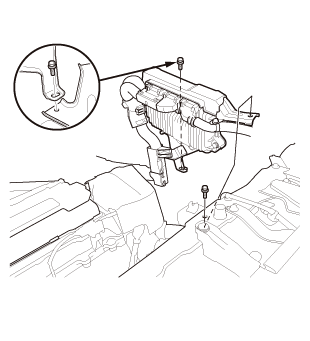
- 3. PCM - Move
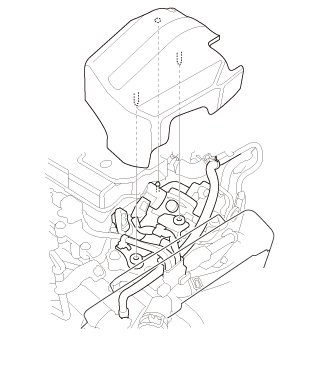
- 4. High Pressure Fuel Pump Cover - Remove
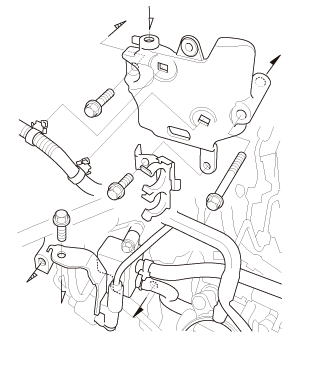
- 5. Fuel Bracket - Remove
- 6. EVAP Canister Purge Valve - Remove
- 7. Intake Manifold - Remove
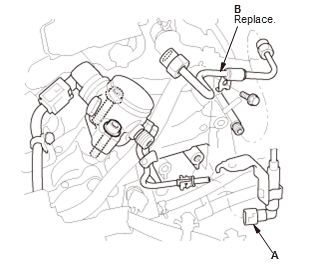
- 8. Fuel Joint Pipe - Remove
1. Disconnect the quick-connect fitting (A).
2. Remove the fuel joint pipe (B).
- 9. High Pressure Fuel Pump - Remove
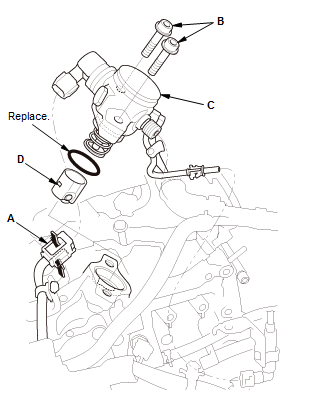
1. Disconnect the connector (A)
2. Loosen the bolts (B) alternately, and remove the high pressure fuel pump (C) and the roller (D).
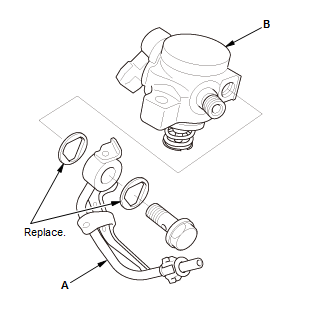
3. Remove the fuel feed pipe (A) from the high pressure fuel pump (B). - 10. High Pressure Fuel Pump Cam - Check
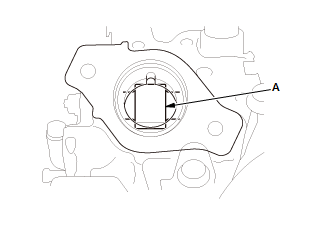
1. Rotate the crankshaft and check the high pressure fuel pump cam (A) for pits, scores, or excessively wear. If needed, replace the exhaust camshaft .
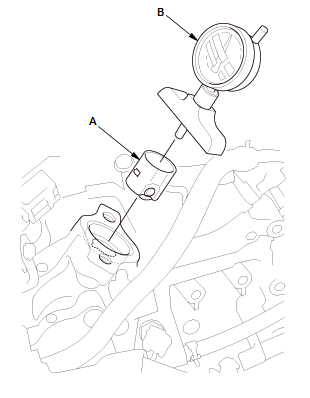
2. Set the No. 1 piston at top dead center (TDC) , then rotate the crankshaft to 105° counterclockwise. 3. Install the roller (A) to the high pressure fuel pump cam.
4. Set the gauge (B) on the roller and hold it, then set the dial to zero.
5. Rotate the crankshaft 720° and measure the four cam lobes height. If the cam lobes are excessively worn, replace the exhaust camshaft .
NOTE: The high pressure fuel pump cam has four cam lobes.Cam Lobe Height Standard (New): 0.157 in (4.0 mm)