Removal & Installation
- 1. Fuel Tank - Drain
- 2. Front Floor Undercover - Remove - Refer to: Middle Floor Undercover Removal and InstallationRear Floor Undercover Removal and InstallationFront Floor Undercover Removal and Installation
- 3. Middle Floor Undercover - Remove - Refer to: Middle Floor Undercover Removal and InstallationRear Floor Undercover Removal and InstallationFront Floor Undercover Removal and Installation
- 4. Exhaust Pipe B - Remove
- 5. Rear Driveshaft Removal & Installation(AWD/4WD)
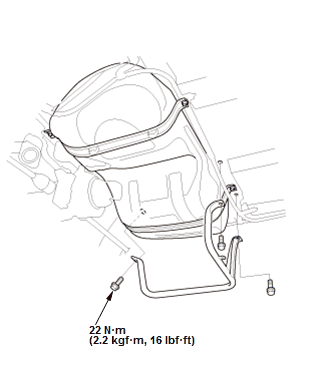
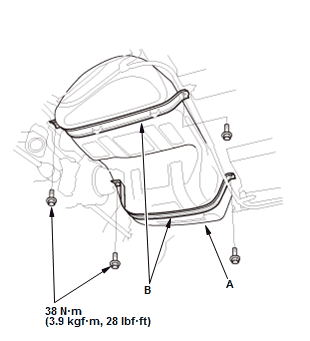
- 6. Fuel Tank Guard - Remove
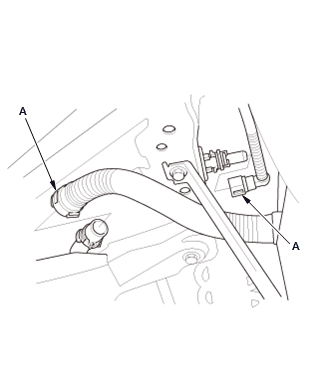
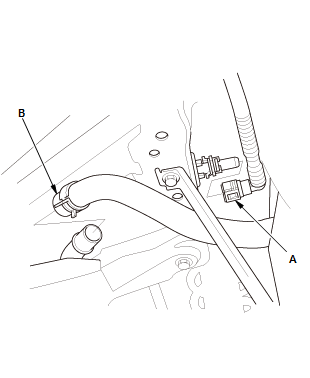
- 7. Filler Neck Tube, Suction Tube, and Fuel Vapor Hose - Disconnect
USA and Canada models
Mexico models
1. Disconnect the quick-connect fittings (A).
2. Disconnect the hose (B). When you disconnect the hose, slide back the clamp, then twist the hose as you pull to avoid damaging it.
USA and Canada models Mexico models
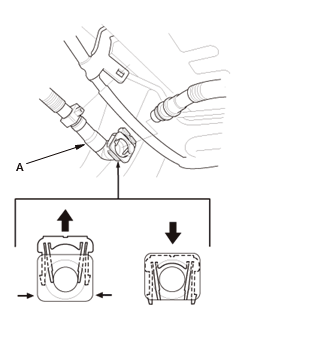
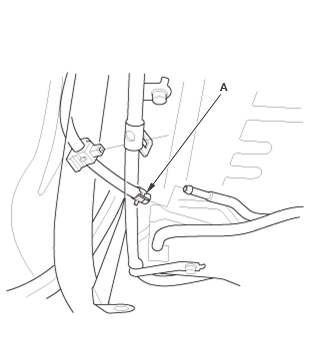
3. Disconnect the fuel vapor hose (A) from front side of the fuel tank. - 8. Fuel Tank - Remove
1. Place a jack or other support under the fuel tank (A)
2. Remove the straps (B)
3. Remove the fuel tank carefully
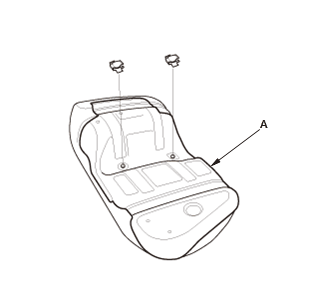
4. Remove the fuel tank protector (A) from the fuel tank.
5. If needed, remove the fuel tank protector (A) from the fuel tank. - 9. All Removed Parts - Install
1. Install the parts in the reverse order of removal.
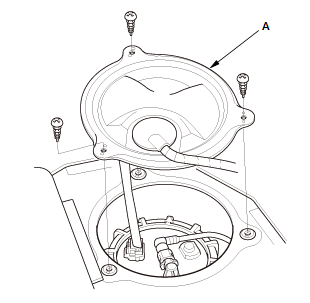
NOTE: Before installing the access panel (A), do the fuel leak check. Turn the vehicle to the ON mode, but do not start the engine. After the fuel pump runs for about 2 seconds, the fuel line will be pressurized. Repeat this two or three times, then check for fuel leakage.