Front Stabilizer Bar Removal & Installation: Installation
- 1. Stabilizer Bar - Install
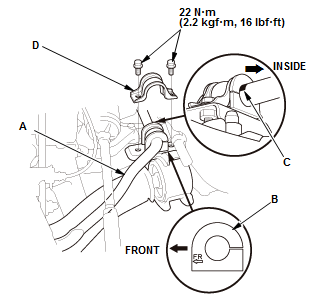
1. Install the stabilizer bar (A).
NOTE: Be careful not to damage the steering gearbox
2. Install the bushing (B) on both sides.
NOTE:
- Note the direction of installation for the bushing.
- Align the paint mark (C) on the stabilizer bar with the side of the bushing.
3. Install the bushing holder (D) on both sides.
- 2. Front Subframe - Move
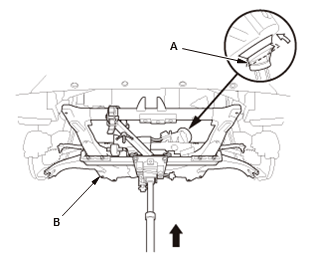
1. Turn the lip (A) of the pinion shaft grommet
2. Raise the front subframe (B) up to the body, then restore the pinion shaft grommet back to proper position.
NOTE: Be sure that the pinion shaft grommet is secure in place. Make sure the lip of the pinion shaft grommet is not turned up. Incorrect installation can cause leakage of water and mud, or noise.
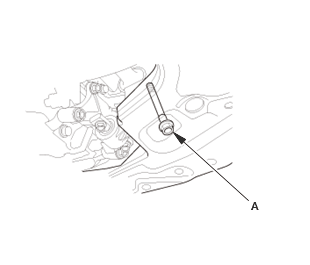
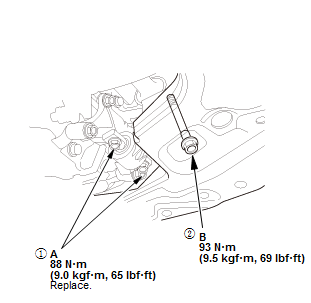
- 3. Front Subframe Mounting Bolt - Loosely Install
 Courtesy of HONDA, U.S.A., INC.
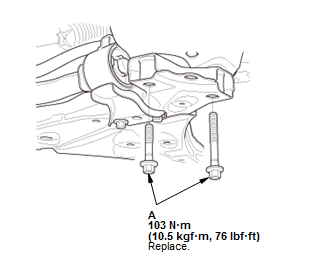 Courtesy of HONDA, U.S.A., INC.
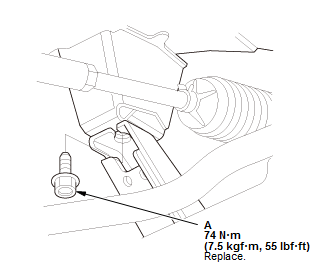
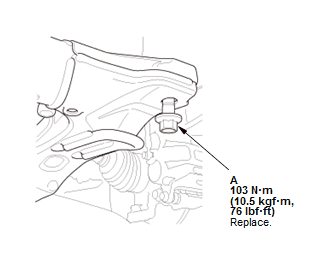
1. Loosely install a new front subframe mounting bolts (A) on both sides.
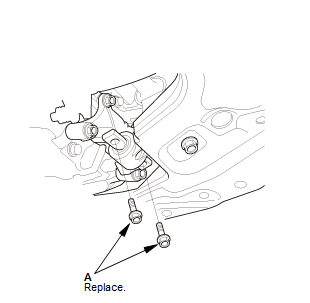
2. Loosely install a new mid mounting bolt (A) on both sides.
- 4. Front Subframe - Tighten
- 5. Lower Torque Rod - Connect
1. Loosely install new lower torque rod mounting bolts (A).
2. Loosen the lower torque rod mounting bolt (A) to the subframe side. 3. Tighten the lower torque rod mounting bolts (A) to the oil pan side
4. Tighten the lower torque rod mounting bolt (B) to the subframe side.
- 6. Exhaust Pipe A and Under-Floor TWC - Install
- 7. No. 1 Propeller Shaft - Connect
- 8. Front Floor Undercover - Remove - Refer to: Middle Floor Undercover Removal and InstallationRear Floor Undercover Removal and InstallationFront Floor Undercover Removal and Installation
- 9. Splash Shield - Install
- 10.Stabilizer Link - connect
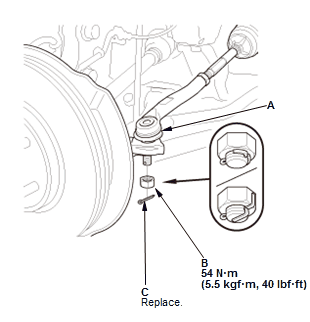
- 11. Tie-Rod End Ball Joint - Connect
1. Wipe off any grease contamination from the ball joint tapered section and threads
2. Connect the tie-rod ball joint (A) to the knuckle
3. Install the nut (B)
4. Install a new cotter pin (C).
NOTE: Bend the cotter pin as shown.
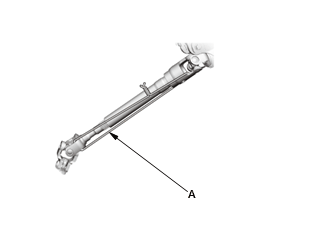
- 12. Steering Column Lower Slide Shaft - Release
1. Cut the wire (A).
- 13. Steering Wheel - Release
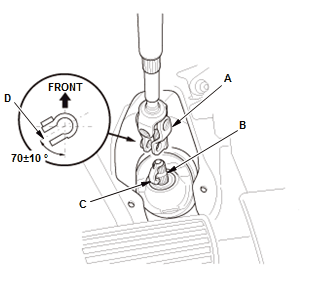
- 14. Steering Joint - Connect
1. Set the rack in the straight ahead driving position
2. Slip the lower end of the steering joint (A) onto the pinion shaft (B).
NOTE:
- Pinion shaft with center guide: Install the steering joint by aligning the center guide (C).
- Pinion shaft without center guide: Position the steering column by aligning the gap (D) within the angle.
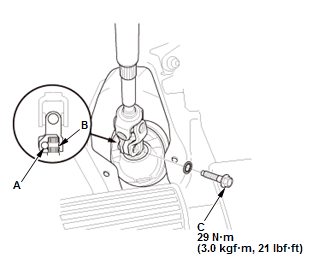
3. Align the bolt hole (A) on the steering joint with the groove (B) around the pinion shaft
4. Loosely install the steering joint bolt (C)
5. Be sure that the joint bolt is securely in the groove in the pinion shaft
6. Pull on the steering joint to make sure that the steering joint is fully seated
7. Tighten the steering joint bolt to the specified torque.
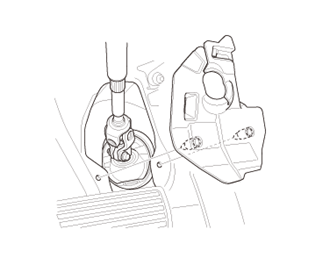
- 15. Steering Joint Cover - Install
- 16.Front Wheels - Install
- 17.Wheel-Alignment - Check
- 18.VSA Sensor Neutral Position - Memorize
- 19.Steering Angle Sensor Neutral Position - Clear