CVT Transmission Removal & Installation: Removal
NOTE:
- Engine support hanger AAR-T1256 must be used with the side engine mount installed.
- Keep all foreign particles out of the transmission.
- Use fender covers to avoid damaging painted surfaces.
- 1. Vehicle - Lift
- 2. HDS DLC - Connect
- 3. SCS - Short
1. Turn the vehicle to the OFF (LOCK) mode
2. Jump the SCS line with the HDS, and wait more than 1 minute.
- 4. Left Front Fender Trim - Remove
- 5. Hood - Wide Open
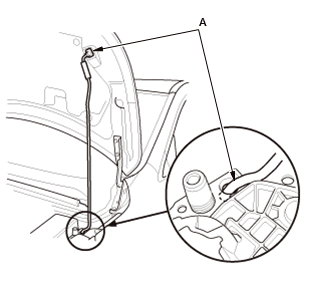
1. Open the hood, and secure it with the hood support rod in the wide-open position (A).
- 6. Steering Joint - Disconnect
NOTE: Hold the steering wheel with the steering wheel holder tool.
- 7. 12 Volt Battery - Remove
- 8. Air Cleaner - Remove
- 9. Intake Air Pipe - Remove
- 10. PCM with Bracket - Remove
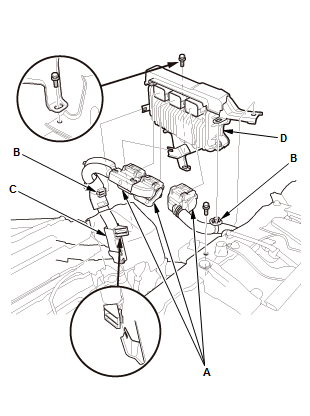
1. Disconnect the connectors (A) .
2. Remove the harness clamps (B) and the harness holder (C).
3. Remove the PCM (D) with the bracket.
- 11.12 Volt Battery Base - Remove
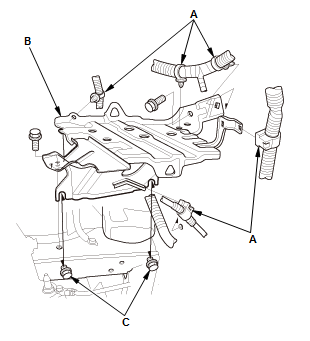
1. Remove the harness clamps (A)
2. Remove the battery base (B).
NOTE: Loosen the bolts (C), without removing them.
- 12. Shift Cable (Transmission Side) - Remove
NOTE: Do not bend the shift cable excessively.
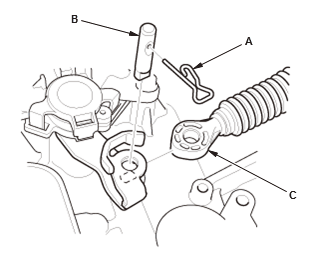
1. Remove the lock pin (A) and the control pin (B)
2. Remove the shift cable end (C).
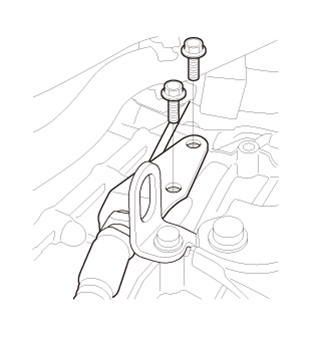
3. Remove the shift cable bracket. - 13. Transmission Fluid Warmer and Fluid Warmer Strainer - Remove
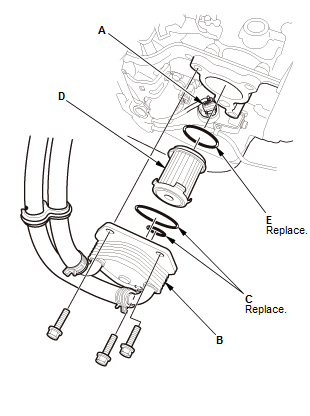
NOTE: To prevent damage, cover the solenoid wire harness A connector (A) using a shop towel.
1. Remove the transmission fluid warmer (B) with the O-rings (C) without disconnecting the transmission fluid warmer hoses.
NOTE: The transmission fluid warmer is aluminum part. Check the transmission fluid warmer for wear and damage
2. Put plastic bag over the transmission fluid warmer
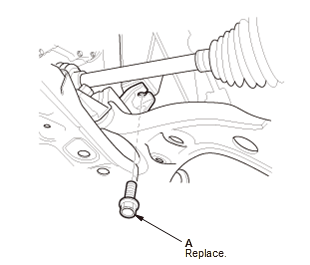
3. Support the transmission fluid warmer using a strap
4. Remove the transmission fluid warmer strainer (D) with the O-ring (E)
5. Check the transmission fluid warmer strainer for damage or clogging. If it is damaged or clogged, replace it.
NOTE: Do not use compressed air to clean the transmission fluid warmer strainer.
- 14. Engine Wire Harness (Transmission Side) - Remove
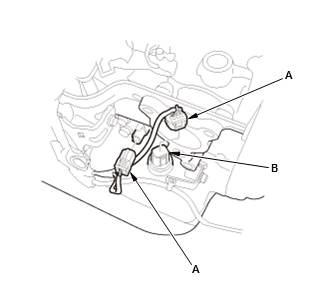
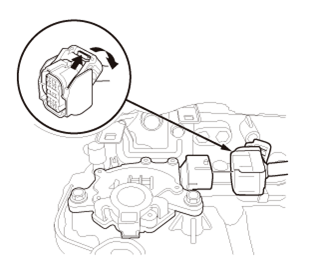
1. Disconnect the connectors.
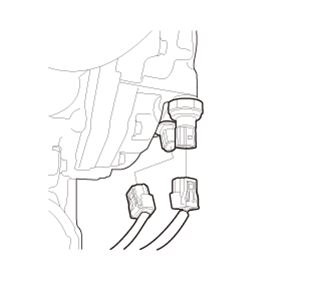
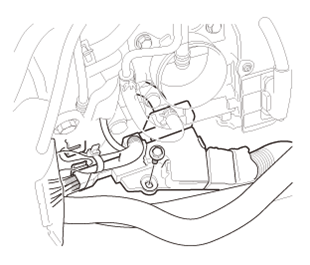
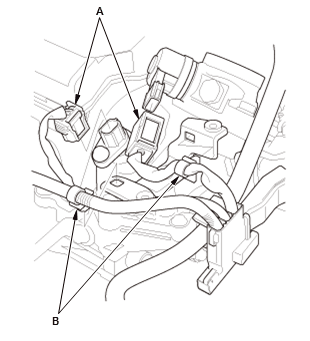
2. Disconnect the connectors (A). NOTE: To prevent damage, cover the solenoid wire harness A connector (B) using the shop towel.
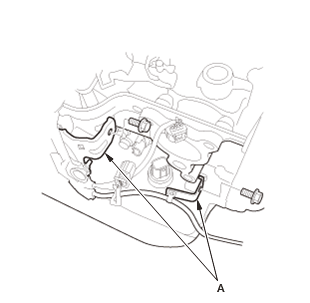
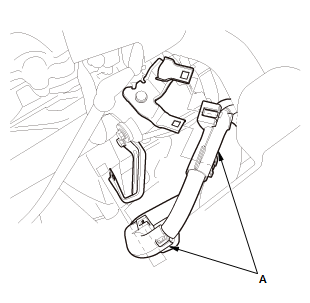
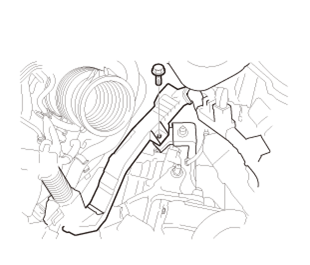
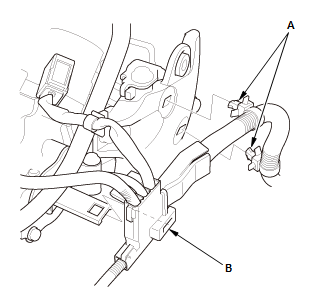
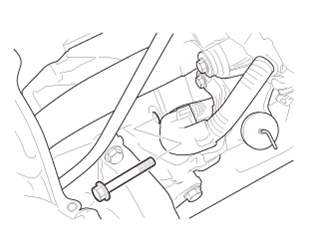
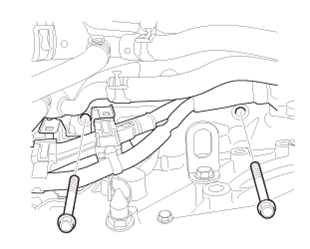
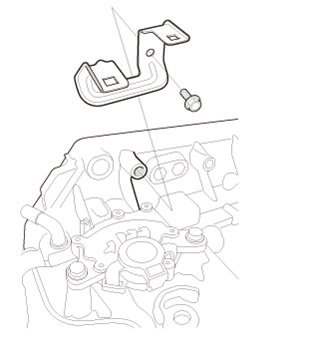
3. Remove the harness brackets (A). 4. Remove the harness clamps (A). 5. Remove the harness holder. 6. Remove the harness holder. 7. Disconnect the connector. 8. Remove the harness holder. 9. Disconnect the connector. - 15. Fuel Bracket - Remove
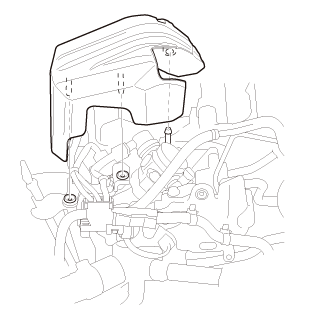
1. Remove high pressure fuel pump cover.
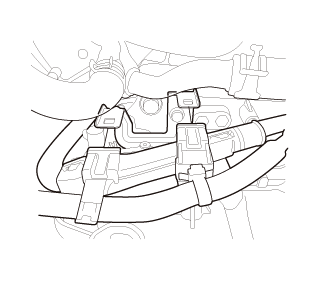
2. Disconnect the connectors (A) 3. Remove the harness clamps (B).
4. Remove the harness clamps (A) 5. Remove the harness holder (B).
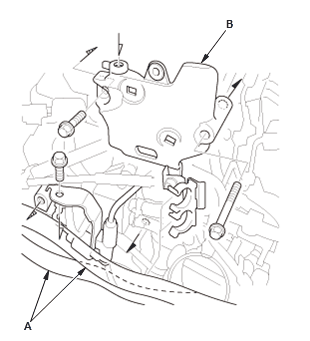
6. Unclamp the heater hoses (A) 7. Remove the fuel bracket (B).
- 16. EVAP Canister Purge Valve - Remove
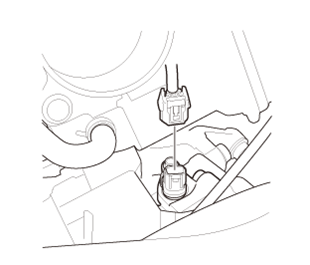
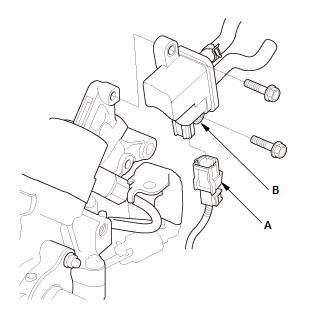
1. Disconnect the connector (A)
2. Remove the EVAP canister purge valve (B).
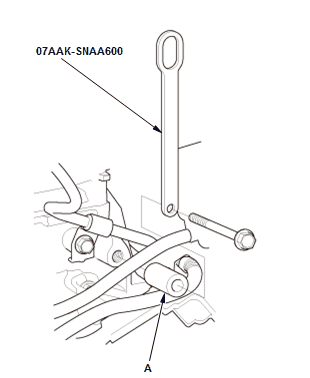
- 17. Support Eyelet - Install
1. Install the support eyelet with a spacer (A).
NOTE: Select a spacer that is long enough that the support eyelet does not interfere with the surrounding parts.
- 18.Cowl Top Cover - Remove (Both Sides)
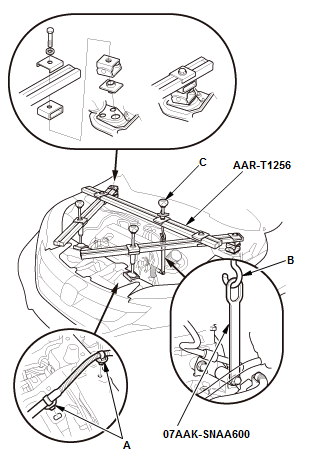
- 19. Engine Support Hanger - Install
NOTE:
- Be careful when working around the windshield.
- Be careful not to damage the hood opener cable when installing the engine support hanger at the front bulkhead.
1. Remove the harness clamps (A)
2. Install the engine support hanger onto the vehicle as shown
3. Attach the hook (B) to the slotted hole in the support eyelet
4. Tighten the wing nut (C) by hand, and lift and support the engine/transmission.
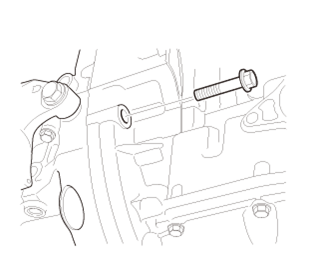
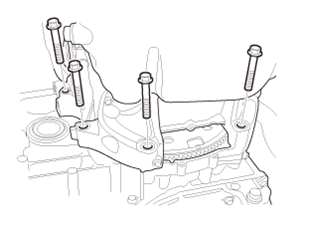
- 20. Upper Transmission Assembly Mounting Bolt - Remove
- 21.Transmission Mount - Remove
- 22. Vehicle - Lift Up
- 23.Front Wheel - Remove (Both Sides)
- 24.Splash Shield - Remove
- 25.Front Floor Undercover - Remove - Refer to: Middle Floor Undercover Removal and InstallationRear Floor Undercover Removal and InstallationFront Floor Undercover Removal and Installation
- 26.Propeller Shaft (Transfer Side) - Disconnect (AWD/4WD)
- 27. Transmission Fluid - Drain
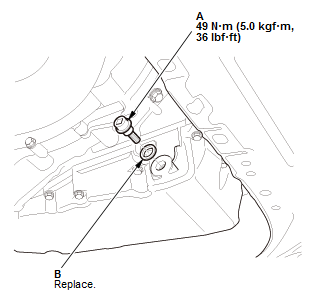
1. Remove the drain plug (A), and drain the transmission fluid.
NOTE:
- Drain the transmission fluid for more than 5 minutes.
- Remove metal particles from the magnetic surface of the drain plug.
2. Reinstall the drain plug using a new sealing washer (B).
- 28.Exhaust Pipe A, Exhaust Pipe Bracket, and Under-Floor TWC - Remove
NOTE: Disconnect the secondary HO2 connector , do not remove secondary HO2S from the under-floor TWC assembly.
- 29.Transfer Assembly - Remove (AWD/4WD)
- 30.Lower Arm Ball Joint - Disconnect (Both Sides)
- 31.Tie-Rod End Ball Joint - Disconnect (Both Sides)
- 32.Stabilizer Link - Disconnect (Both Sides)
- 33.EPS Connector - Disconnect
NOTE: After disconnected the EPS connector, remove the harness clip.
- 34. Torque Converter - Disconnect
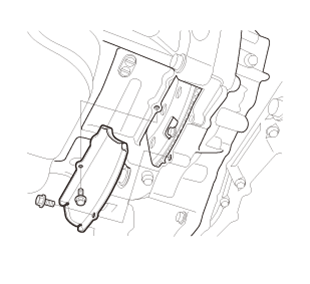
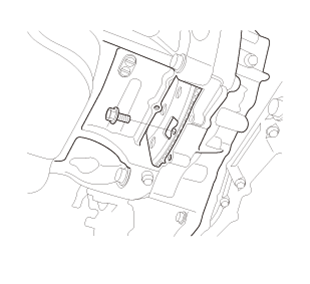
1. Remove the torque converter cover.
2. Remove eight torque converter bolts while rotating the crankshaft pulley. - 35. Lower Torque Rod Bolt - Remove
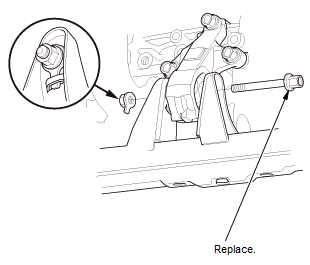
- 36. Front Engine Mount Mounting Bolt - Remove
- 37. Front Subframe - Support
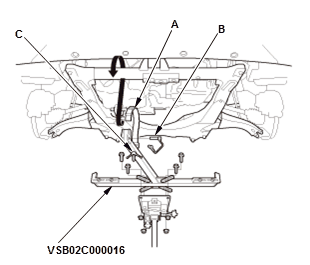
1. Attach the subframe adapter to the front subframe by looping the strap (A) over the front of the front subframe, then secure the strap with the stop (B), then tighten the wing nut (C)
2. Raise a transmission jack and line up the slots in the arms with the bolt holes on the corner of the jack base, then tighten the bolts.
- 38. Front Subframe - Remove
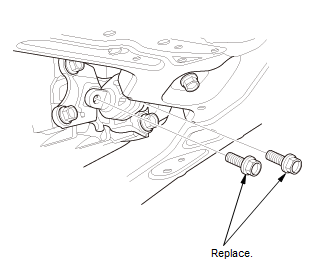
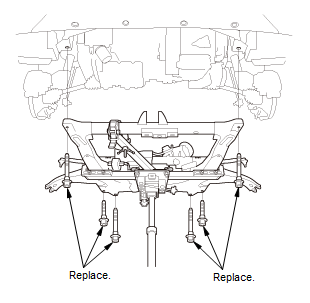
1. Remove the subframe side mounting bolts (A) on both sides.
2. Remove the front subframe mounting bolts 3. Lower the front subframe carefully.
NOTE: Check that the front subframe is free of the electrical wiring.
- 39. Transmission - Support the transmission with the transmission jack.
- 40. Front Driveshaft, Inboard joint - Disconnect
1. Disconnect the inboard joint of the left and right driveshafts .
2. Secure the driveshaft to the body with a nylon strap on both sides.
- 41.Intermediate Shaft - Remove
- 42. Lower Transmission Assembly Mounting Bolts - Remove
- 43. Transmission - Remove
1. Check once again that the transmission is free of hoses and electrical wiring.
2. Lower the transmission by loosening the wing nut of the engine support hanger, and tilt the engine just enough for the transmission to clear its end from the side frame
3. Slide the transmission away from the engine, then remove the transmission from the vehicle.
NOTE: Be careful not to drop the torque converter.
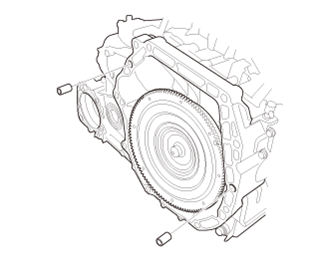
- 44. Dowel Pin - Remove
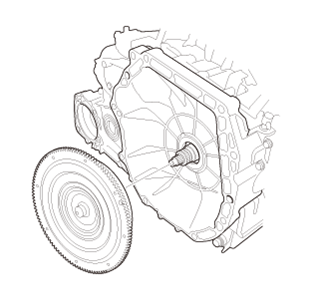
- 45. Torque Converter - Remove
- 46. Drive Plate - Inspect
1. Inspect the drive plate, and replace if it is damaged .
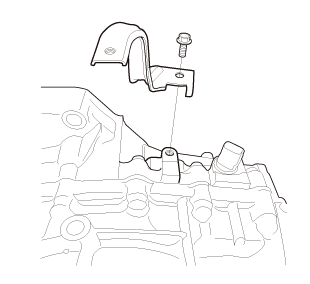
- 47. Harness Brackets - Remove