CVT Transmission Removal & Installation: Installation
NOTE:
- Keep all foreign particles out of the transmission.
- Use fender covers to avoid damaging painted surfaces.
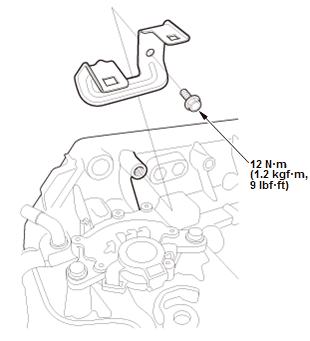
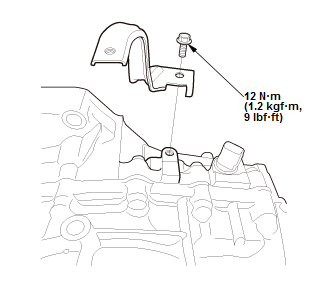
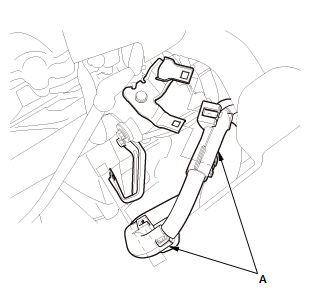
- 1. Harness Brackets - Install
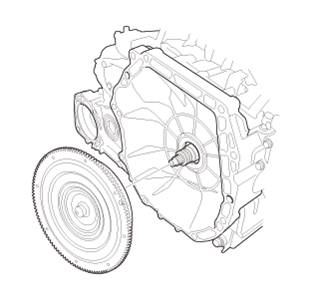
- 2. Torque Converter - Install
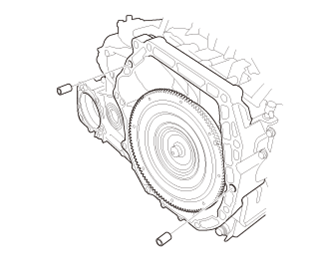
- 3. Dowel Pin - Install
- 4. Transmission - Install
1. Place the transmission on a transmission jack, and raise the transmission to the engine level
2. Attach the transmission on the engine.
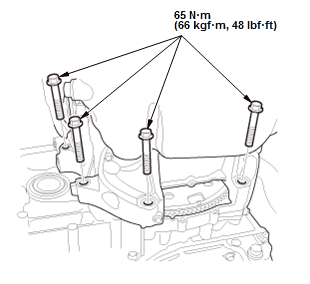
- 5. Lower Transmission Assembly Mounting Bolts - Install
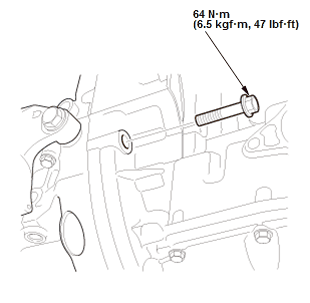 Courtesy of HONDA, U.S.A., INC.
- 6. Intermediate Shaft - Install
- 7. Front Driveshaft, Inboard joint - Connect
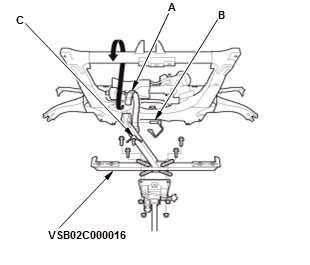
- 8. Front Subframe - Support
1. Attach the subframe adapter to the front subframe by looping the strap (A) over the front of the front subframe, then secure the strap with the stop (B), then tighten the wing nut (C)
2. Raise the transmission jack and line up the slots in the arms with the bolt holes on the corner of the jack base, then tighten the bolts.
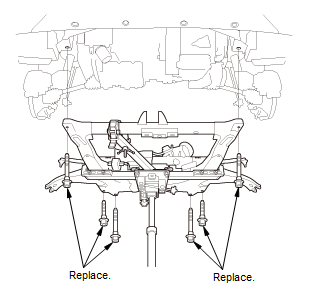
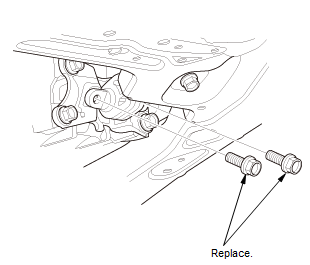
- 9. Front Subframe - Install
1. Raise the front subframe up to the body
2. Loosely install new front subframe mounting bolts.
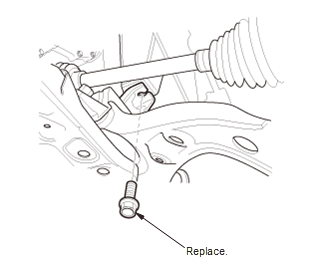
3. Loosely install new front subframe mid bolts on both sides. 5. Remove the transmission jack and the subframe adapter.
- 10. Front Engine Mount Mounting Bolt - Loosely Install
- 11. Lower Torque Rod Bolt - Loosely Install
- 12. Torque Converter - Connect
1. Rotate the engine crankshaft pulley as necessary to tighten the eight torque converter bolts to half of the specified torque, then to the final torque in a crisscross pattern
2. After tightening the last torque converter bolt, check that the crankshaft rotates freely.
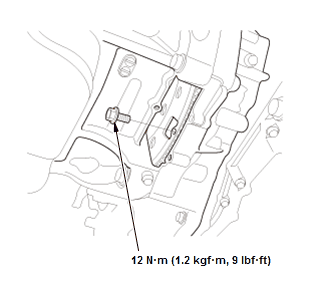
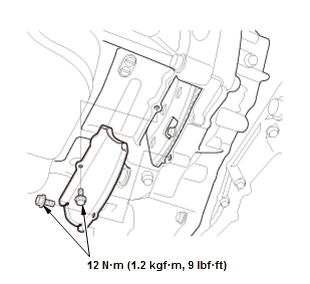
3. Install the torque converter cover. - 13.EPS Connector - Connect
NOTE: After connected the EPS connector, Install the harness clip.
- 14.Stabilizer Link - Connect (Both Sides)
- 15.Tie-Rod End Ball Joint - Connect (Both Sides)
- 16.Lower Arm Ball Joint - Connect (Both Sides)
- 17.Transfer Assembly - Install (AWD/4WD)
- 18.Exhaust Pipe A, Exhaust Pipe Bracket, and Under-Floor TWC - Install
NOTE: After installed the under-floor TWC, connect the secondary HO2 connector .
- 19.Propeller Shaft (Transfer Side) - Connect (AWD/4WD)
- 20.Front Floor Undercover - Install - Refer to: Middle Floor Undercover Removal and InstallationRear Floor Undercover Removal and InstallationFront Floor Undercover Removal and Installation
- 21. Vehicle - Lift Down
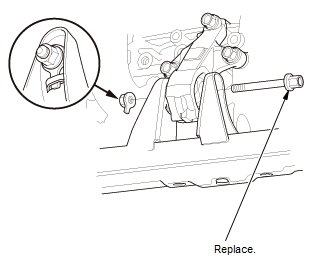
- 22.Transmission Mount - Loosely Install
NOTE: Do the mounts tightening procedure before tightening all of the mounts' bolts and nuts .
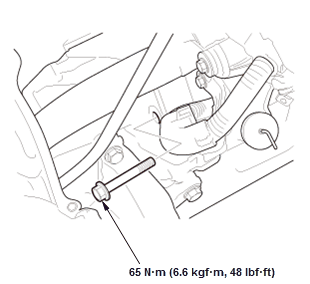
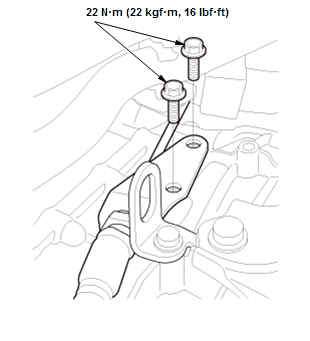
- 23. Upper Transmission Assembly Mounting Bolt - Install
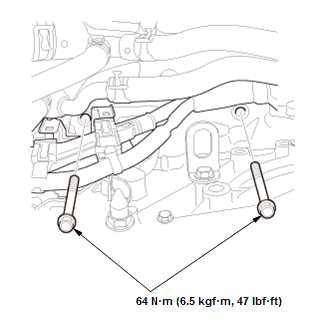 Courtesy of HONDA, U.S.A., INC.
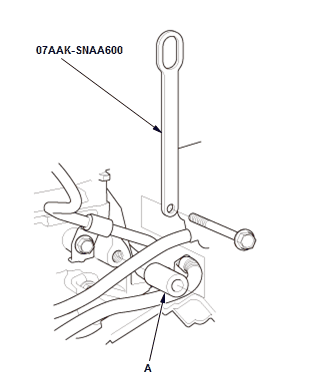
- 24. Engine Support Hanger and Support Eyelet - Remove
1. Remove the engine support hanger
2. Remove the support eyelet with the spacer (A).
- 25.Cowl Top Cover - Install (Both Sides)
- 26.All Engine Mount Mounting Bolt and Nut - Tighten
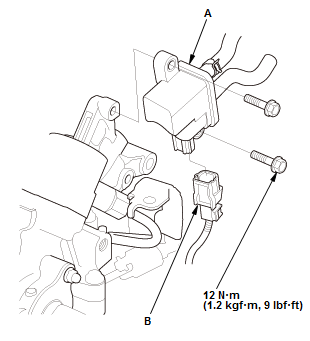
- 27. EVAP Canister Purge Valve - Install
1. Install the EVAP canister purge valve (A)
2. Connect the connector (B).
NOTE: Check the connector for corrosion, dirt, or oil, and clean or repair if necessary.
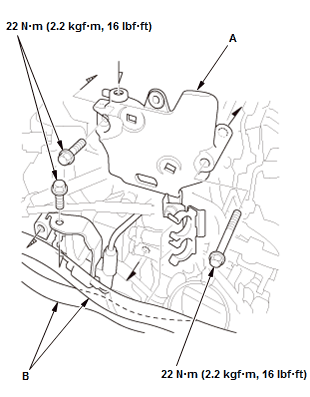
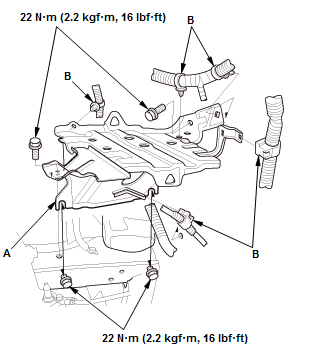
- 28. Fuel Bracket - Install
1. Install the fuel bracket (A)
2. Clamp the heater hoses (B).
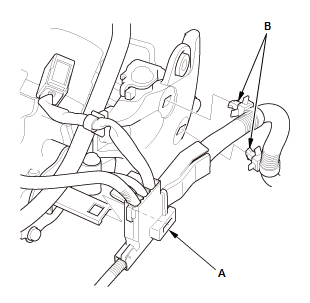
3. Install the harness holder (A) 4. Install the harness clamps (B).
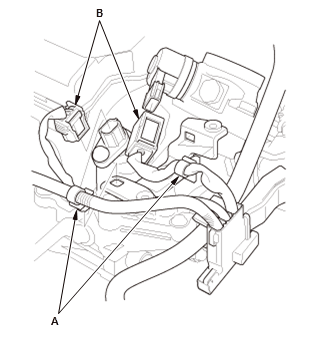
5. Install the harness clamps (A) 6. Connect the connectors (B).
NOTE: Check the connectors for corrosion, dirt, or oil, and clean or repair if necessary.
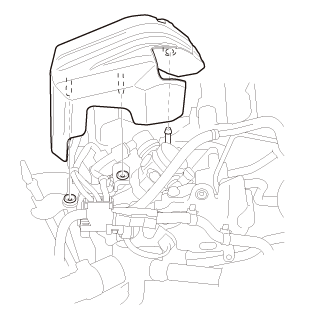
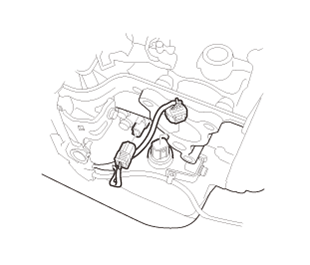
7. Install high pressure fuel pump cover. - 29. Engine Wire Harness (Transmission Side) - Install
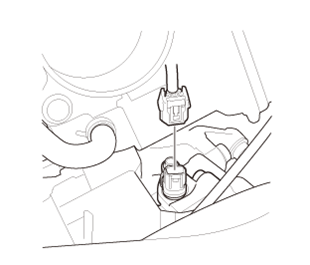
1. Connect the connector.
NOTE: Check the connector for corrosion, dirt, or oil, and clean or repair if necessary.
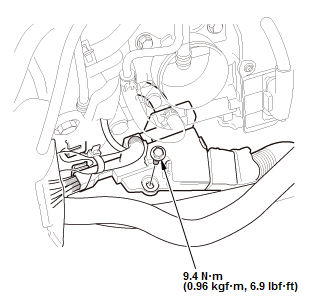
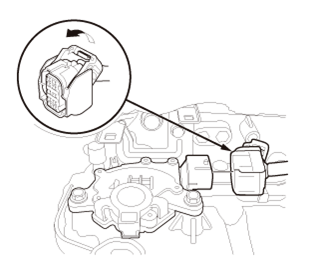
2. Install the harness holder. 3. Connect the connector. NOTE: Check the connector for corrosion, dirt, or oil, and clean or repair if necessary.
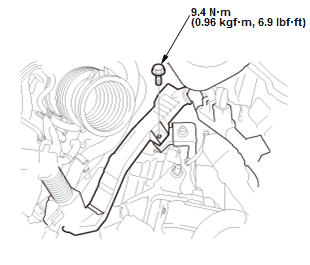
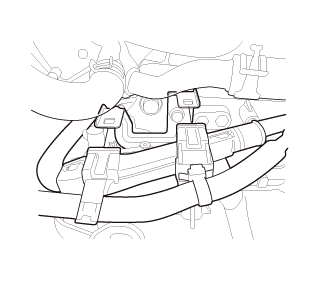
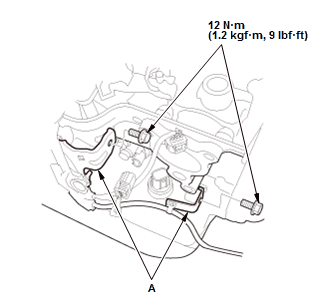
4. Install the harness holder. 5. Install the harness holder. 6. Install the harness clamps (A). 7. Install the harness brackets (A). 8. Connect the connectors. NOTE: Check the connector for corrosion, dirt, or oil, and clean or repair if necessary.
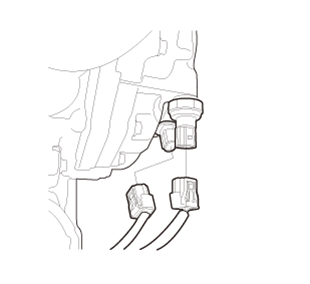
9. Connect the connectors. NOTE: Check the connector for corrosion, dirt, or oil, and clean or repair if necessary.
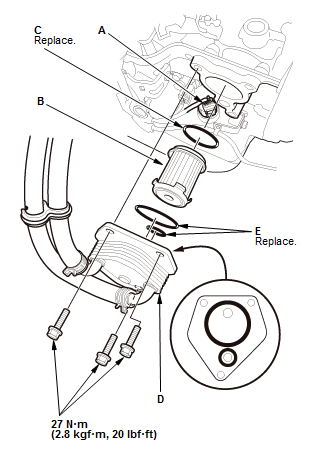
- 30. Transmission Fluid Warmer/Strainer - Install
NOTE: To prevent damage, cover the solenoid wire harness A connector (A) using a shop towel.
1. Clean the mounting surface of the transmission
2. Install the transmission fluid warmer strainer (B) with a new O-ring (C)
3. Install the transmission fluid warmer (D) with new O-rings (E).
NOTE: The transmission fluid warmer is aluminum part. Check the transmission fluid warmer for wear and damage.
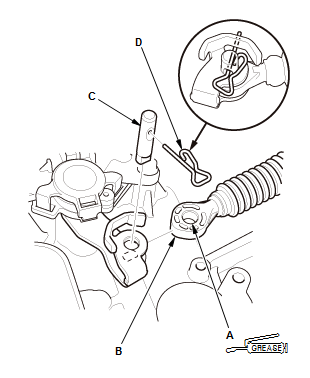
- 31. Shift Cable (Transmission Side) - Install
NOTE: Do not bend the shift cable excessively.
1. Install the shift cable bracket.
2. Apply molybdenum grease to the inner surface of the hole (A) in the shift cable end (B) 3. Install the shift cable end
4. Install the control pin (C), and secure the control pin with the lock pin (D) in the direction shown.
- 32.Transmission Fluid - Refill
- 33.12 Volt Battery Base - Install
1. Install the battery base (A)
2. Install the harness clamps (B).
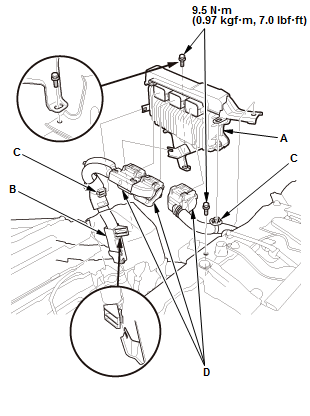
- 34. PCM - Install
1. Install the PCM (A) with the bracket.
2. Install the harness holder (B) and the harness clamps (C).
- 35.Intake Air Pipe - Install
- 36.Air Cleaner - Install
- 37.12 Volt Battery - Install
- 38.Steering Joint - Connect
- 39.Shift Cable - Adjust
- 40.Splash Shield - Install
- 41.Front Wheel - Install
- 42. Transmission - After Install Check
1. Make sure all four wheels to rotate freely.
2. Start the engine.
NOTE: Check that the engine starts in P or N position/mode, and does not start in any other positions/modes.
3. Check the shift lever operation.
4. Move the shift lever through all positions/modes, and verify the transmission range switch matches with the A/T gear position indicator.
5. Make sure the vehicle is turned to the OFF (LOCK) mode with the shift lever is in P position/mode. If it does not, adjust the shift cable .
- 43.Transmission Fluid Level - Check
- 44.Front Wheel Alignment - Check
- 45.VSA Sensor Neutral Position - Memorize
- 46.Steering Angle Sensor Neutral Position - Clear
- 47.Vehicle - Test-Drive - Refer to: Stall Speed TestCVT Road Test