Transfer Assembly Disassembly and Reassembly (AWD/4WD): Disassembly
NOTE: Refer to the Exploded View as needed during the following procedure.
- 1. Transfer Hypoid Drive Gear/Shaft Assembly - Remove
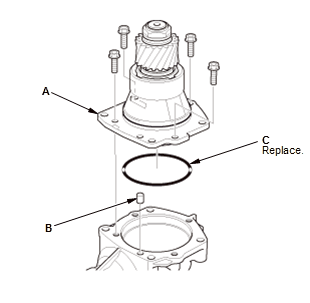
1. Remove the transfer hypoid drive gear/shaft assembly (A) and the dowel pin (B) with the O-ring (C).
- 2. Transfer Driven Gear - Remove
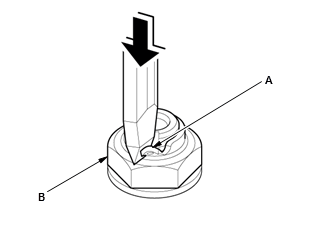
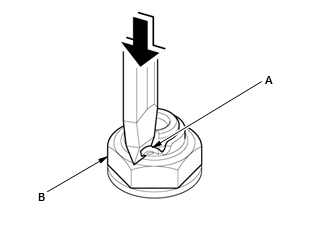
1. Cut the lock tab (A) on the locknut (B) of the transfer hypoid drive shaft using a chisel.
NOTE:
- Be careful not to damage the shaft.
- Make sure the tab completely clears the groove to prevent damaging the shaft.
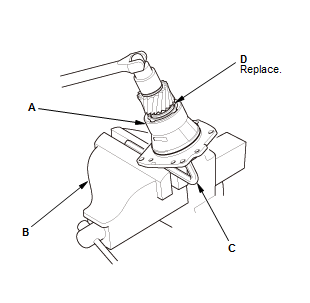
2. Secure the transfer hypoid drive gear/shaft assembly (A) in a bench vise (B) with hex wrench (C) 3. Remove the locknut (D).
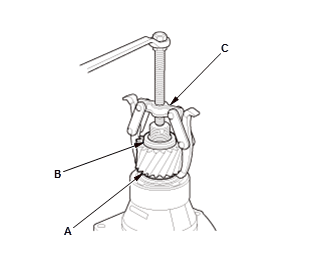
4. Remove the transfer driven gear (A) and the thrust washer (B) using a puller (C). - 3. Companion Flange - Remove
1. Cut the lock tab (A) on the locknut (B) of the transfer output shaft using a chisel.
NOTE:
- Be careful not to damage the shaft.
- Make sure the tab completely clears the groove to prevent damaging the shaft.
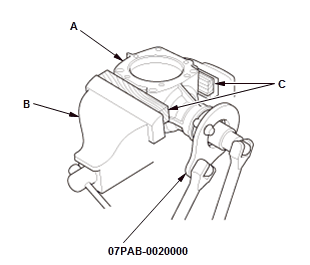
2. Secure the transfer housing (A) in a bench vise (B). NOTE: To prevent damaging the transfer housing, always use wood blocks or equivalent materials (C) between the transfer housing and the bench vise
3. Install the companion holder, then loosen the locknut
4. Remove the companion holder.
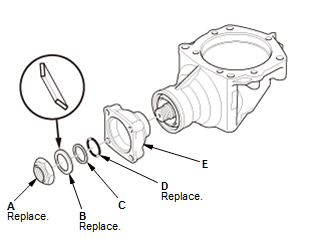
5. Remove the locknut (A), the conical spring washer (B), the back-up ring (C), the O-ring (D), and the companion flange (E). - 4. Transfer Hypoid Driven Gear - Remove
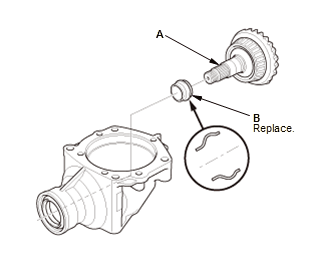
1. Remove the transfer hypoid driven gear (A) and the transfer spacer (B).
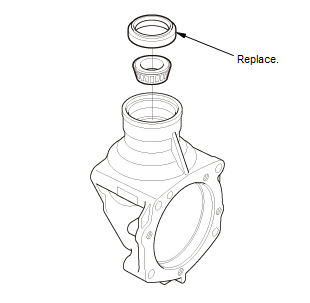
- 5. Transfer Oil Seal - Remove