Removal & Installation
- 1. A/C Refrigerant - Recover
- 2. A/C line - Remove
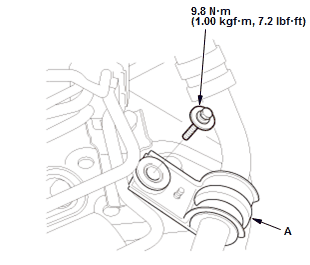
1. Remove the A/C line clamp (A).
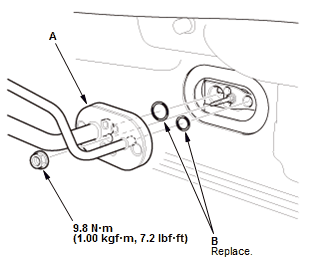
2. Disconnect the A/C line (A) with O-rings (B). NOTE: Remove the clip(s) as needed not to bend the A/C line.
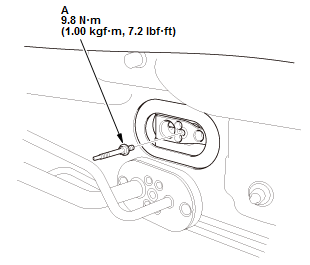
3. Remove the stud bolt (A). - 3. Blower Unit - Remove
- 4. Heater Core Cover - Remove
- 5. Passenger's Air Mix Control Motor - Remove (With Climate Control) - Refer to: Passenger's Air Mix Control Motor Removal and Installation Air Mix Control Motor Removal and Installation
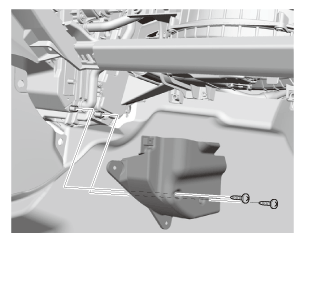
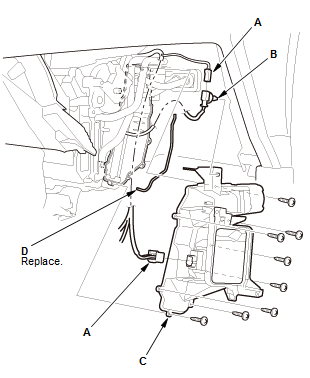
- 6. Expansion Valve Cover - Remove
1. Disconnect the connectors (A)
2. Detach the connector clip (B)
3. Remove the expansion valve cover (C), and the seal (D).
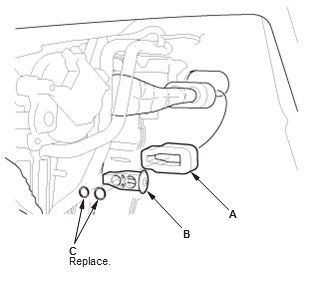
- 7. Expansion Valve - Remove
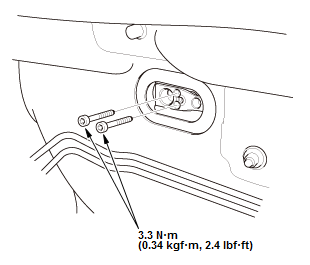
1. Remove the bolts.
2. Remove the insulator (A) and the expansion valve (B) with O-rings (C). - 8. All Removed Parts - Install the parts in the reverse order of removal, and note these items:
- New O-rings should be used at each fitting. Prior to installation, apply a thin coat of the same refrigerant oil used in the A/C compressor . Be sure to use the correct O-rings for HFC-134a (R-134a) to avoid leakage.
- Charge the system with the specified amount of R-134a refrigerant .