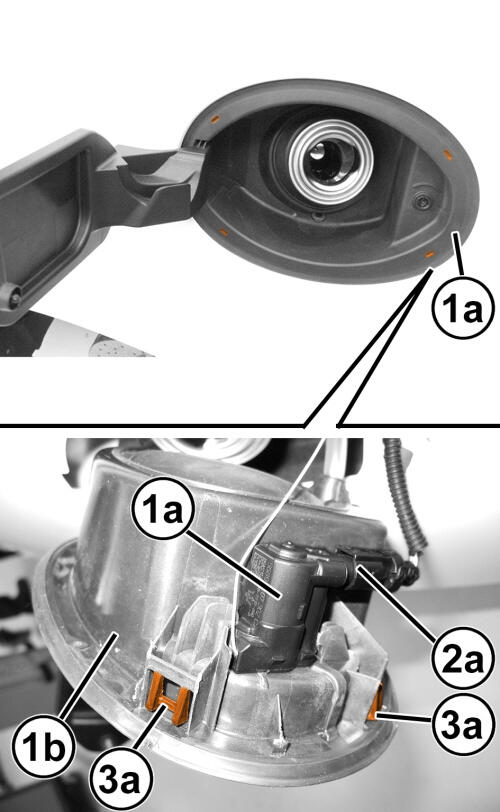
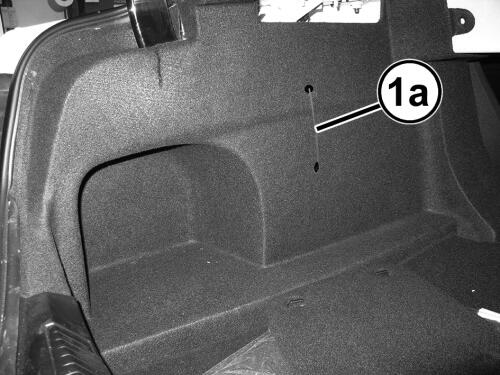
Removal And Installation: Removal
- Remove the rear wheelhouse splash shield. Refer to SHIELD, SPLASH, REAR WHEELHOUSE, REMOVAL AND INSTALLATION .
- Remove the fuel filler door. Refer to DOOR, FUEL FILL, REMOVAL AND INSTALLATION Refer to, DOOR, FUEL FILL LOCK, REMOVAL AND INSTALLATION .
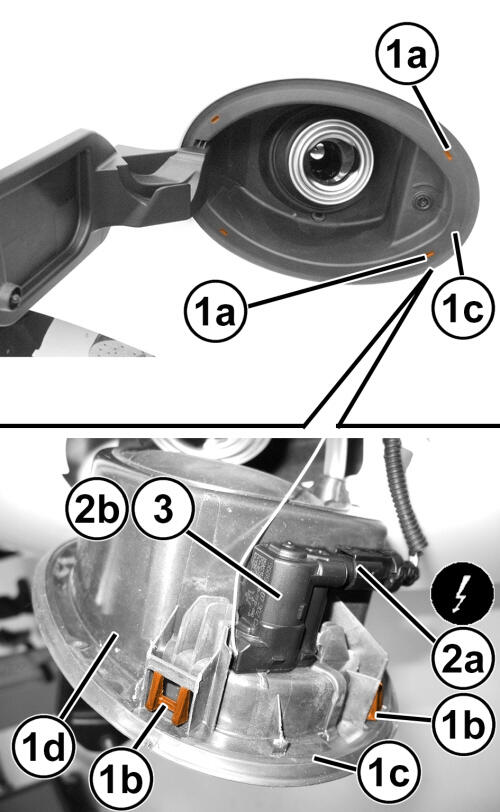
- Using a flat head screwdriver, press the area with your fingertips (1a) and release the inside body retainers (1b), then remove the housing (1d).
- Disconnect the wire harness connector (2a) for the fuel door latch (2b).
- Turn the latch (2b) counter-clockwise and remove it from its seat.
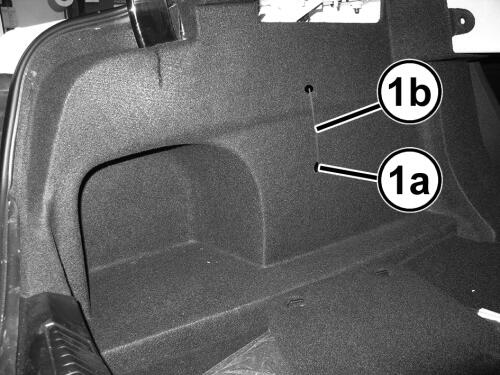
- Working on the left side of the interior, apply a string to the end (1a) of the fuel filler door release cable (1b) (the string will be used to install the cable).
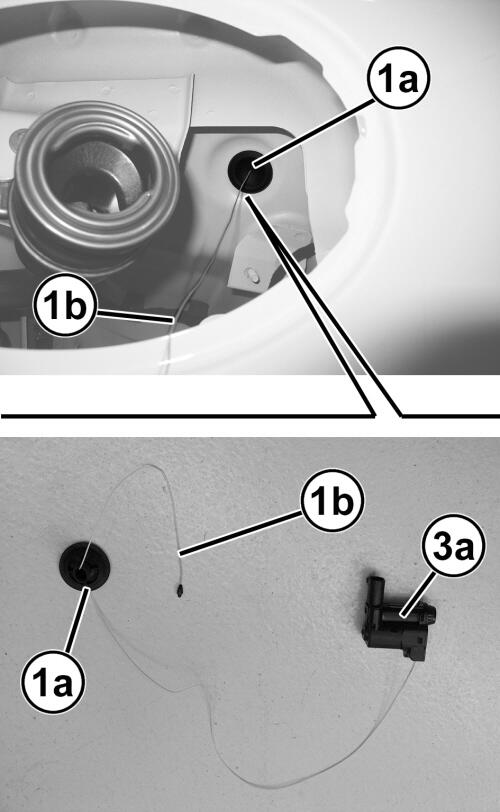
- Working on the rear left side of the wheelhouse, release the cable (1b) feed through grommet (1a) that opens the fuel tank door opening control.
- Completely remove the cable (1b) from the car, leaving the initially applied probe in its place.
- Recover the fuel door latch (3a), together with its cable (1b) and feed - through grommet (1a).
INSTALLATION
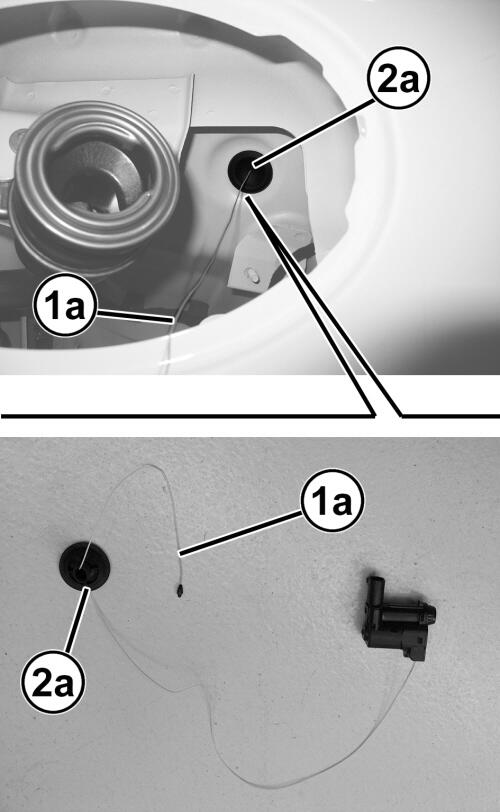
- Fit the cable (1a) in position up to the luggage compartment, using the string left during removal. Remove the sensor.
- Seat the grommets (2a) in their housings.
- Place the latch (1a) in the coupling gasket (1b) and turn it in its housing.
- Connect the wire harness connector (2a) of the latch (1a).
- Position the insert gasket (1b) in place and engage the four inner retainers (3a).
- Check that the cable (1a) is working correctly.
- Install the fuel filler door. Refer to DOOR, FUEL FILL, REMOVAL AND INSTALLATION Refer to, DOOR, FUEL FILL LOCK, REMOVAL AND INSTALLATION .
- Install the rear wheelhouse splash shield. Refer to SHIELD, SPLASH, REAR WHEELHOUSE, REMOVAL AND INSTALLATION .