Removal Of Automatic Transmission From Engine
WARNING: This page is about a different variant/trim than selected.
REMOVAL
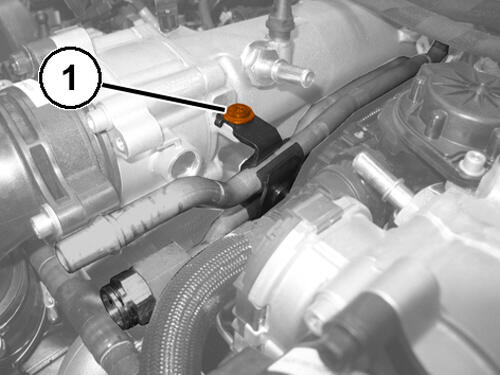
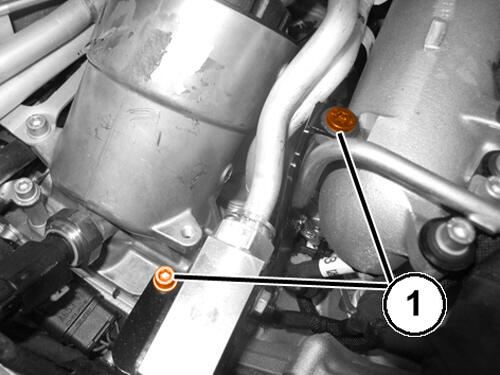
- Remove the bolt (1) securing the transmission oil supply-return lines front bracket to the radiator.
- Remove the bolts securing the thermostatic valve mounting bracket.
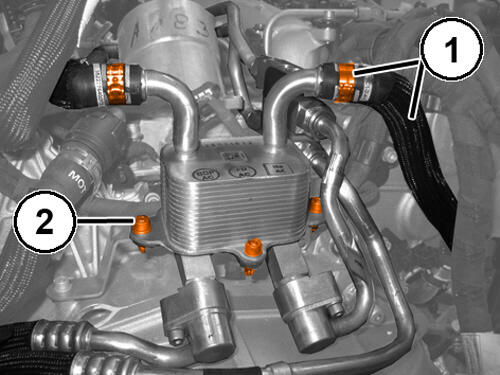
- Loosen the bands (1) and disconnect the coolant supply and return pipes from the transmission oil cooler.
- Remove the bolts (2) fixing the transmission oil cooler to the relative mount.
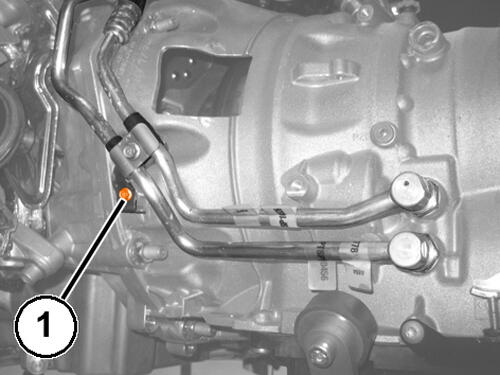
- Remove the bolt (1) securing the transmission oil supply-return line retaining bracket to the transmission oil cooler.
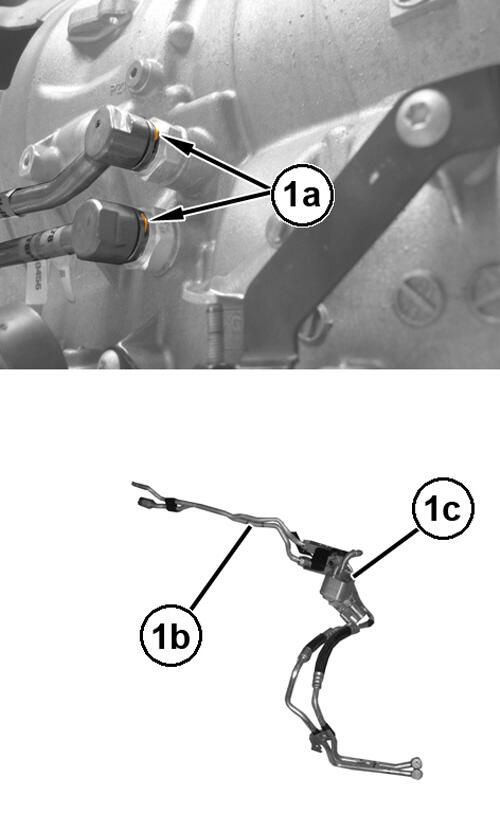
- Release the clips (1a) to disconnect the pipes (1b) complete with the transmission oil cooler (1c).
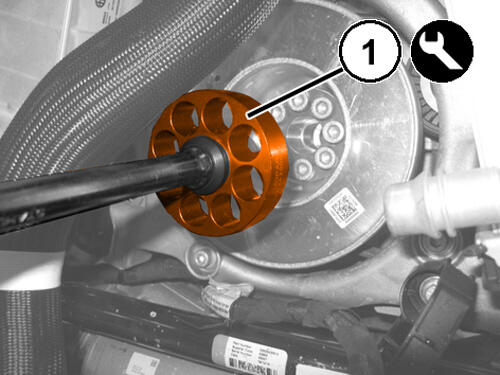
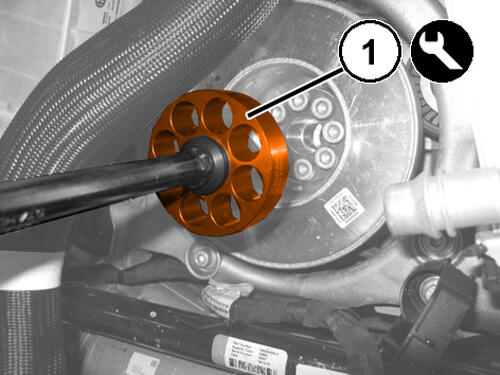
- Install the 2024200090 counter-torque tool (1) on the vibration damper.
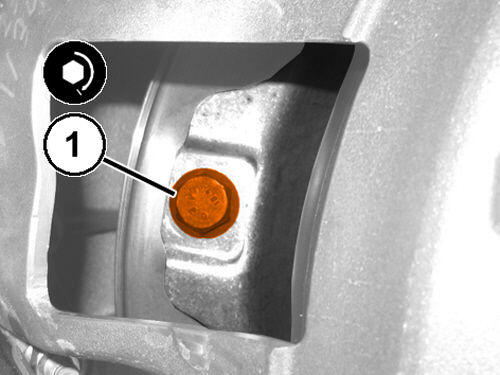
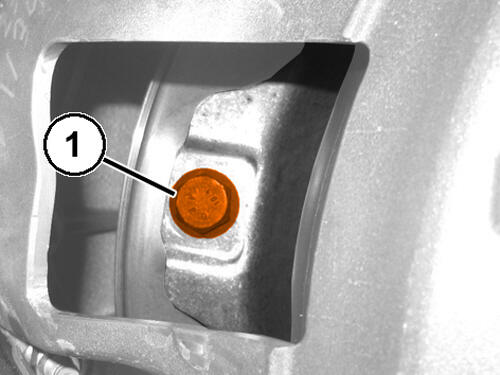
- Turn the engine crankshaft to access and remove the six bolts (1) securing the torque converter to the engine flexplate.
- Support the gearbox unit using suitable tools and a hydraulic lift.NOTE:
When detaching the gearbox unit from the engine, position a suitable tool to withhold the torque converter in its housing. Take care because the torque converter contains oil.
- Remove the nuts securing the transmission unit to the engine and remove the transmission complete with torque converter.
INSTALLATION
- Check that the automatic transmission centering bushings are correctly housed on the engine crankcase.
- Check and clean the threads on the torque converter housing the bolts of the engine flexplate.
- Lubricate the torque converter centering seat using suitable grease.
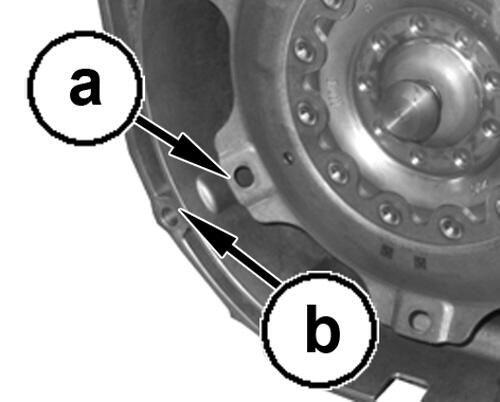
- Check that the torque converter is positioned correctly by verifying that the distance between point "a" on the torque converter and surface "b" of the transmission bell housing is 21.85 mm.
- Install the transmission complete with torque converter, and tighten the nuts securing it to the engine to the proper specification. Refer to TORQUE SPECIFICATIONS
.
- Position the 2024200090 counter-torque tool (1) on the vibration damper.
- Turn the engine crankshaft to access and tighten the six bolts securing the torque converter to the engine flexplate to the proper specification. Refer to TORQUE SPECIFICATIONS .
- Remove the 2024200090 counter-torque tool from the vibration damper.
- Install the transmission oil supply-return line in position, complete with the transmission oil cooler and engage the relative retaining clips.
- Tighten the bolts securing the transmission oil supply-return lines retaining bracket to the transmission oil cooler.
- Tighten the bolts securing the transmission oil cooler to the relative mount.
- Connect the coolant supply and return lines to the transmission oil cooler and close the relative retaining bands.
- Tighten the thermostatic valve mounting bracket bolts.
- Tighten the bolts securing the transmission oil supply-return lines front bracket to the radiator.