Removal And Installation
WARNING: This page is about a different variant/trim than selected.
REMOVAL
- Position the vehicle on the lift. Refer to HOISTING, STANDARD PROCEDURE
.
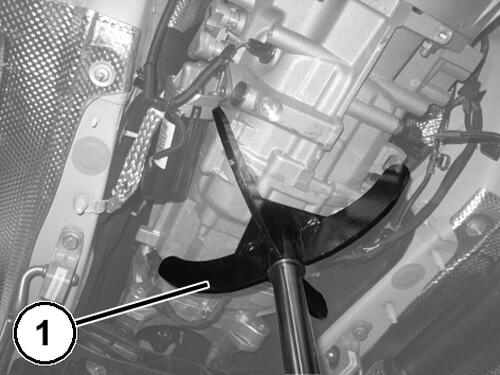
- Position a suitable hydraulic lift (1) underneath the transmission.
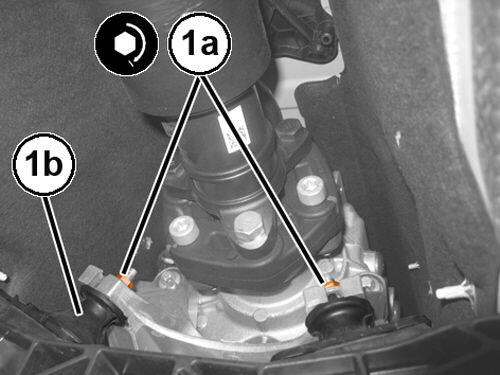
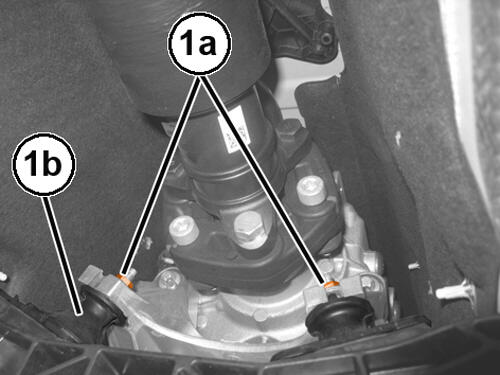
- Remove the nuts (1a) securing the mounts (1b) to the transmission mount bracket.
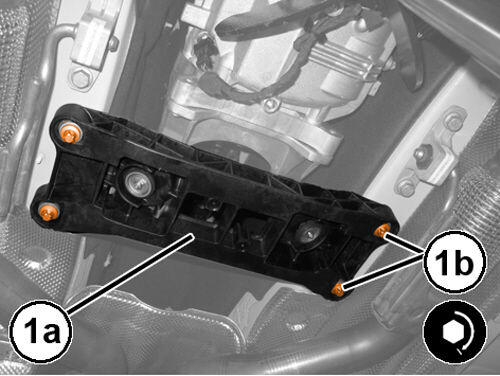
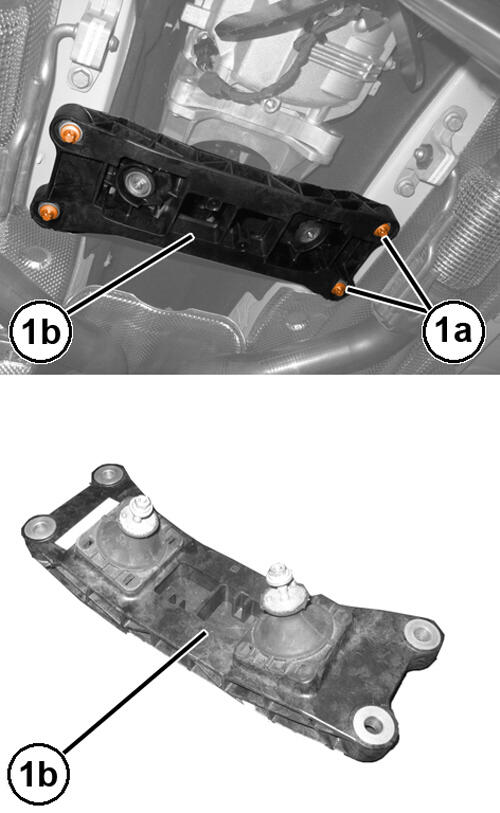
- Remove the bolts (1a) and the transmission rear support bracket (1b).
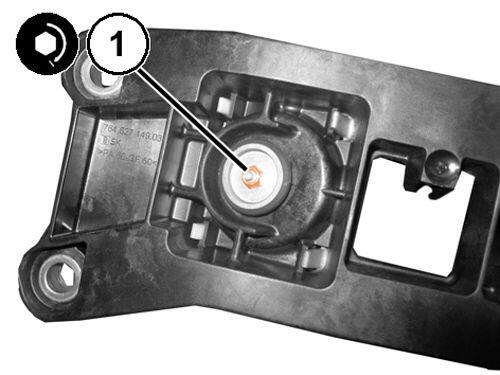
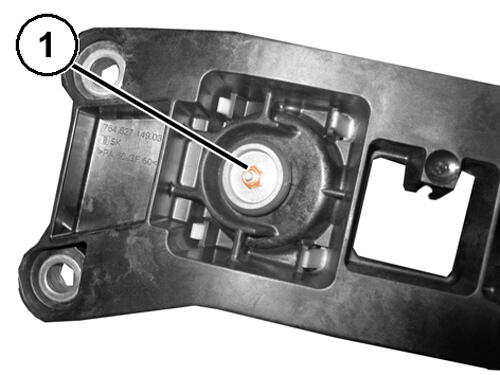
- Remove the lower nut (1) securing the mount to the rear support bracket.
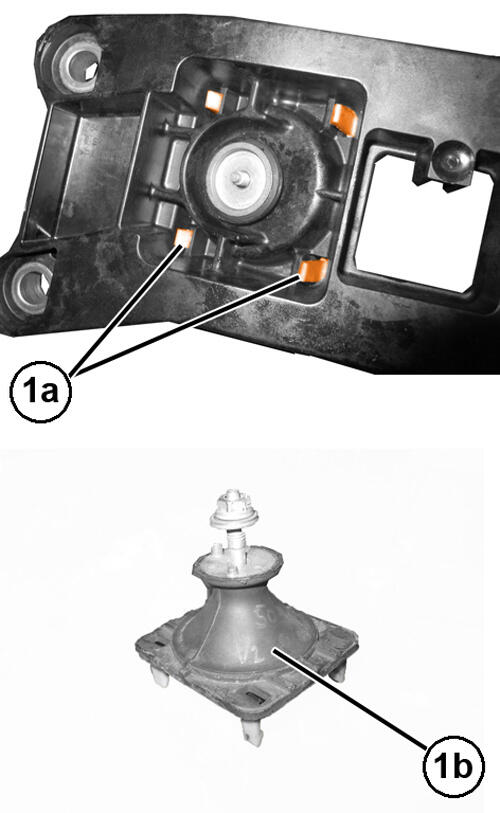
- Release the retaining clips (1a) and remove the mount (1b).
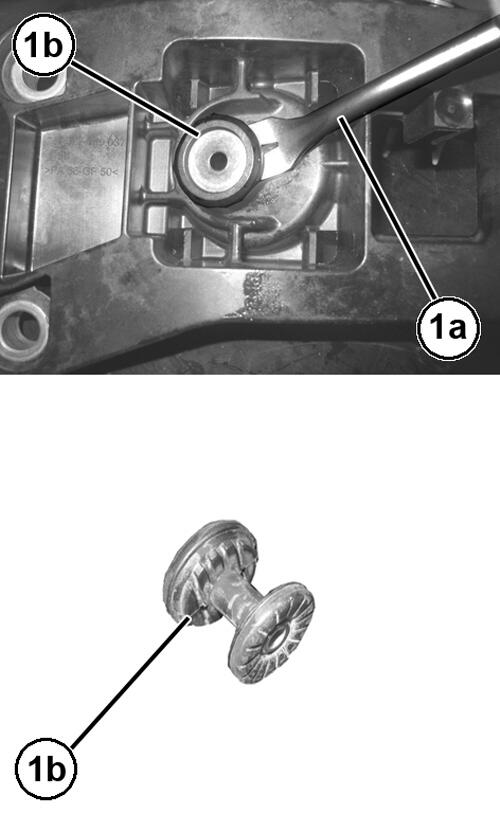
- With a suitable tool (1a), remove the spacer (1b).
- Proceed in a similar manner on the other mount.
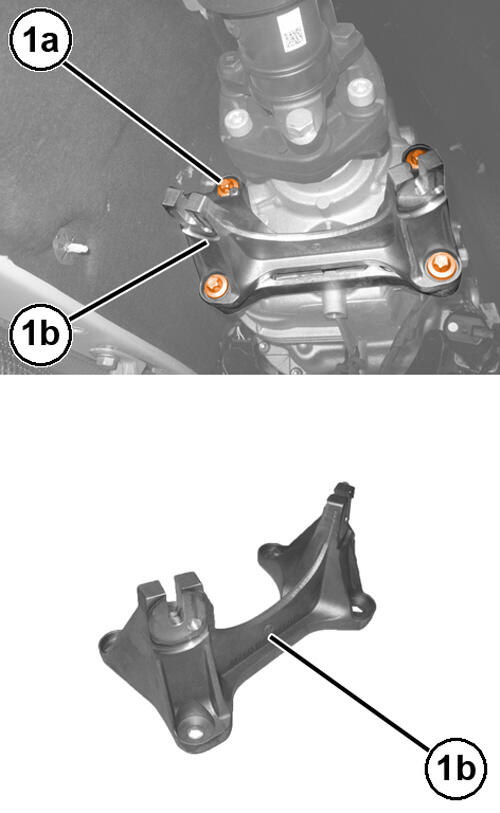
- If necessary, remove the screws (1a) and remove the transmission mount support bracket (1b).
INSTALLATION
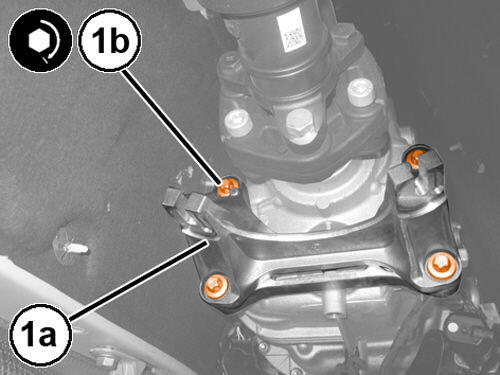
- If removed, place the transmission mount support bracket (1a) in its housing and tighten the screws (1b) to the proper specification. Refer to TORQUE SPECIFICATIONS .
- Place the transmission mount spacer in its housing on the rear support bracket.
- Place the transmission mount in its housing and engage the retaining clips.
- Tighten the NEW transmission mount lower retaining nut (1) to the proper specification. Refer to ENGINE MOUNTS .
- Proceed in a similar manner on the other transmission mount.
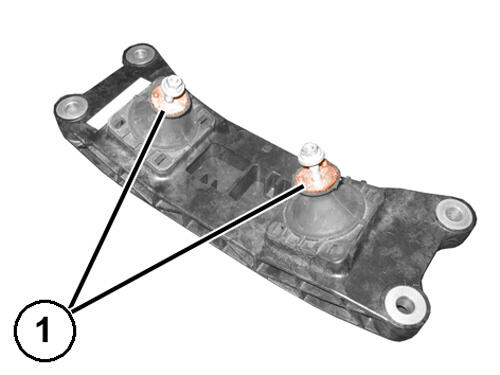
- Set the mount pins as indicated in the figure (1).
- Place the rear support bracket (1a) back in its housing and tighten the NEW
bolts (1b) to the proper specification. Refer to TORQUE SPECIFICATIONS
.
- Tighten the nuts (1a) securing the transmission mount (1b) to the bracket, to the proper specification. Refer to TORQUE SPECIFICATIONS .
- Remove the hydraulic lift from underneath the transmission.
- Remove the vehicle from the lift.