Removal And Installation
WARNING: This page is about a different variant/trim than selected.
REMOVAL
- Disconnect and isolate the negative battery cable.
- Remove the front suspension crossmember. Refer to CROSSMEMBER, FRONT SUSPENSION, REMOVAL AND INSTALLATION
.
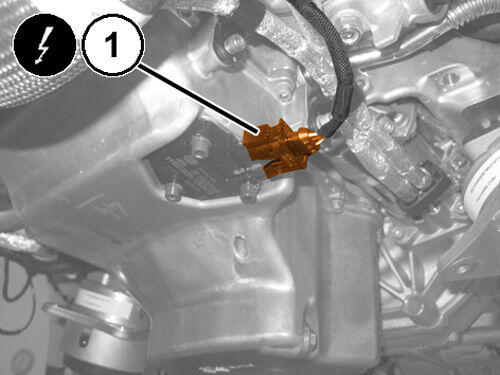
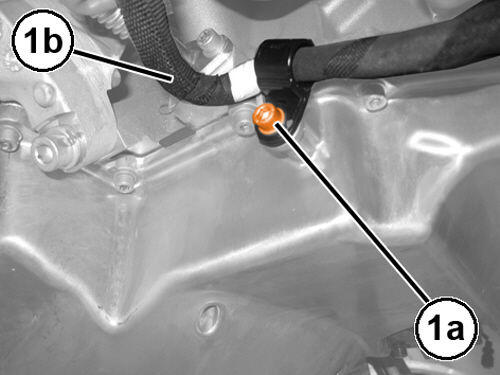
- Disconnect the oil level switch wire harness connection (1).
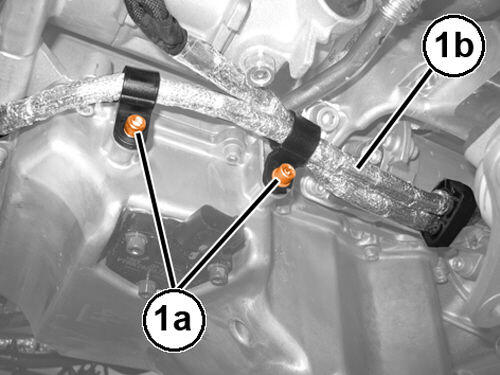
- Remove the bolts (1a) and release the wire harness (1b) from the oil pan.
- Remove the bolts (1a) and release the wire harness (1b) from the oil pan.
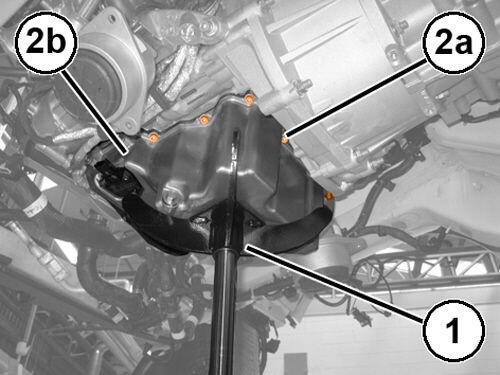
- Position a suitable lift under the oil pan (1).
- Remove the bolts (2a) and the oil pan (2b).
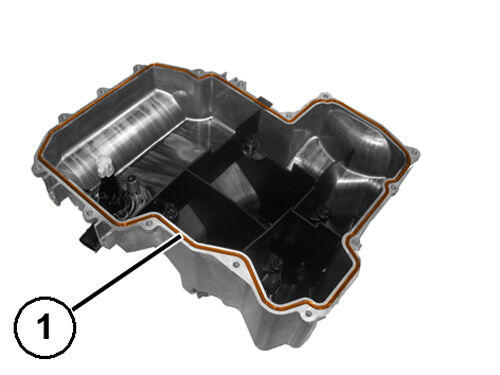
- Remove the seal (1).
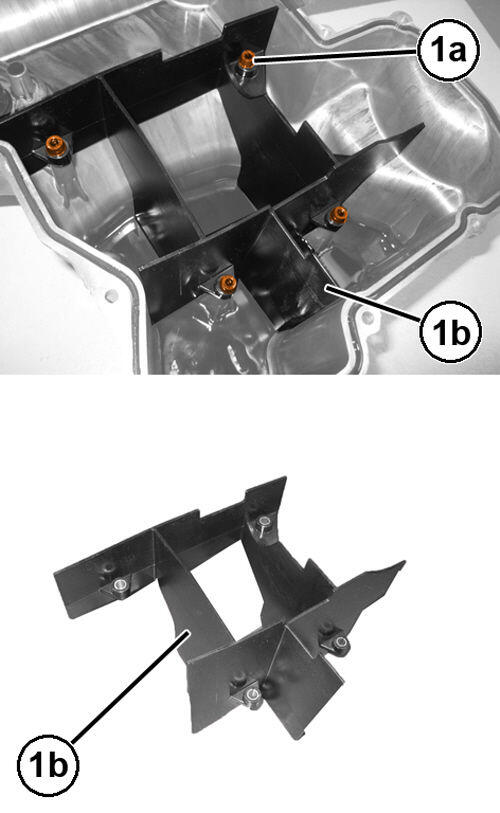
- Remove the bolts (1a) and the splash baffle (1b).
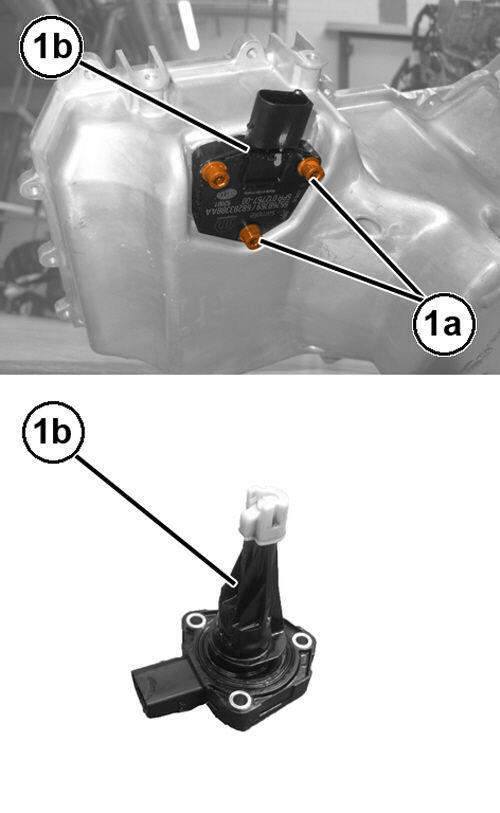
- Remove the bolts (1a) and the oil level switch (1b).
INSTALLATION
- Install the oil level switch and securely tighten the bolts.
- Install the splash baffle and securely tighten the bolts.
- Install a NEW
oil pan gasket.
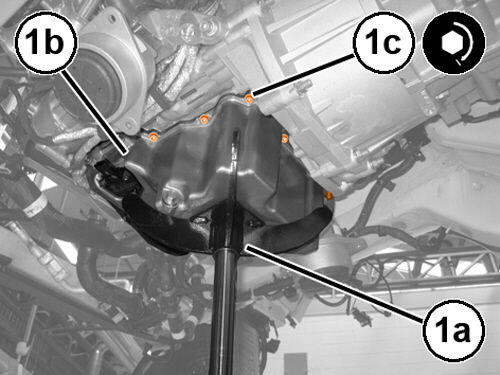
- Using a suitable lift (1a), install the oil pan (1b) and tighten the bolts (1c) finger tight.
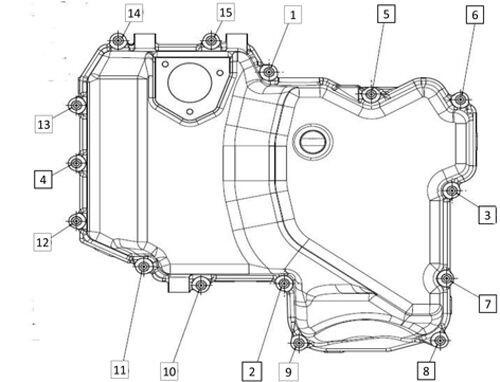
- Using the tightening shown in illustration, tighten the bolts to the proper specification. Refer to LUBRICATION .
- Engage the wiring on the oil pan and install and securely tighten the bolts.
- Connect the oil level switch wire harness connector.
- Install the front suspension crossmember. Refer to CROSSMEMBER, FRONT SUSPENSION, REMOVAL AND INSTALLATION .
- Connect the negative battery cable.