Engine Oil Pump
WARNING: This page is about a different variant/trim than selected.
REMOVAL
- Disconnect and isolate the negative battery cable.
- Remove the engine timing covers. Refer to COVER(S), ENGINE TIMING, REMOVAL AND INSTALLATION .
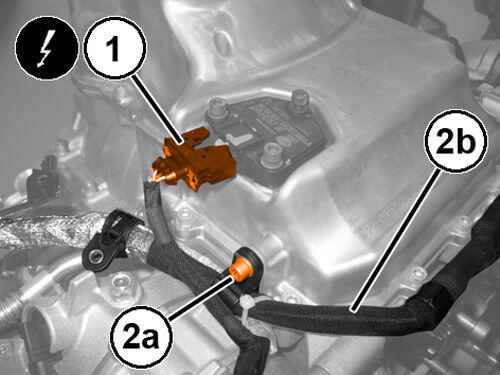
- Disconnect the engine oil level sensor wire harness connector (1).
- Remove the bolt (2a) and release the engine wiring (2b).
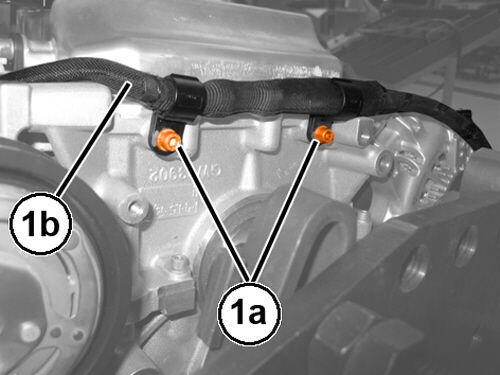
- Remove the bolts (1a) and release the engine wiring (1b).
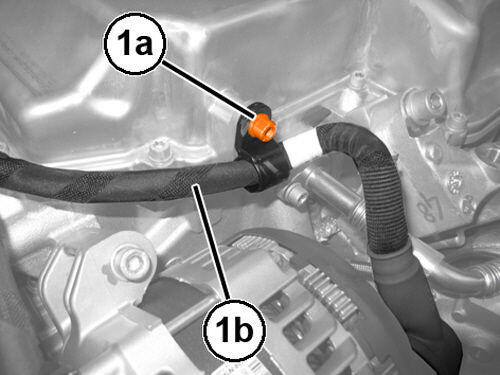
- Remove the bolts (1a) and release the engine wiring (1b).
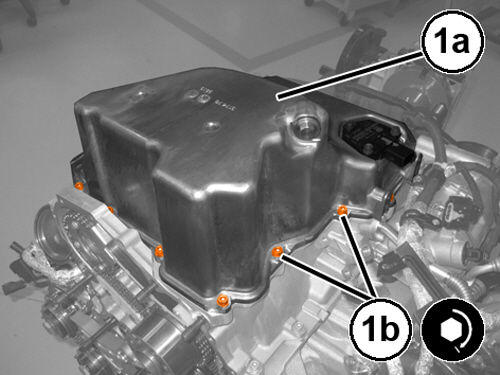
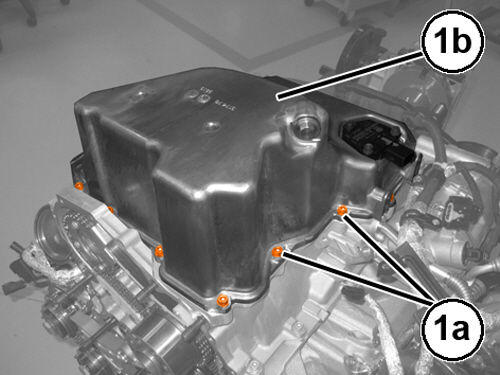
- Remove the bolts (1a) and the oil pan (1b).
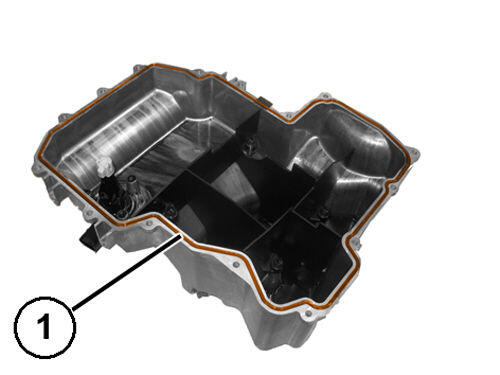
- Remove the oil pan gasket (1).
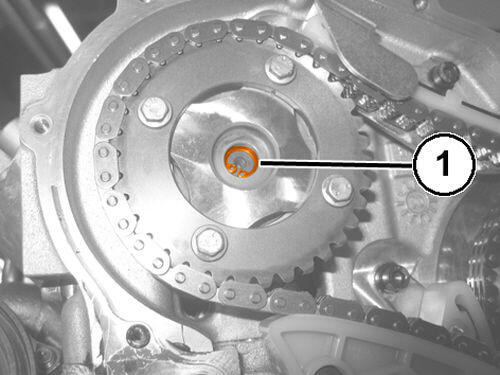
- Remove the engine oil pump drive shaft snap ring (1).
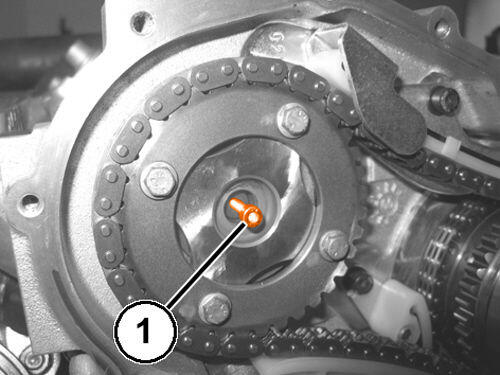
- Install a suitable bolt in the engine oil pump drive shaft threaded hole (1).
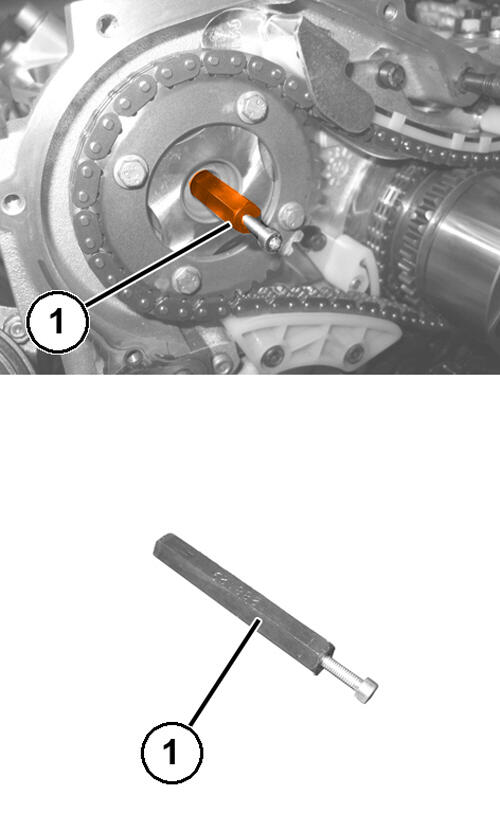
- Remove the engine oil pump drive shaft (1).
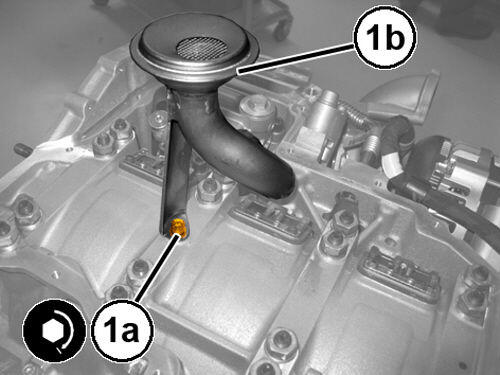
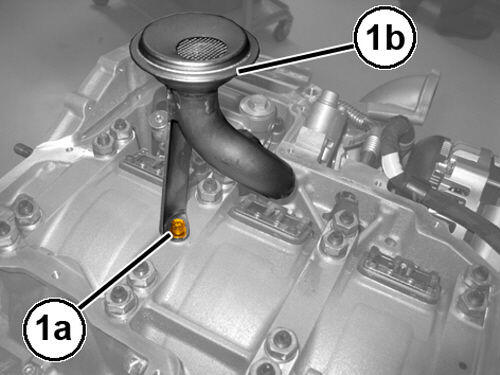
- Remove the bolt (1a) securing the oil pump pick-up tube (1b) to the lower crankcase.
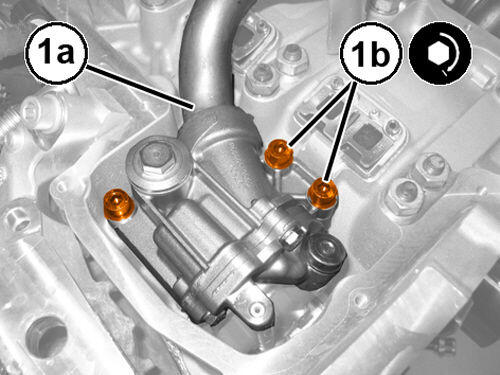
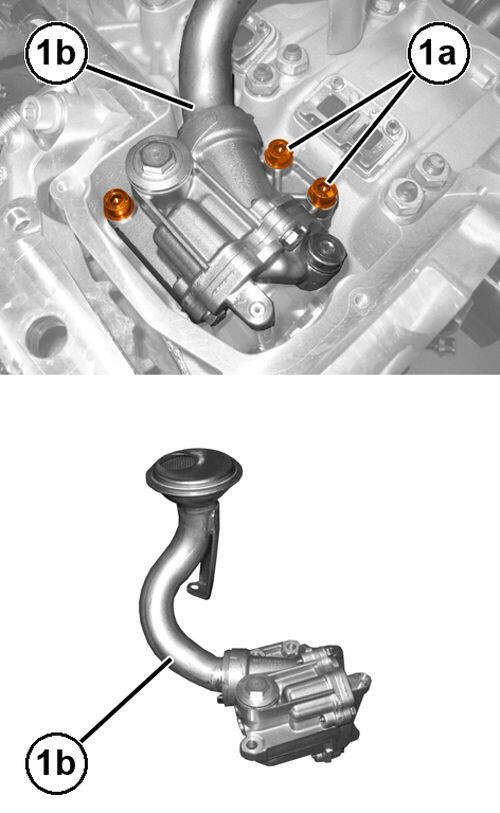
- Remove the bolts (1a) and the engine oil pump (1b).
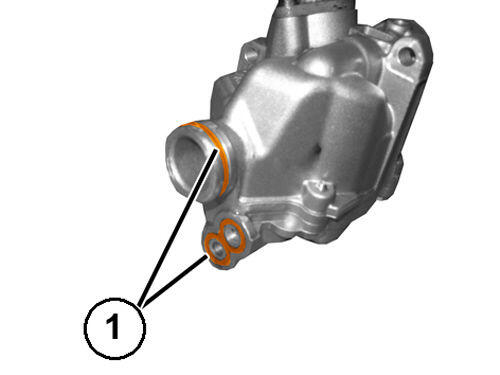
- Remove the engine oil pump seals (1).
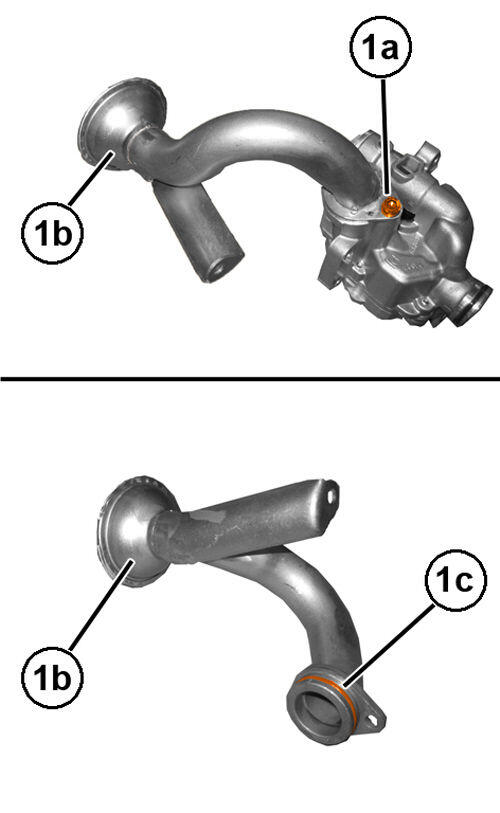
- Remove the bolt (1a) and the oil pump pick-up tube (1b) complete with O-ring (1c).
INSTALLATION
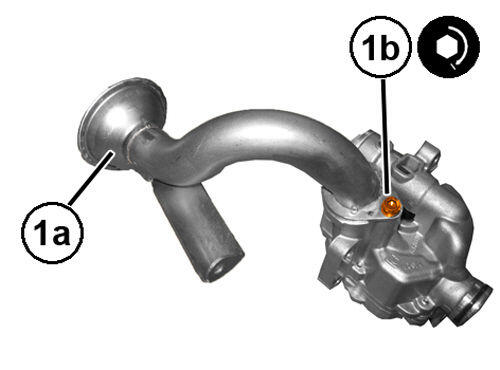
- Using a NEW
O-ring, install the oil pump pick-up tube (1a) and tighten the bolt (1b) to the proper specification. Refer to LUBRICATION
.
- Install the engine oil pump (1a) and tighten the bolts (1b) to the proper specification. Refer to LUBRICATION
.
- Install the oil pump pick-up tube (1b) to the lower crankcase and tighten the bolt (1a) to the proper specification. Refer to LUBRICATION .
- Install the engine oil pump drive shaft into its housing, then install the snap ring.
- Install a NEW
oil pan gasket.
- Install the oil pan (1a) and tighten the bolts (1b) finger tight.
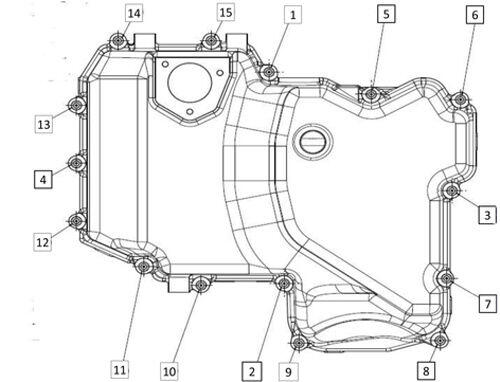
- Using the tightening sequence shown in illustration, tighten the oil pan bolts to the proper specification. Refer to LUBRICATION .
- Install the engine wiring in its housing and securely tighten the bolt.
- Install the engine wiring in its housing and securely tighten the bolt.
- Install the engine wiring in its housing and securely tighten the bolt.
- Connect the engine oil level sensor wire harness connector.
- Install the engine timing cover. Refer to COVER(S), ENGINE TIMING, REMOVAL AND INSTALLATION .
- Connect the negative battery cable.