Right Side
WARNING: This page is about a different variant/trim than selected.
REMOVAL
- Disconnect and isolate the negative battery cable.
- Remove the right side engine oil supply pipe to the turbocharger. Refer to LINES, TUBES AND HOSES, TURBOCHARGER, OIL AND COOLANT, REMOVAL AND INSTALLATION .
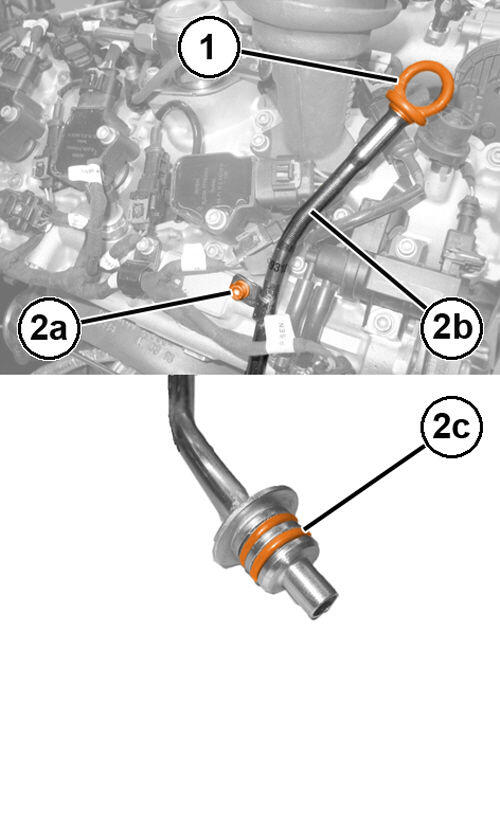
- Remove the engine oil dipstick (1).
- Remove the bolt (2a) and the engine oil dipstick pipe (2b) complete with O-rings (2c).
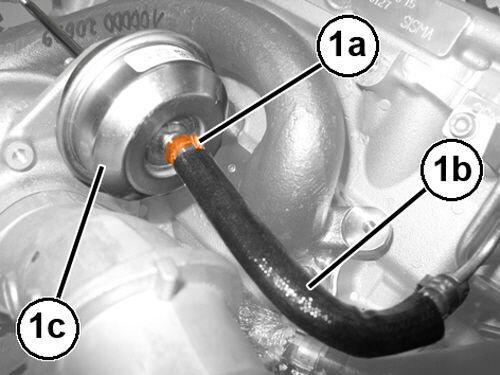
- Loosen the clamp (1a) and disconnect the vacuum hose (1b) from the waste-gate actuator (1c).
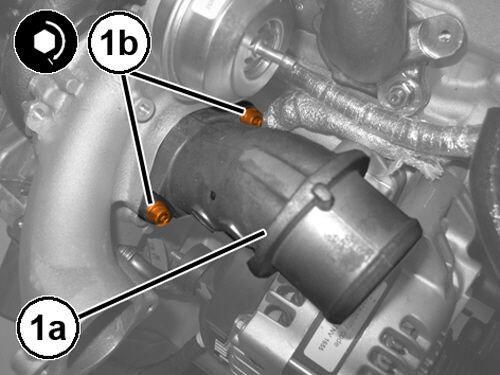
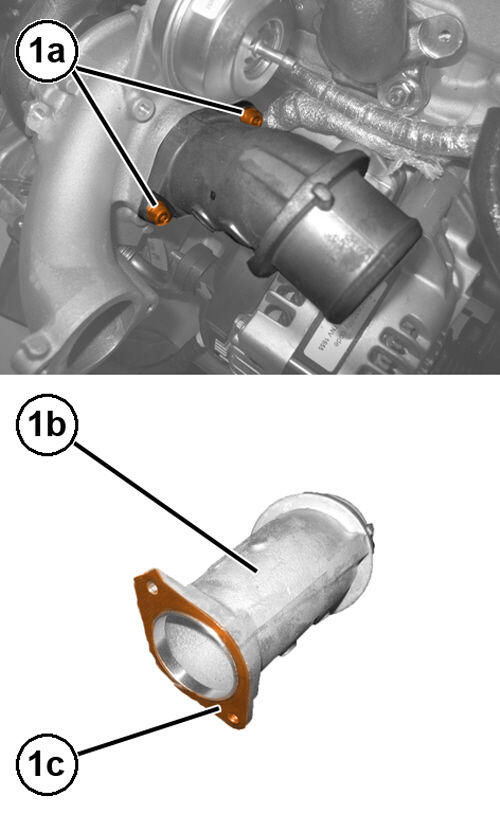
- Remove the bolts (1a) and the right turbocharger air supply connector (1b) complete with gasket (1c).NOTE:
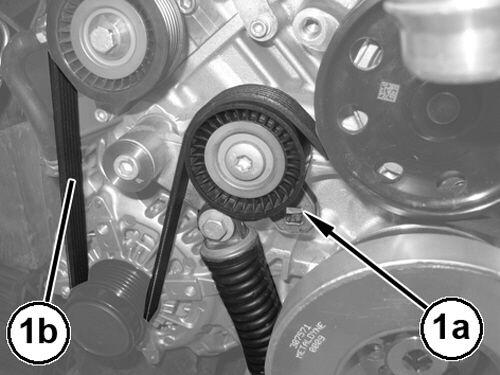
For compressing the spring, be careful not to exceed a maximum torque of 60 N.m (44 ft. lbs.).
- Insert a suitable tool in the square hole (1a), turn it clockwise to compress the spring of the tensioner and remove the serpentine belt (1b).
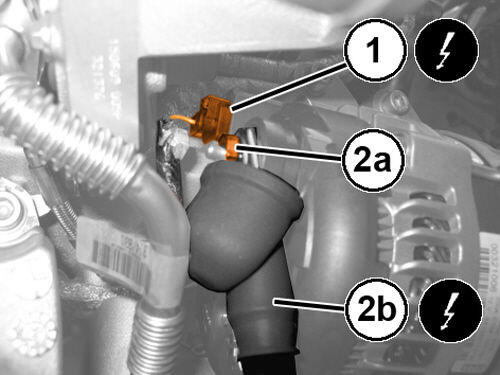
- Disconnect the generator wire harness connector (1).
- Release the shield, remove the nut (2a) and the B+ wire (2b).
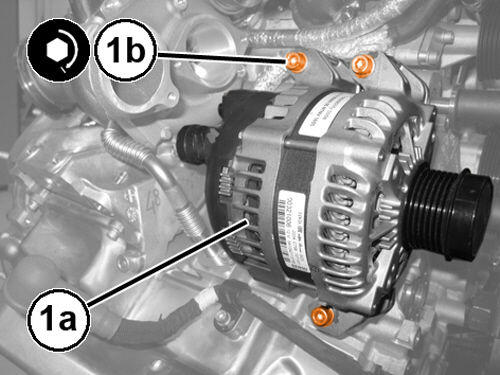
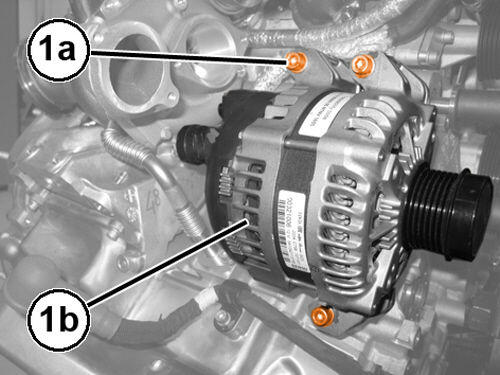
- Remove the bolts (1a) and the generator (1b).
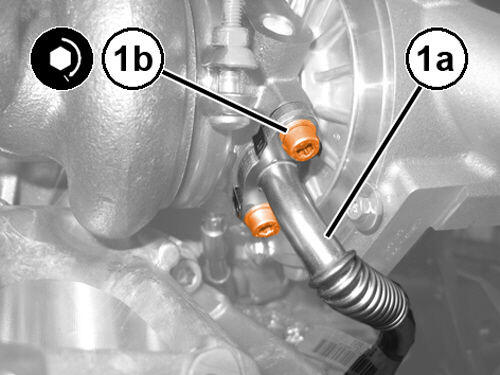
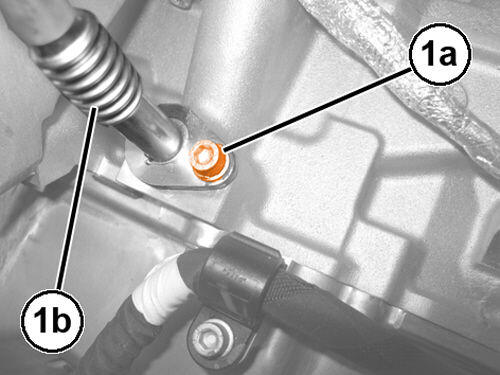
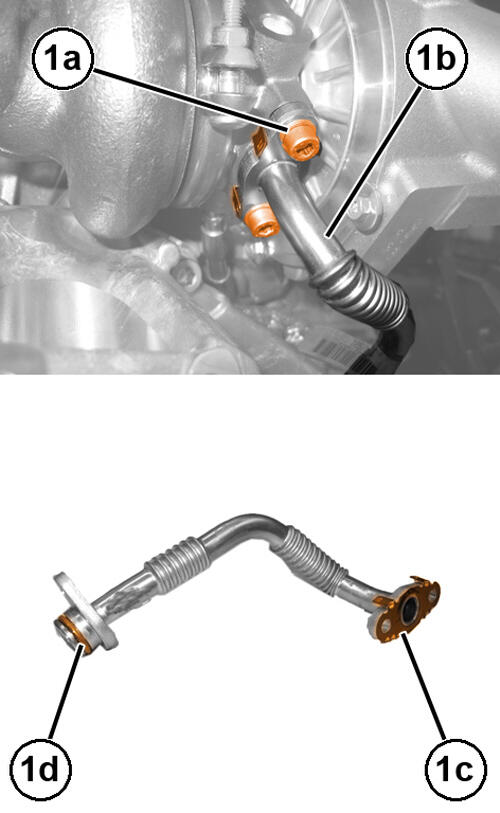
- Remove the bolt (1a) securing the engine oil return pipe from the turbocharger (1b), engine side.
- Remove the bolts (1a) and the engine oil return pipe from turbocharger (1b), complete with gasket (1c) and O-ring (1d).
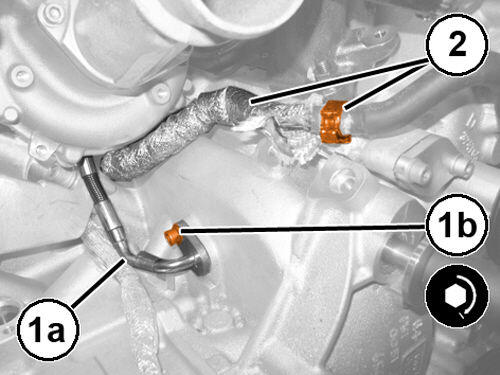
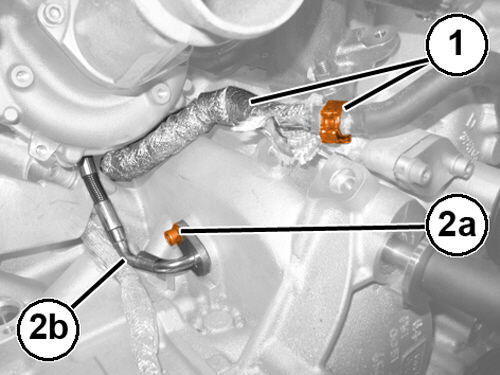
- Loosen the clamp (1) and disconnect the turbocharger water return pipe.
- Remove the bolts (2a) and disconnect the turbocharger water supply pipe (2b).
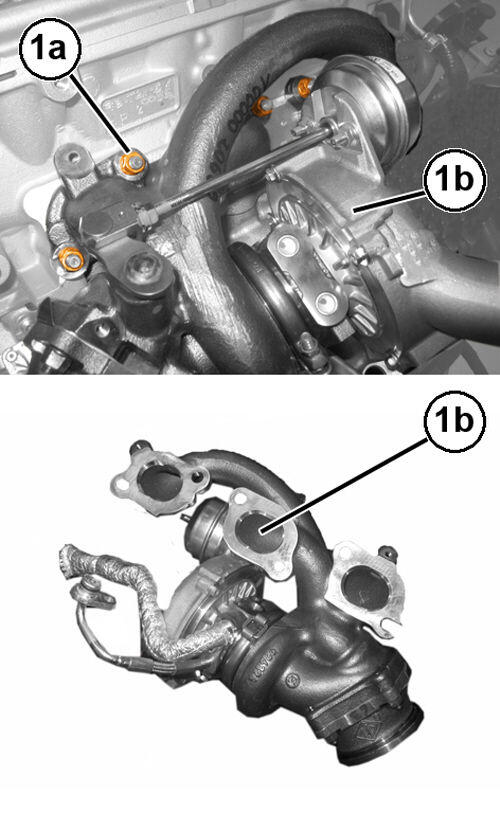
- Remove the nuts (1a) and the right turbocharger/exhaust manifold assembly (1b), complete with the water pipes.
- Remove the gasket.
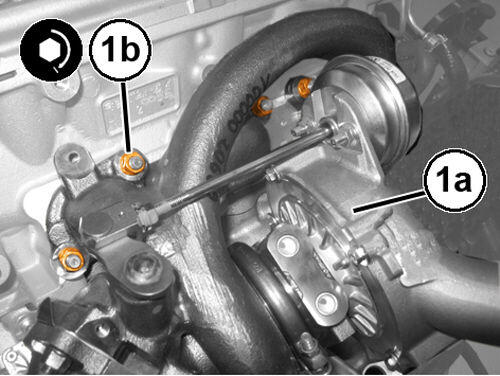
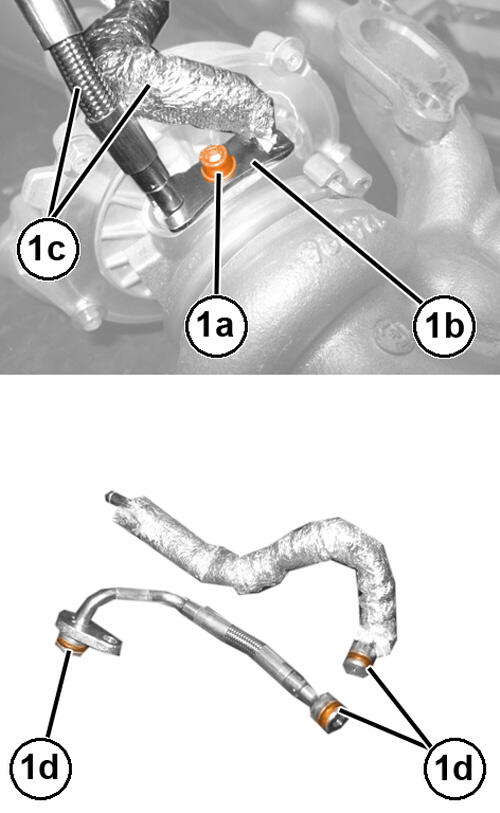
- Remove the bolt (1a), the forked flange (1b) and disconnect the turbocharger water supply and return pipes (1c), complete with O-rings (1d).
INSTALLATION
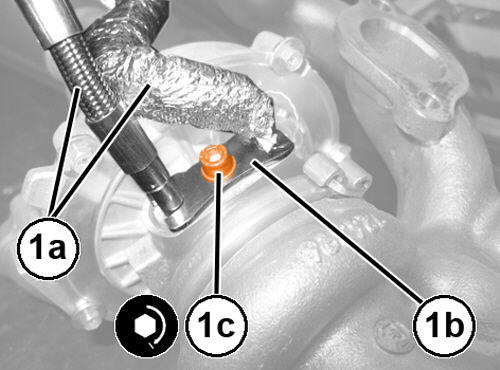
- Using NEW
O-rings, install the turbocharger water supply and return pipes (1a), engage the forked flange (1b) and tighten the bolt (1c) to the proper specification. Refer to TURBOCHARGER
.
- Using a NEW
gasket, install the right turbocharger/exhaust manifold assembly (1a), and tighten the NEW
nuts (1b) to the proper specification. Refer to TURBOCHARGER
.
- Install the water supply pipe to the turbocharger (1a) and tighten the bolt (1b) to the proper specification. Refer to TURBOCHARGER .
- Install the turbocharger flexible water return hose and securely tighten the clamp (2).
- Using a NEW gasket and NEW O-ring, install the engine oil return pipe to the turbocharger (1a) and tighten the bolts (1b), to the proper specification. Refer to TURBOCHARGER .
- Install the engine oil return pipe from the turbocharger, engine side and securely tighten the bolt.
- Install the generator (1a) and tighten the bolts (1b) to the. Refer to TECHNICAL SPECIFICATIONS .
- Install the generator wiring and tighten the nut then engage the shield.
- Connect the generator wire harness connector.NOTE:
For compressing the spring, be careful not to exceed a maximum torque of 60 N.m (44 ft. lbs).
- Use a suitable tool on the drive belt tensioner to compress the spring and fully insert the lock pin.
- Install the serpentine belt so that all grooves are inserted in the pulley and runner grooves.
- Use a suitable tool to compress the tensioner spring and remove the lock pin.
- Visually check that all belt grooves are inserted in the pulley and runner grooves.
- Using a NEW seal, install the turbocharger air supply connector (1a), and tighten the bolts (1b) to the proper specification. Refer to TURBOCHARGER .
- Connect the waste-gate actuator vacuum flexible hose and tighten the clamp.
- Using a NEW O-ring, install the engine oil dipstick pipe and securely tighten the bolt.
- Install the engine oil dipstick.
- Install the right side engine oil supply pipe to the turbocharger. Refer to LINES, TUBES AND HOSES, TURBOCHARGER, OIL AND COOLANT, REMOVAL AND INSTALLATION .
- Connect the negative battery cable.
- Check the front wheel alignment. Refer to WHEEL ALIGNMENT, STANDARD PROCEDURE .