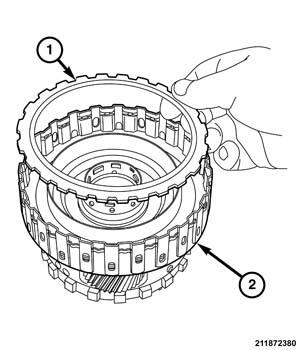
Clutch D
DISASSEMBLY
| 1. Friction plate |
| 2. Backing plate |
| 3. Backing plate |
| 4. Wave plate |
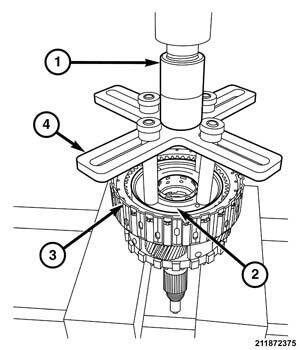
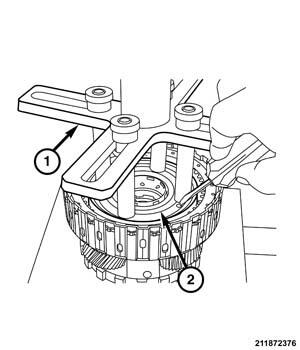
- Place the D-clutch (3) in a suitable arbor press (1).
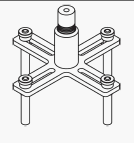
- Using
(special tool #8901A, Pressing Tool)
(4) to compress the oil baffle (2) enough to clear the locking tabs.
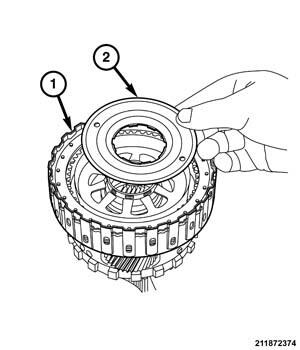
- Rotate the oil baffle (2) slightly until the tabs on the hub are clear of the baffle.
- Remove the oil baffle (2).
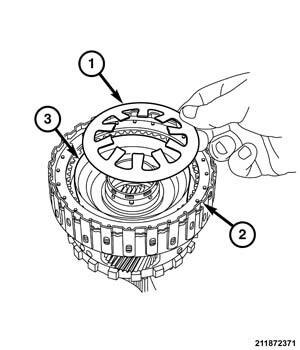
- Remove the belleville spring (1).
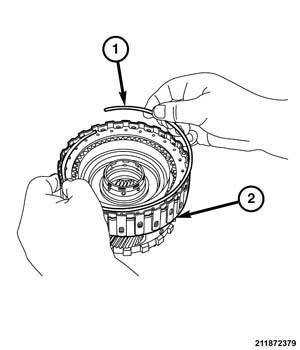
- Remove the selective snap ring (1).
- Remove the D-Clutch backing plate (1).
- Remove the D-Clutch (3) frictions and steels (1), paying attention to the orientation.
- Remove the D-Clutch (2) piston (1).
- Remove the D-Clutch carrier seal rings (2).
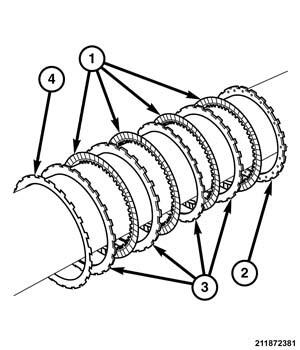
ASSEMBLY
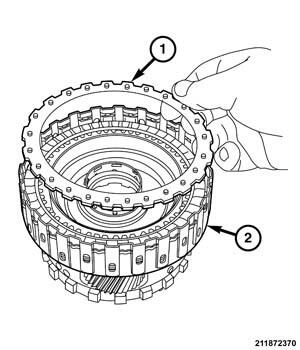
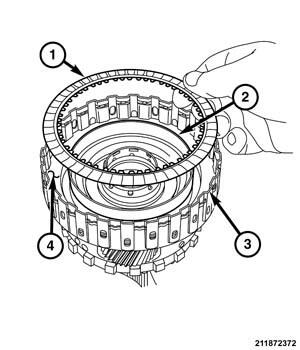
| 1. Friction plate |
| 2. Backing plate |
| 3. Steel plate |
| 4. Wave plate |
NOTE:
If clutch discs are being replaced, soak them in 8HP trans fluid before assembly.
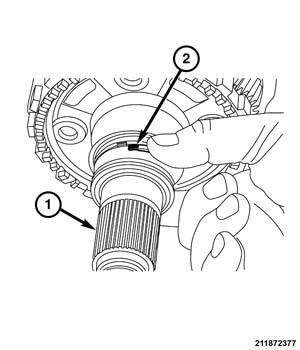
- Install D-Clutch carrier seal rings (2).
- Place the D-Clutch in a suitable arbor press.
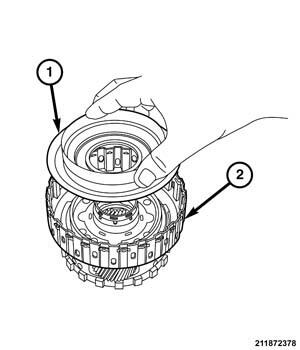
- Coat the O-rings with 8HP fluid on the D-Clutch (2) piston (1) and install the piston (1) onto the carrier.
- Install the wave plate (1) into the carrier first.
- Install the frictions and steels (1) into the carrier (3).
- Install the backing plate (1) last onto the carrier.
- Install the proper selective snap ring (1) onto the D-Clutch carrier (2).
- Install the belleville spring (1).
- Place the oil baffle (2) onto the hub of the D-clutch carrier (1).
- Line up the locking tabs on the D-Clutch hub and the oil baffle (2).
- Compress the oil baffle (2) enough to clear the lock tabs, and rotate the baffle to the locked position.
- Release the arbor press.