Bi-Xenon Bulb
NOTE:
If the bulb is working properly, do not touch it with your hands. If this happens, clean the bulb with alcohol.
REMOVAL
- Disconnect and isolate the negative battery cable.
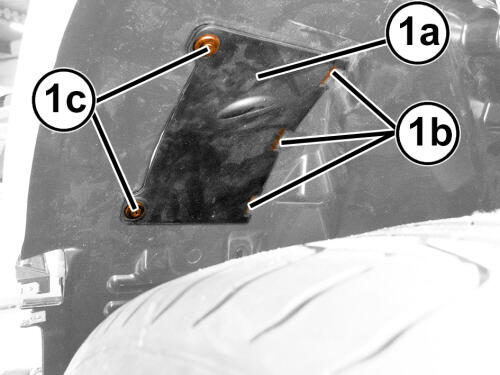
- Remove the access cover fasteners (1a), and release the cover retainers (1c) and cover (1b) located in the front wheel house splash shield.
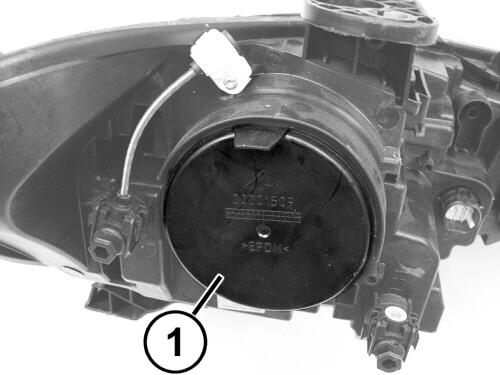
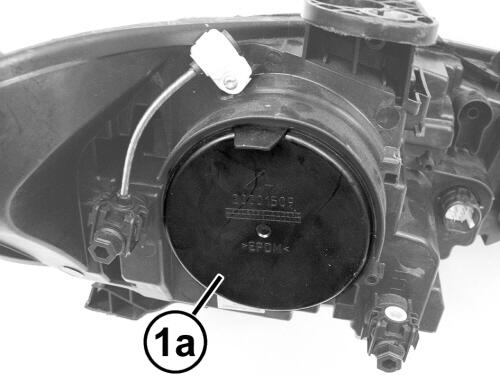
- Remove the front lamp access cover (1a) from the lamp unit.
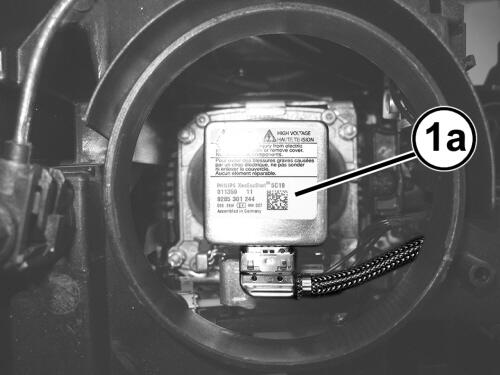
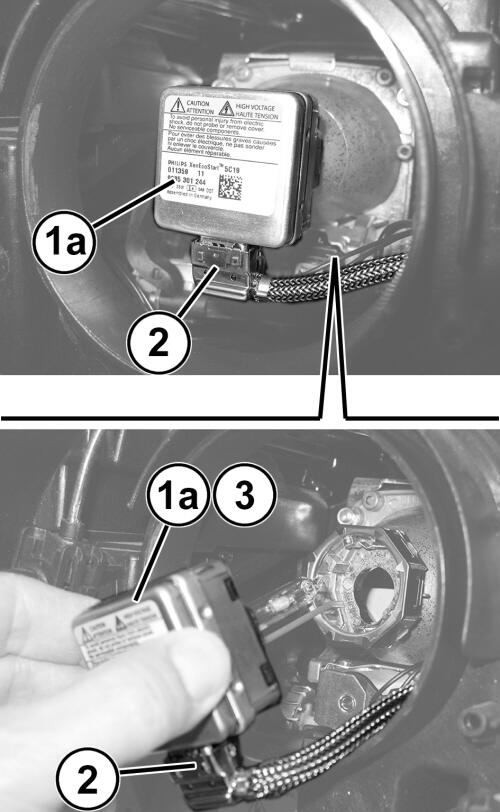
- Rotate the socket (1a) in a counter-clockwise direction (about 30°) to remove it from the housing.
- Disconnect the wire harness connector (2) from the socket (1a).
- Remove the Bi-Xenon lamp.
INSTALLATION
- Connect the wire harness connector to the socket.
- Position the socket assembly into the housing (1a) and rotate it clockwise until it is properly installed. When the socket is completely in its housing, it should be aligned as shown in the illustration.
- Install front lamp access cover (1) on the back of the lamp unit.
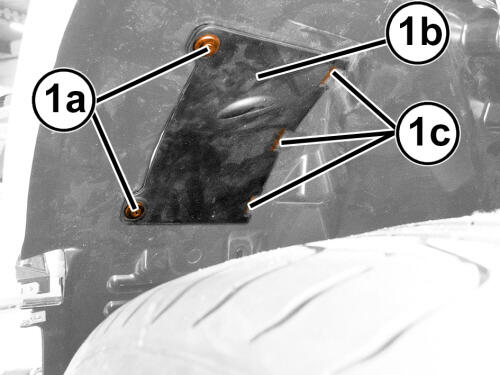
- Install the cover (1a) to the splash shield, engage the retainers (1b) and securely tighten the cover using the fasteners (1c).
- Connect the negative battery cable.