Removal And Installation
WARNING: This page is about a different variant/trim than selected.
REMOVAL
- Disconnect and isolate the negative battery cable.
- Remove the Charge Air Cooler (CAC) and support bracket. Refer to COOLER AND HOSES, CHARGE AIR, REMOVAL AND INSTALLATION
.NOTE:
For compressing the spring, be careful not to exceed a maximum torque of 60 N.m (44 ft. lbs).
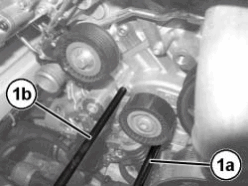
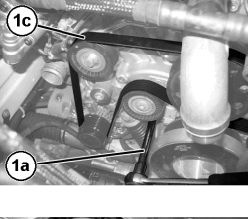
- Insert a suitable tool (1a) in the square hole (1b), turn it clockwise to compress the spring of the tensioner and remove the serpentine drive belt (1c).
INSTALLATION
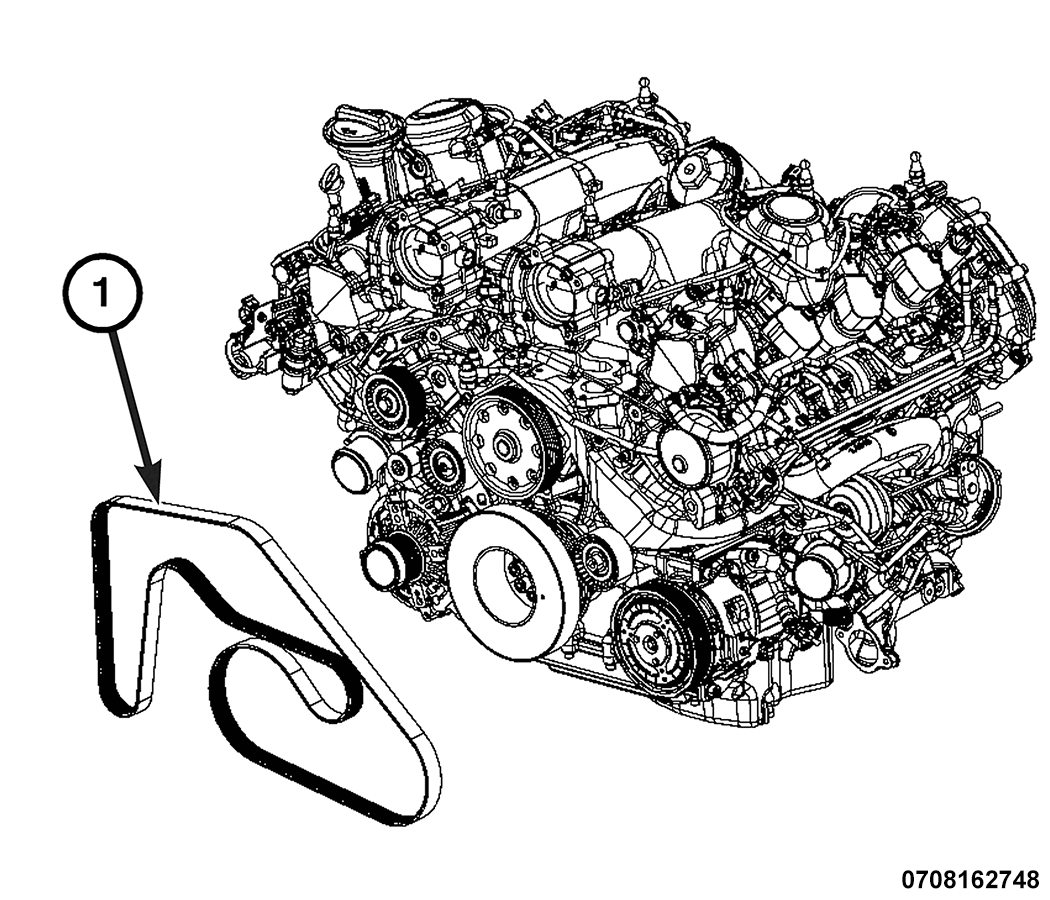
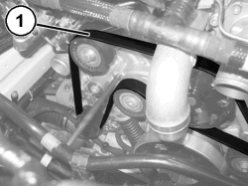
- Route the serpentine belt (1) as shown in illustration.NOTE:
For compressing the spring, be careful not to exceed a maximum torque of 60 N.m (44 ft. lbs).
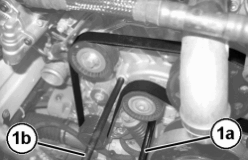
- Using a suitable tool (1a) in the square hole, turn it clockwise to compress the spring of the tensioner and fully insert the lock pin (1b) in the specific hole on the motor.
- Install the serpentine belt so that all grooves are inserted in the pulley and runner grooves.
- Insert a suitable tool (1a) in the square hole, turn it clockwise to compress the spring of the tensioner enough as needed and then remove the lock pin (1b).
- Visually check the serpentine belt is fully seated on the pulleys.
- Install the Charge Air Cooler (CAC) and support bracket. Refer to COOLER AND HOSES, CHARGE AIR, REMOVAL AND INSTALLATION .
- Connect the negative battery cable.