Engine And Transmission Separation - AWD
REMOVAL
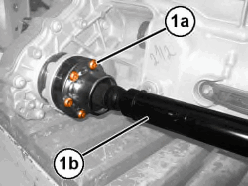
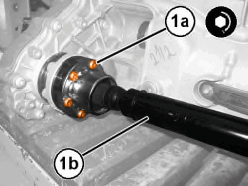
- Remove the bolts (1a) securing the driveshaft (1b) to the transfer case and remove the spacers.
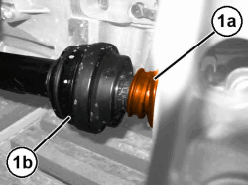
- Release the dust shield ring (1a) from the front driveshaft (1b).
- Using snap ring pliers, release the snap ring locking the front driveshaft (1b) on the differential pinion side.
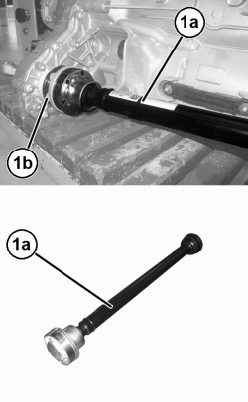
- Use a suitable soft mallet to remove the front driveshaft (1a) from the transfer case flange (1b).
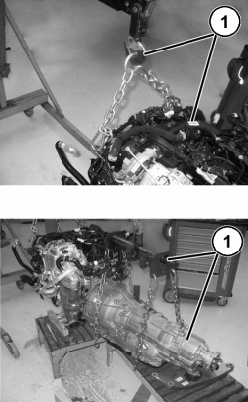
- Remove the chain coupled to the gearbox unit used to separate the powertrain assembly from the front suspension crossmember.
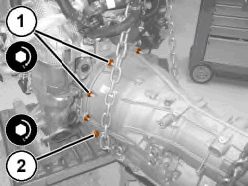
- Support the engine (1) and the transmission with suitable hydraulic hoists.
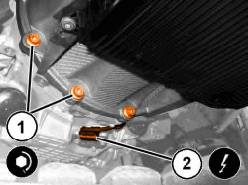
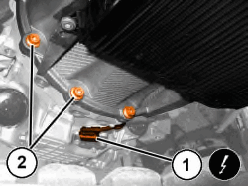
- Disconnect the engine oil level sensor wire harness connector (1).
- Remove the lower transmission bolts (2).
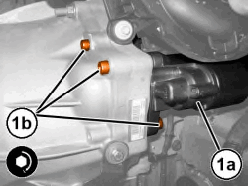
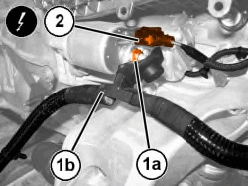
- Remove the protective cover, the nut (1a), and the starter motor B+ wiring harness connection (1b).
- Disconnect the starter motor wire harness connector (2).
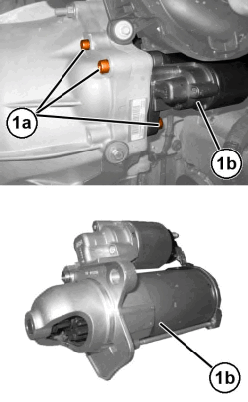
- Remove the bolts (1a) and the starter motor (1b) complete with centering bushing.
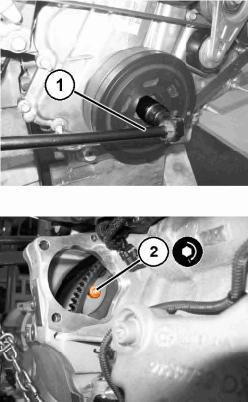
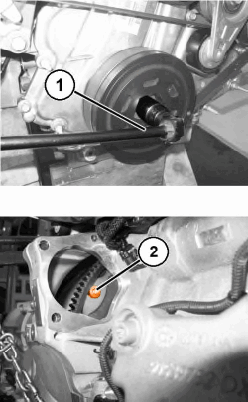
- Use a socket and breaker bar (1) on the bolt securing the vibration damper to turn the engine crankshaft and access the bolts securing the torque converter to the flywheel.
- Remove the bolts (2) securing the torque converter to the flywheel.
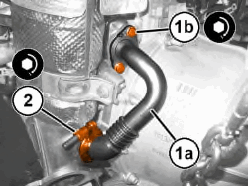
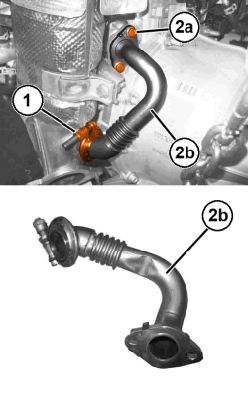
- Loosen the clamp nut (1).
- Remove the bolts (2a) and the low pressure EGR intake tube (2b).
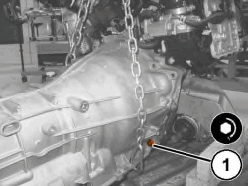
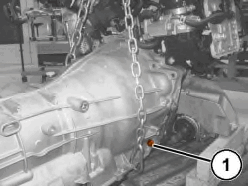
- Remove the bolt (1) securing the transmission to the engine oil pan, intake side.
- Remove the bolt (1) securing the transmission to the engine oil pan, exhaust side.
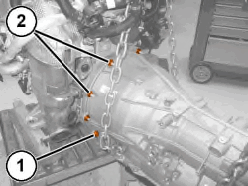
- Remove the nuts (2) securing the transmission to the engine block.NOTE:
Using a suitable tool, keep the torque converter in its mounted position to prevent the leakage of oil.
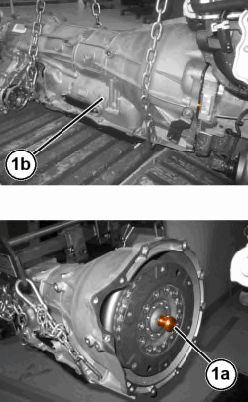
- Release the torque converter locating pin (1a) from the engine crankshaft flange, remove the transmission (1b) from the engine and position it on a suitable work surface.
INSTALLATION
- Check and clean the threads on the torque converter housing the bolts of the engine flywheel.
- Lubricate the torque converter centering seat using suitable grease.
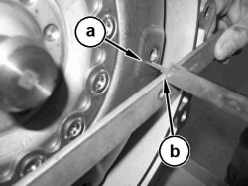
- 1. Check that the torque converter is positioned correctly by verifying that the distance between point "a" on the torque converter and surface "b" of the transmission bell housing is 13.95 mm.
- Install the transmission to the engine, engaging the torque converter locating pin in the engine crankshaft flange.
- Install the bolt (2) securing the transmission on the exhaust side to the engine oil pan and tighten to the proper specification Refer to TORQUE SPECIFICATIONS .
- Install the nuts (1) securing the transmission to the engine block and tighten to the proper specification Refer to TORQUE SPECIFICATIONS
.
- Install the bolt (1) securing the transmission on the intake side to the engine oil pan and tighten to the proper specification Refer to TORQUE SPECIFICATIONS
.
- Using a NEW gasket, install the low pressure EGR valve intake tube (1a) and tighten the bolts (1b) to the proper specification Refer to EXHAUST GAS RECIRCULATION, TECHNICAL SPECIFICATIONS .
- Tighten the clamp nut (2) to the proper specification Refer to EXHAUST GAS RECIRCULATION, TECHNICAL SPECIFICATIONS
.
- Use a socket and breaker bar (1) on the bolt securing the vibration damper to turn the engine crankshaft and access the bolts securing the torque converter to the flywheel.
- Install the NEW
bolts (2) securing the torque converter to the flywheel and tighten to the proper specification Refer to TORQUE SPECIFICATIONS
.
- Install the starter motor (1a) and tighten the bolts (1b) to the proper specification Refer to TECHNICAL SPECIFICATIONS .
- Connect the starter motor wire harness connector.
- Install the starter motor B+ wiring harness connection and securely tighten the nut and close the protective cover.
- Install the lower bolts (1) securing the transmission and tighten to the proper specification Refer to TORQUE SPECIFICATIONS .
- Connect the engine oil level sensor wire harness connector (2).
- Install the front driveshaft in it position, engaging it with the flange on the transfer case.
- Install the dust seal ring in its position on the front driveshaft.
- Install the bolts (1a) securing the driveshaft (1b), complete with spacers and tighten to the proper specification Refer to TORQUE SPECIFICATIONS .