Intake And Exhaust Valves
REMOVAL
NOTE:
The intake and exhaust springs are NOT interchangeable. Mark the springs accordingly for installation. Correctly identify the part numbers for new springs being installed.
- Remove the cylinder head. Refer to CYLINDER HEAD, REMOVAL AND INSTALLATION .
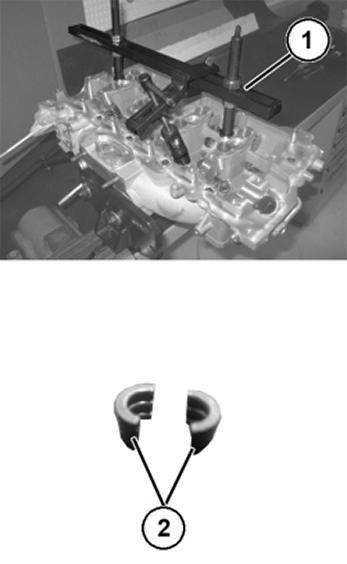
- Position a suitable tool (1) on the cylinder head to compress the valve springs.
- Place a cushion of foam padding or a ball of rags in the dome area of the cylinder head to hold the valves in place during the retaining lock removal process.
- Compress the valve spring and remove valve retaining locks (2).NOTE:
If the springs are to be reused, identify their positions so that they can be reassembled into their original locations.
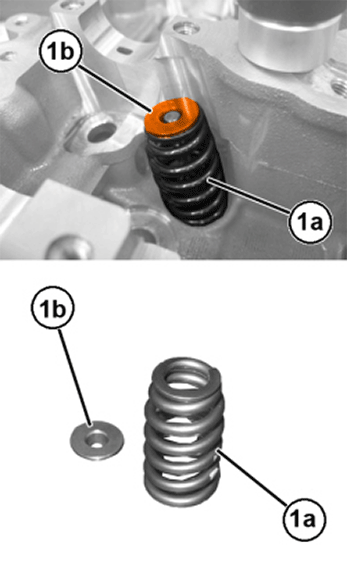
- Release the valve spring compression and remove the valve spring retainer (1b) and valve spring (1a).NOTE:
Before removing the valves, remove any burrs from the valve stem retainer lock grooves and stem tip to prevent damage to the valve guides.
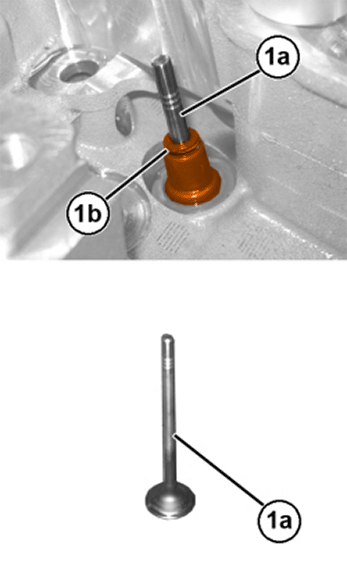
- Remove the valve(s). Identify each valve (1a) to ensure installation in the original location.
- If required, remove the valve guide seal (1b).
INSTALLATION
- Coat the valve stems (1a) with clean engine oil and install the valves into the cylinder head.NOTE:
If the valves are being reused, reassemble them into their original locations.
- Apply engine oil to the lip of the valve guide seal (1b). Install the valve guide seal over the valve stem. Using an appropriate driver, push the seal firmly and squarely over the valve guide. Do Not Force the seal against the top of guide.NOTE:
If the springs are being reused, reassemble them into their original locations.
- Install the valve spring(s) and cylinder head. Refer to SPRING(S), VALVE, REMOVAL AND INSTALLATION .