Removal - Lower - RWD
- Raise and support the vehicle. Refer to HOISTING, STANDARD PROCEDURE
.
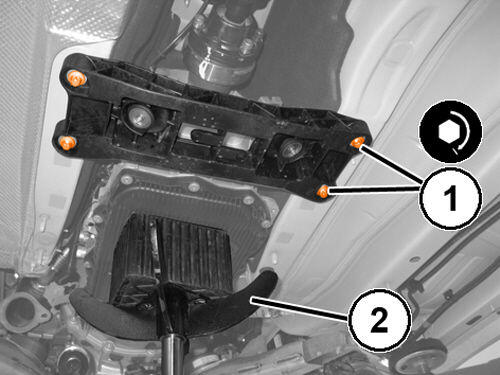
- Position a suitable hydraulic jack (1) under the transmission.
- Remove and DISCARD
the bolts (2) attaching the bracket to the body.
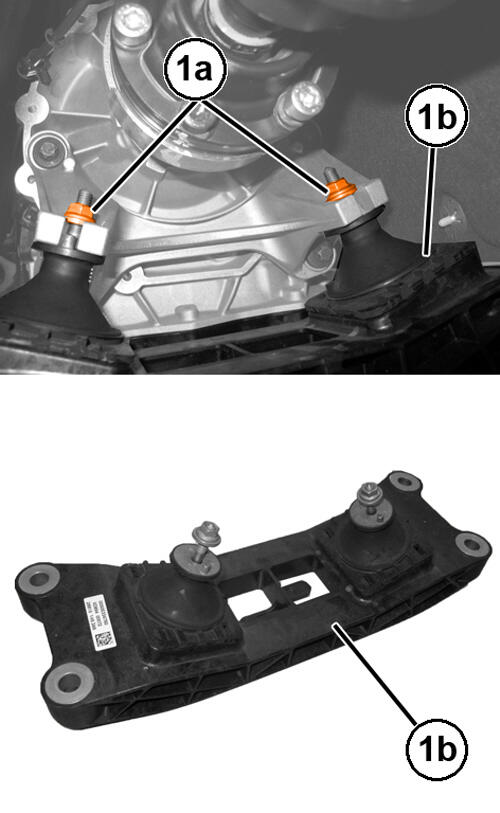
- Remove and DISCARD
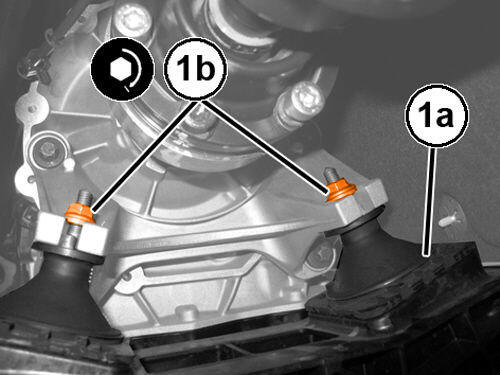
the nuts (1a) and remove the bracket (1b).
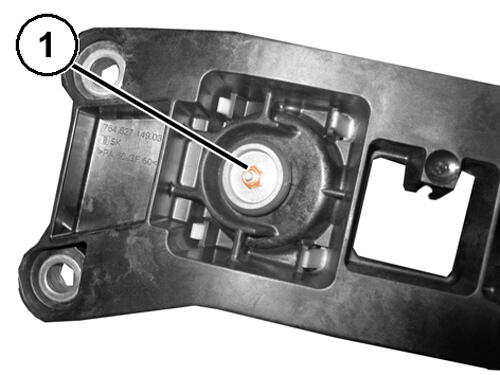
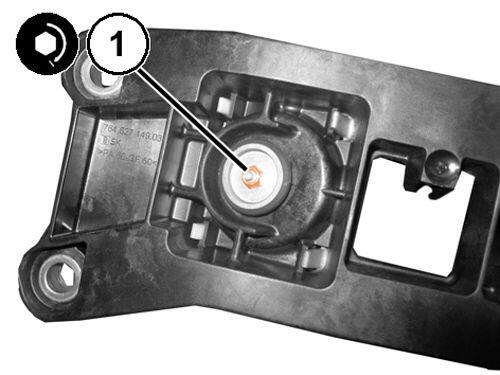
- Remove and DISCARD
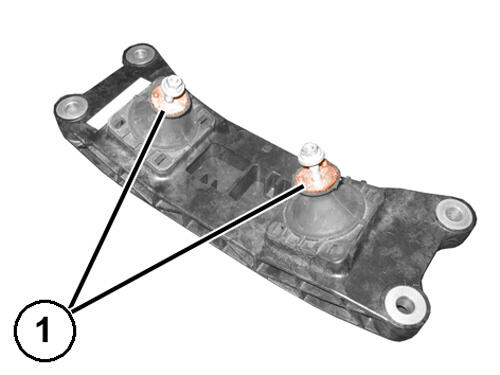
the lower nut (1) attaching the insulator to the bracket.
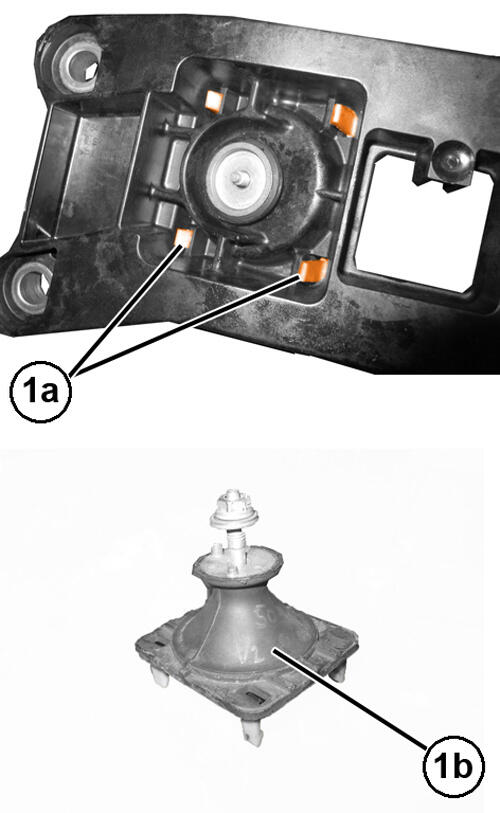
- Release the retaining clips (1a) and remove the insulator (1b).
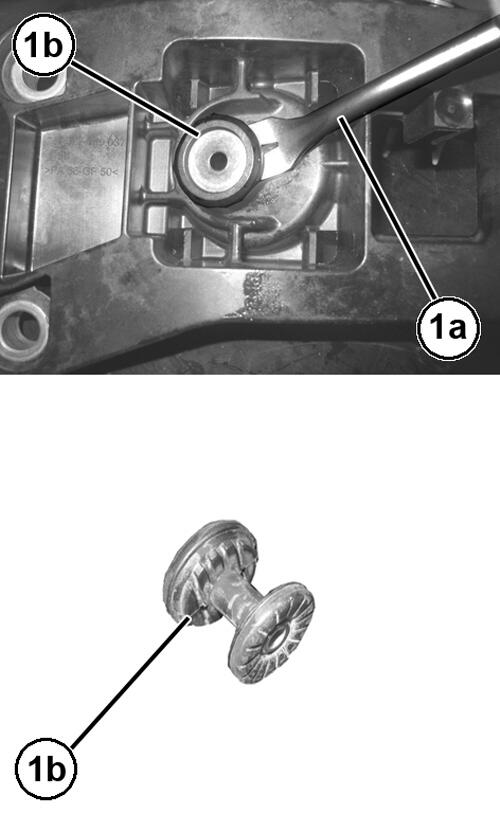
- Using a suitable tool (1a), remove the spacer (1b).
- Repeat for the other insulator.
INSTALLATION
- Install the insulator spacer in the rear bracket.
- Install the insulator and engage the retaining clips.
- Tighten the NEW insulator to rear support bracket lower attaching nut (1) to the proper specification Refer to TORQUE SPECIFICATIONS .
- Repeat for the other insulator.
- Position the isolator pins (1) as indicated in the figure.
- Install the rear bracket assembly (1a) in position and tighten the NEW
nuts (1b) to the proper specification Refer to TORQUE SPECIFICATIONS
.
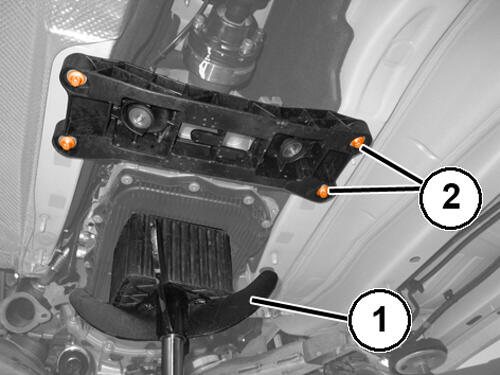
- Tighten the NEW bracket to body bolts (1) to the proper specification Refer to TORQUE SPECIFICATIONS .
- Remove the hydraulic jack from underneath the transmission.
- Remove the support and lower the vehicle.