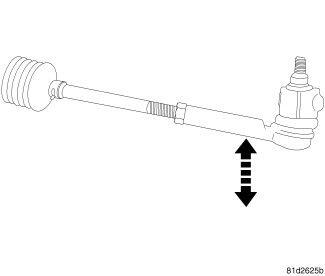
Outer Tie Rod
- Raise and support the vehicle. Refer to HOISTING, STANDARD PROCEDURE .
- Remove the front wheels. Refer to REMOVAL AND INSTALLATION .
- Install two standard wheel mounting nuts, flat side to rotor, diagonally opposite to each on the rotor.
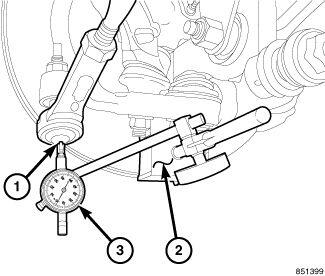
- Attach a magnetic dial indicator (2) to the inside of the brake rotor, then align dial indicator's contact pointer (1) with direction of stud axis and touch outer tie rod.
- Zero dial indicator (3).NOTE:
When checking free-play, DO NOT rotate the tie rod. Just because a tie rod rotates easily does not mean that it is necessarily faulty. Using more than light hand pressure will result in a false reading.
- Grasp the outer tie rod near the ball stud and attempt to move the tie rod straight up and down using light hand pressure. (Less than 10 lbs. of force.)
- Measure and record any tie rod free-play movement.
- Remove the magnetic dial indicator.
- Remove the standard wheel mounting nuts from the two studs.
- If the free-play in the tie rod exceeds 0.05 mm (.002 in.), replace the outer tie rod. Refer to TIE ROD, STEERING, REMOVAL AND INSTALLATION . If the free-play is less than 0.05 mm (.002 in.) at the outer tie rod, check the inner tie rod for free-play. See the following procedure.