QUADRIFOGLIO - Non Carbon Ceramic: Removal
NOTE:
Removal process is the same for both sides of the vehicle.
- Raise and support the vehicle. Refer to HOISTING, STANDARD PROCEDURE .
- Disconnect and isolate the negative battery cable. If equipped with an Intelligent Battery Sensor (IBS), disconnect the IBS connector first before disconnecting the negative battery cable.
- Remove tire and wheel assembly. Refer to REMOVAL AND INSTALLATION .
- Open the brake fluid reservoir cap and check the fluid level.NOTE:
The piston retraction operations described here below increase the brake fluid level in the reservoir. Make sure the fluid level does not cause leakage.
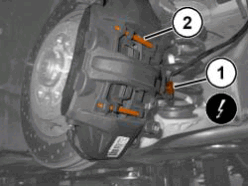
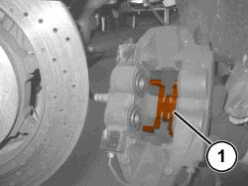
- Disconnect the brake pad wear sensor electrical harness connector (1).
- Using a suitable punch, retract and remove the pad retaining pins (2).
- Retract the pistons from the brake caliper using a retractor or other suitable tool pressing on the worn pads.
- Retract the caliper pistons to allow removal of the worn pads and installation of the new ones.
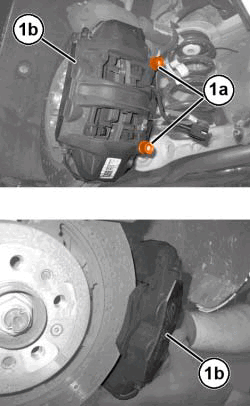
- Remove the mounting bolts (1a) and remove the brake caliper (1b) complete with pads.NOTE:
If the pads are stuck to the pistons, use a suitable tool to extract the pads from the caliper. Be careful not to damage the pistons and the dust boots.
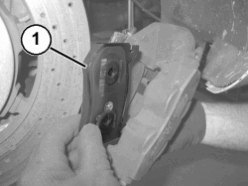
- Remove the outer brake pad (1).
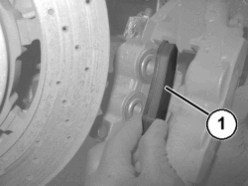
- Remove the inner brake pad (1).
- Remove and DISCARD
the brake caliper retaining clip (1).NOTE:
Do not use products which could damage rubber parts.
- Carefully clean the pad seat area using suitable materials and products (e.g. a moist cloth).
- Check that there is no damage to the pistons or the dust boots.