Removal And Installation: Removal
- Disconnect and isolate the negative battery cable.
- Remove the door glass. Refer to CHANNEL, DOOR GLASS, REAR, REMOVAL AND INSTALLATION Refer to, CHANNEL, DOOR GLASS WEATHERSTRIP, REMOVAL AND INSTALLATION .
- Remove the exterior handle. Refer to HANDLE, EXTERIOR, REMOVAL AND INSTALLATION Refer to, HANDLE, EXTERIOR SUPPORT, REMOVAL AND INSTALLATION .
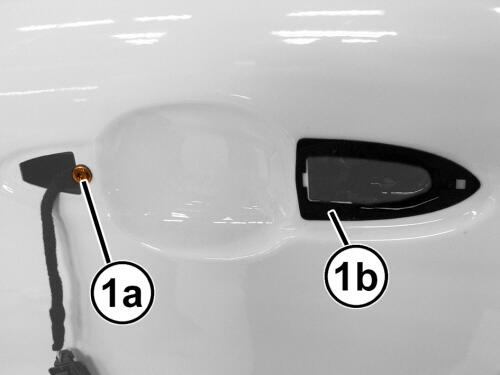
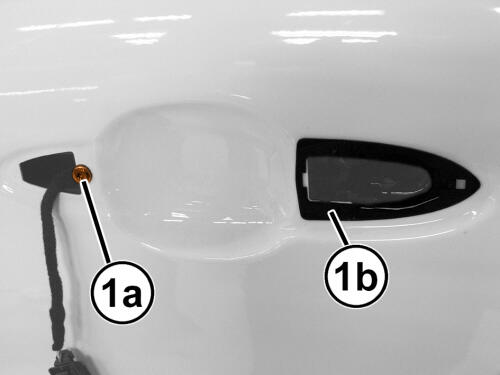
- Remove the screw (1a) attaching the exterior handle internal mounting, then remove the seal (1b) by releasing its retainers.
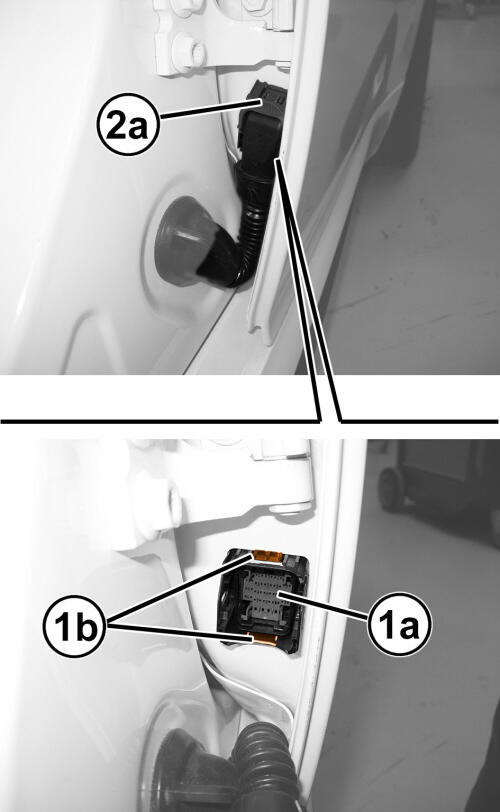
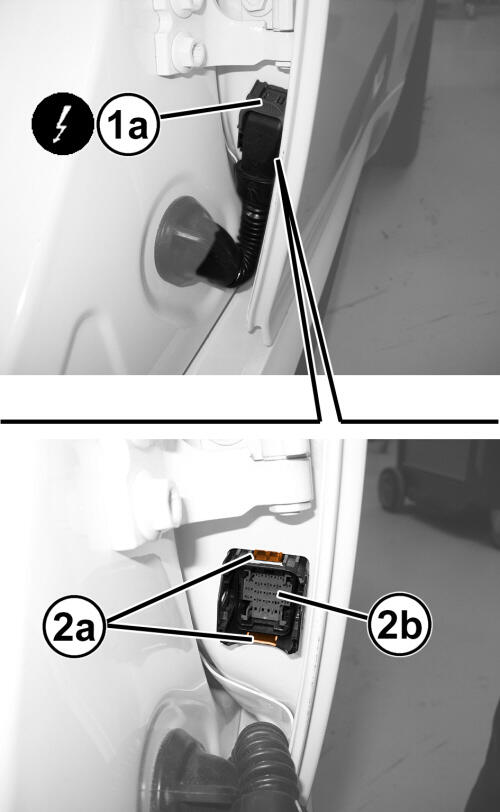
- Disconnect the wire harness connector (1a) for the door.
- Release the retainers (2a) and position the half-connector (2b) back into the door frame.
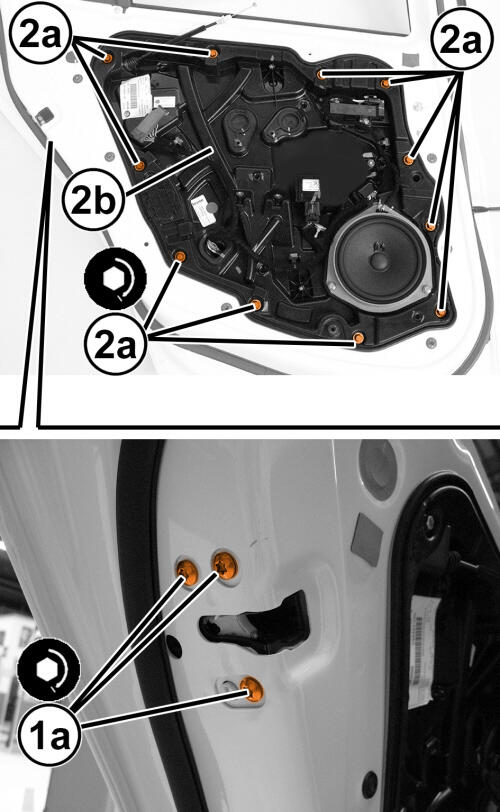
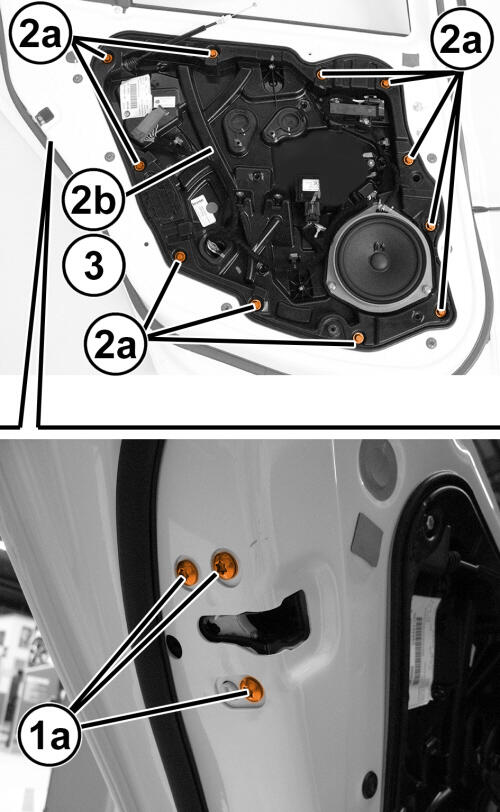
- Remove the latch screws (1a).
- Remove the screws (2a) for the carrier plate (2b).
- Carefully remove the carrier plate (2b) complete with the latch assembly from the door frame.
INSTALLATION
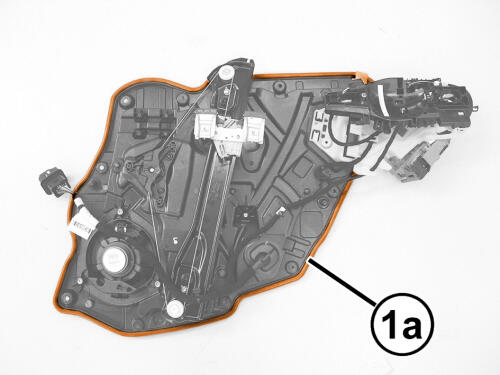
- Check that the surrounding seal (1a) is not damaged.
- Carefully insert the carrier plate in the door frame complete with the latch assembly.
- Position the half-connector (1a) and engage the retainers (1b).
- Connect the door wire harness connector (2a).
- Tighten the latch screws (1a) to the proper specification. Refer to TECHNICAL SPECIFICATIONS .
- Tighten the carrier plate (2b) screws (2a) to the proper specification. Refer to TECHNICAL SPECIFICATIONS .
- Place the exterior handle seal (1b) and engage it with its retainers, then tighten the screw (1a).
- Install the exterior handle. Refer to HANDLE, EXTERIOR, REMOVAL AND INSTALLATION Refer to, HANDLE, EXTERIOR SUPPORT, REMOVAL AND INSTALLATION .
- Install the door glass. Refer to CHANNEL, DOOR GLASS, REAR, REMOVAL AND INSTALLATION Refer to, CHANNEL, DOOR GLASS WEATHERSTRIP, REMOVAL AND INSTALLATION .
- Connect the negative battery cable.