Removal And Installation: Installation
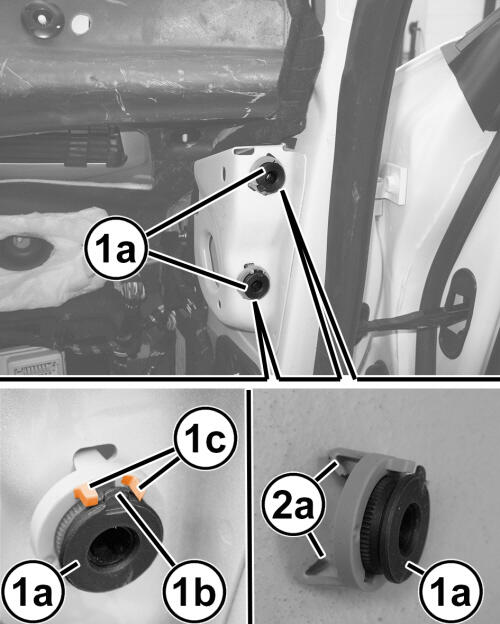
- Verify that the four centering bushings (1a) are fully screwed in until the tab (1b) is between the stop (1c).NOTE:
The resetting of the centering bushings allows the instrument panel carrier to be installed properly.
NOTE:Inspect the centering bushings and replace if necessary.
- Position the instrument panel carrier into the vehicle.NOTE:
Make sure that all wiring harnesses are routed properly and are not pinched when installing the instrument panel carrier.
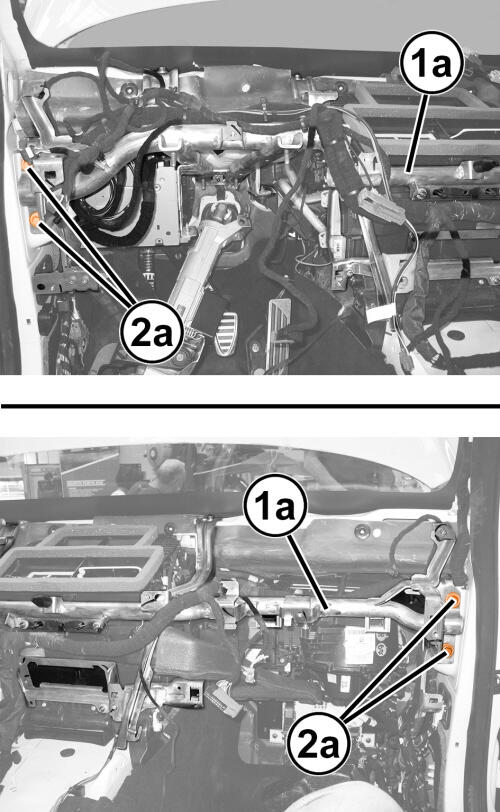
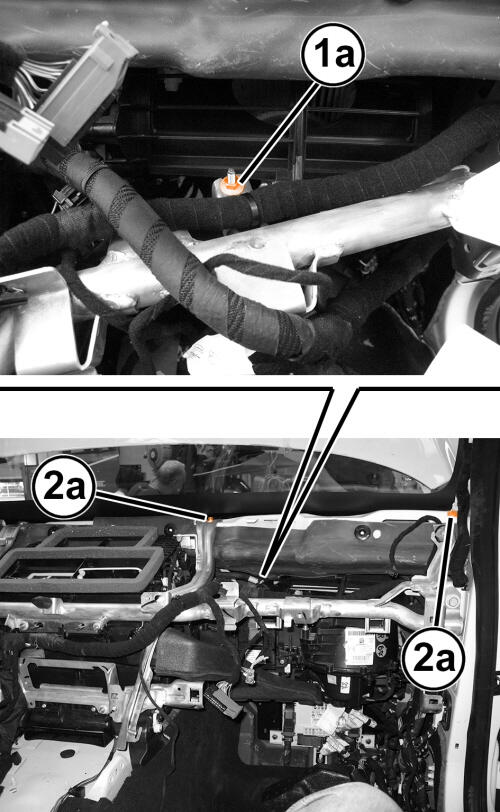
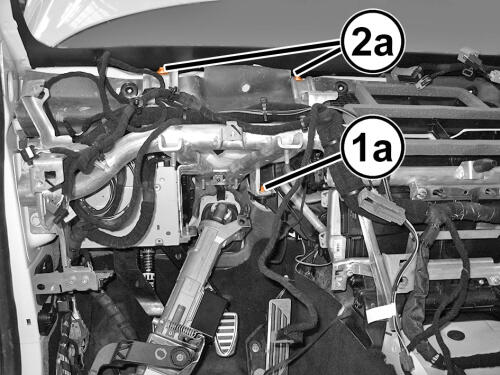
- Start the bolts (2a) on both sides of the vehicle. Do not tighten the bolt until the instrument panel carrier (1a) is positioned properly.
- Once all four bolts are secured, tighten the instrument panel carrier bolts to the proper specification. Refer to TECHNICAL SPECIFICATIONS .
- Install the nut (1a) and tighten securely.
- Tighten the bolts (2a).
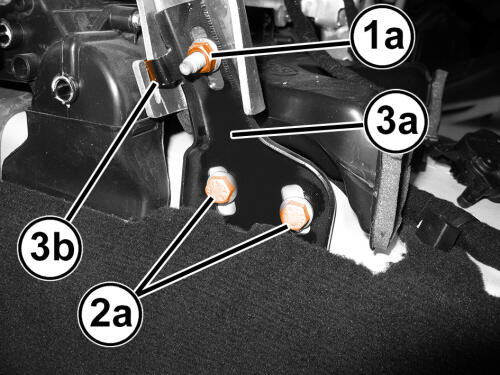
- Install the brackets (3a). tighten the bolts (1a and 2a) to the proper specification. Refer to TECHNICAL SPECIFICATIONS .
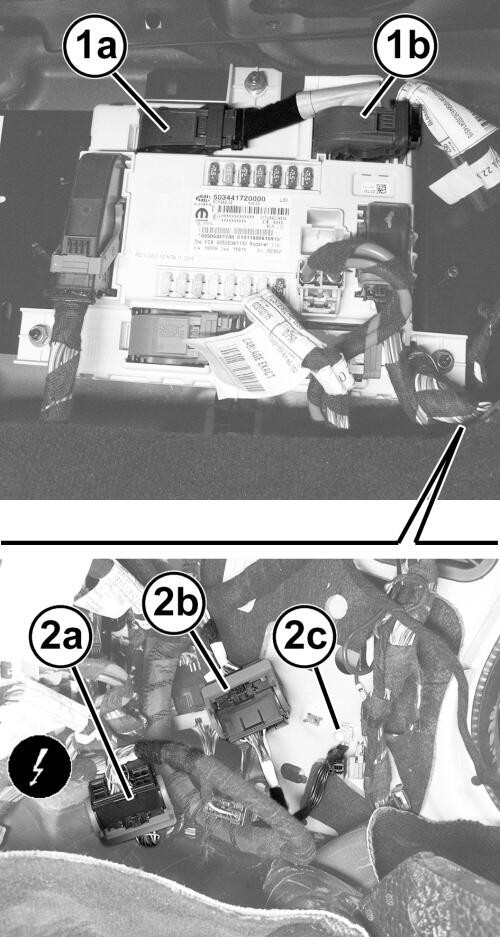
- On the right side of vehicle, install the ground strap (2c) and nut.
- Connect the wire harness connectors (2a, 2b and 2c).
- Connect the wire harness connectors (1a and 1b) to the body control module.
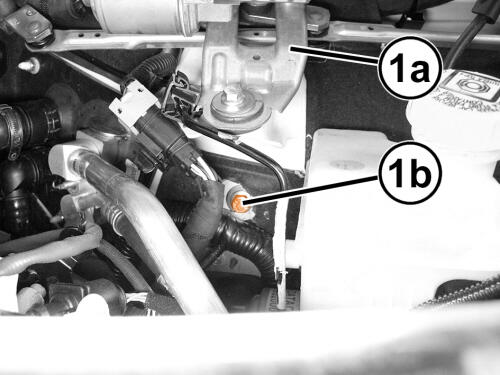
- In the engine compartment, install the bolts (1b) and tighten to the proper specification. Refer to TECHNICAL SPECIFICATIONS .
- Install the cowl cover panel and wiper arms. Refer to COVER, COWL PANEL, REMOVAL AND INSTALLATION .
- Install the nut (1a) and tighten the bolts (2a). Tighten to the proper specification. Refer to TECHNICAL SPECIFICATIONS .
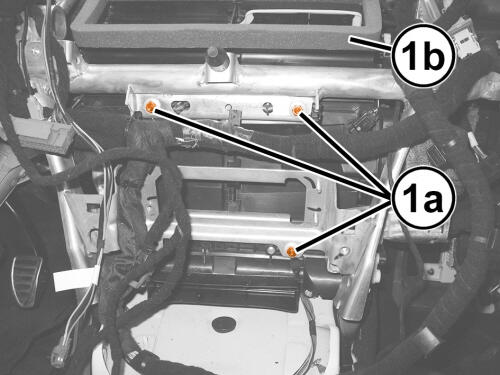
- Install the nuts (1a) that secure the air conditioning case (1b) and tighten securely.
- Connect the wire harness connectors (1a) to the steering wheel lock module (1b).
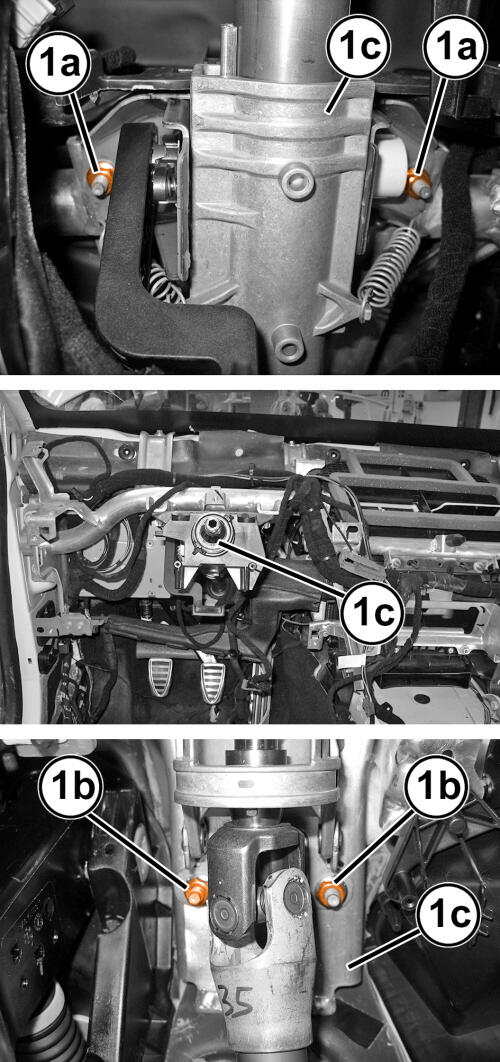
- Install the steering column nuts (1a and 1b) and tighten to the proper torque specification.
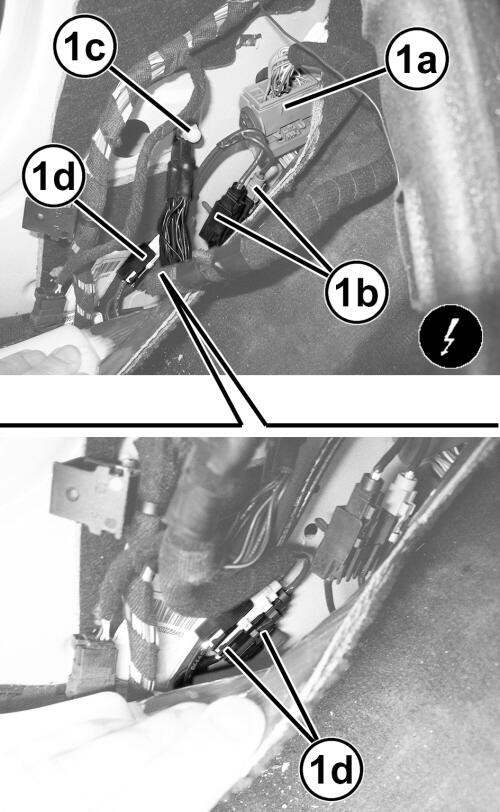
- On the left side of vehicle, connect the wire harness connectors (1a, 1b, 1c and 1d).
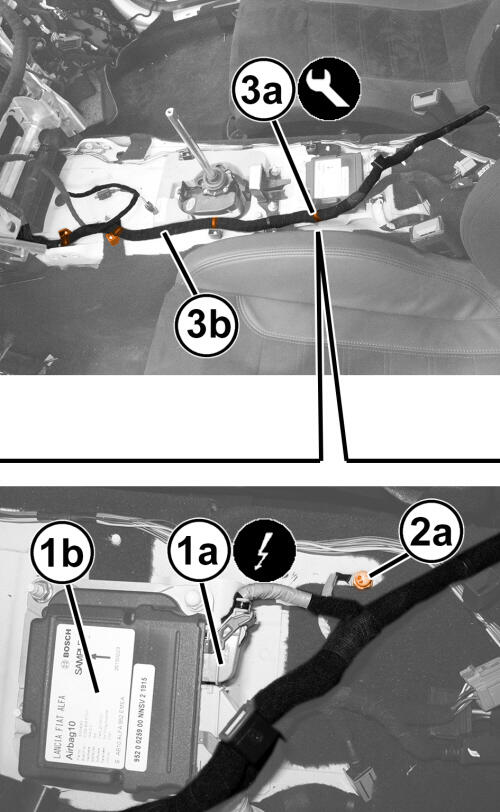
- Route and secure the wire harness (3b) to the body clips (3a).
- Install the ground strap (2a) and tighten the nut securely.
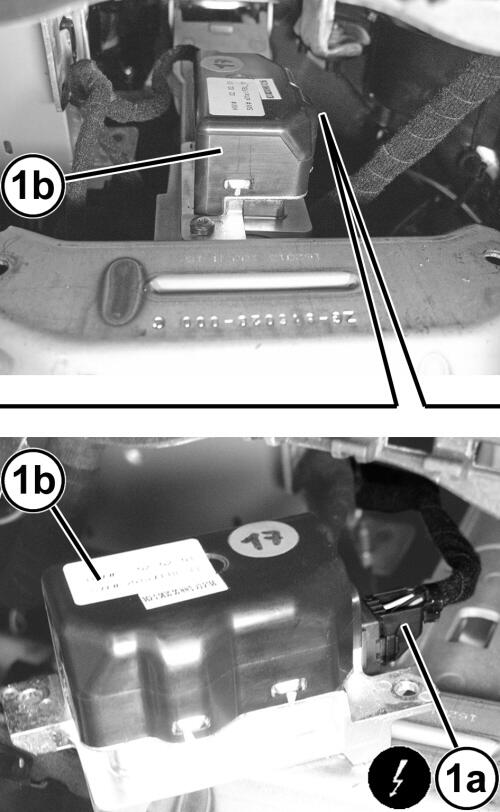
- Connect the wiring harness connector (1a) to the airbag control module (1b).
- Install the instrument panel cover. Refer to COVER, INSTRUMENT PANEL, REMOVAL AND INSTALLATION .