Right Hand (RH) Actuator
RIGHT HAND (RH) ACTUATOR
REMOVAL
- Disconnect and isolate the negative battery cable. If equipped with an Intelligent Battery Sensor (IBS), disconnect the IBS connector first before disconnecting the negative battery cable.
- Raise and support the vehicle.
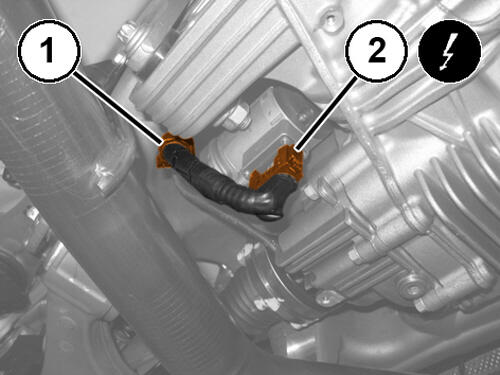
- Disconnect the axle shaft actuator wire harness connector (2) and release the wire harness clip (1).
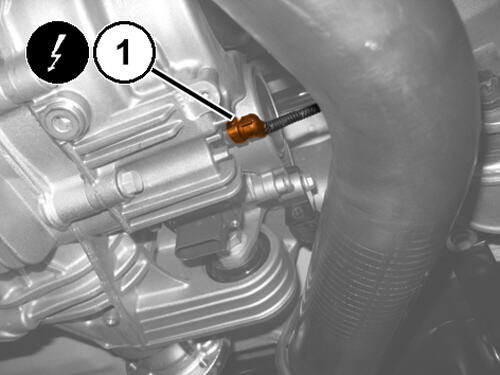
- Disconnect the differential oil temperature sensor wire harness connector (1).
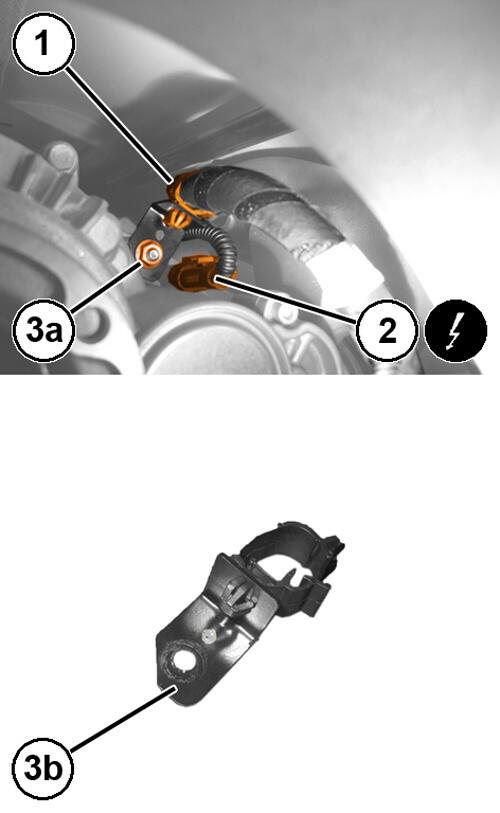
- Remove the wire harness bracket nut (3a) and position aside the wire harness (1, 2).
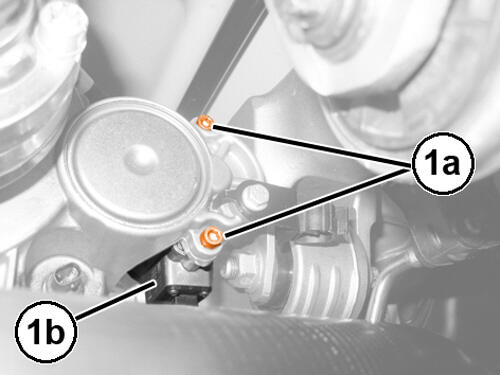
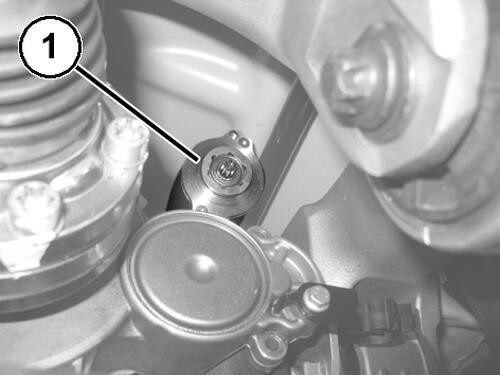
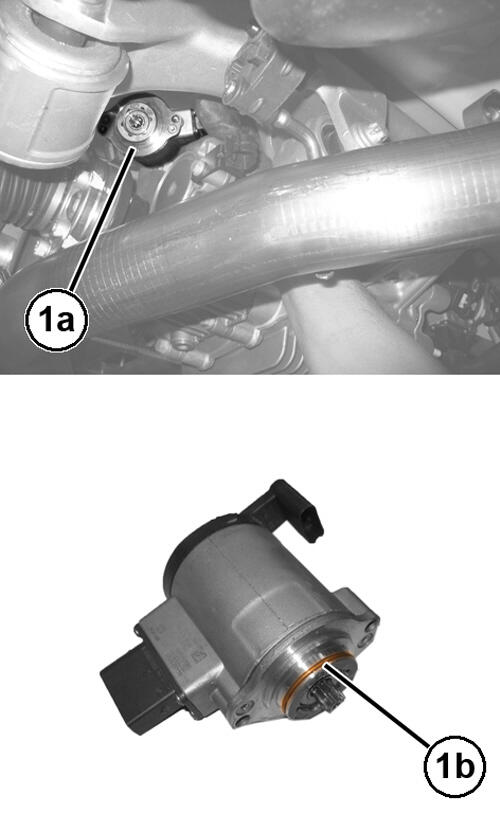
- Remove the axle shaft actuator bolts (1a).
- Turn the axle shaft actuator (1) downwards.
- Remove the axle shaft actuator (1a) from the vehicle making sure the O-ring (1b) was removed from the axle.
INSTALLATION
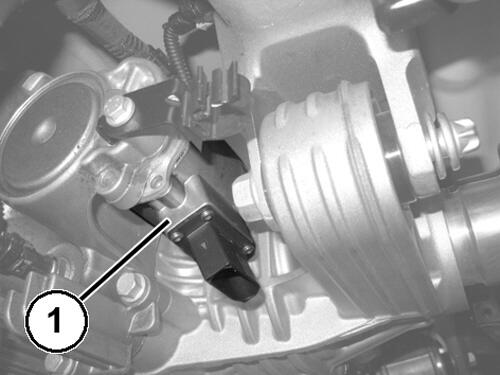
- Position the axle shaft actuator (1) in place and turn it to align the bolt holes.
- Install the axle shaft actuator bolts (1a) and tighten to the proper specification. Refer to TORQUE SPECIFICATIONS
.
- Install the wire harness bracket and nut (3a) and tighten to the proper specification. Refer to TORQUE SPECIFICATIONS
.
- Connect the RDU oil temperature sensor wire harness connector (1).
- Connect the axle shaft actuator wire harness connector (2) and latch the clip (1).
- Check the Rear Drive Unit (RDU) Right Body fluid level and fill as needed. Refer to STANDARD PROCEDURE orREAR DRIVE UNIT (RDU) LEFT BODY FLUID DRAIN AND FILL or REAR DRIVE UNIT (RDU) RIGHT BODY FLUID DRAIN AND FILL .
- Remove the support and lower the vehicle.
- Connect the negative battery cable. If equipped with an Intelligent Battery Sensor (IBS), connect the IBS connector.
NOTE:
Make sure the O-ring is installed.